
New Blacksmithing project:
I was just scrolling around the interwebs and came across a string winder on Pinterest. It had some cool features that I wanted to try to forge. https://www.pinterest.com/pin/503488433365362385/
This was a piece a bit newer then I usually do., but I have not seen anything that has sparked my interest recently.


Having started out to just make a cool tool, I felt compelled (it’s a sickness I know) to find out if this was a period design. Could this have been created for the SCA. Even though this is one of the coolest and most stimulating object to ever be created, I ended up having a hard time finding any history on the object.
The earliest example I have been able to find was an illustration by John Evelyn (31 October 1620 – 27 February 1706). https://en.wikipedia.org/wiki/John_Evelyn. In his diaries he drew a sketch of the tools used by his gardeners. This illustration included a line reel very similar to the one I am in the process of making.


I was hoping to find more on this tool, but so far my searches have proven fruitless.
Onward to the forging:
Day one (2/15/25):
My first attempt to make this tool was started on February 15th and was my first time forging in quite a while. To start this project I decided to make the central bar of the tool. This was done with a piece of 1/2 in bar stock that was 9.5 inches long.

This was then marked at 4 inches from the end and I attempted to draw this out into the shaft that would support the line holder. this was to be drawn down into a 3/8 in round shaft. Without doing any review of the process of drawing a taper, I proceeded to spend the next 2 hours hammering away at the bar until it snapped at the joint between the shaft and the remainder of the stock. This was the end of forging for me for the evening.

Day 2 (2/17/25):
The next day found me reviewing the proper steps to drawing a tenon properly in hopes of avoiding my former mistake. The 17th found me back at the forge with a 8 inch piece of 1/2 in square stock. This one was marked at 3 inches for the shaft. I then proceeded with the proper steps to draw out the shaft.


The drawing out was done with a combination of a spring swage and a guillotine tool with a circle guide. a firm shoulder was created by using a bolster with the proper sized hole drilled in.


I have gotten well out of the practice of documenting my work as I progress. I am missing several pictures of the work in progress as well as a final picture of this part being done. I hope to go back and take a few more pictures for these steps. Either way, once the spindle section was completed, the work on the other side began. This was a much simpler process of drawing down the square into a point. This ended the work for this day.


Day 3 (2/18/25):
Today found be in much better spirits as well as with a bit more time in the forge. The first thing I was going to work on was the spike that goes on the opposite end of the line. This was going to be made from a piece of 3/8 in round stock 18 inches long. The first step done on this was to drift a hole in the shaft to tie the line to. This was dune by creating a flat on the shaft then drifting a punch to create the hole. Drifting is done to preserve the stock as apposed to drilling which removes stock.

following this, the top 2 inches were drawn out and wrapped into the eye and the bottom was formed into the spike.

Punch for forming the holes.

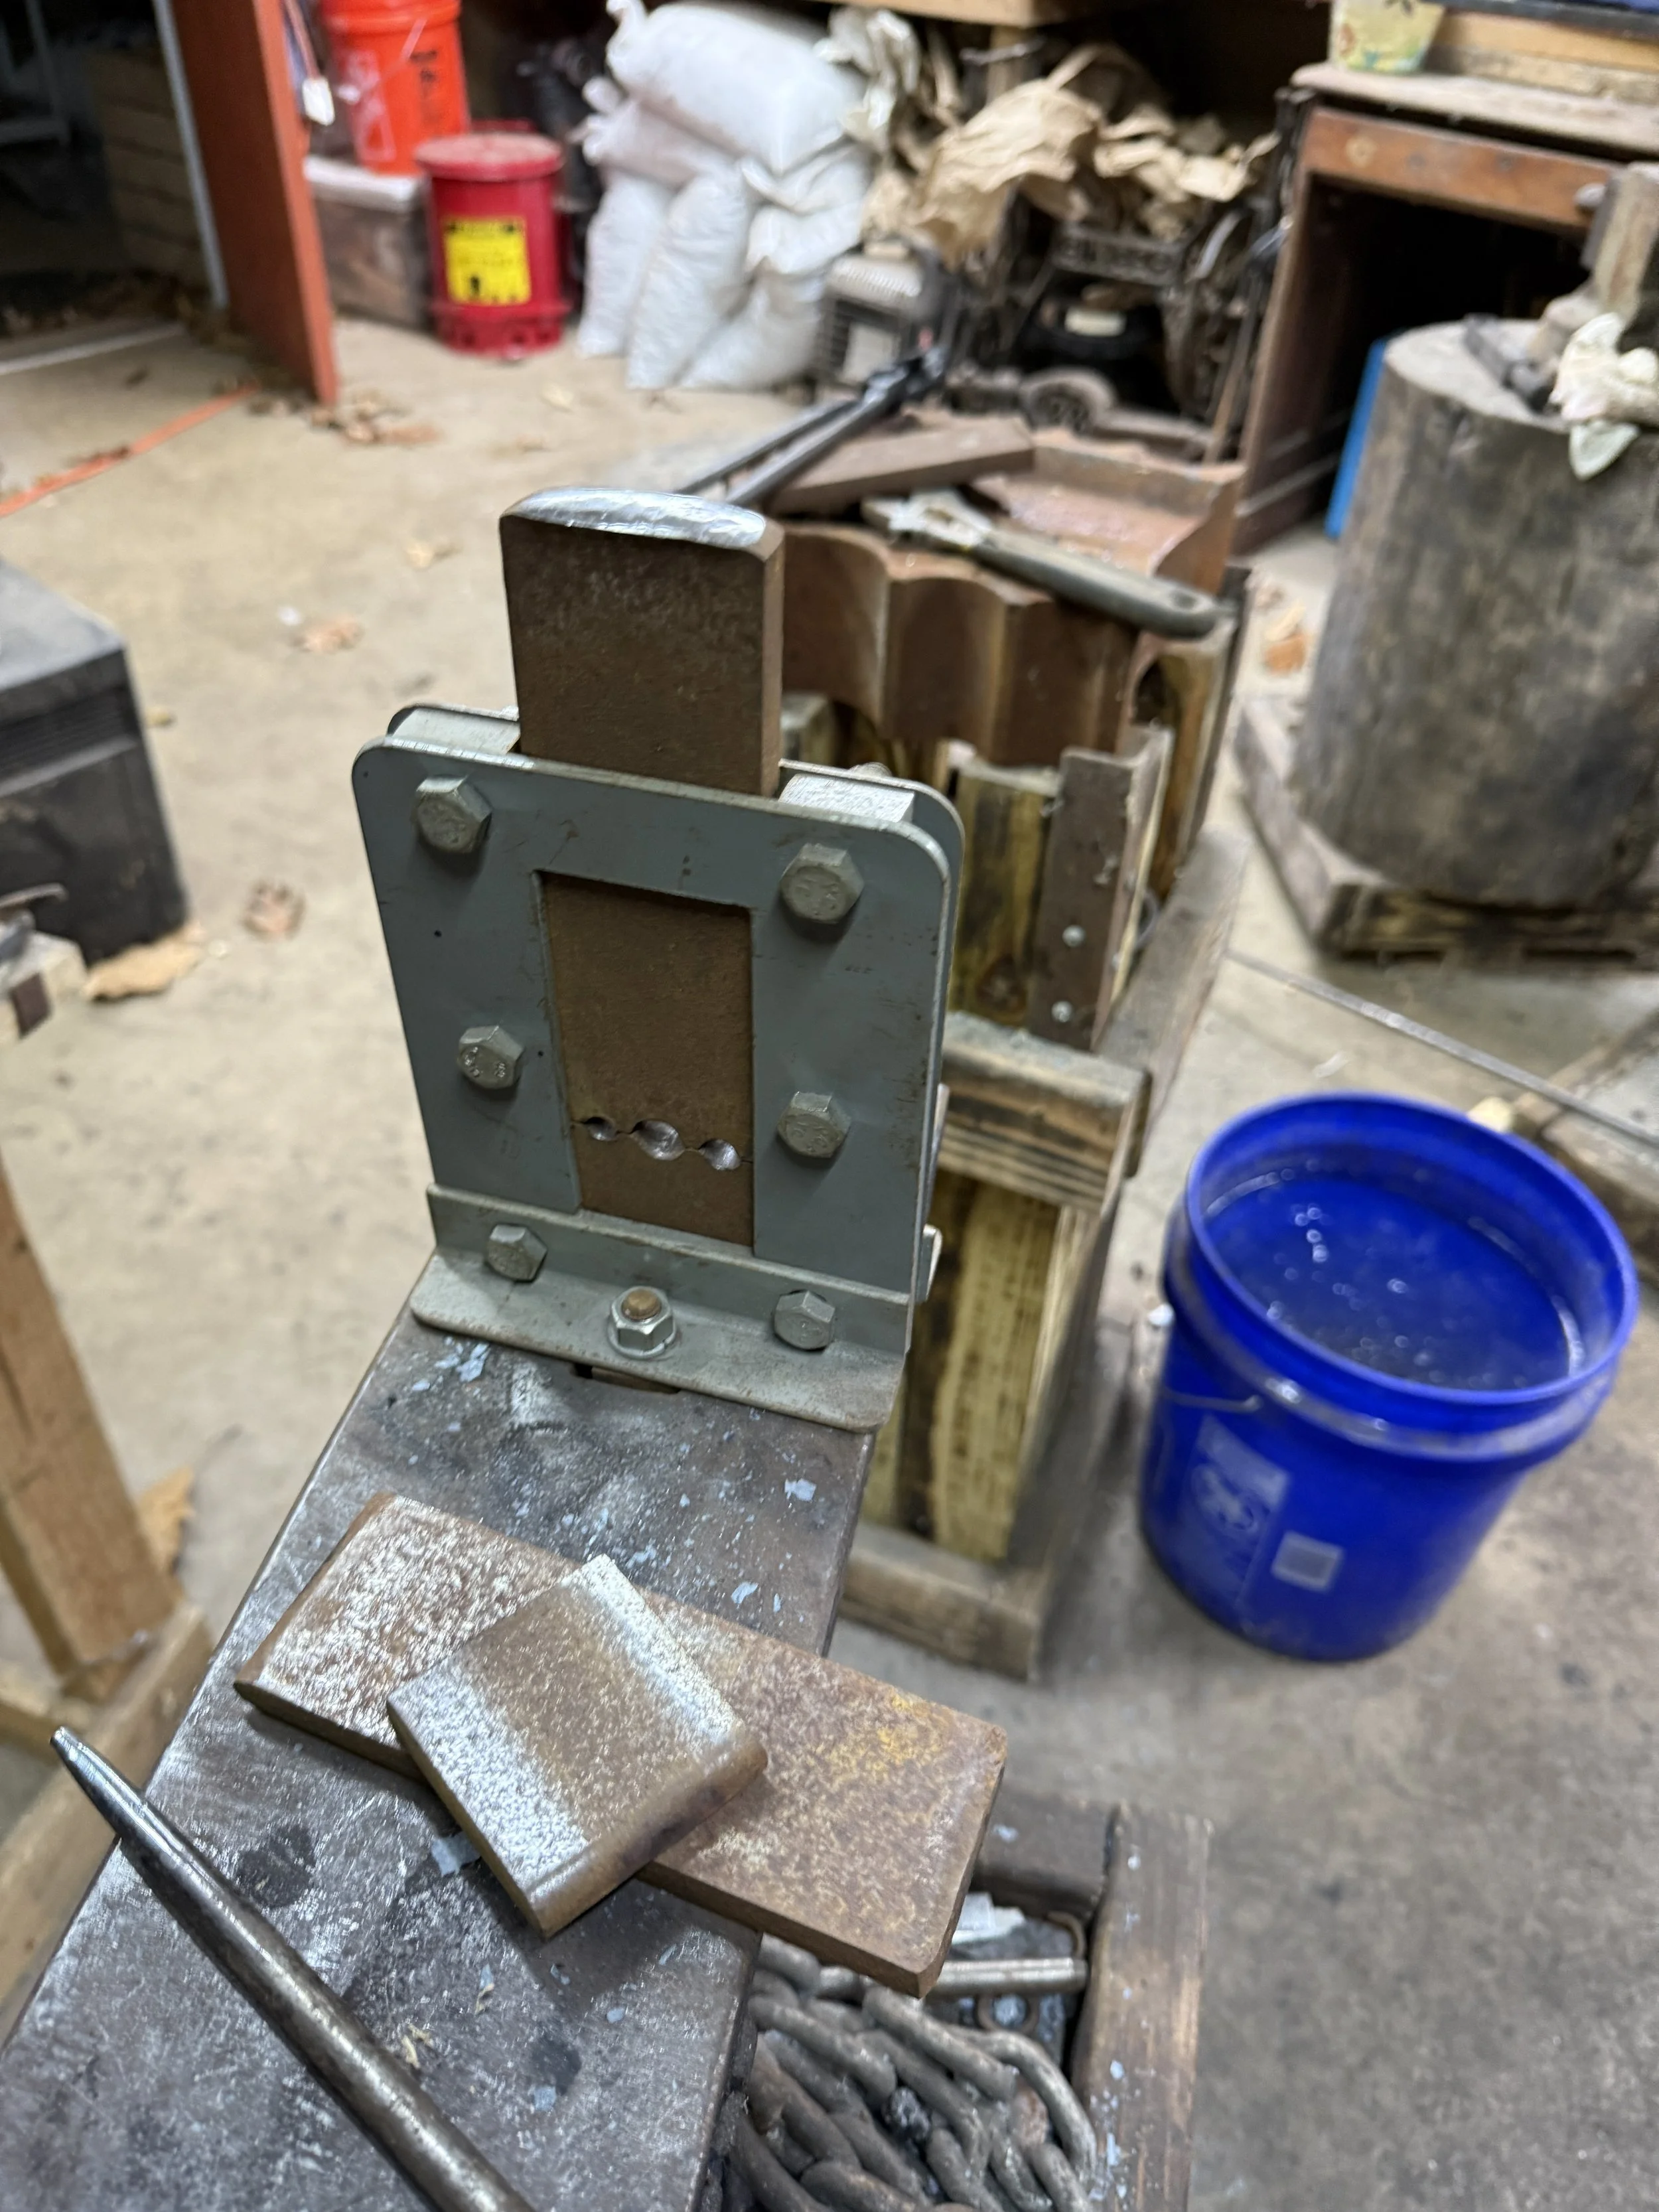
Bending jig used for creating the eye.

This completed this part of the project. Now it was time to move on to the line holder part of the tool. This was started with a 22 in bar of 1/4x1/2 rectangle stock. this was marked in the center as well as 6 inches from each end.


from the ends the 6 inches is rounded and drawn out to an 8 inch length. a hole large enough to fit over the spindle of the shaft was then punched in the center of the bar.


The 2 rounded ends were then treated the same way, a 3/4 in flat was added to the end and then the rounded end was doubled over the center and rounded to hold the line. this was done on both sides and evened out to create an even design.


once this was done, a bar equal to the length of the opening at the top was cut and a hole drifted through the center. with several of the other line winders that I had found images of, several had a knob on the top for securing the line to keep it from continuing to unspool. this could also be used to facilitate the winding of the line once done. I decided to add one to mine as well, so with the scraps of the broken shaft from the first day, I fashioned a tie down to be added to the top bar.


With the forging of thios piece, I was done for the evening. It looks like it will take at least one more day at the forge. All the pieces are done, it just takes putting it together:
attaching the line stop
attaching the top bar at both ends
forging the loop at the top of the spike.
winding some line on it.
The rest of the project will be documented in another posting. I didn’t want to get to far away from the start that I would get overwhelmed. Thanks for reading and there will be more to come.