Back in the Forge and some bow work.


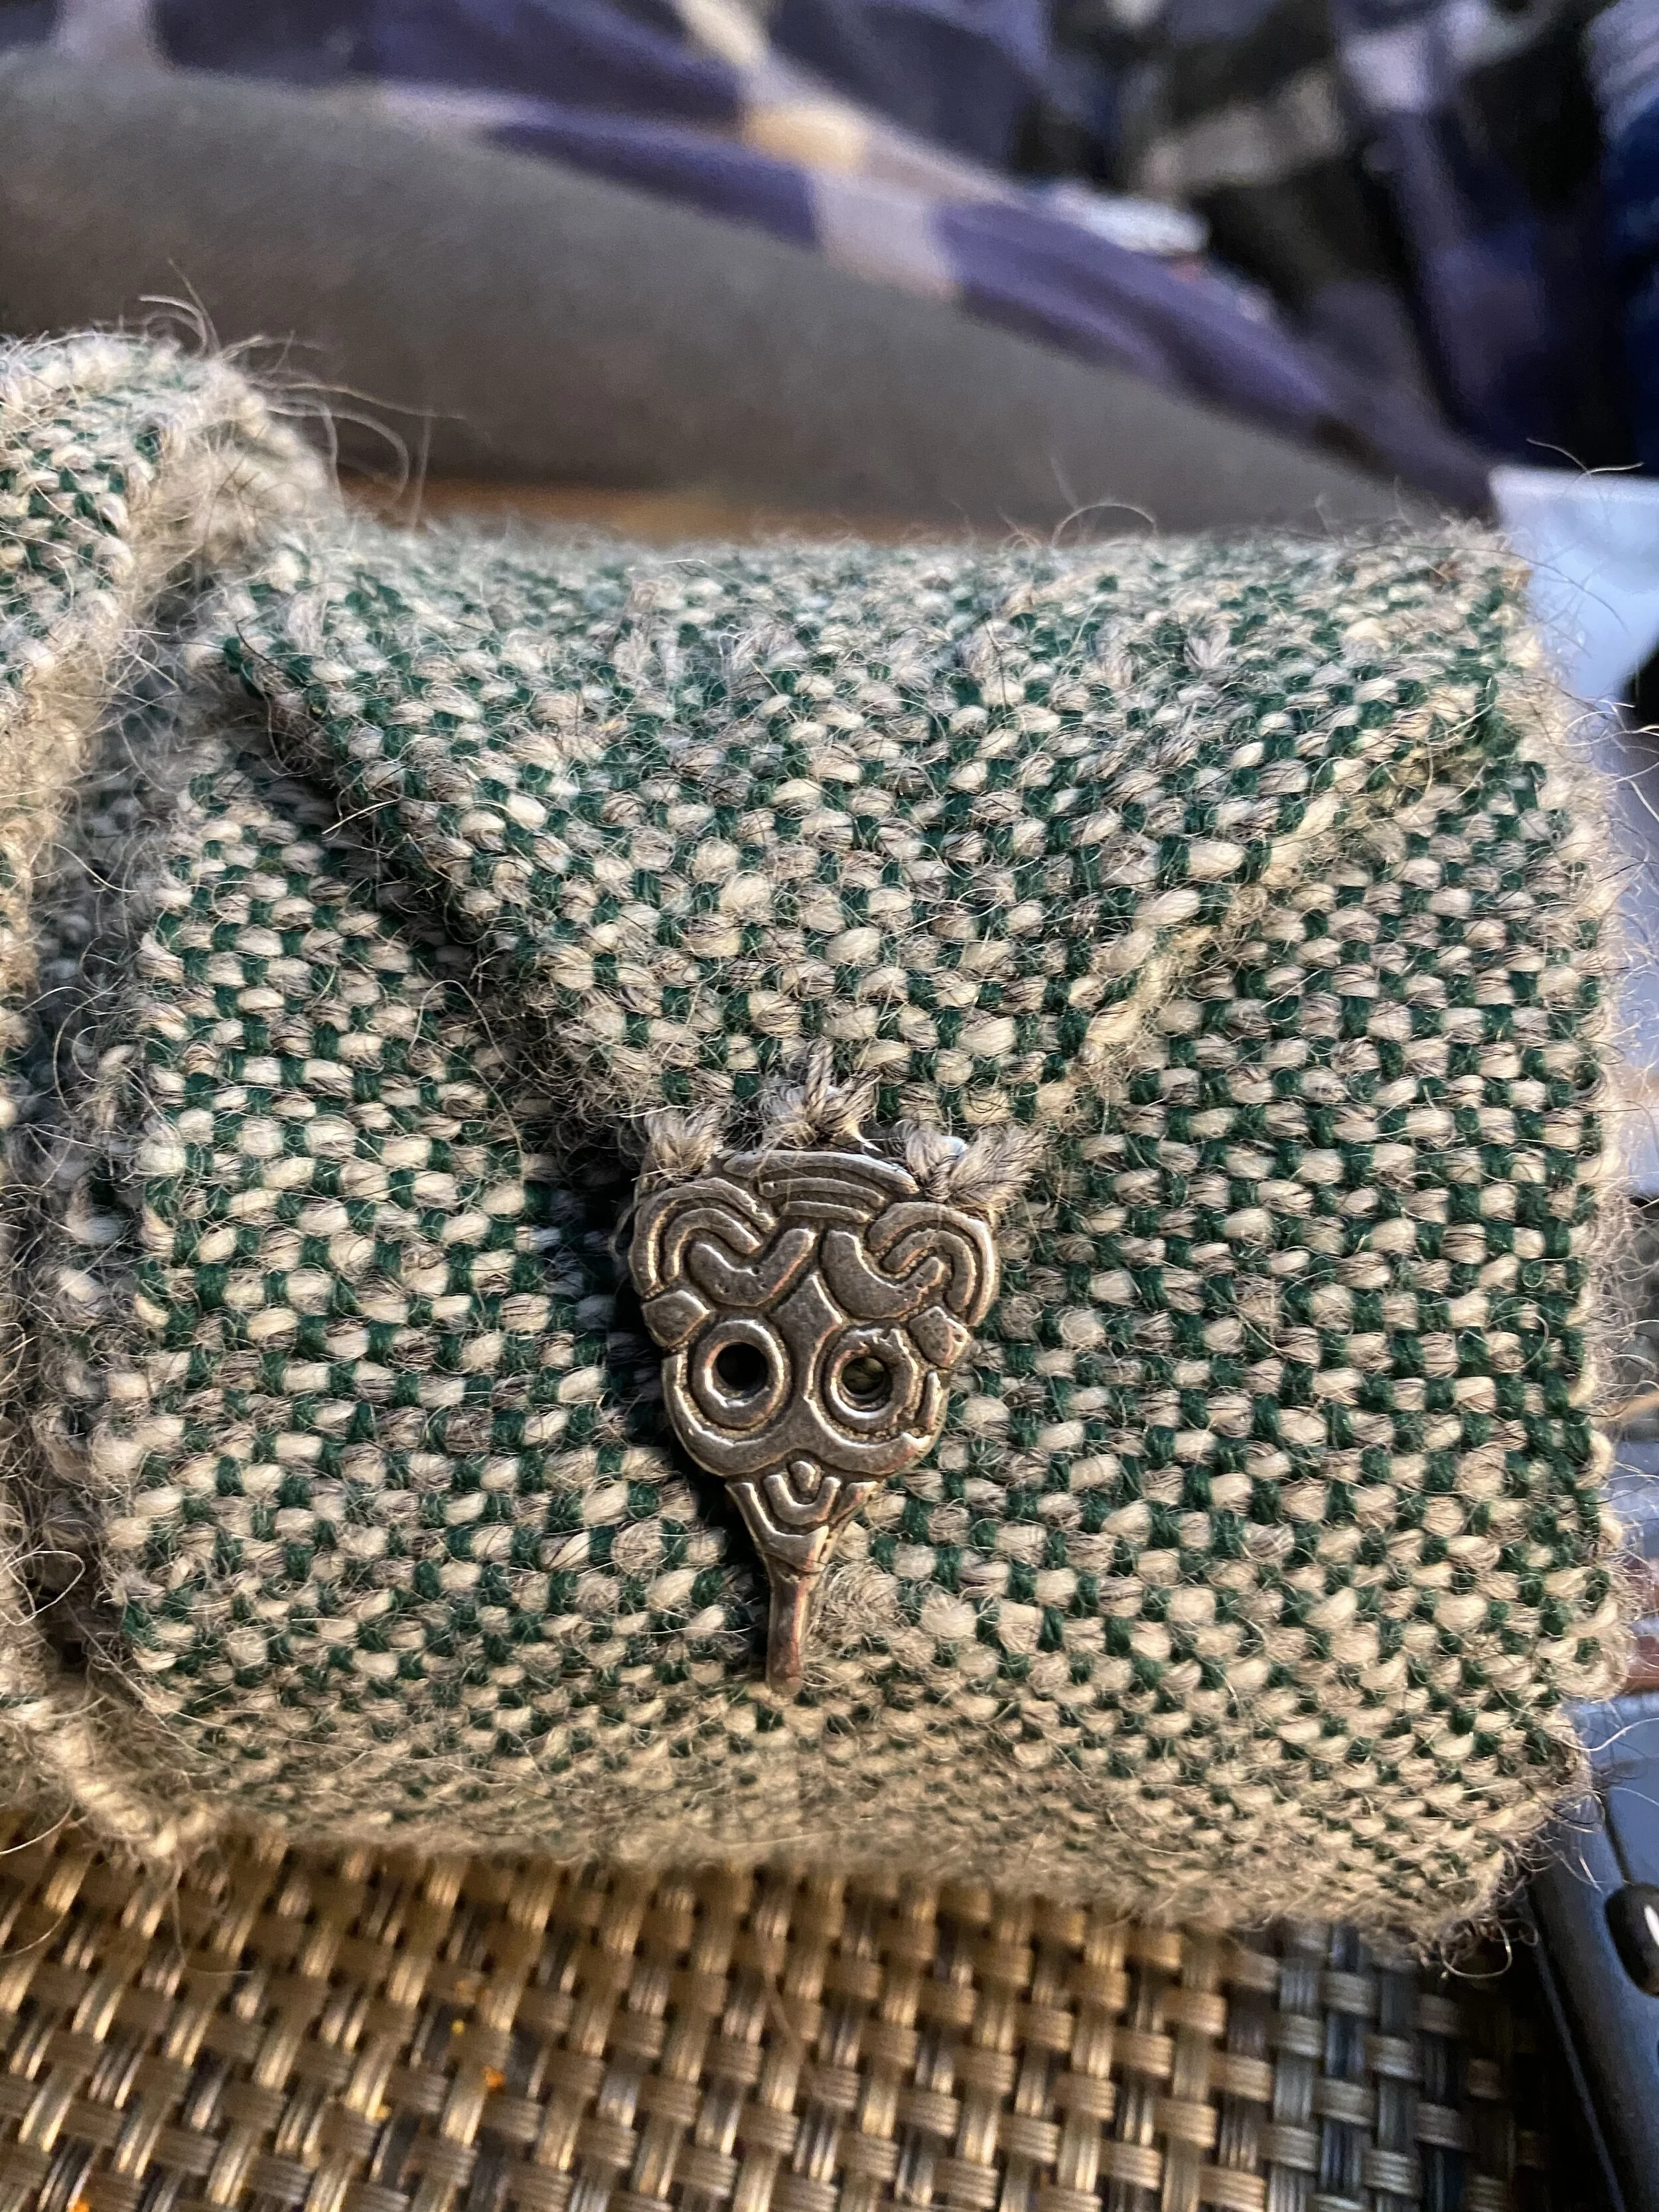
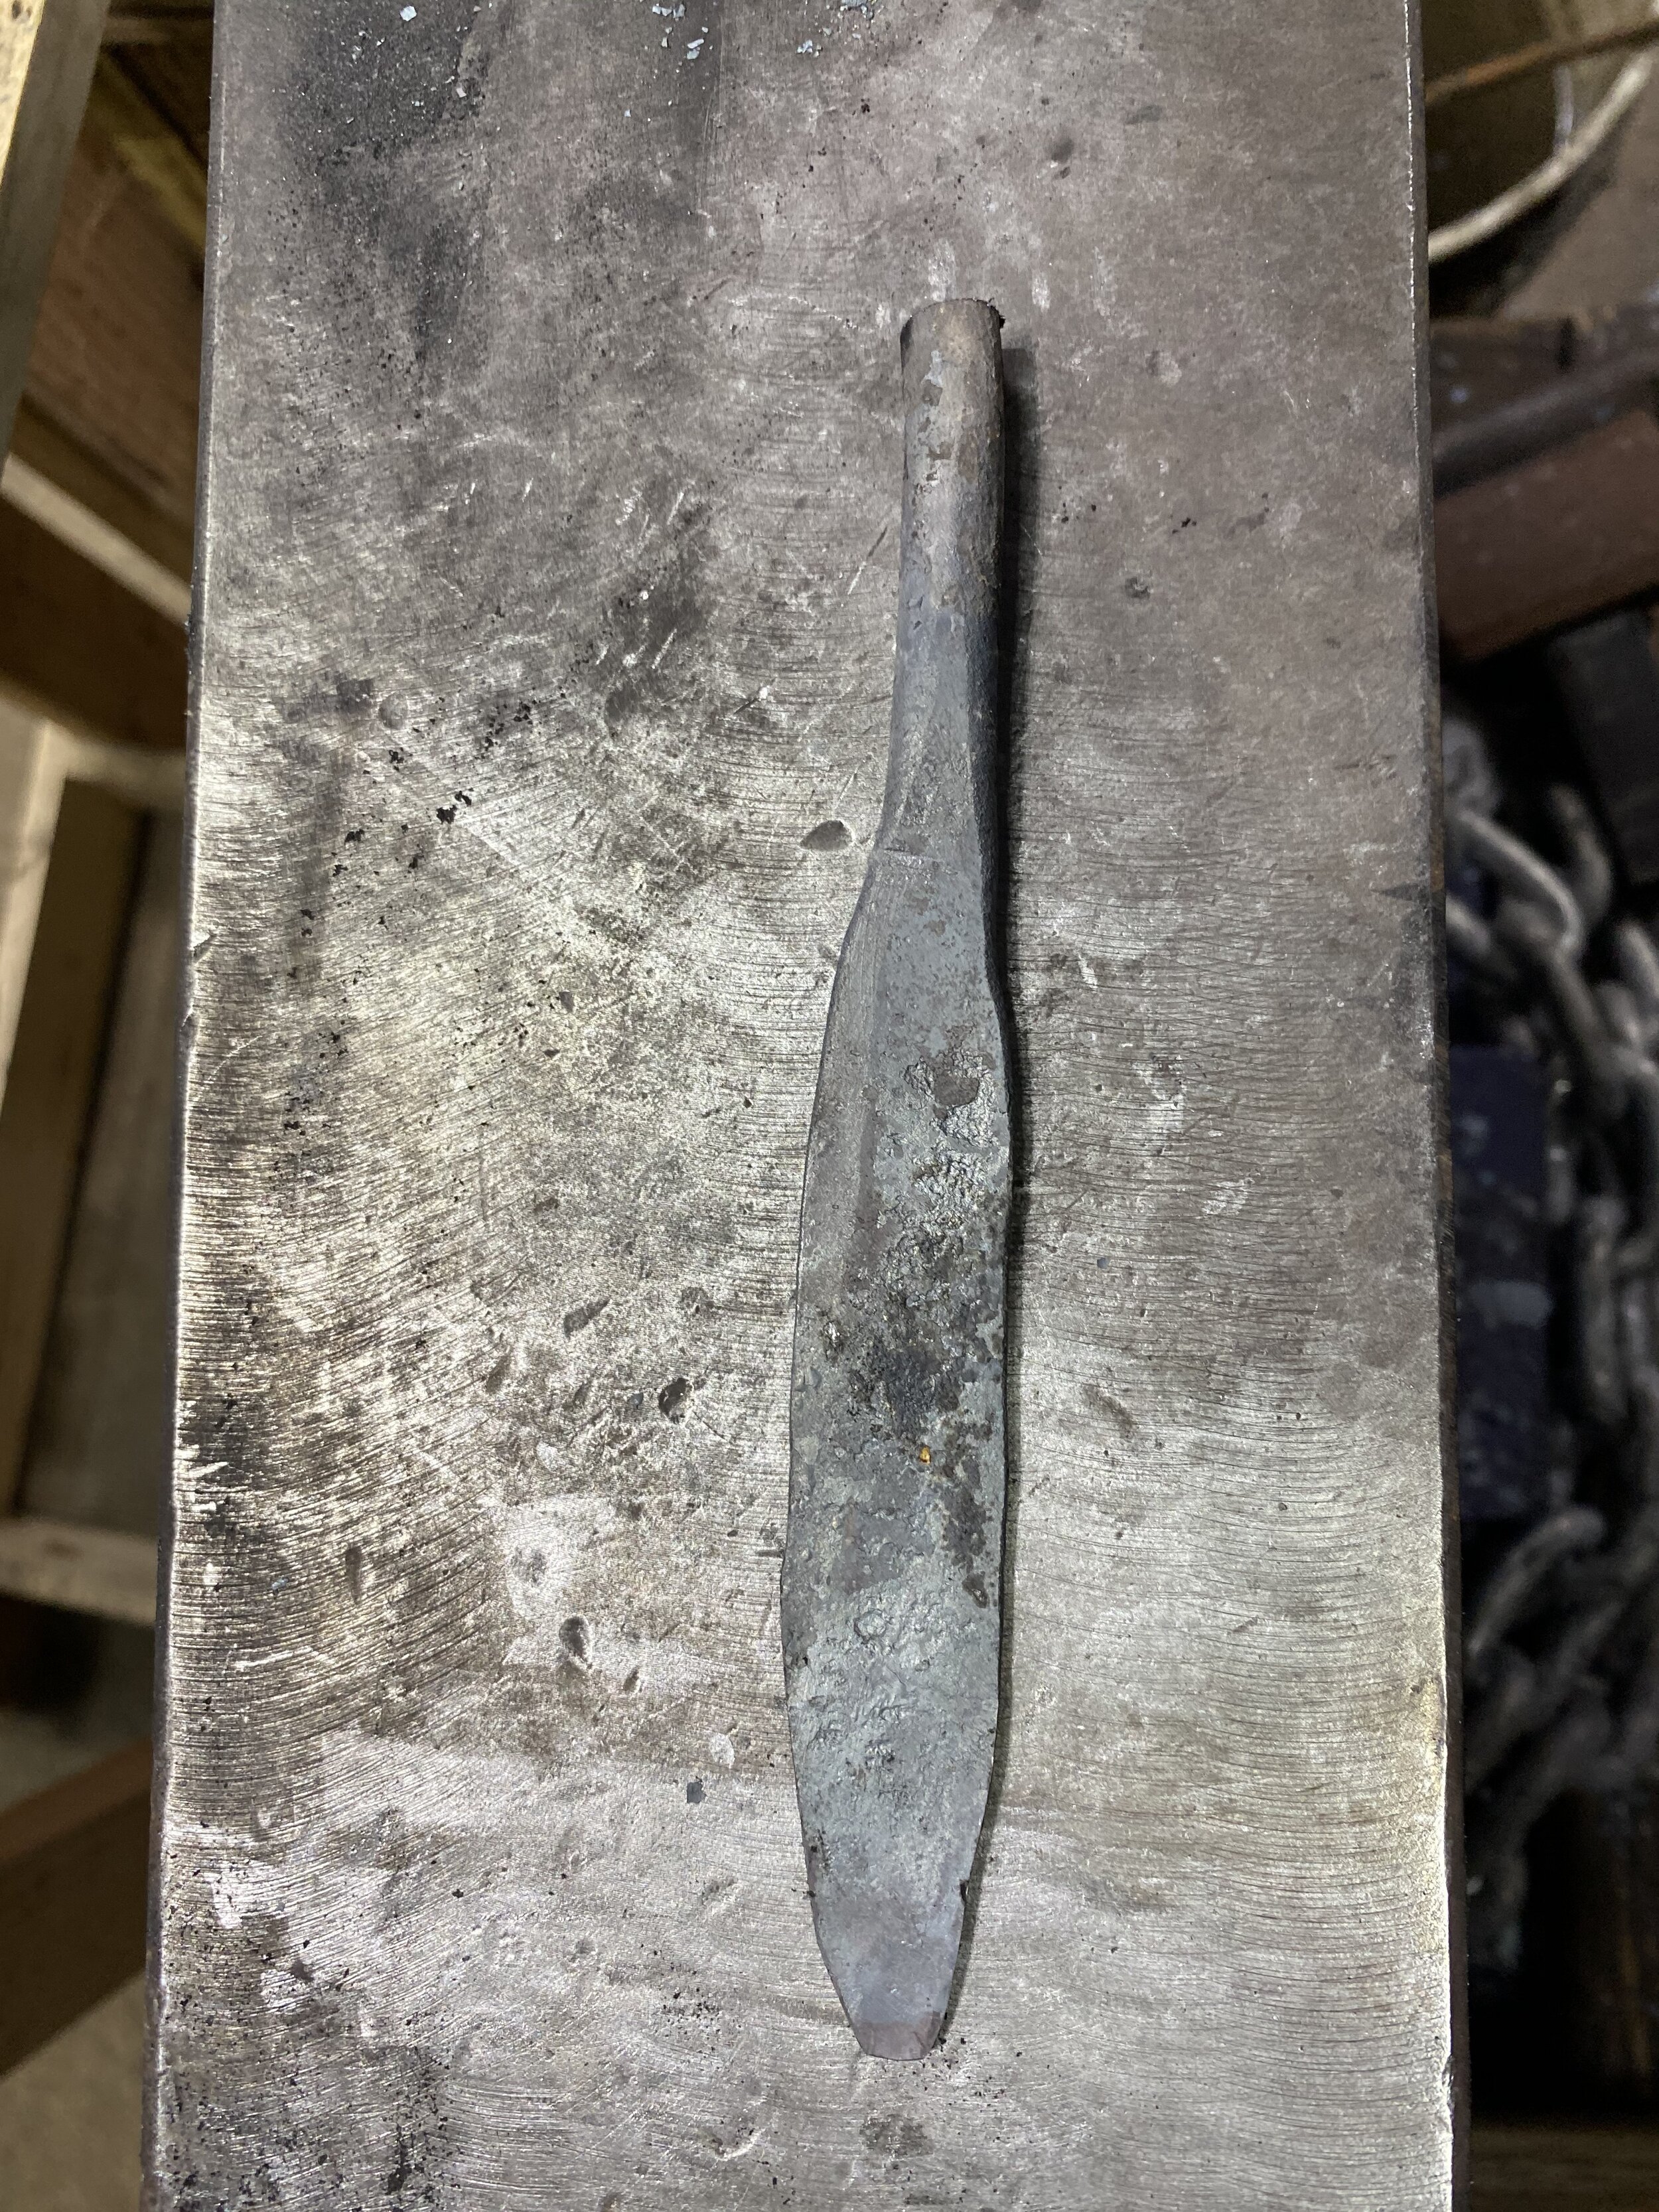
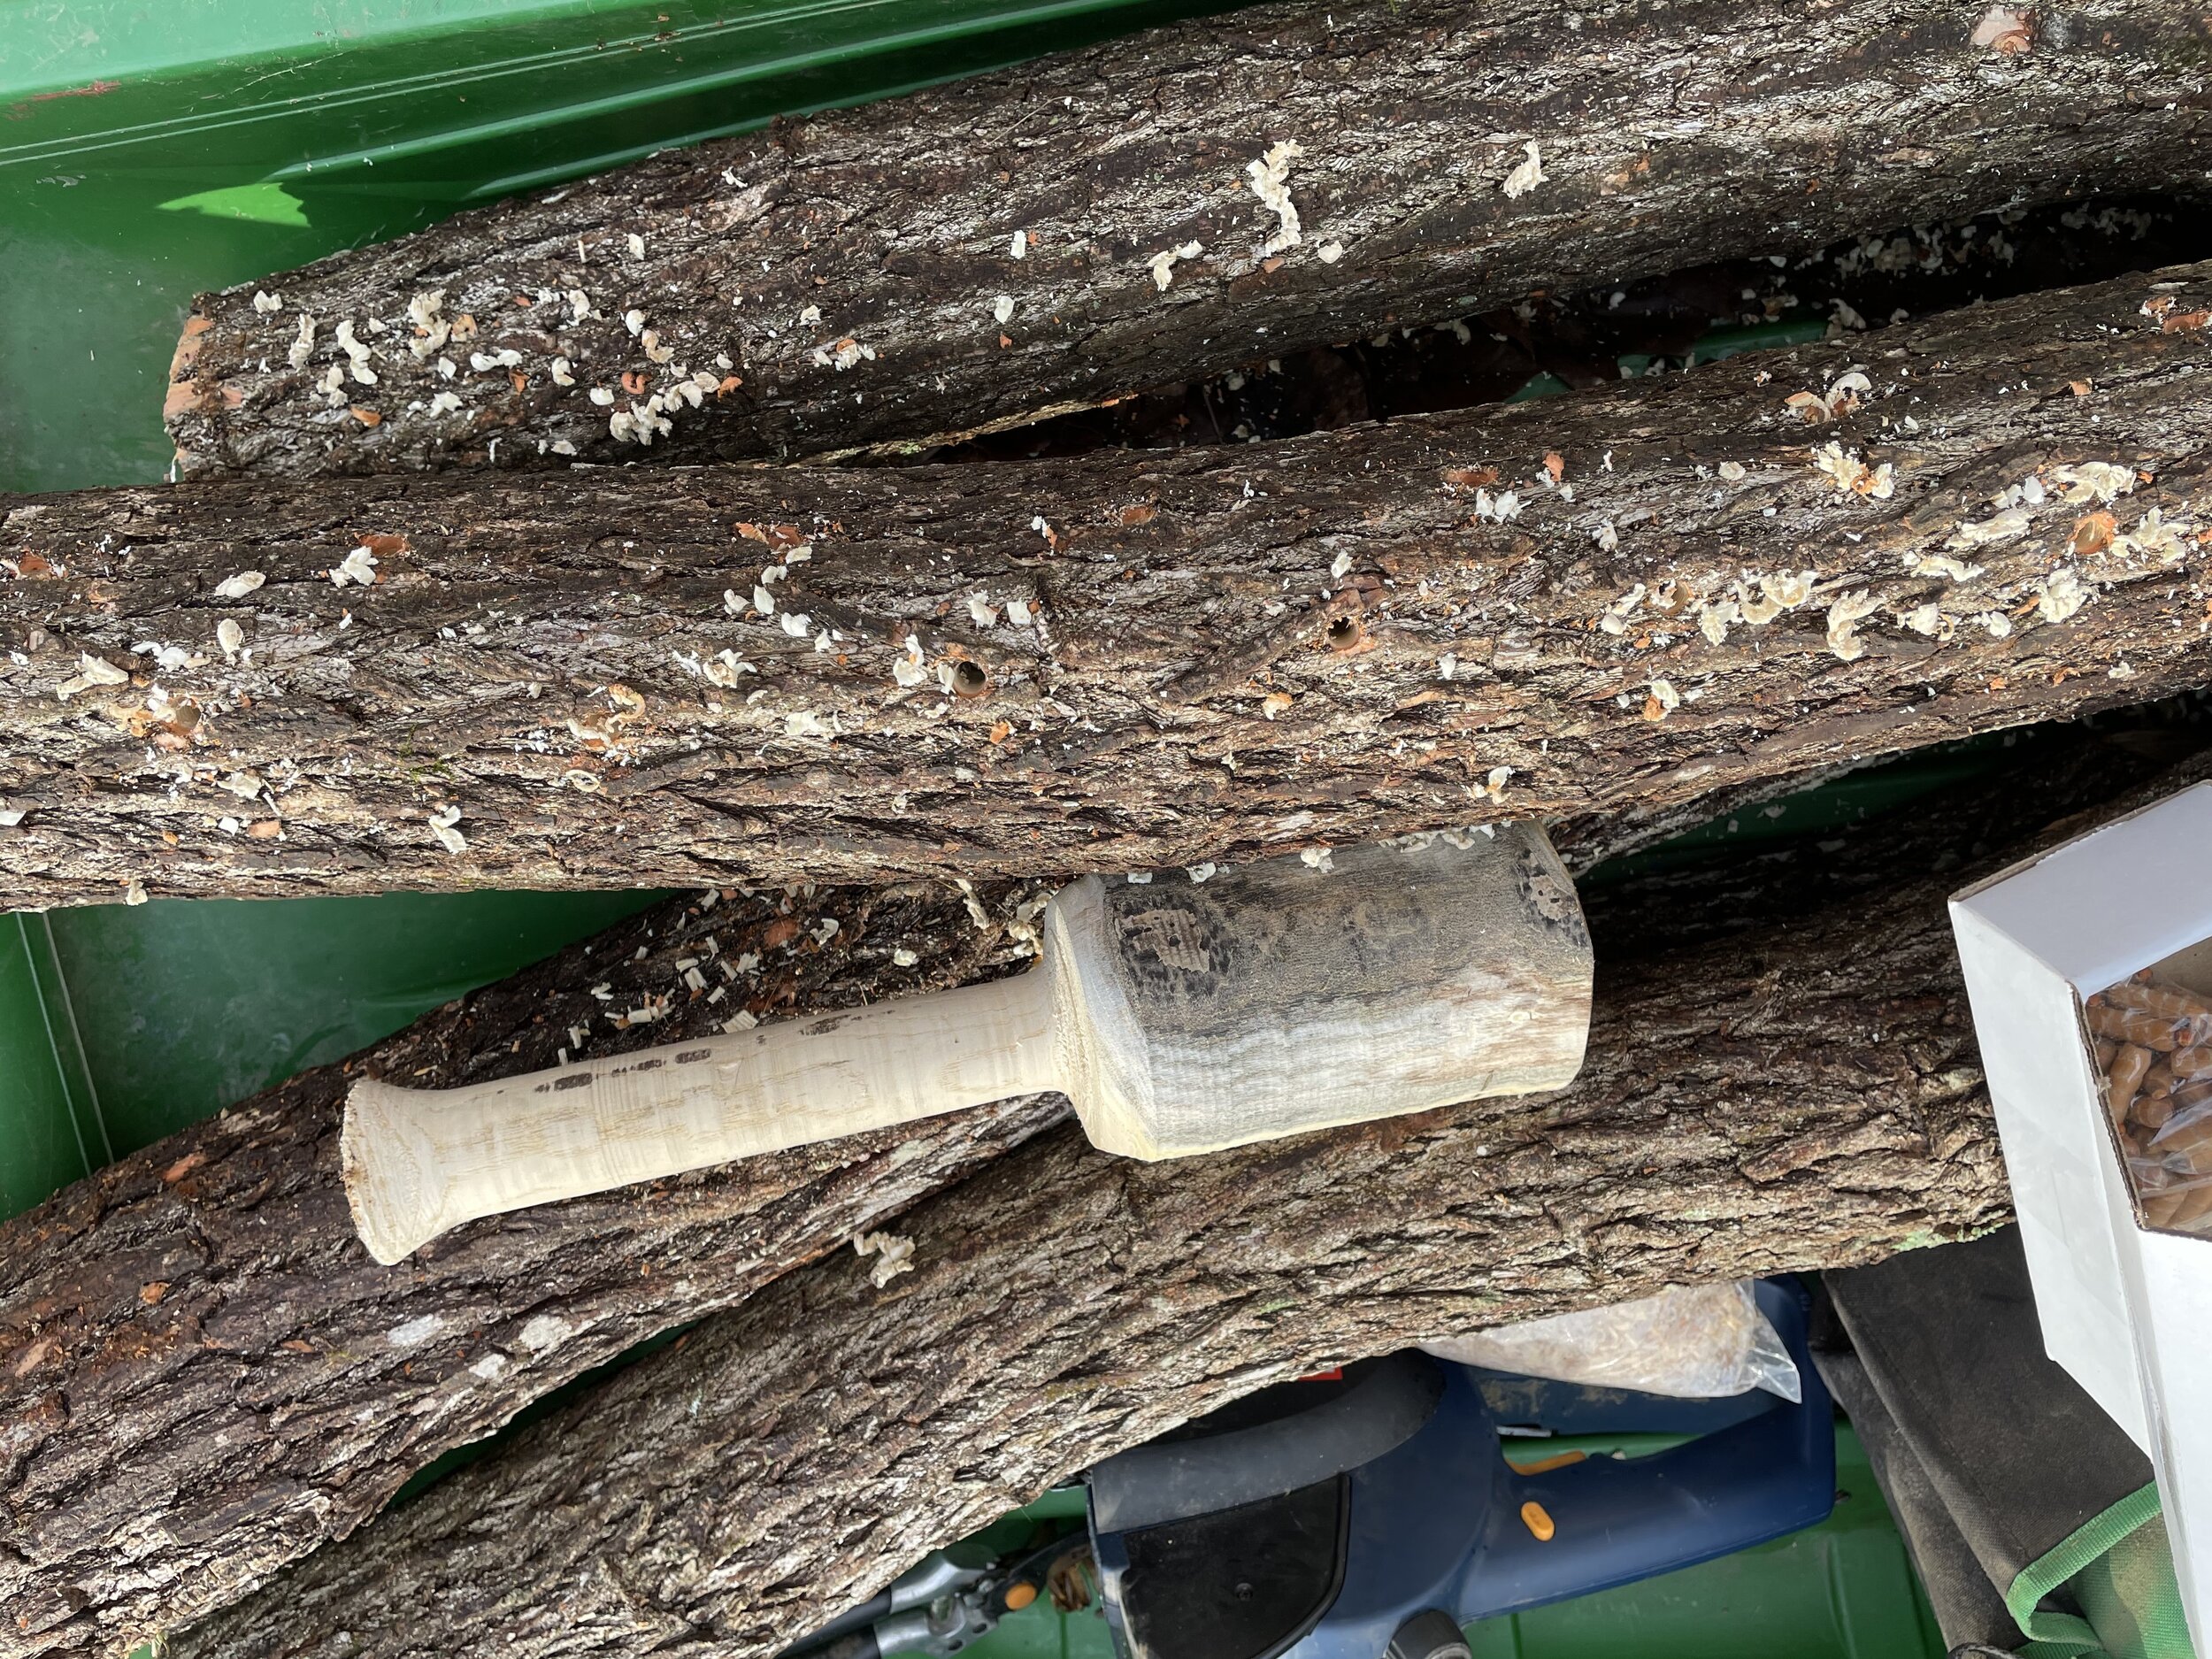
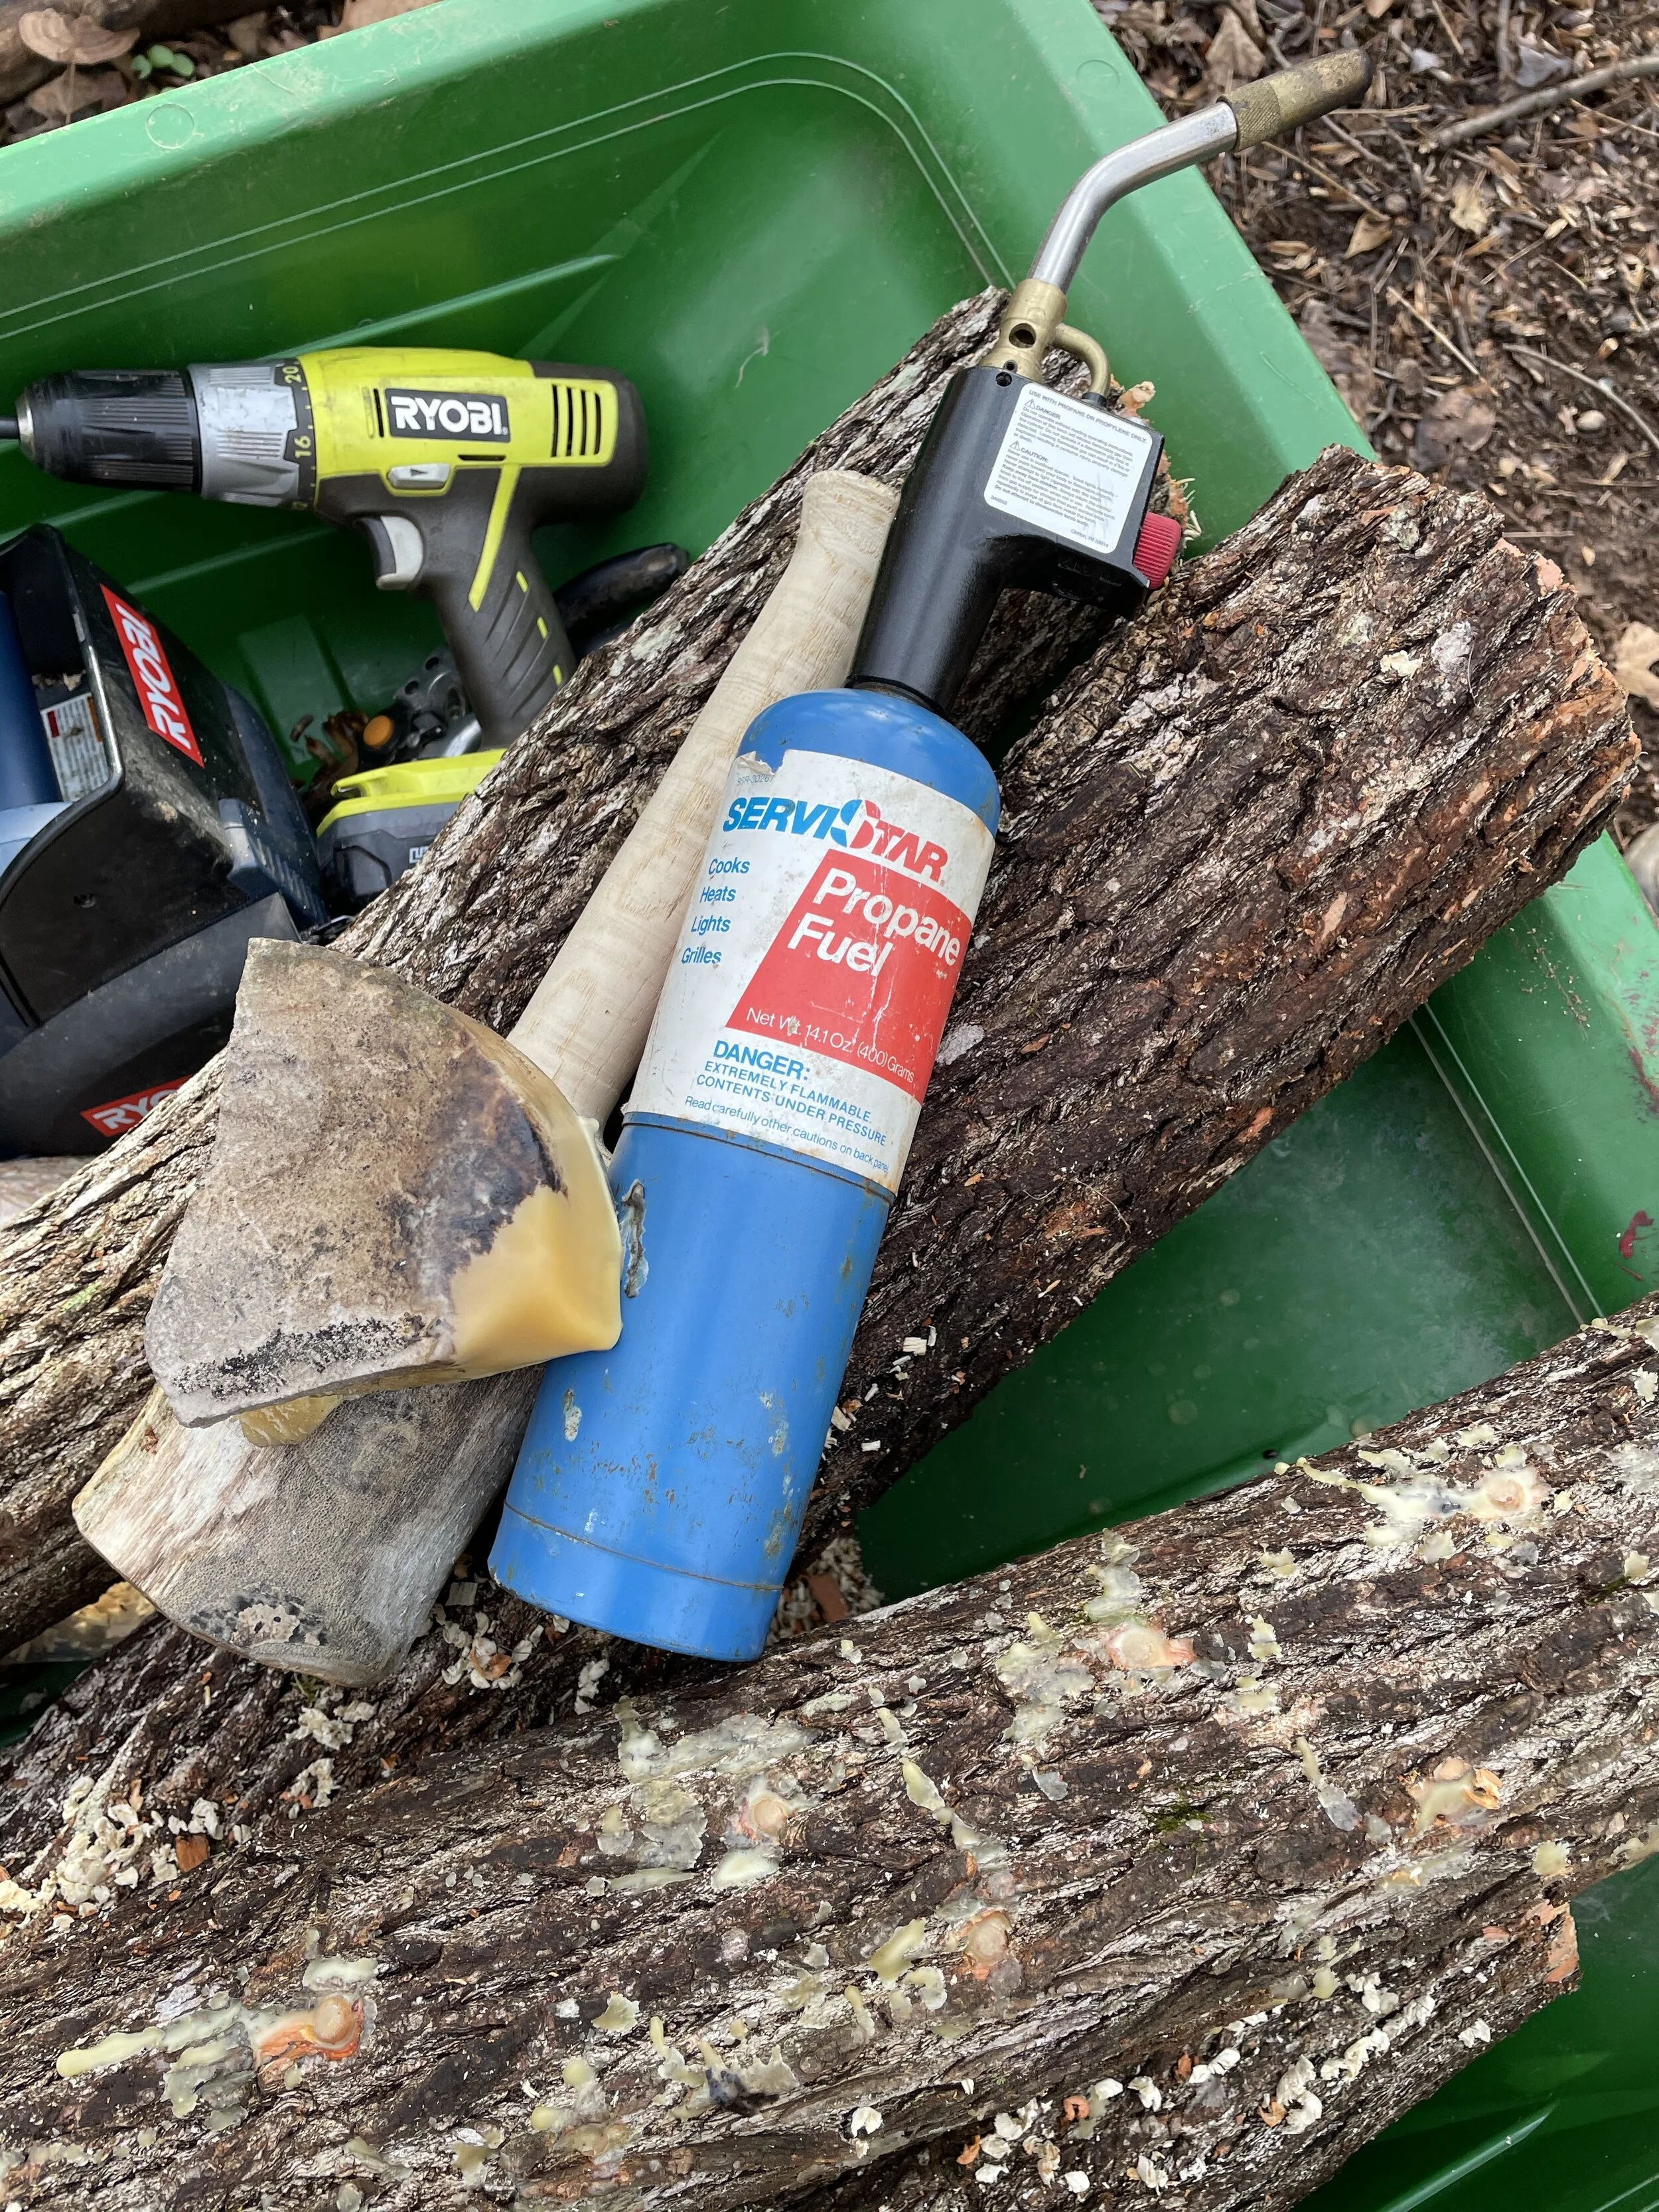
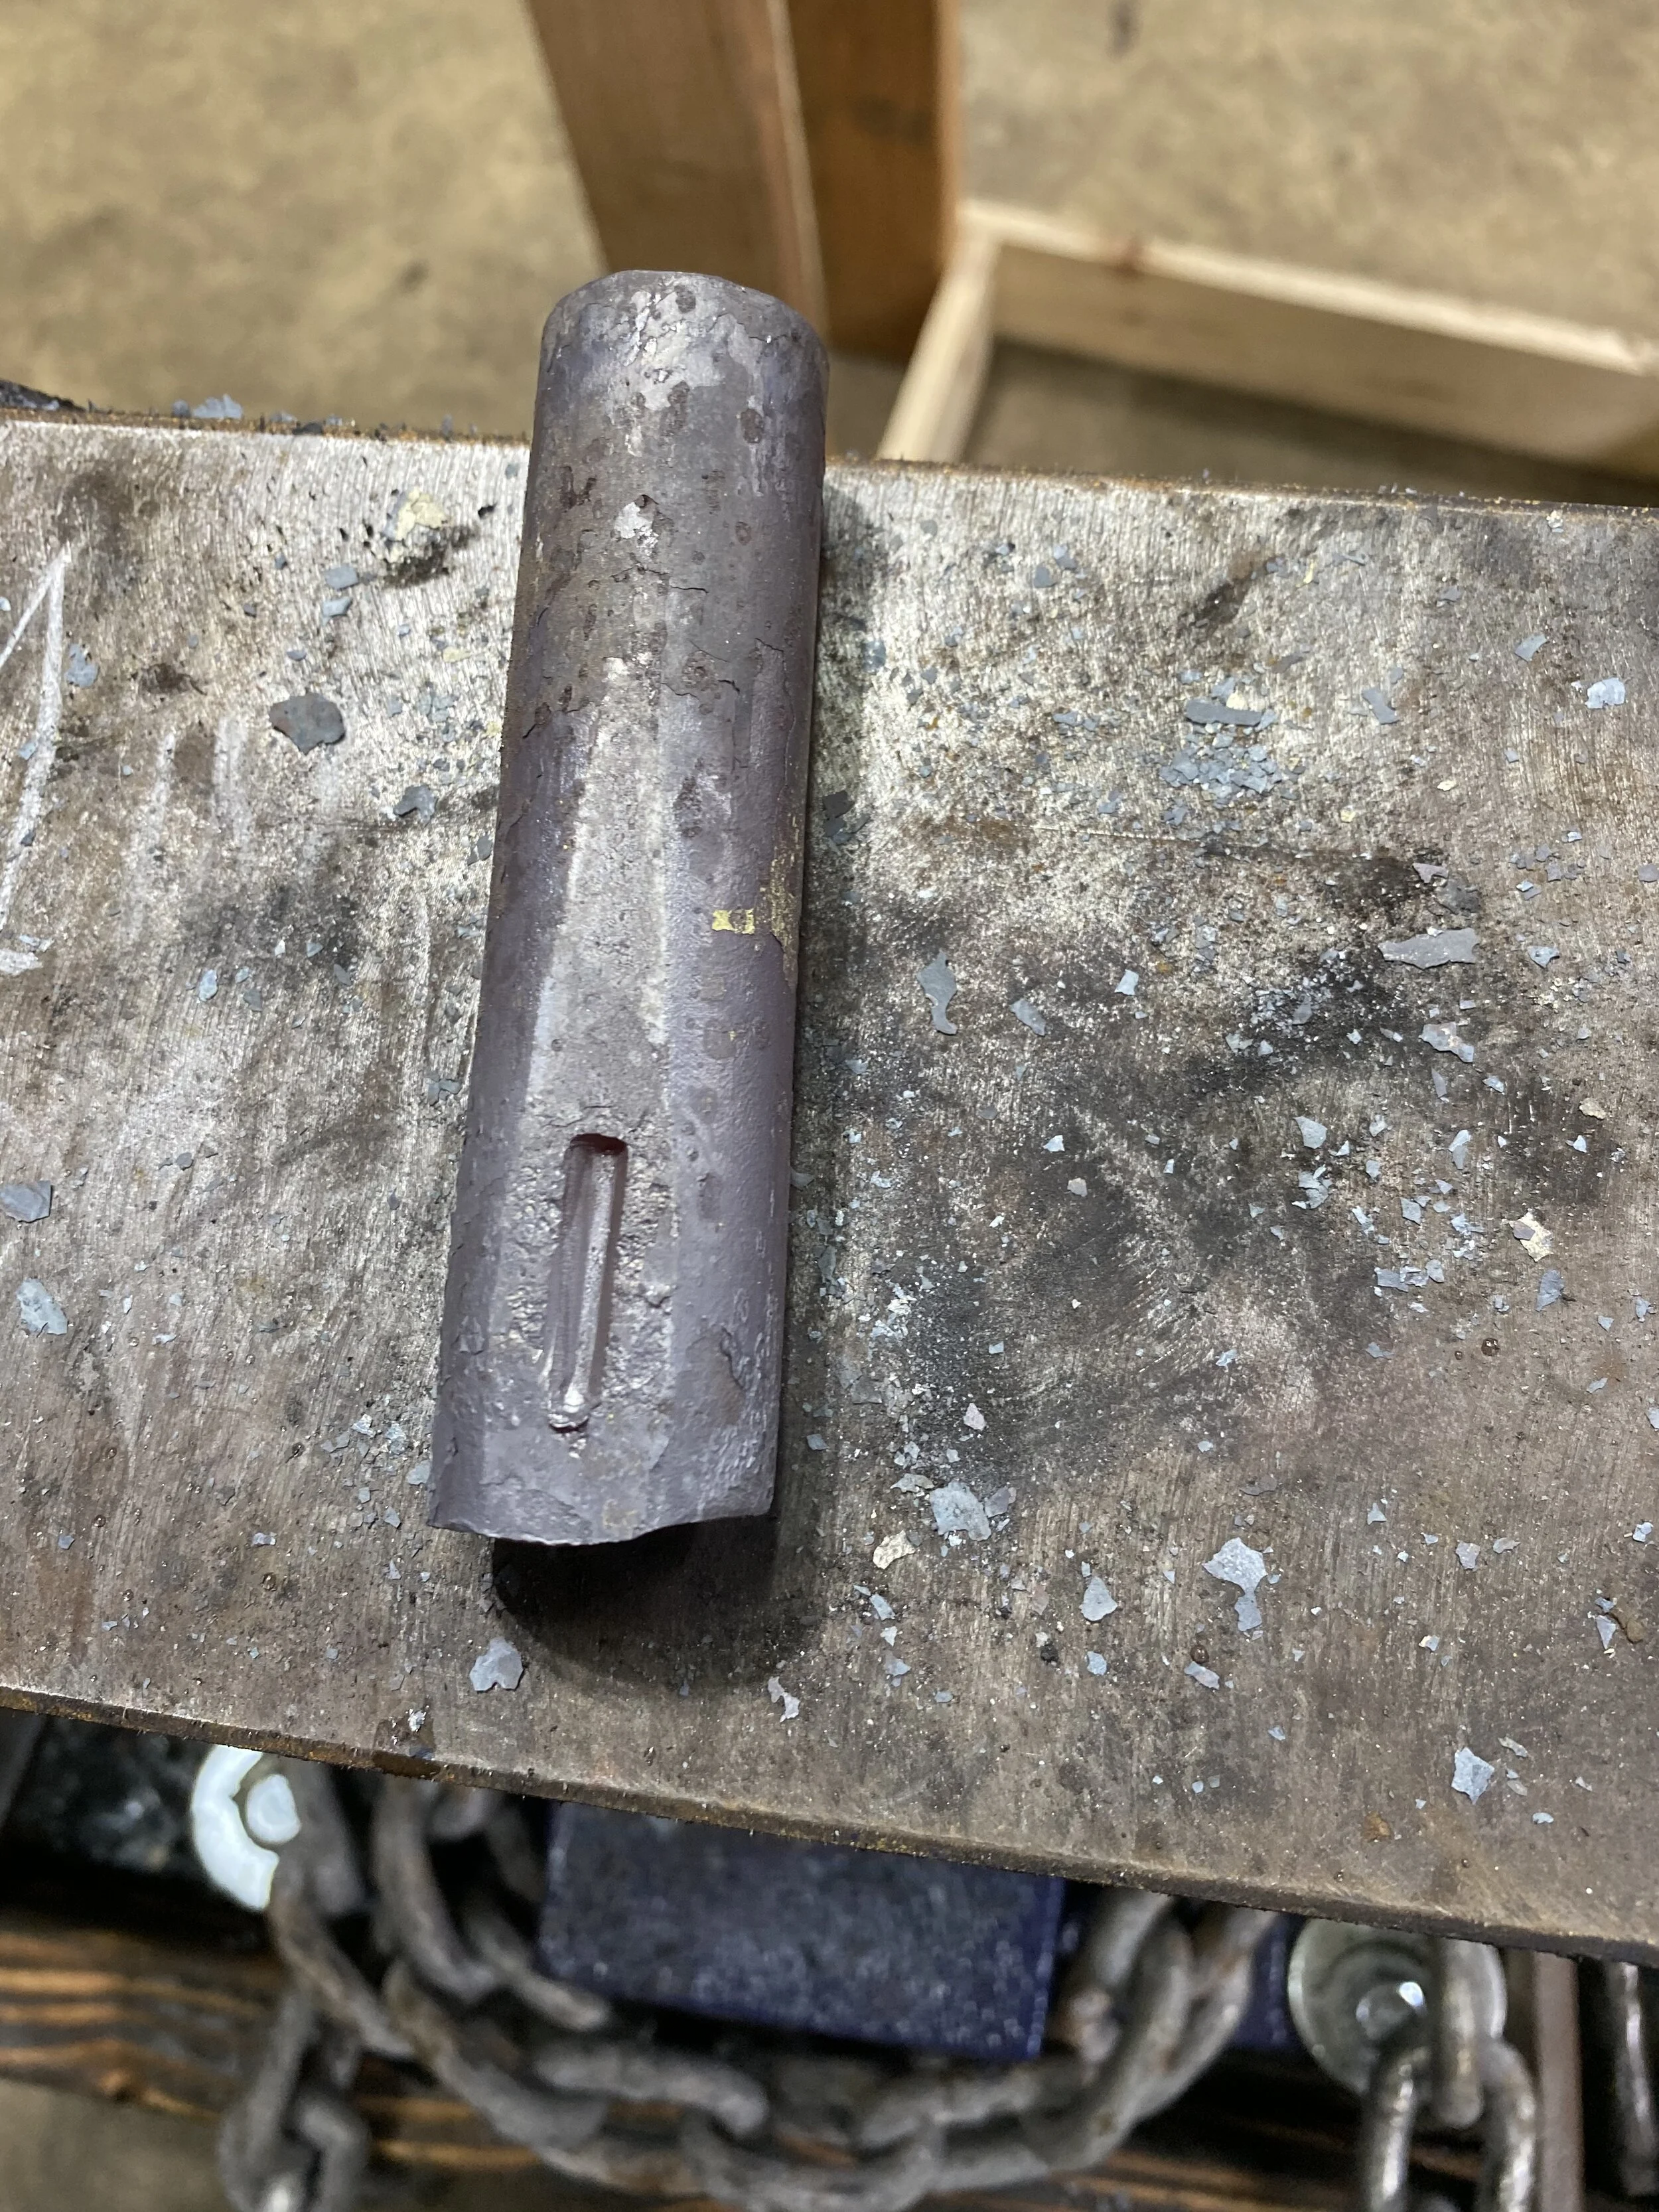
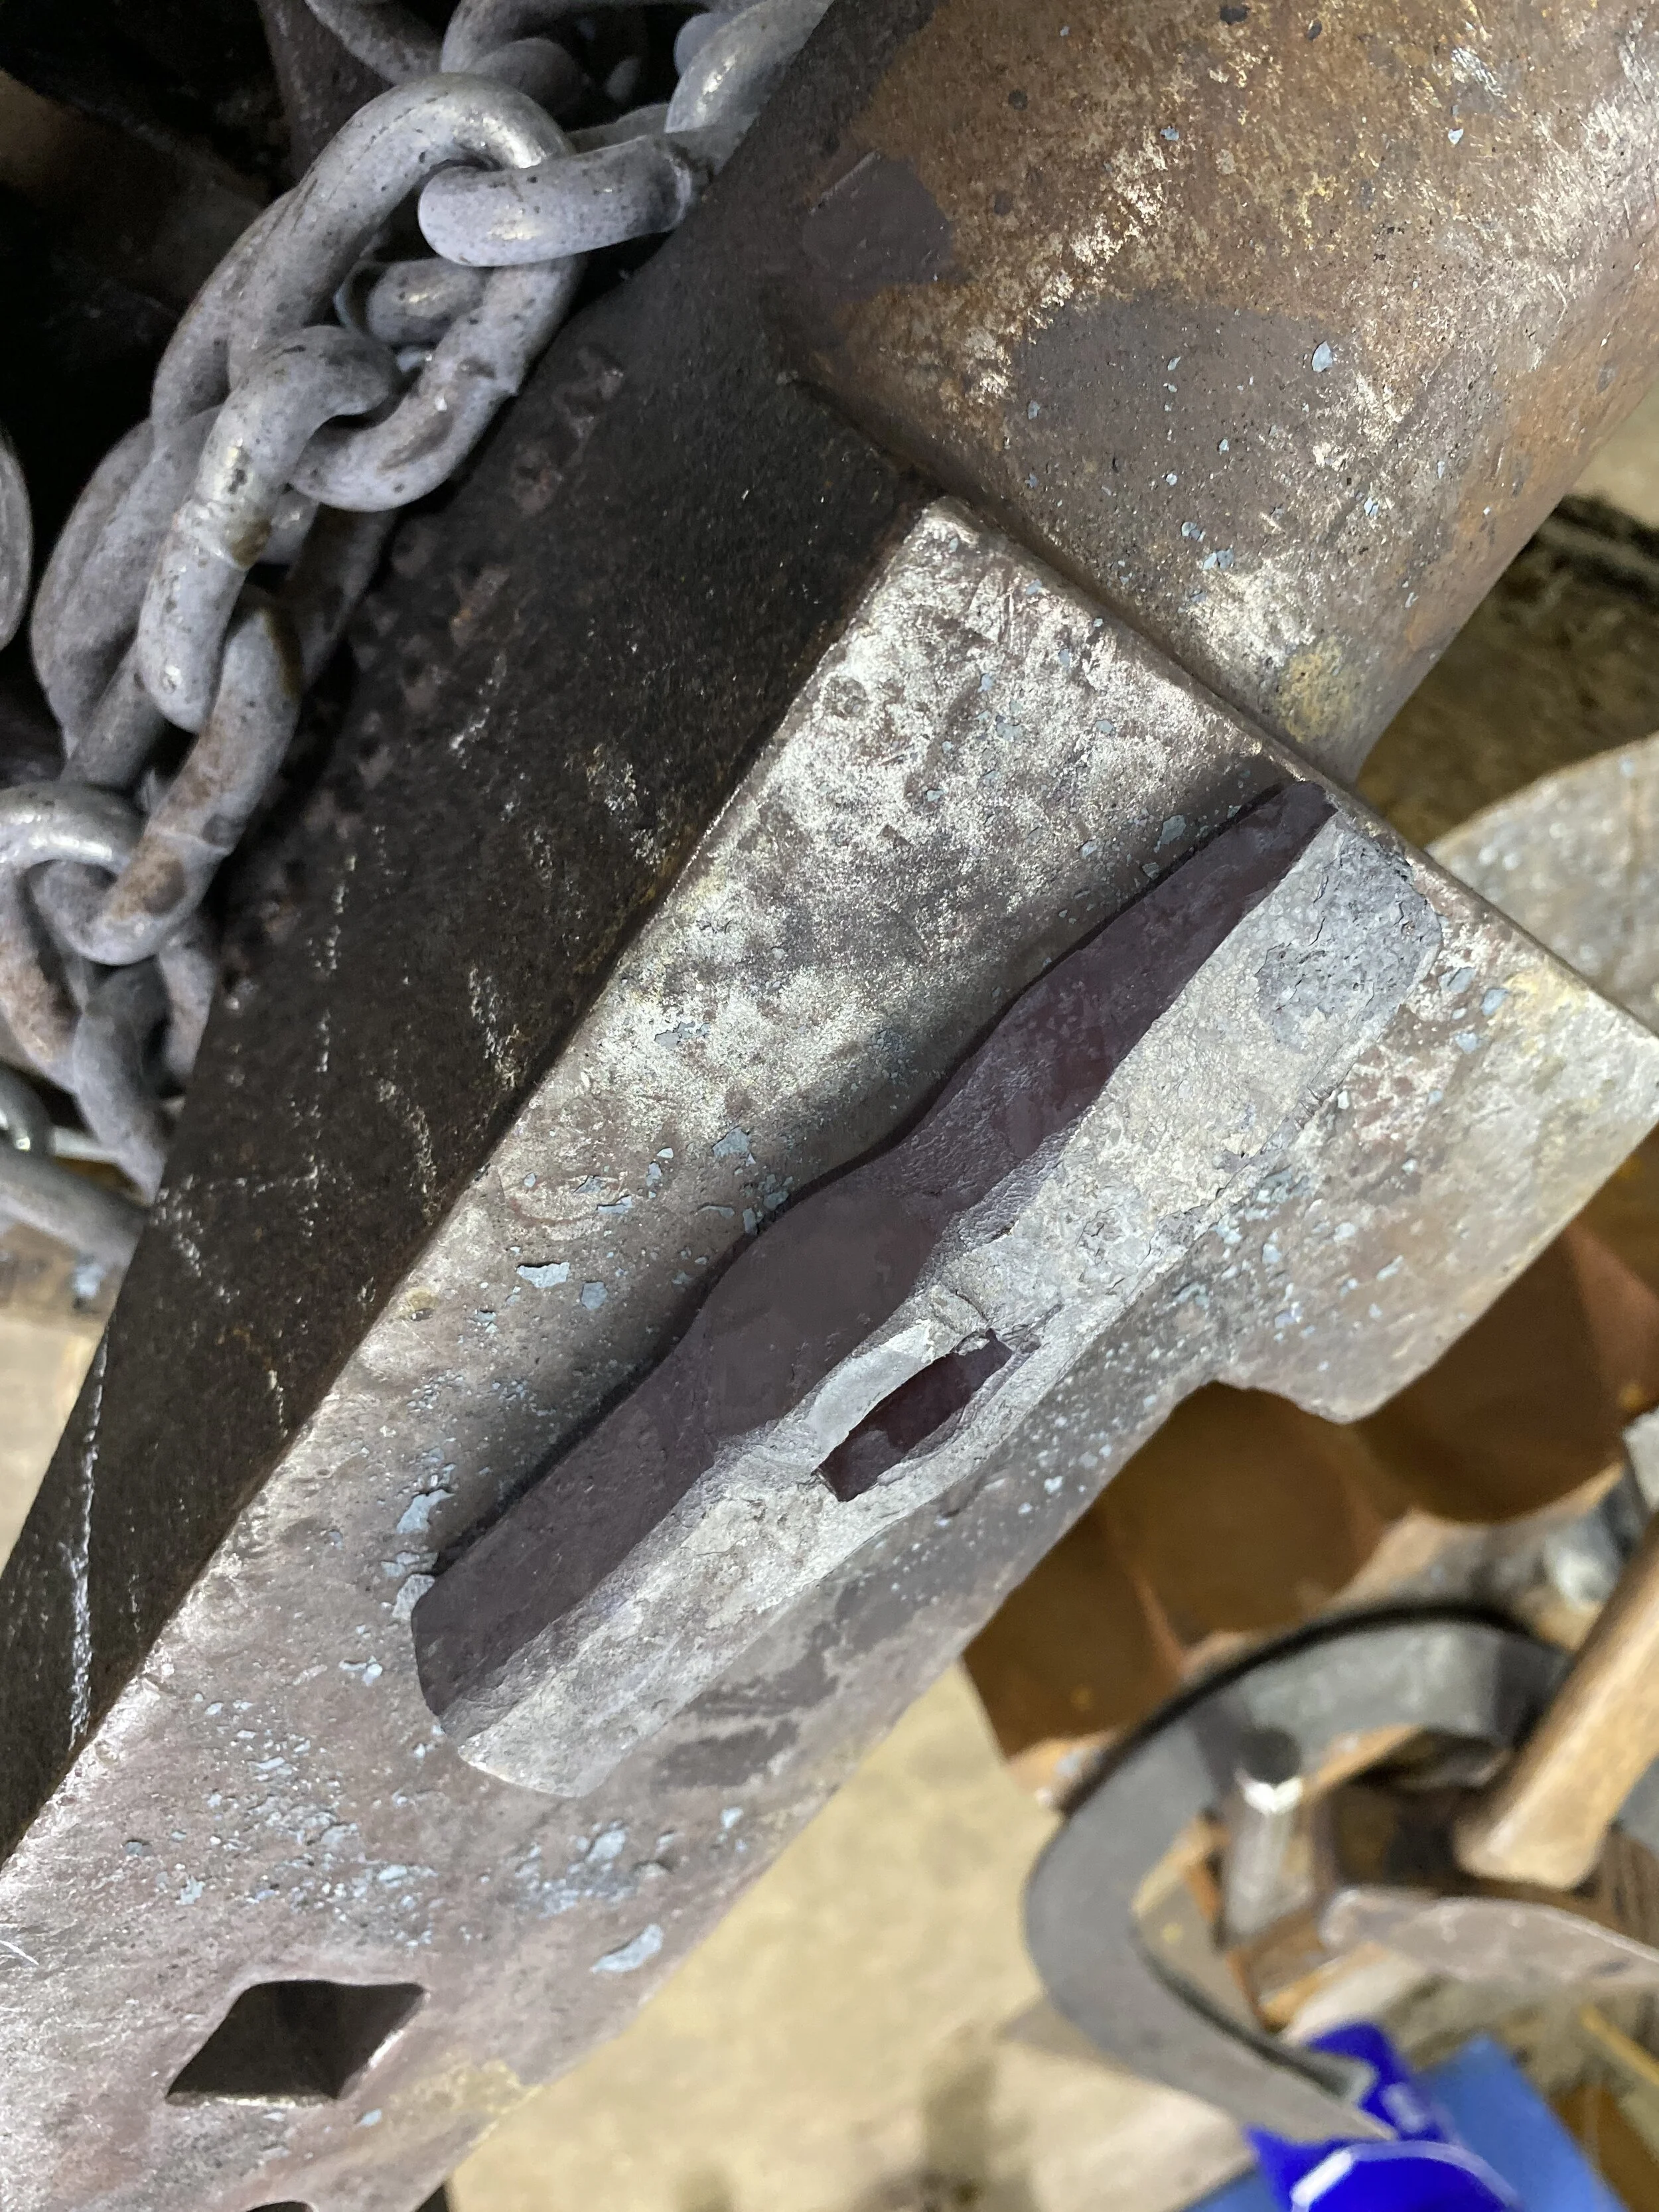
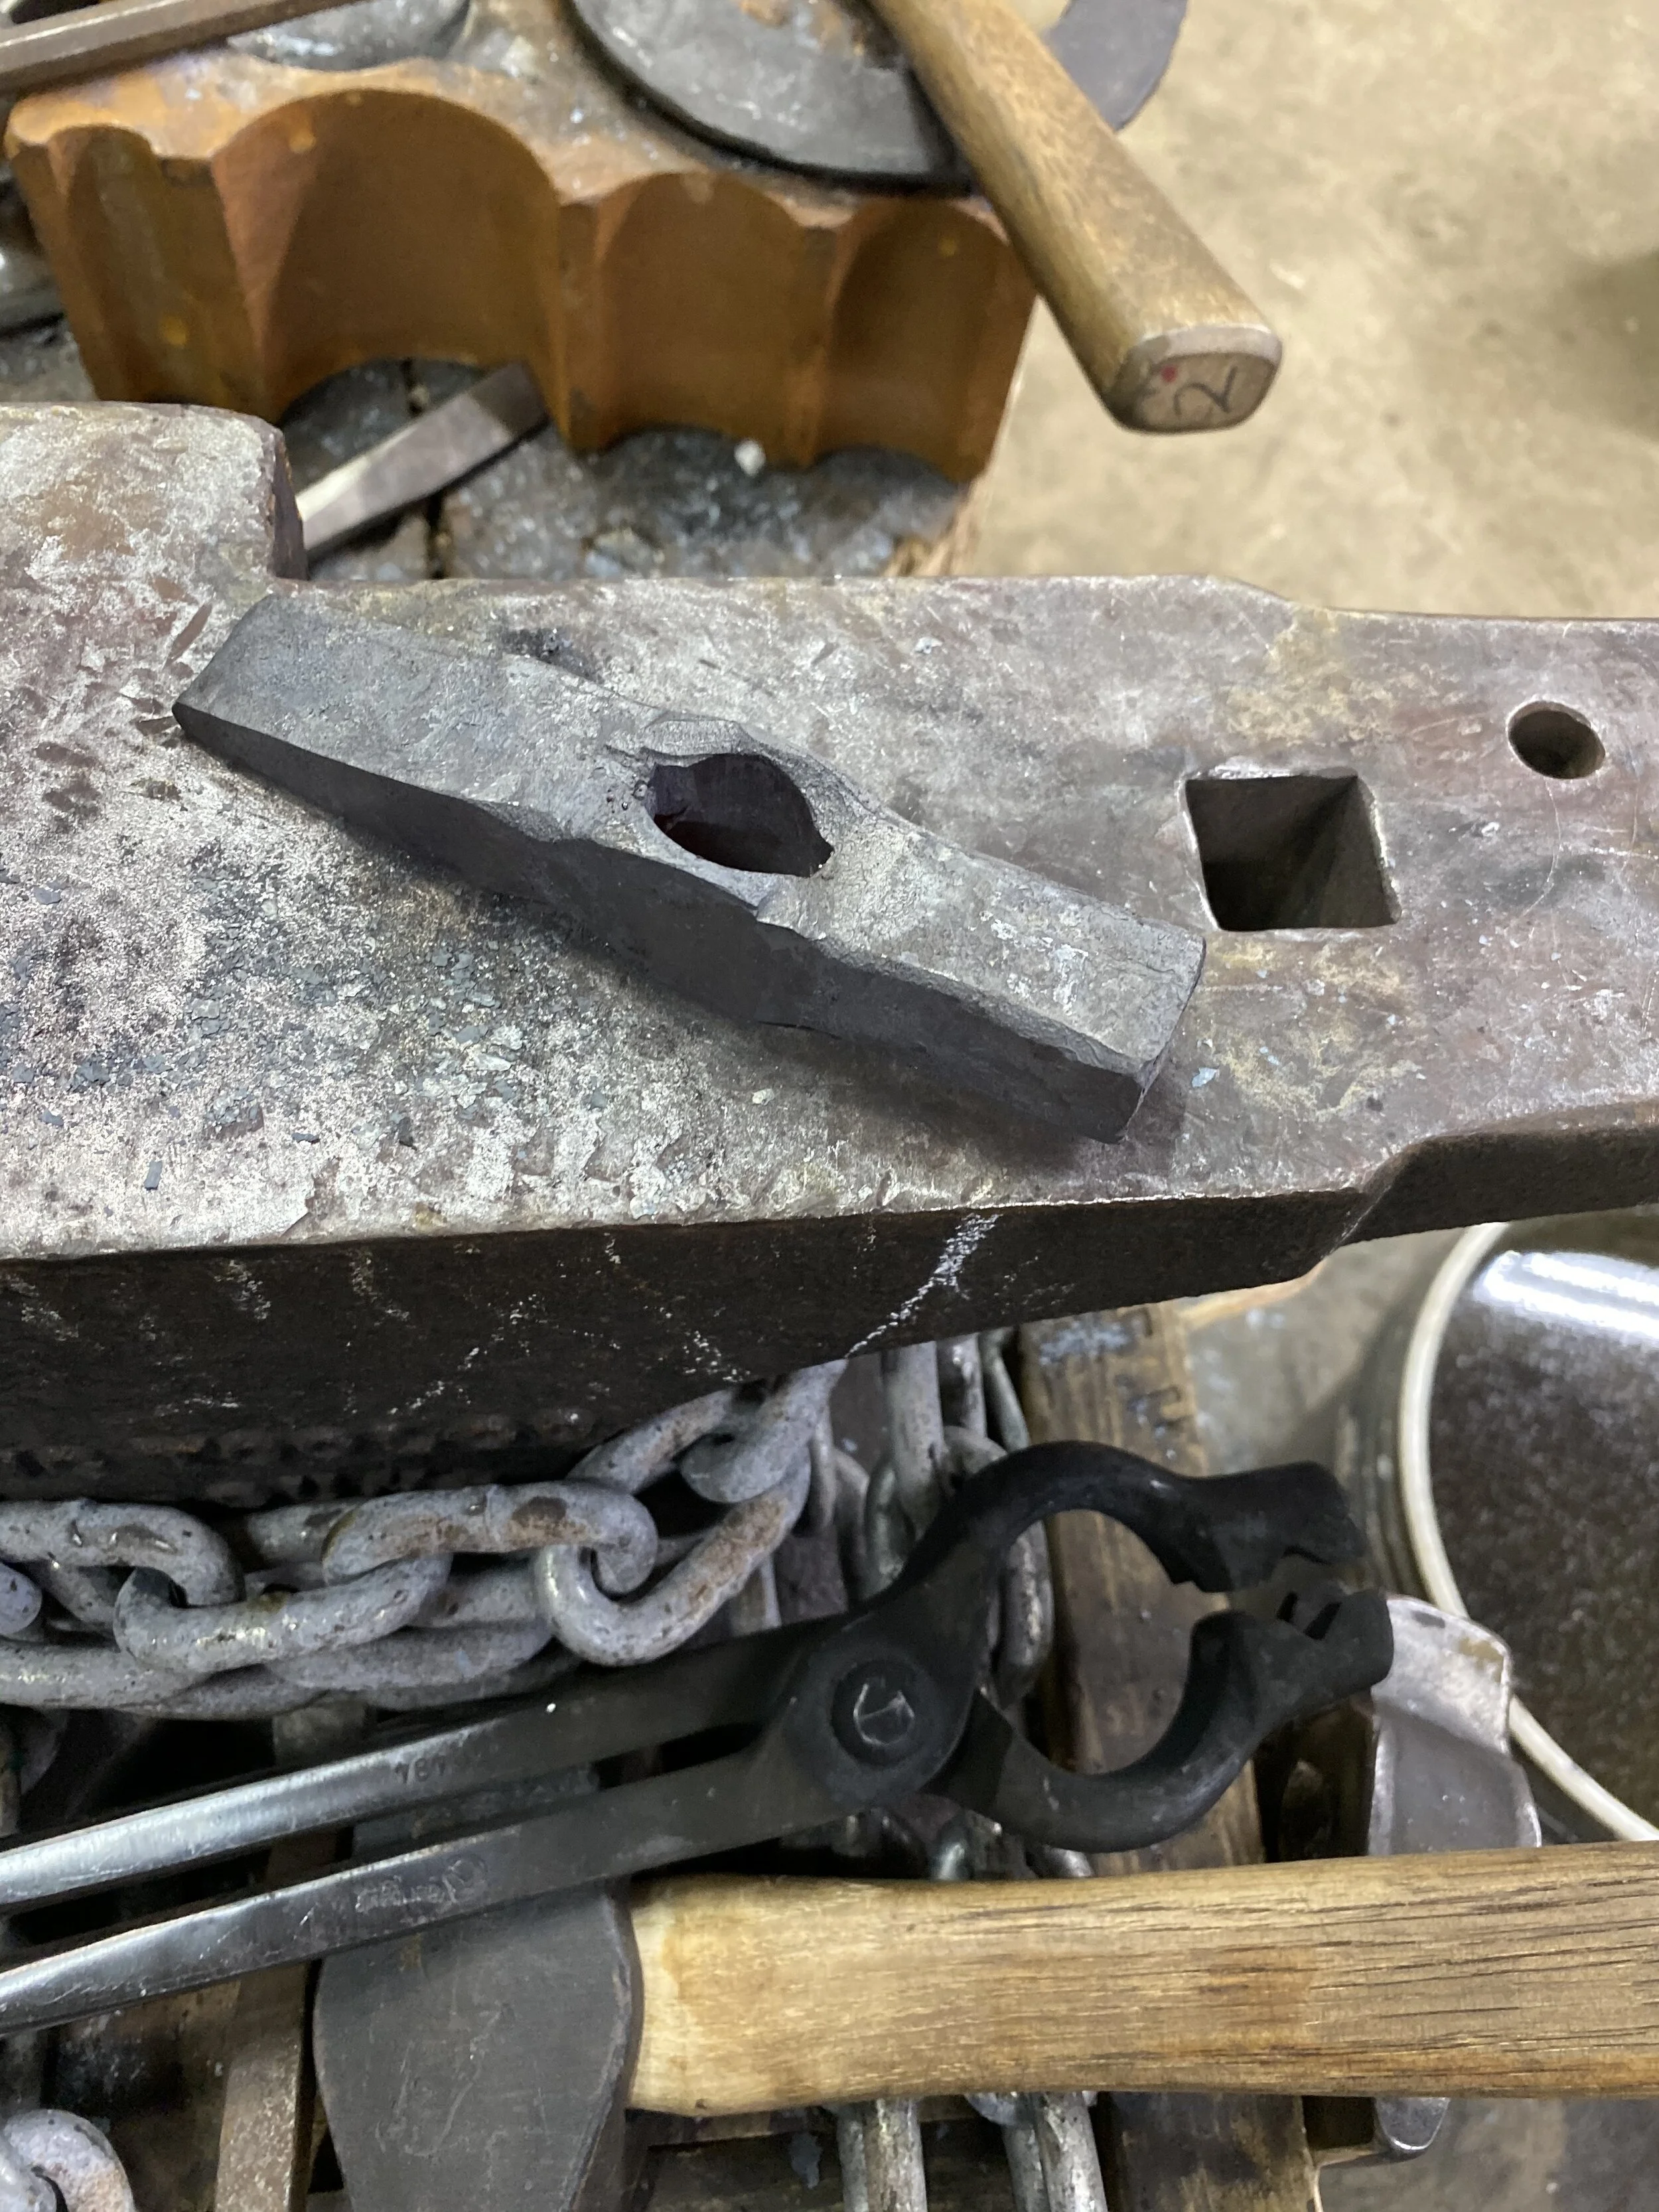
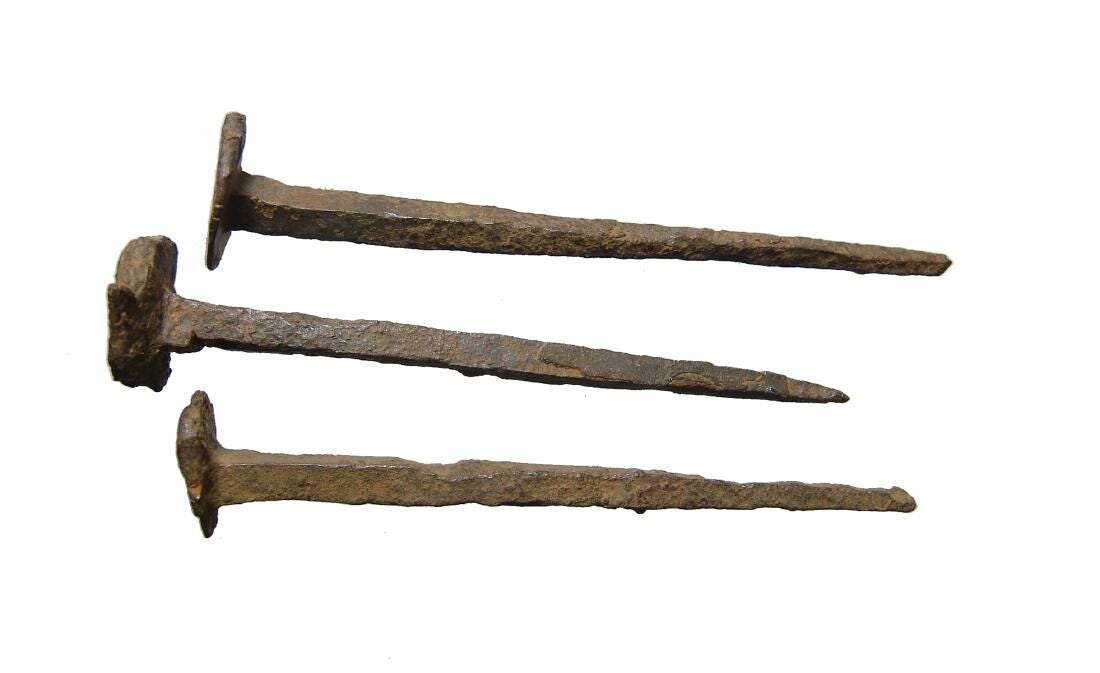
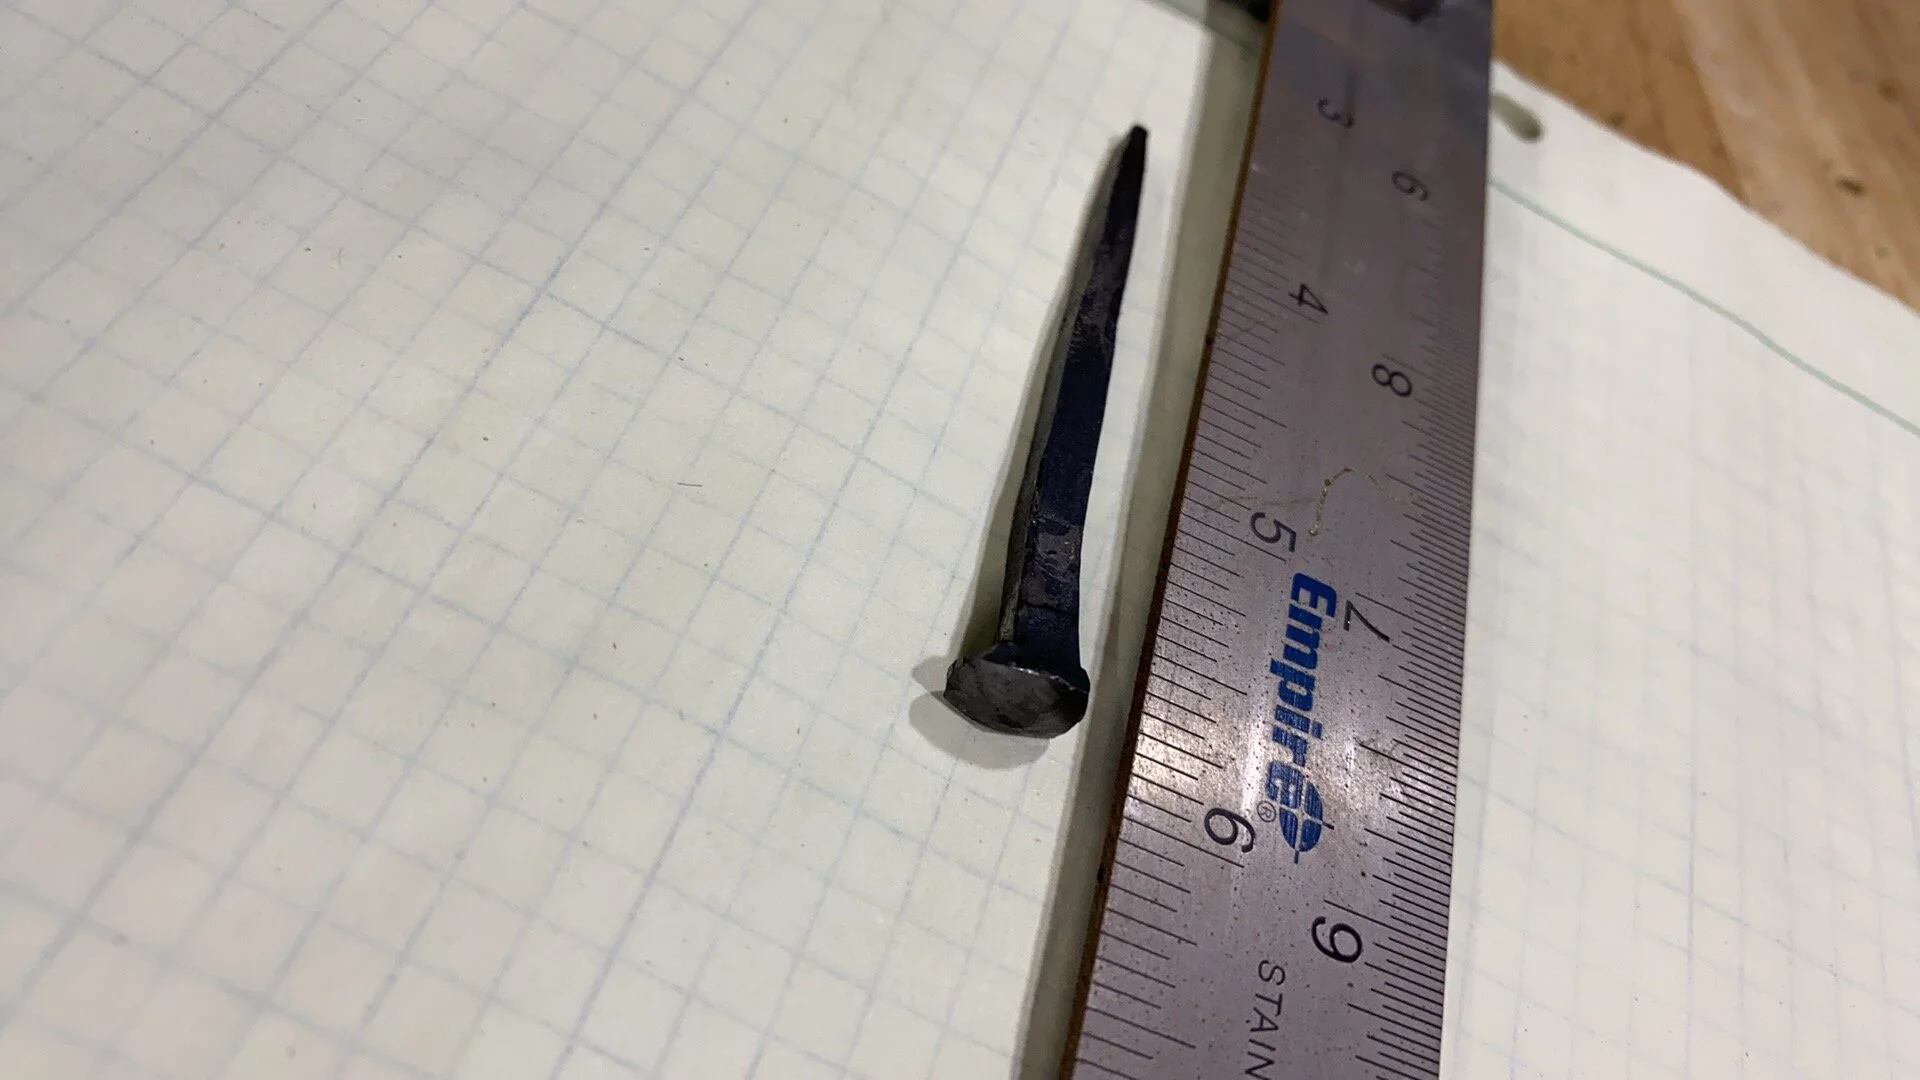
Been a while, sorry about that. I have been spending a lot more time on life and housework and have not had as much time for A&S. Still managed to fire up the forge to help a friend out. Mistress Amie Sparrow has been working on a Anglo Saxon pouch and contents. For this project she needed a forged iron nail and then needed a forged iron ring for the purse itself. The documentation for the nail can be found here:

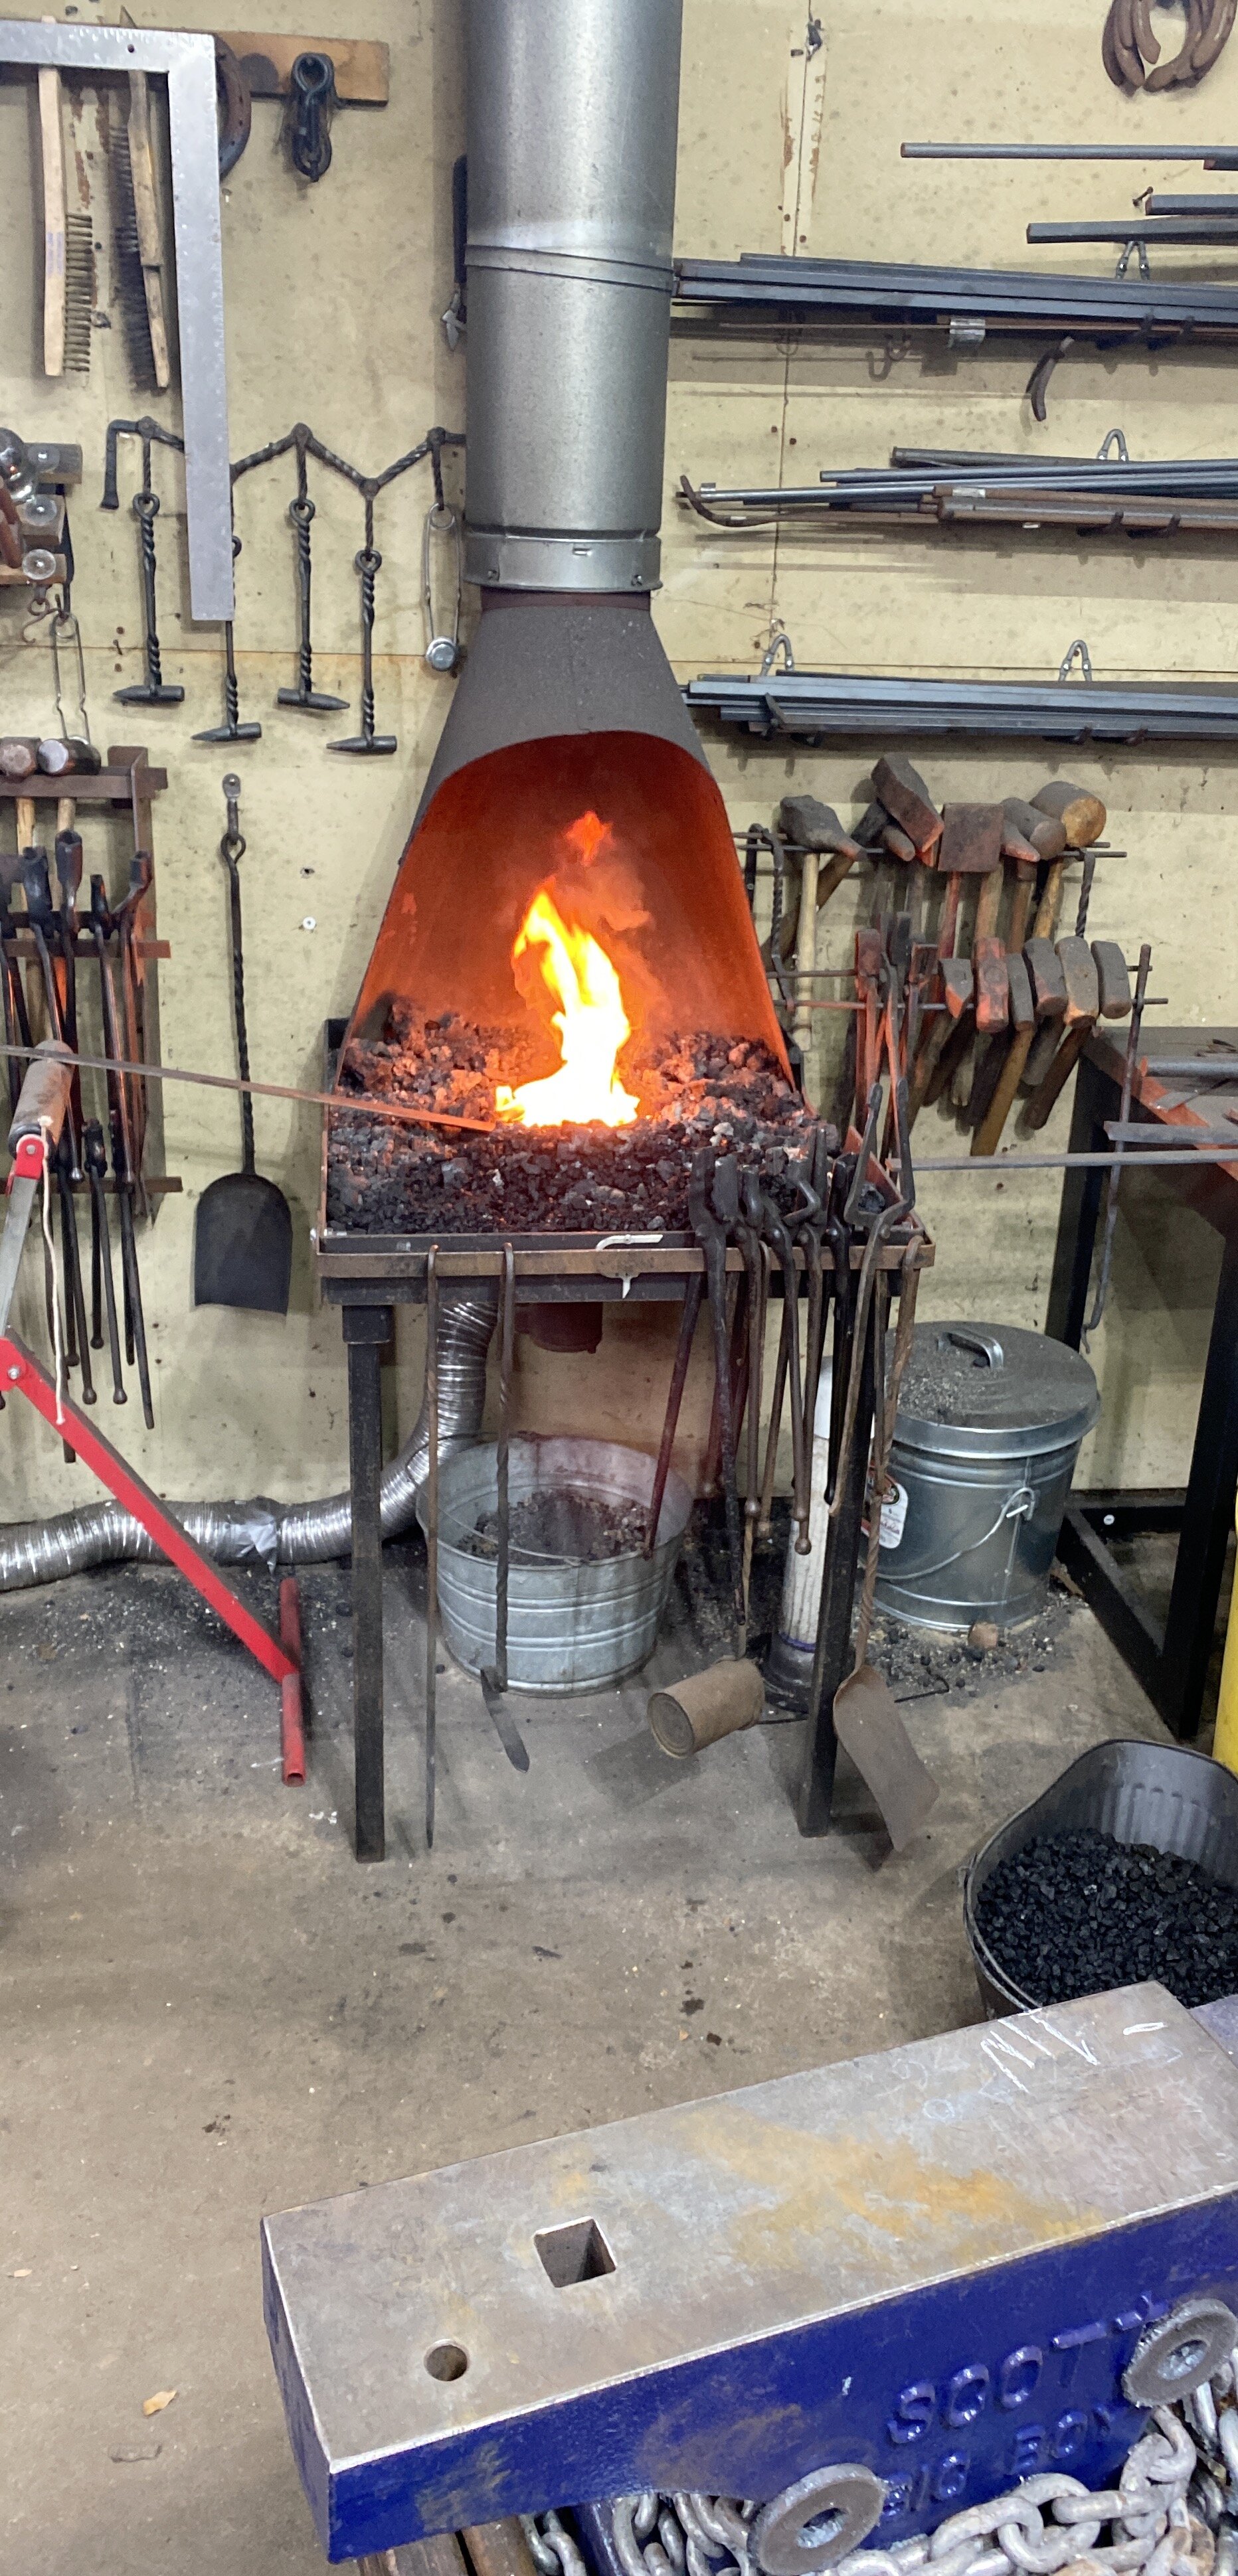
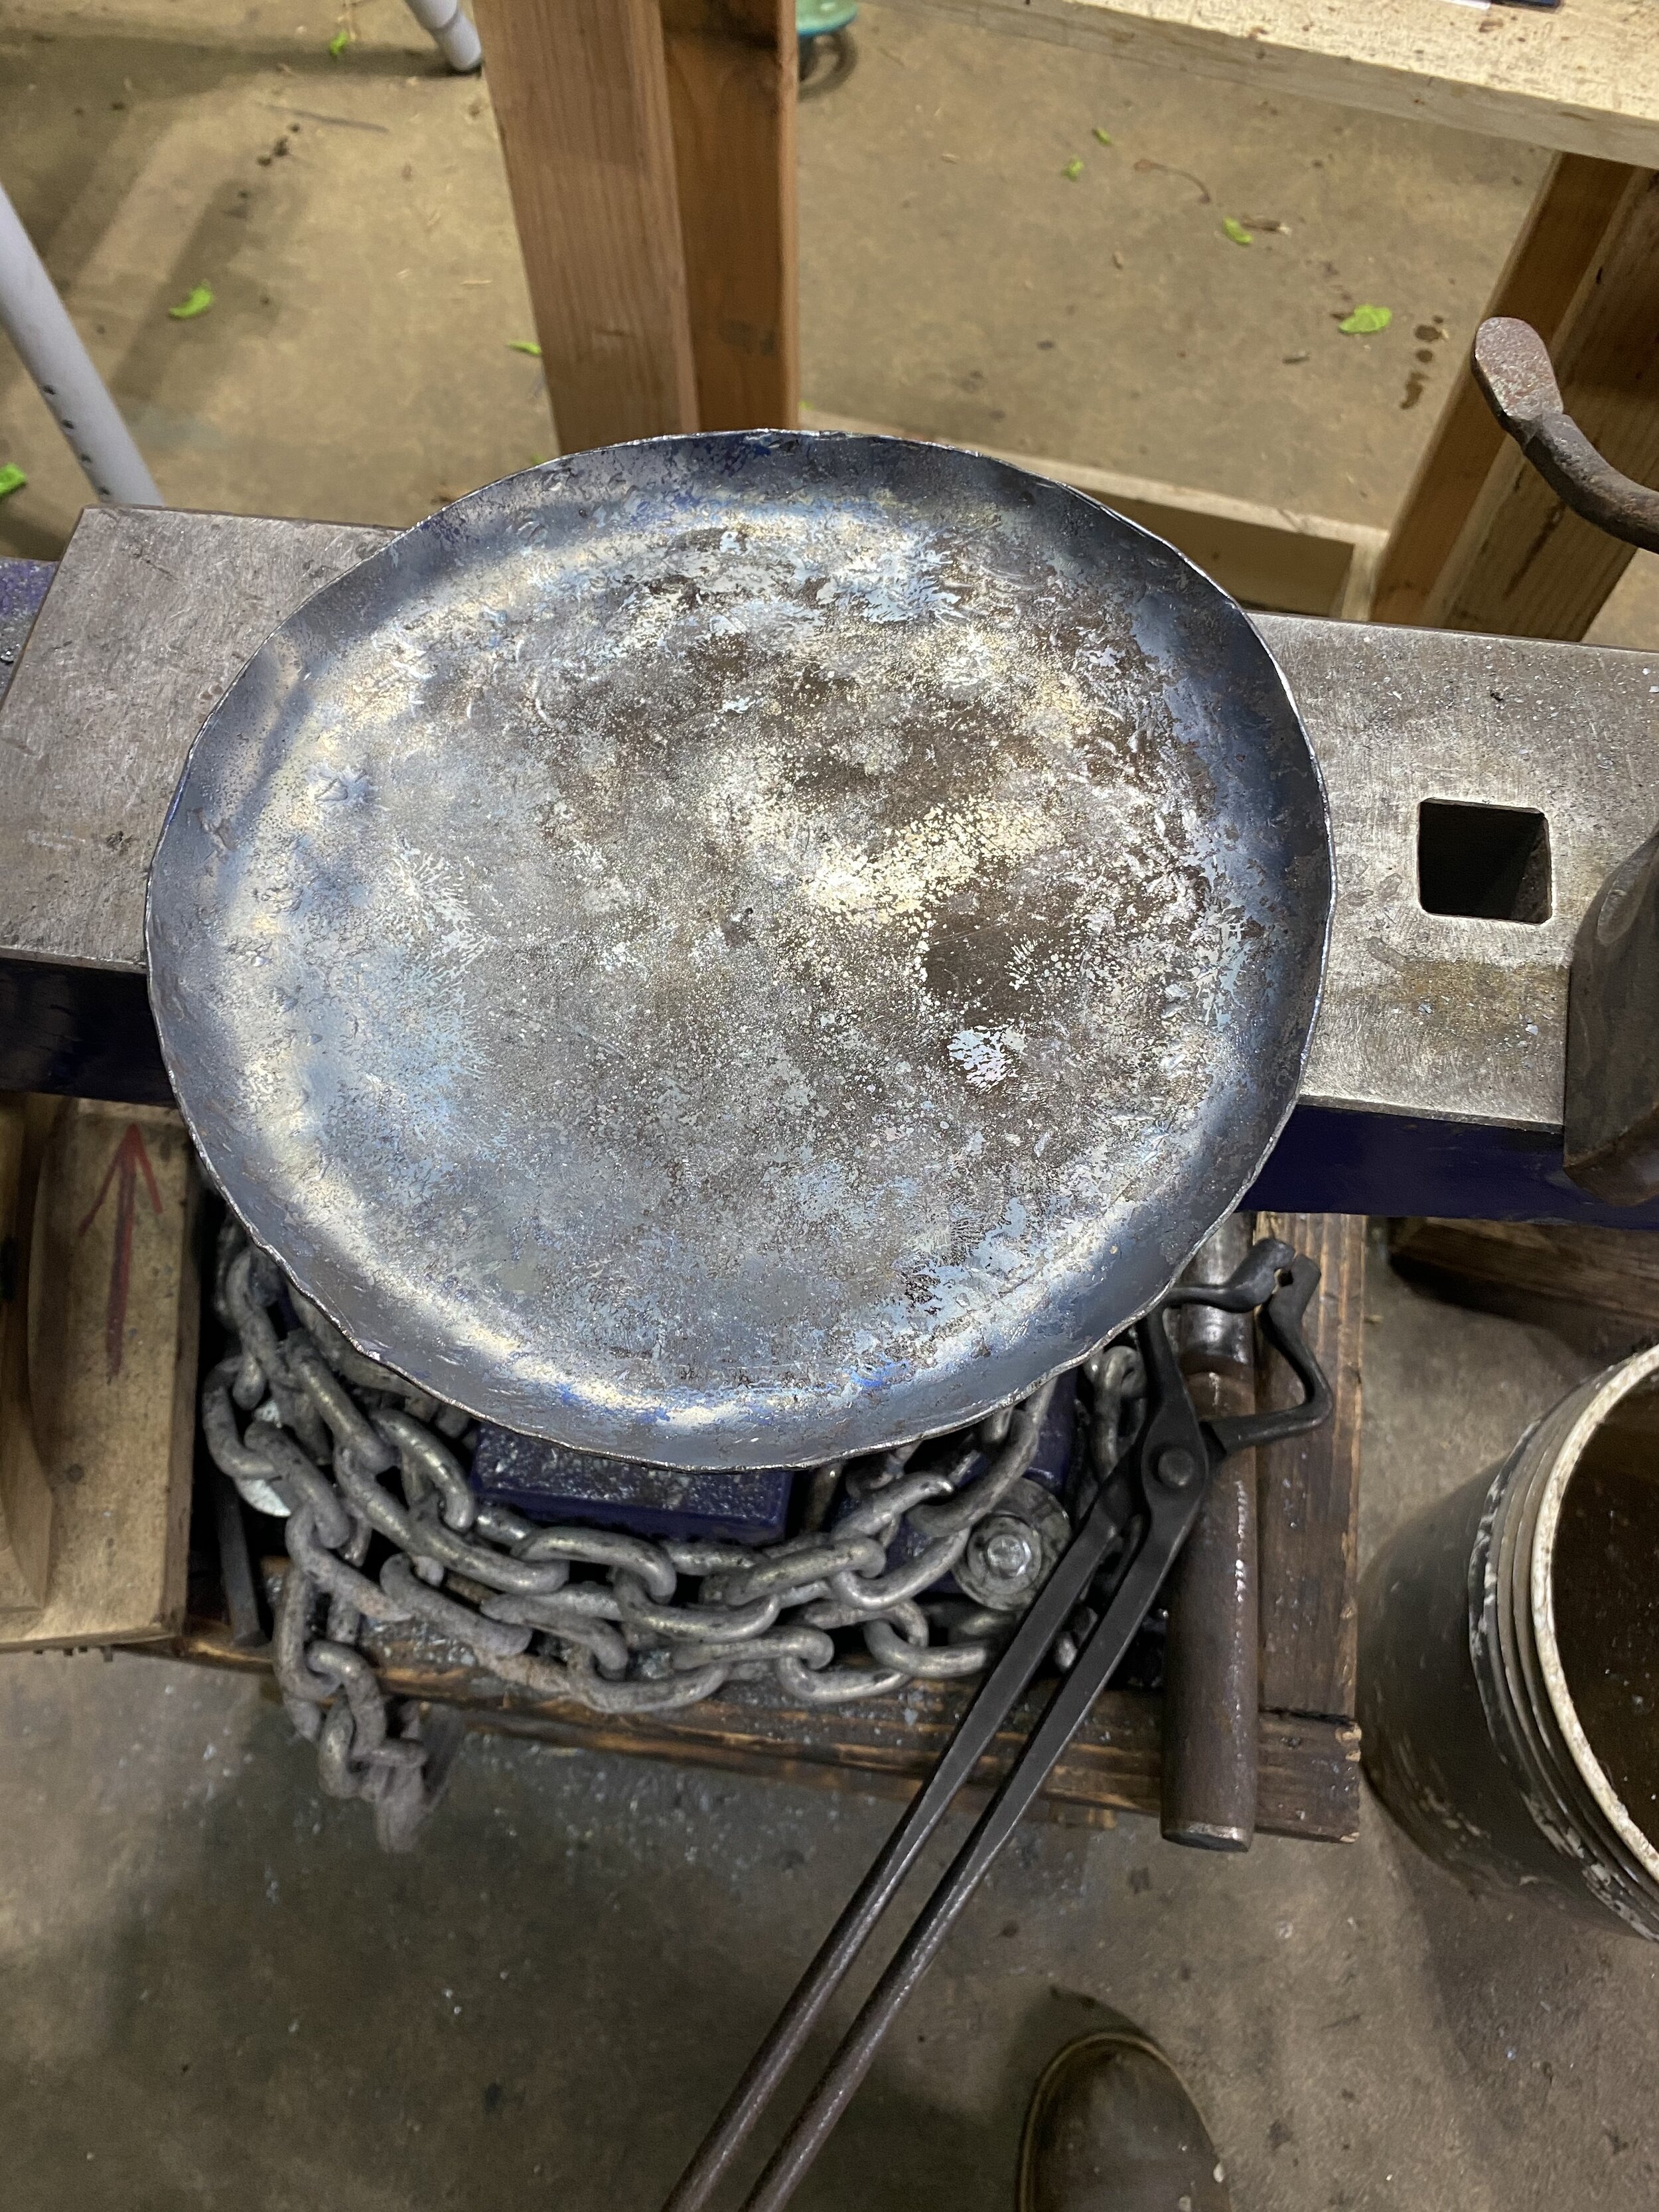
And here is a photo dump of the process:

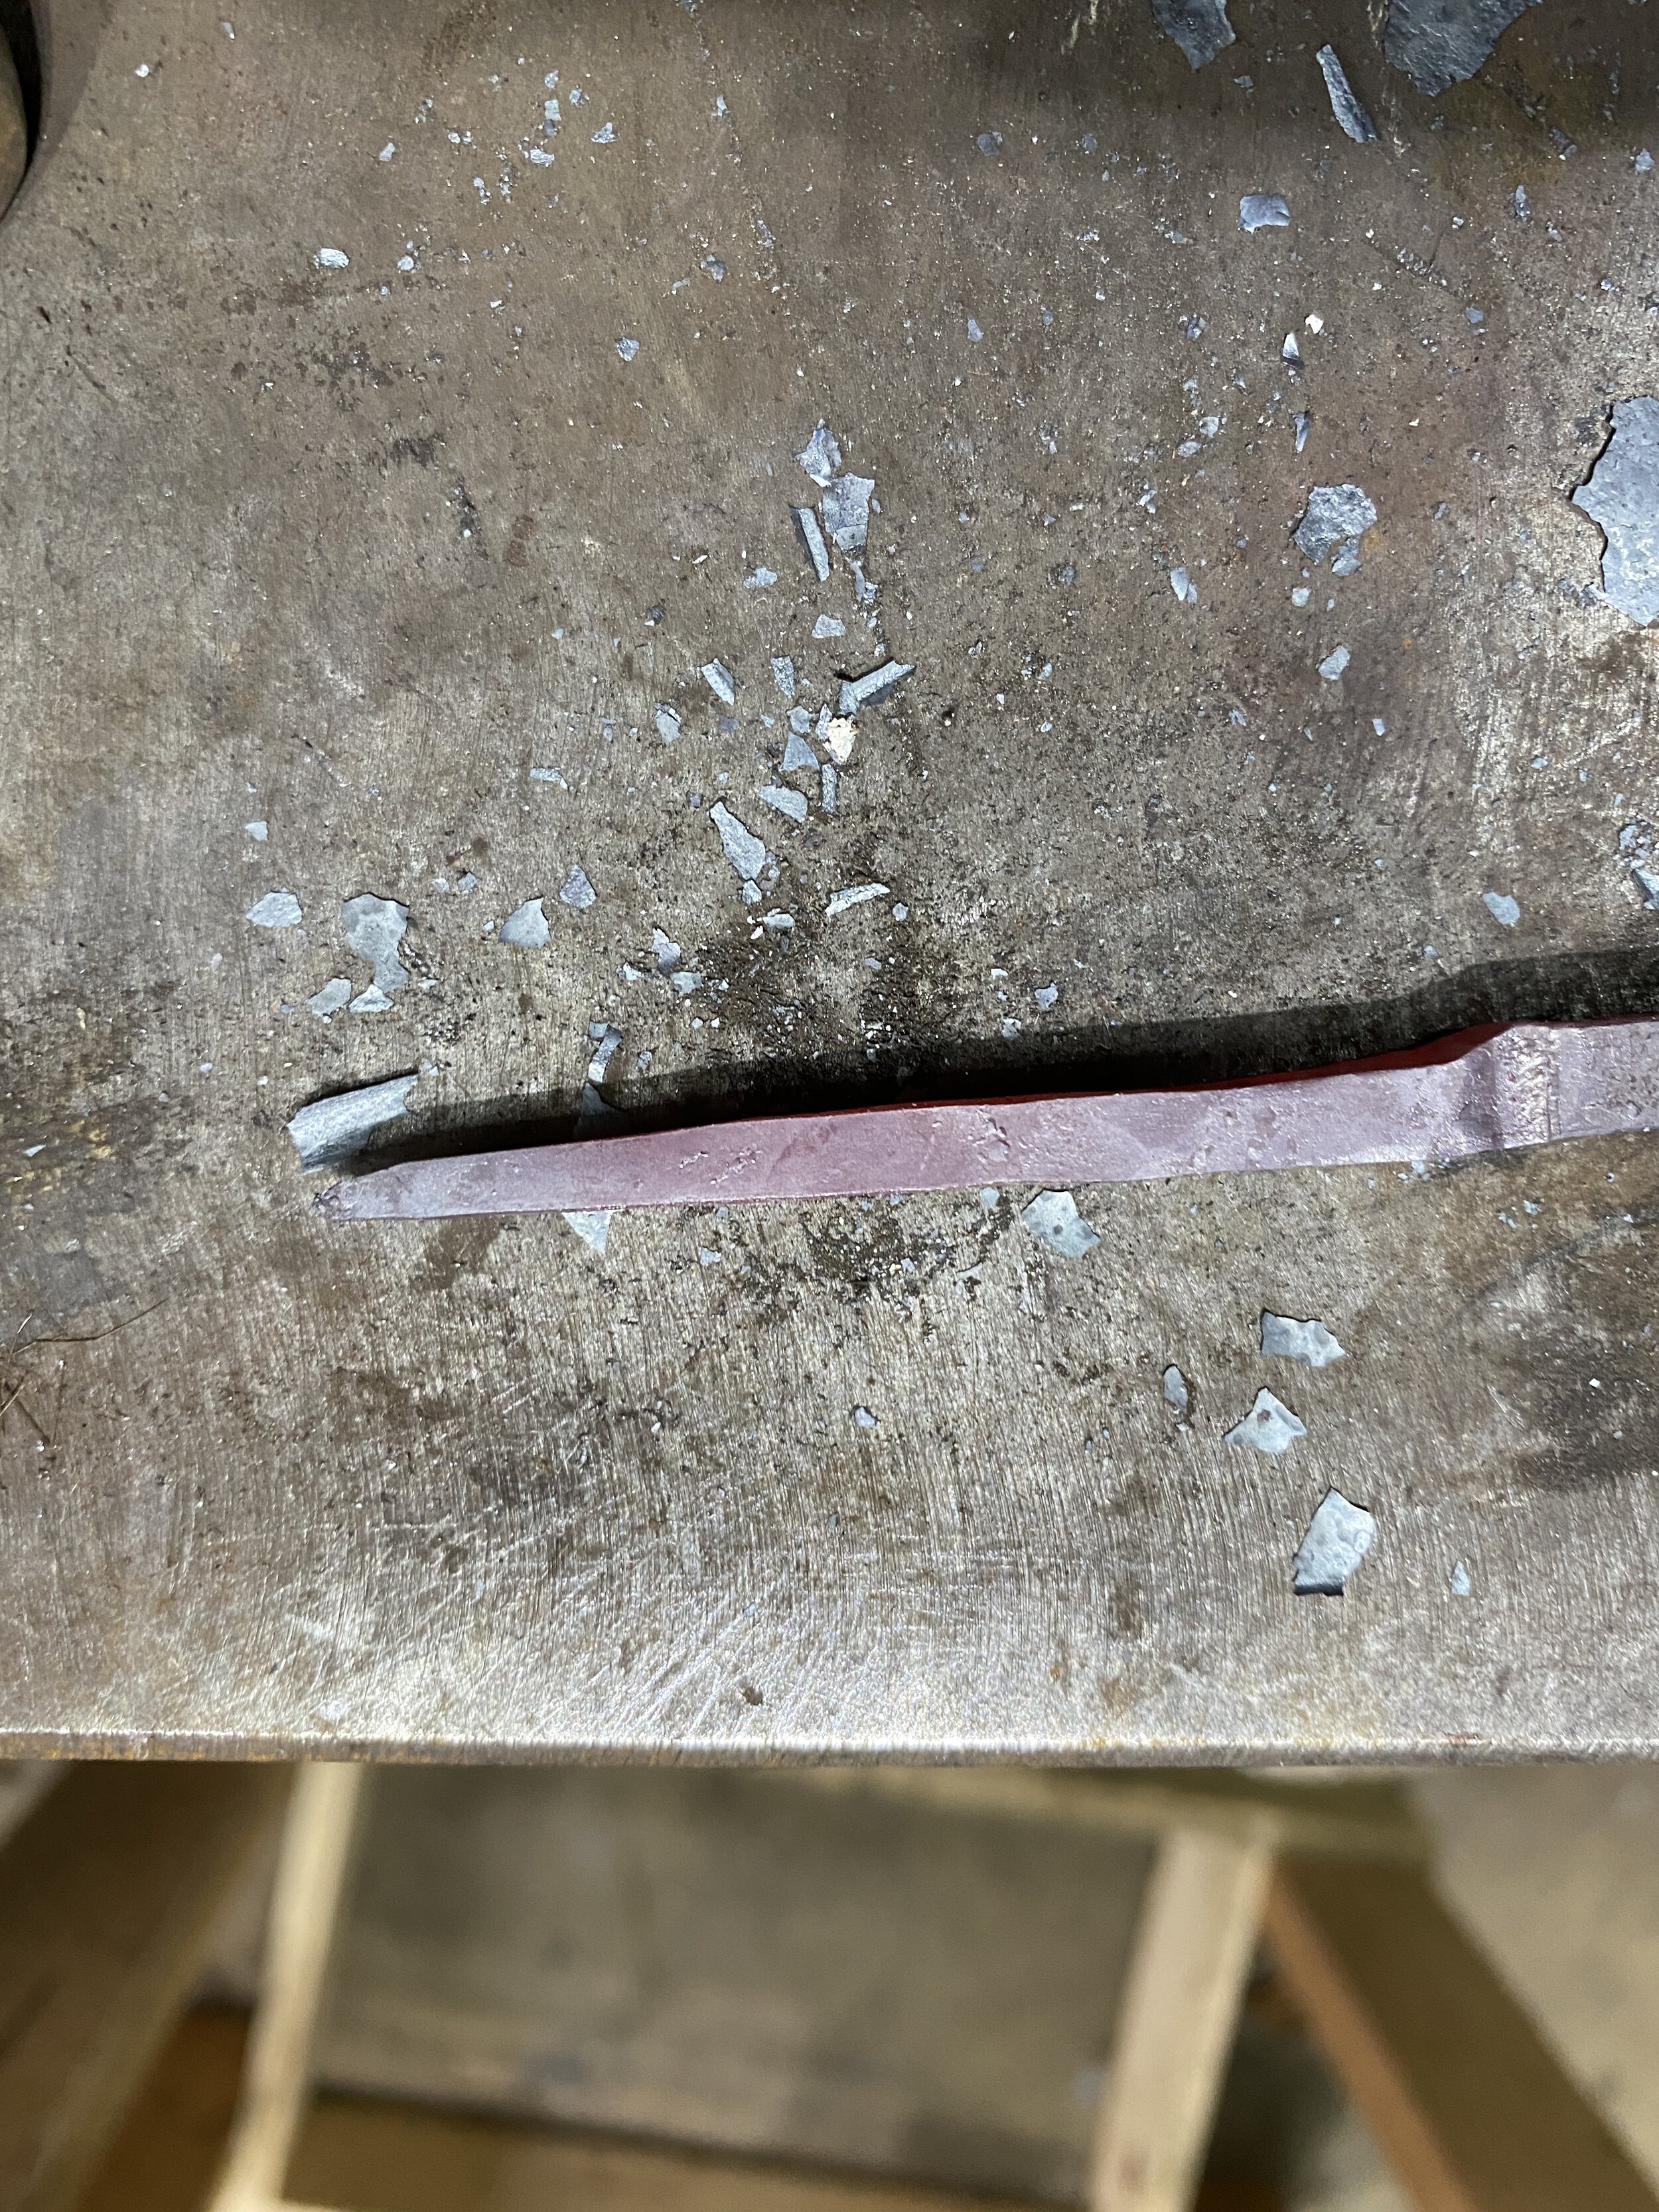
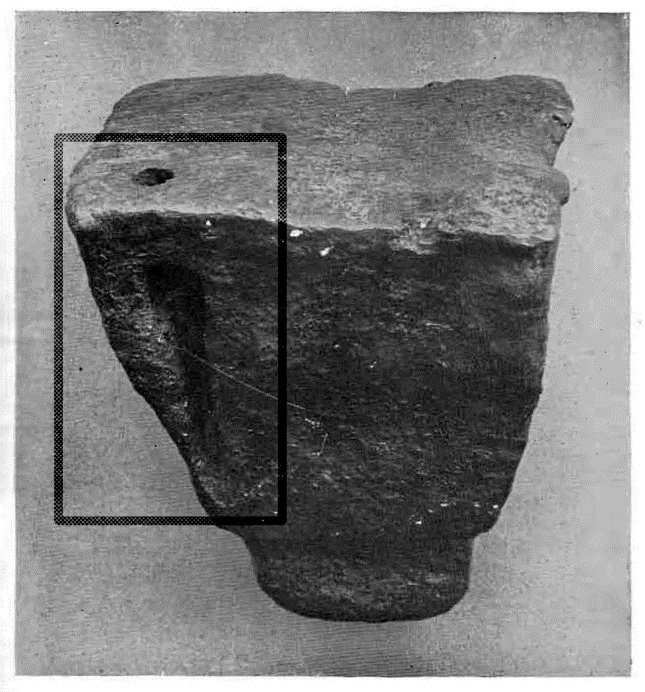
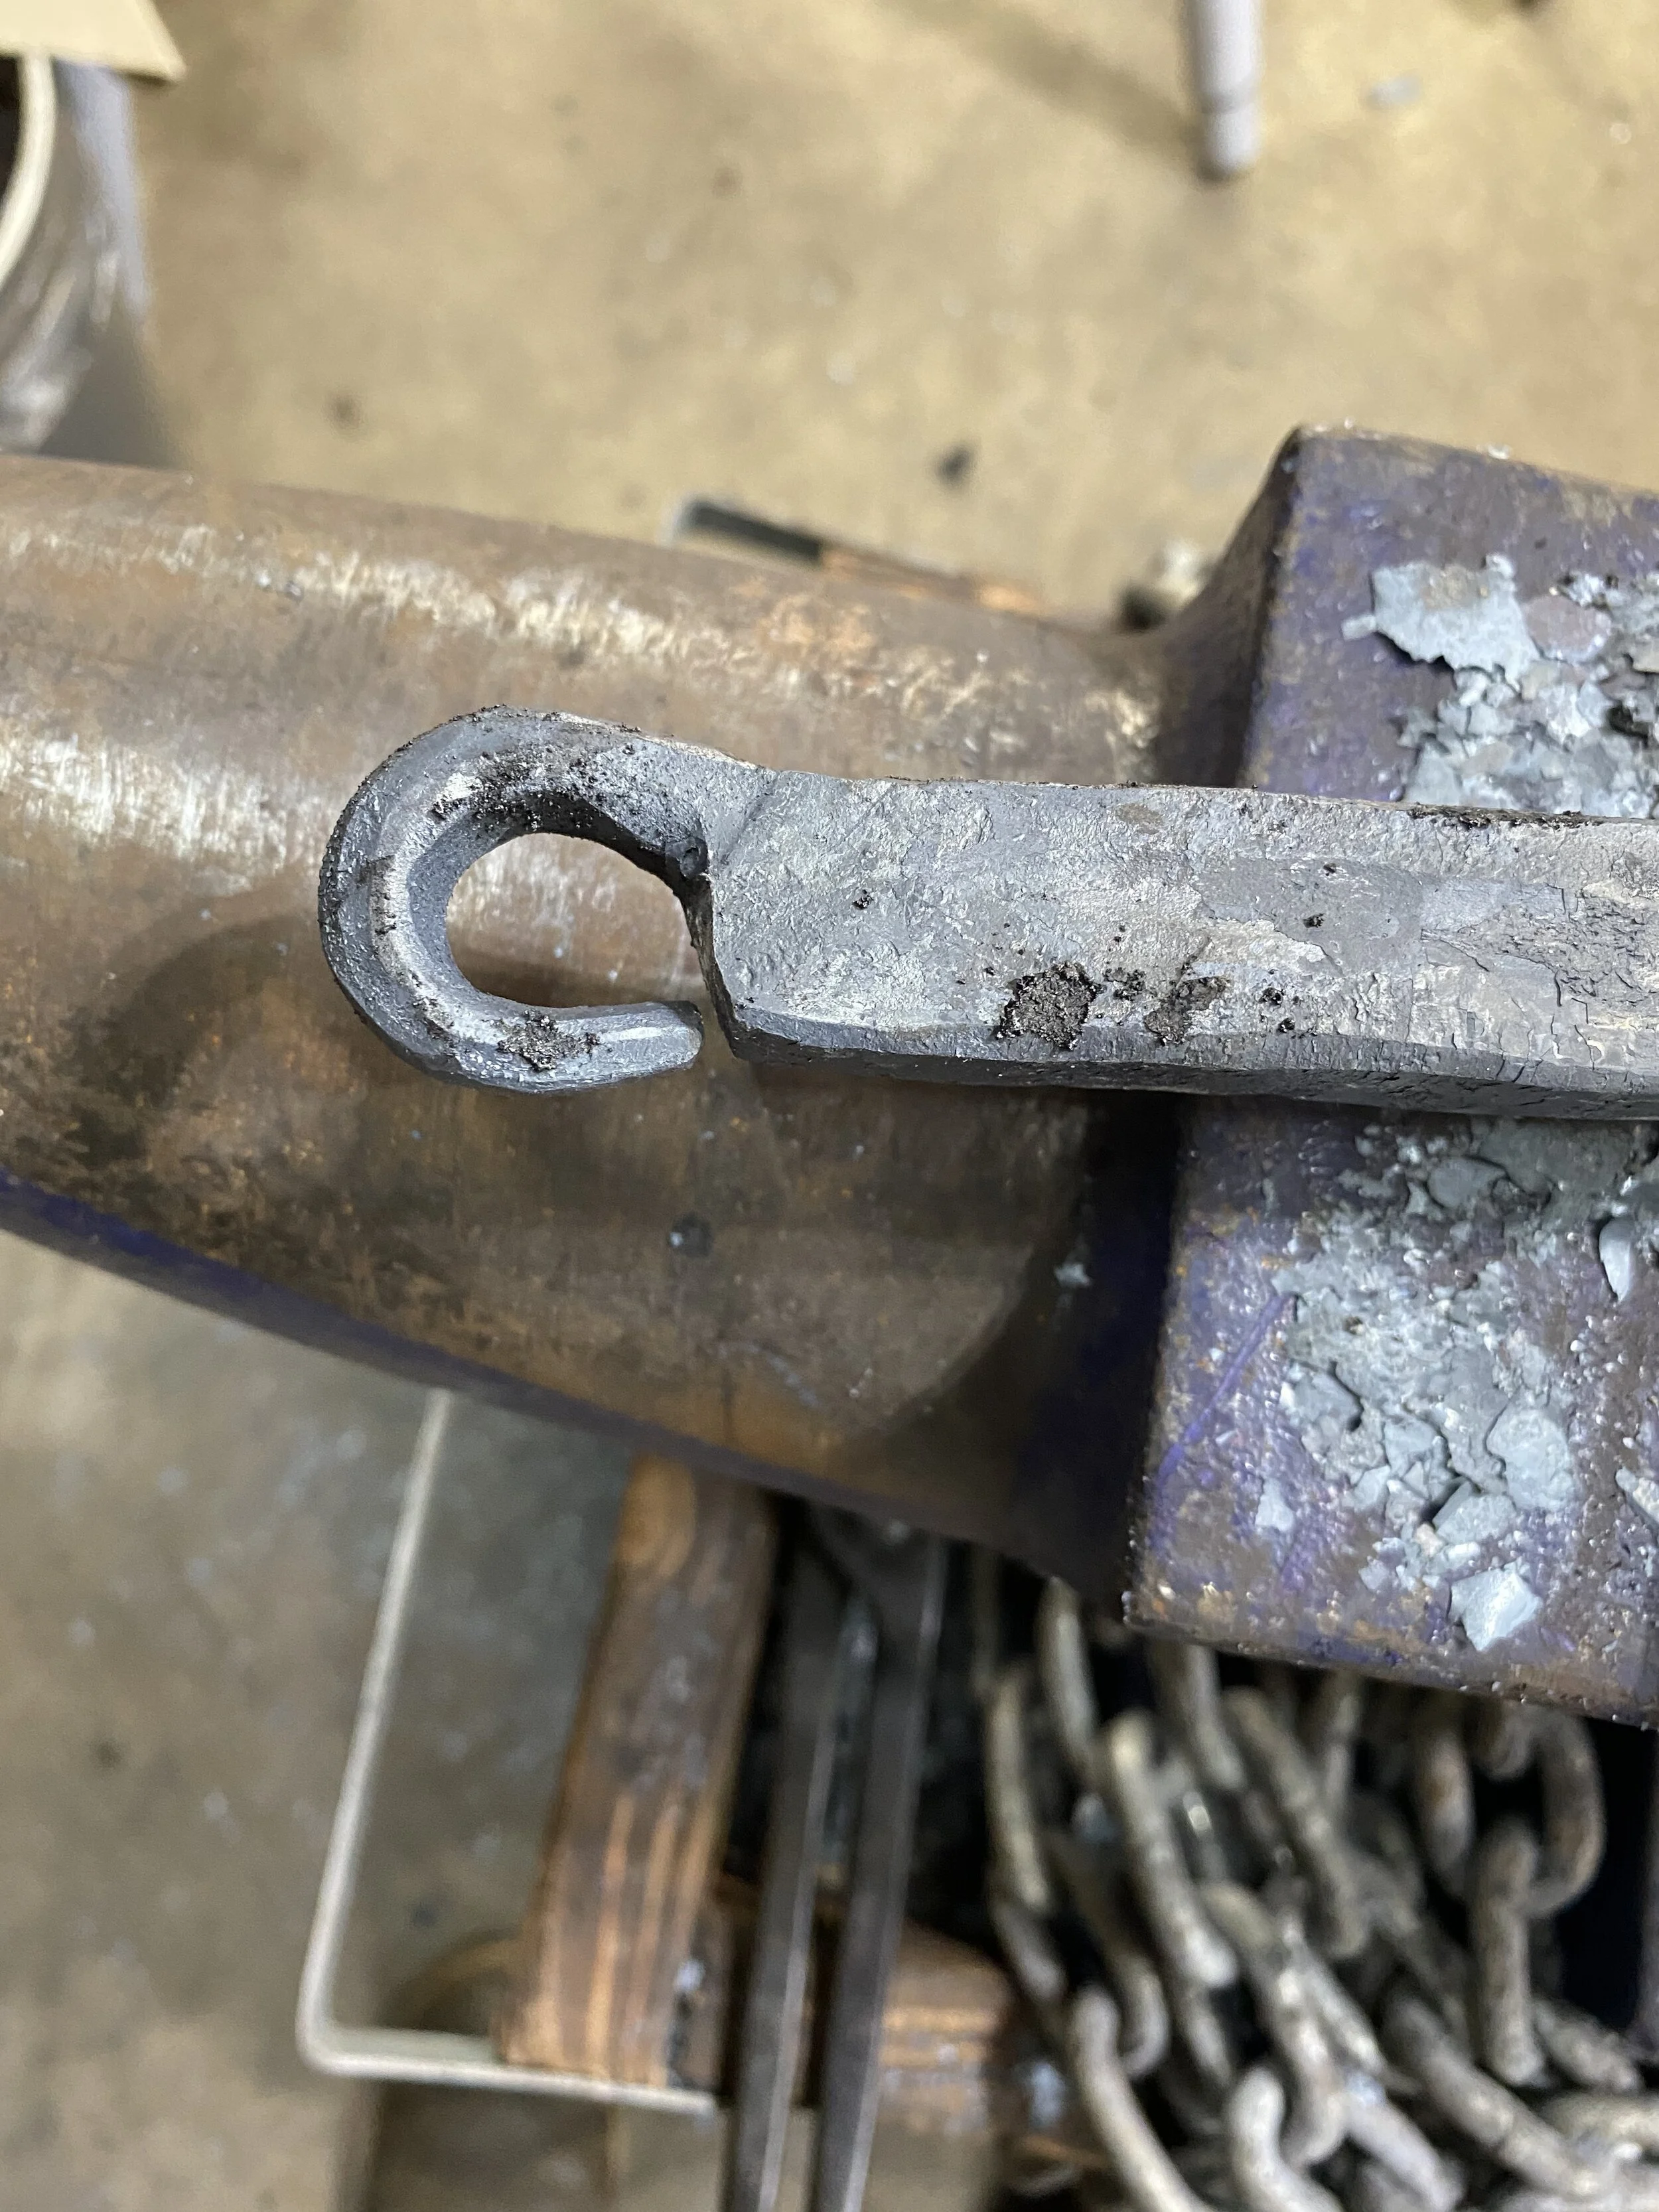
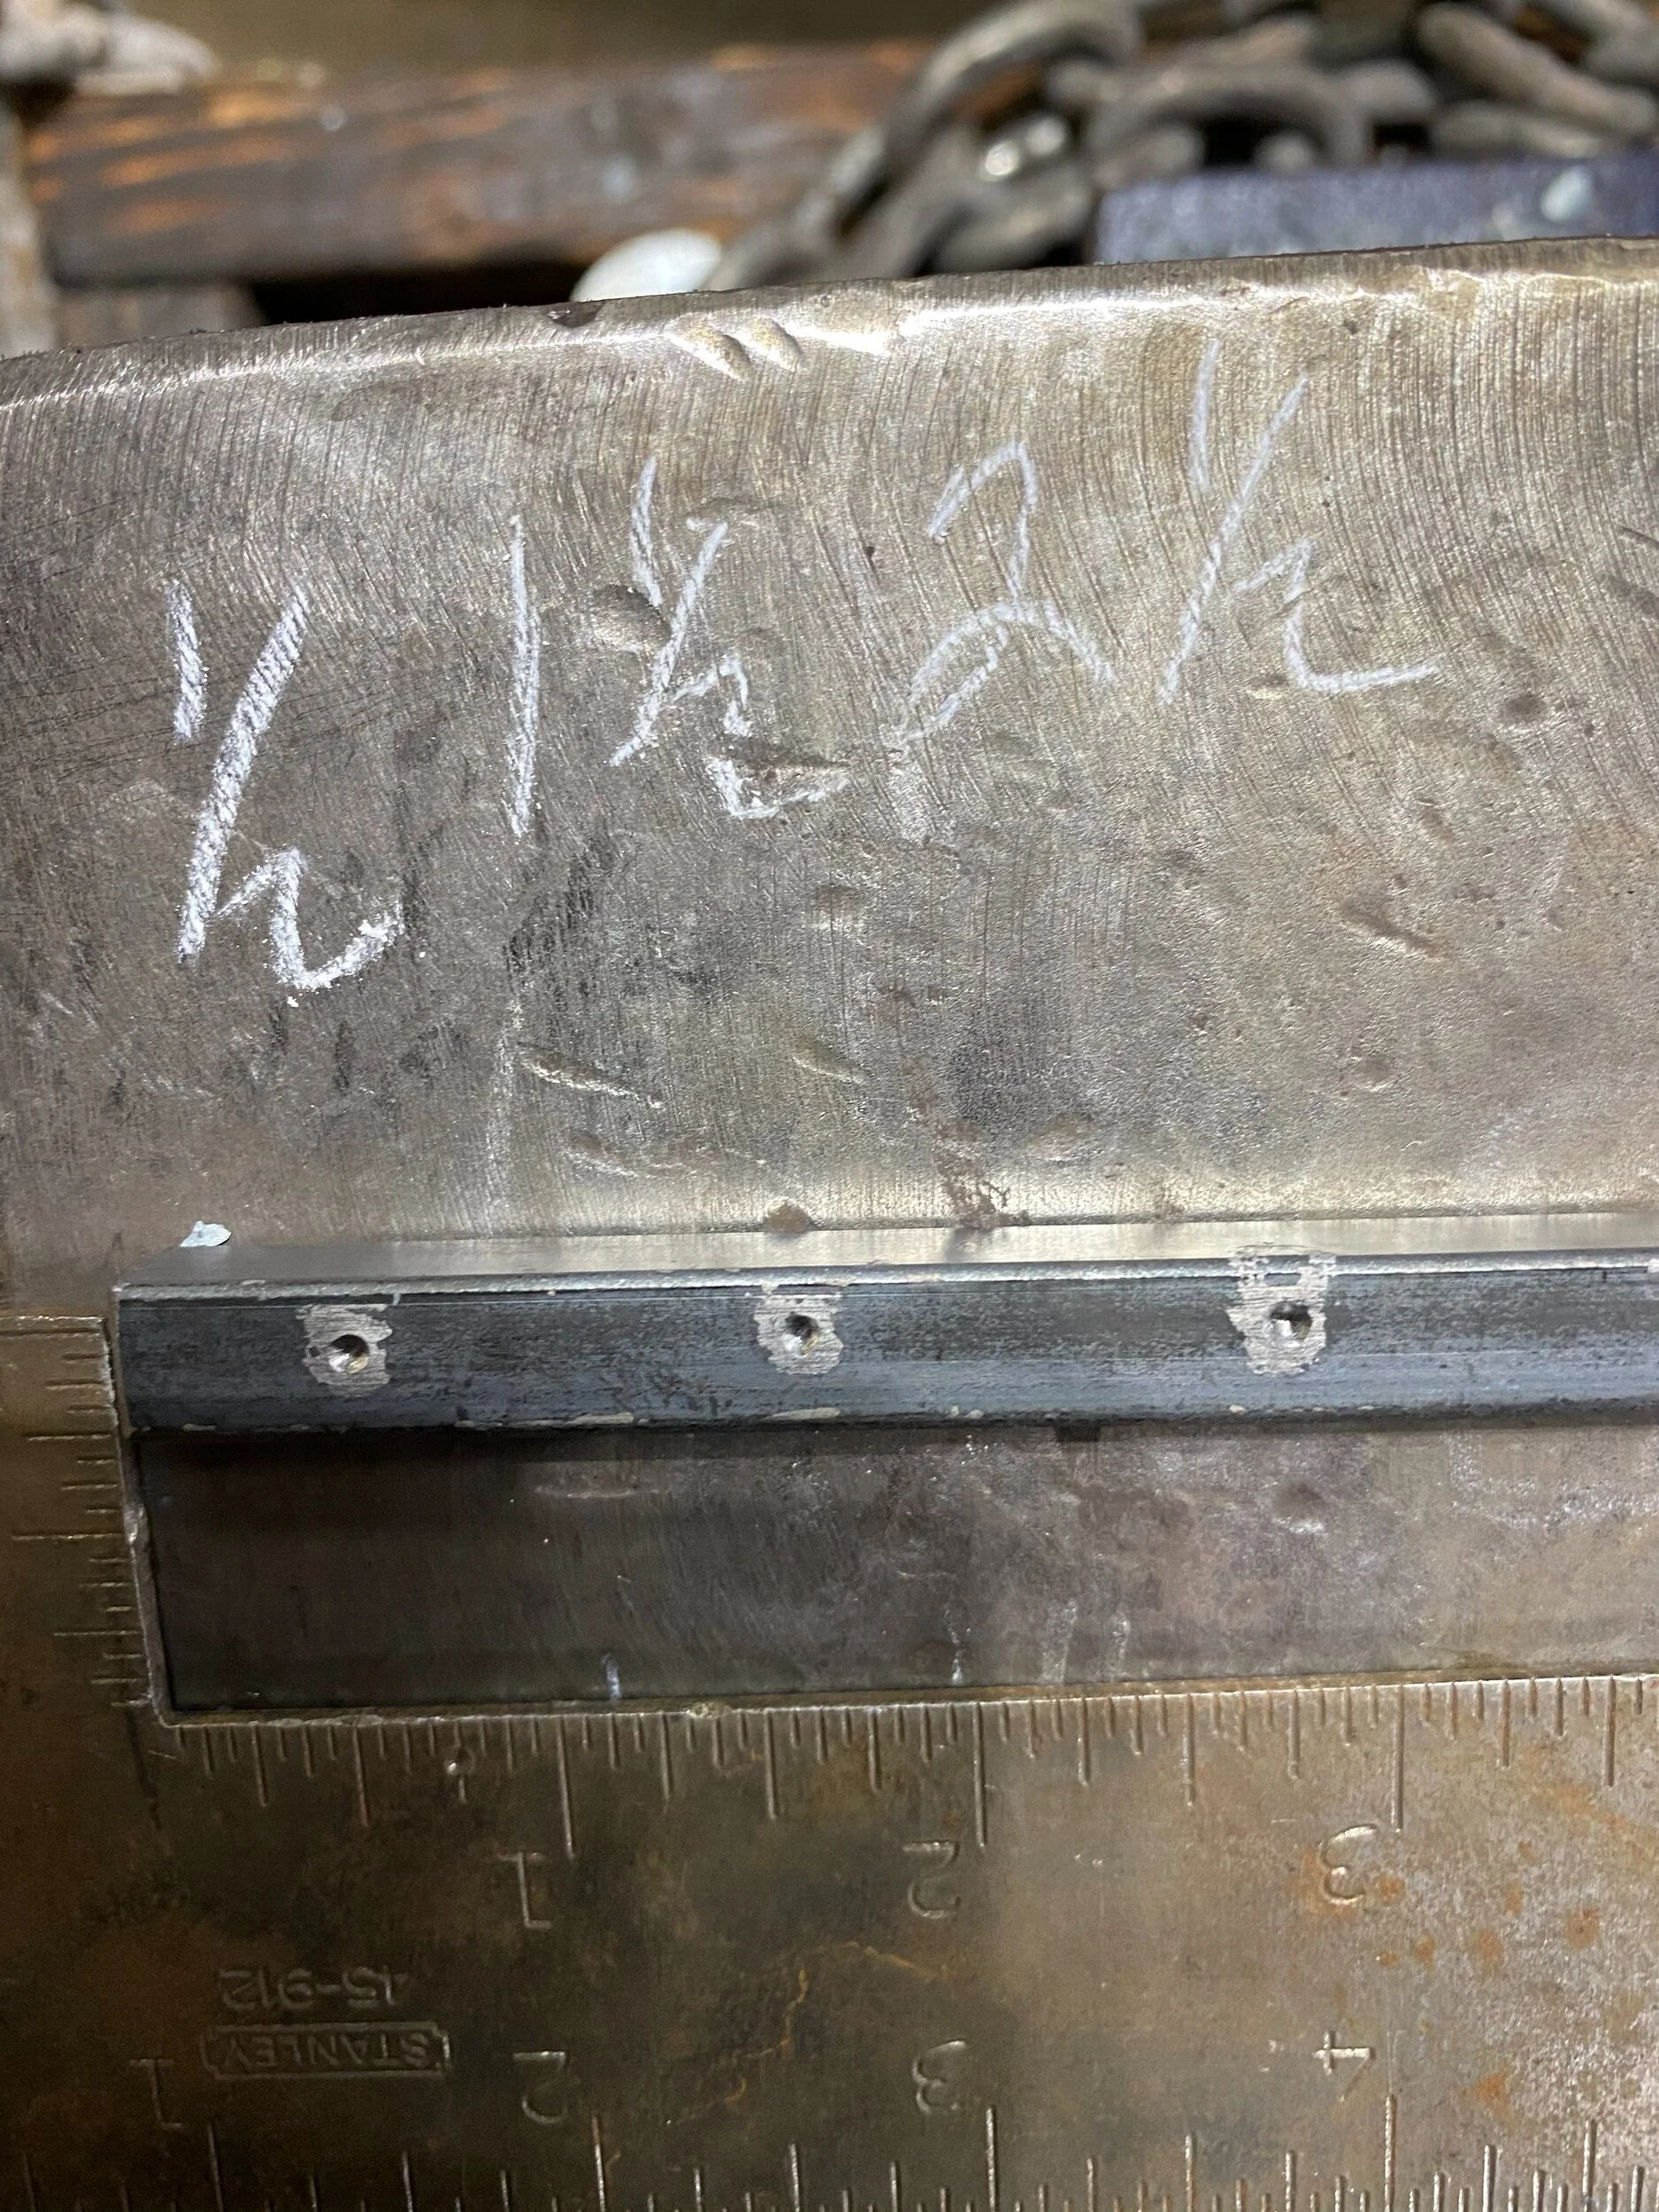
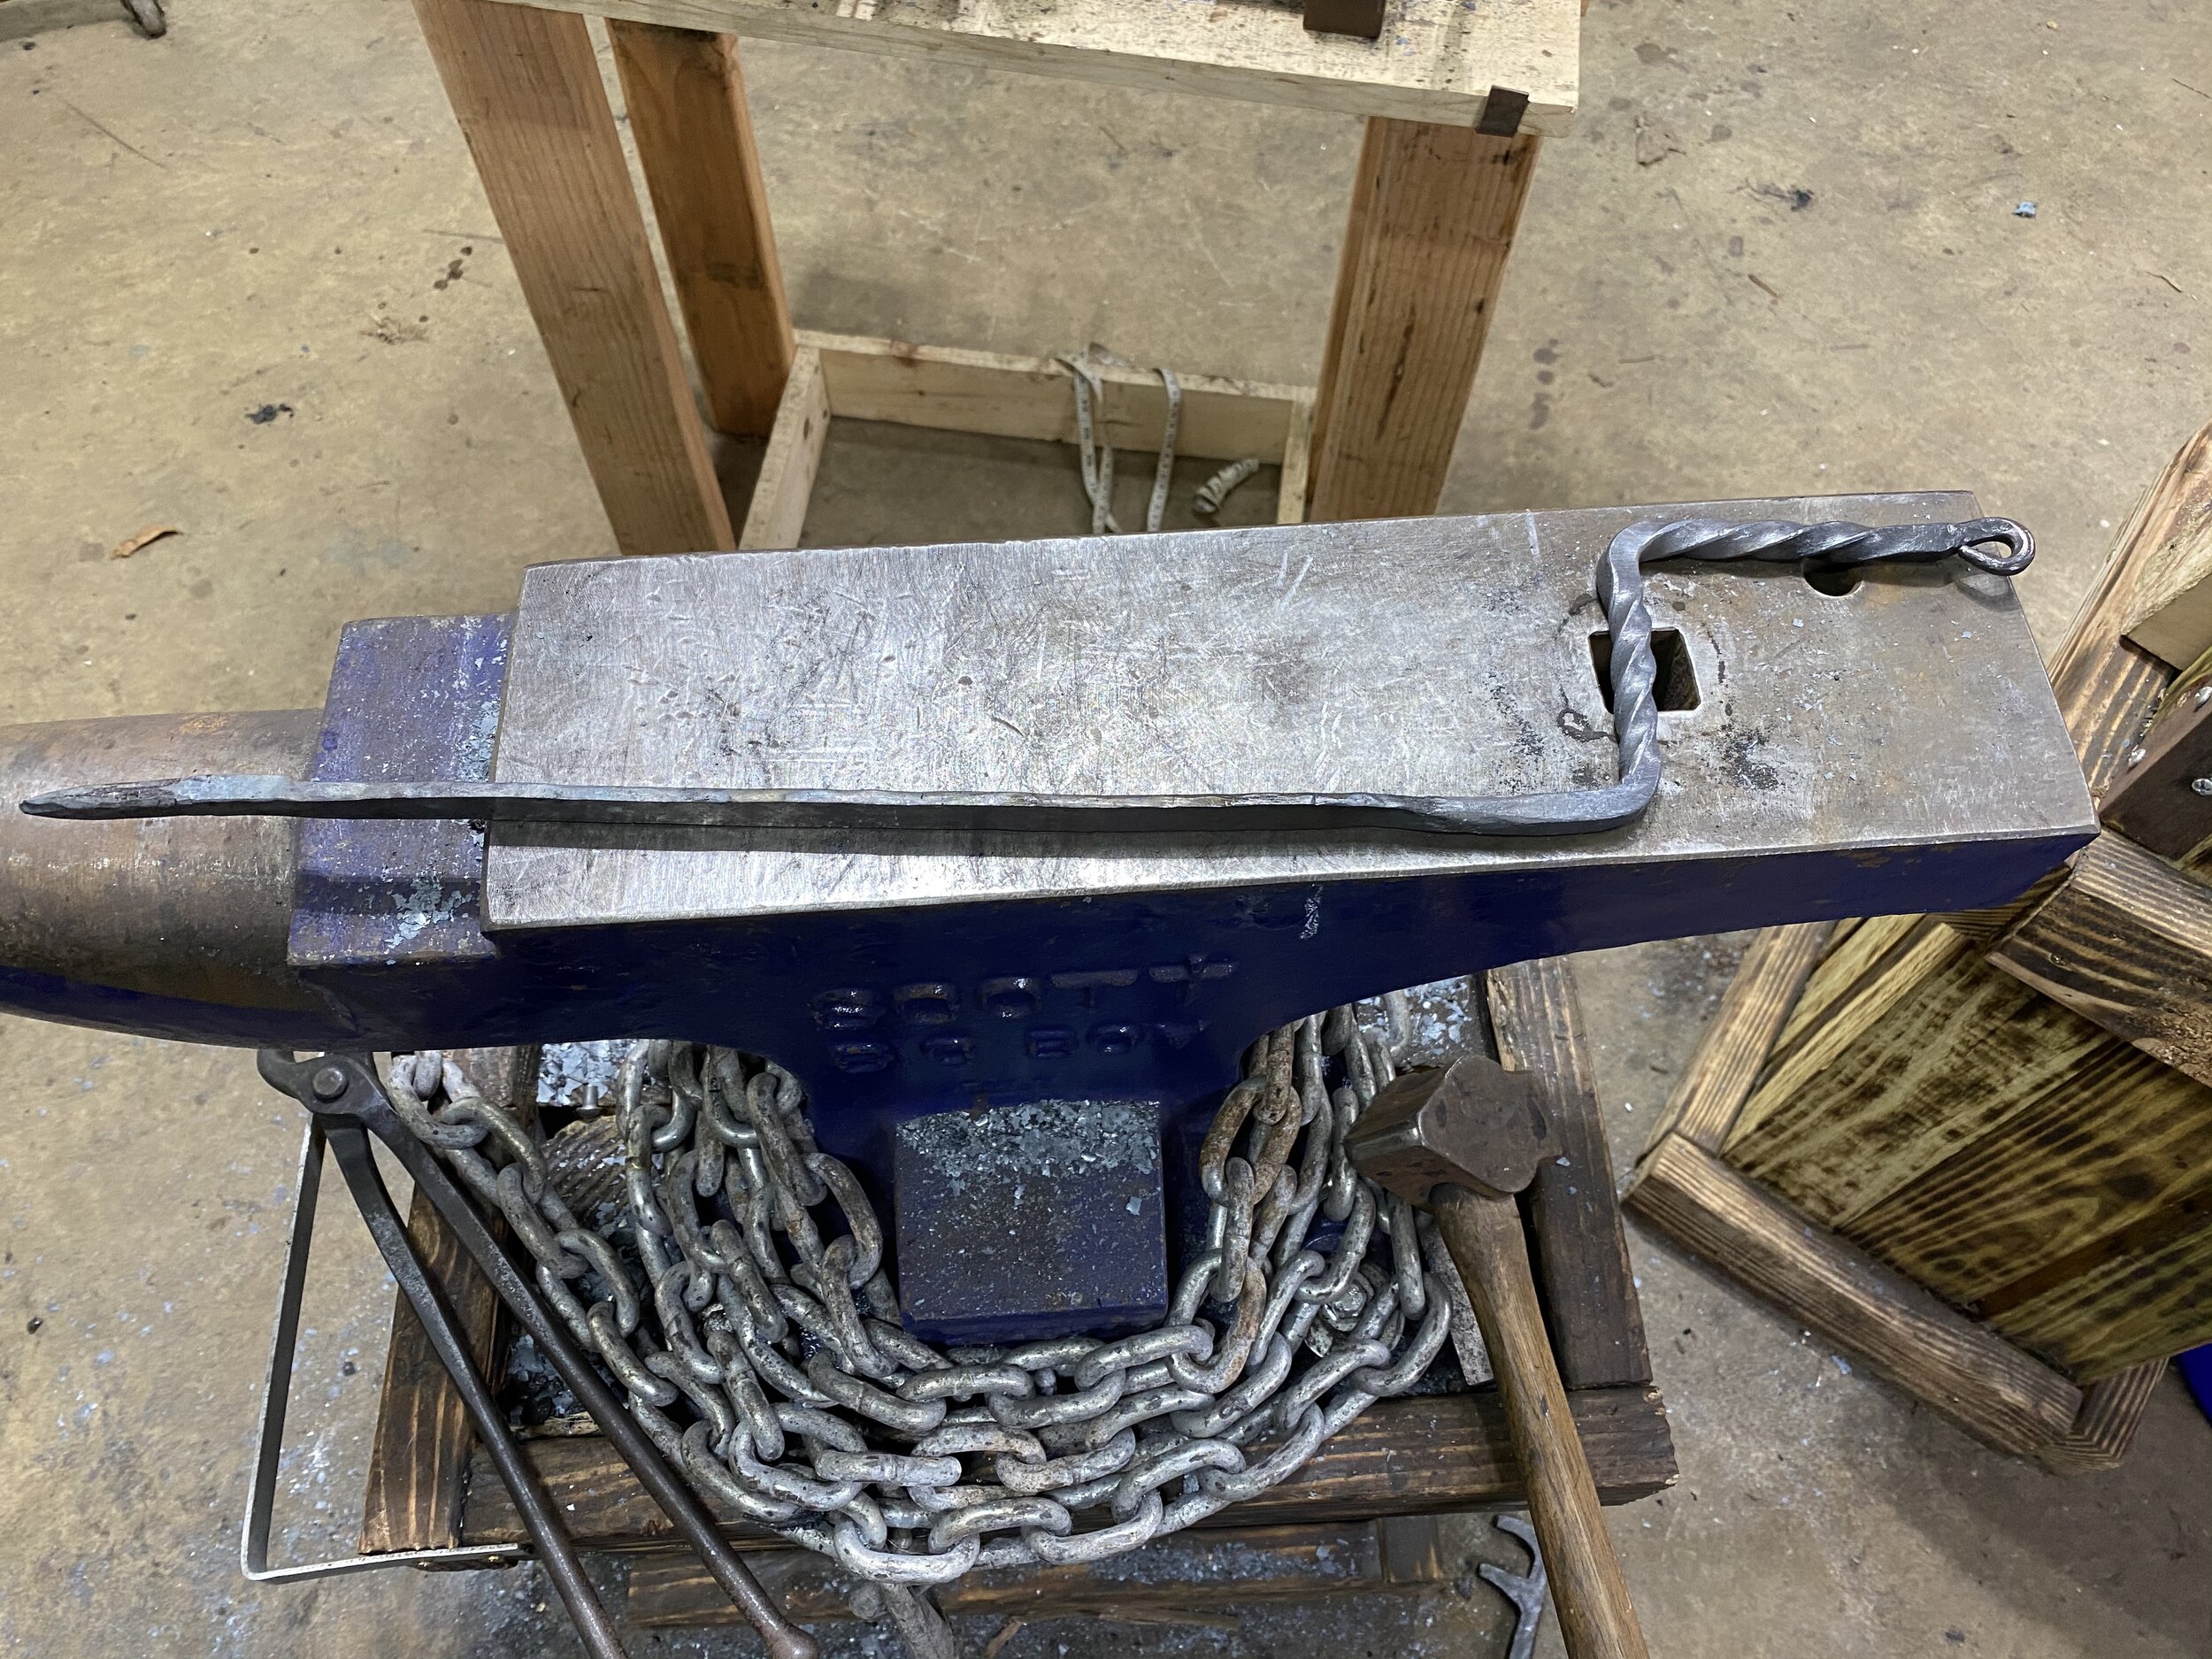
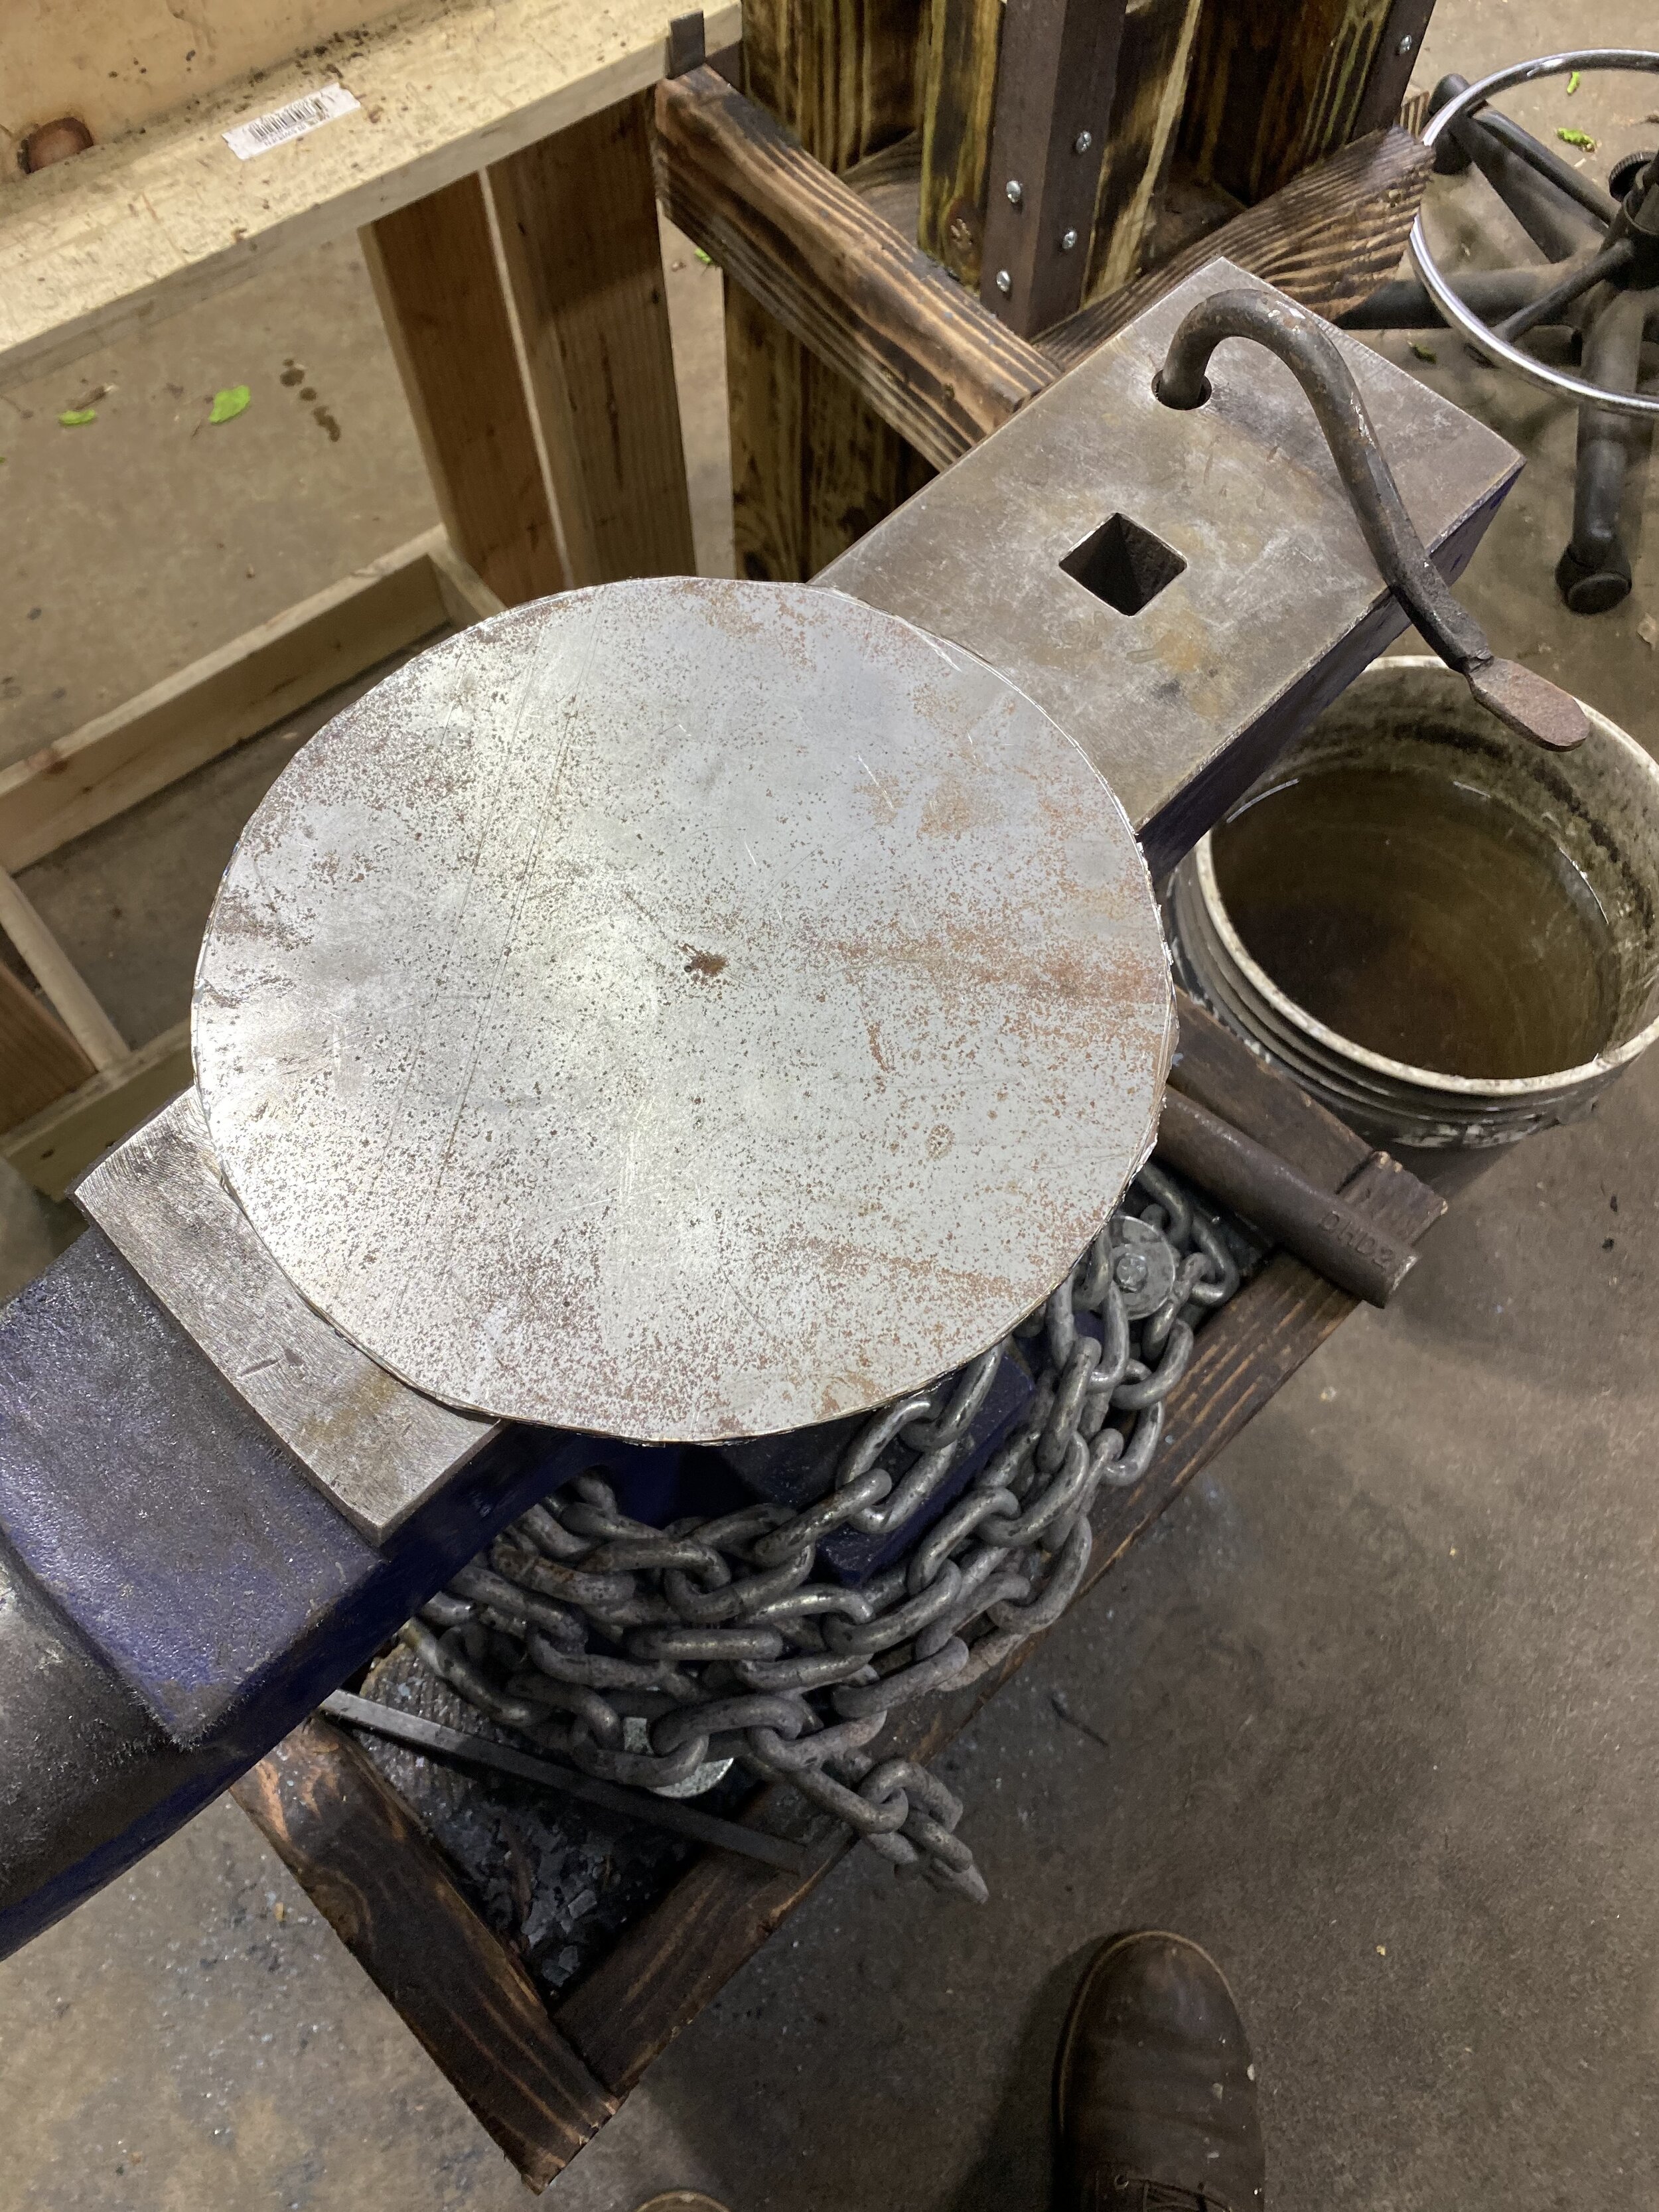
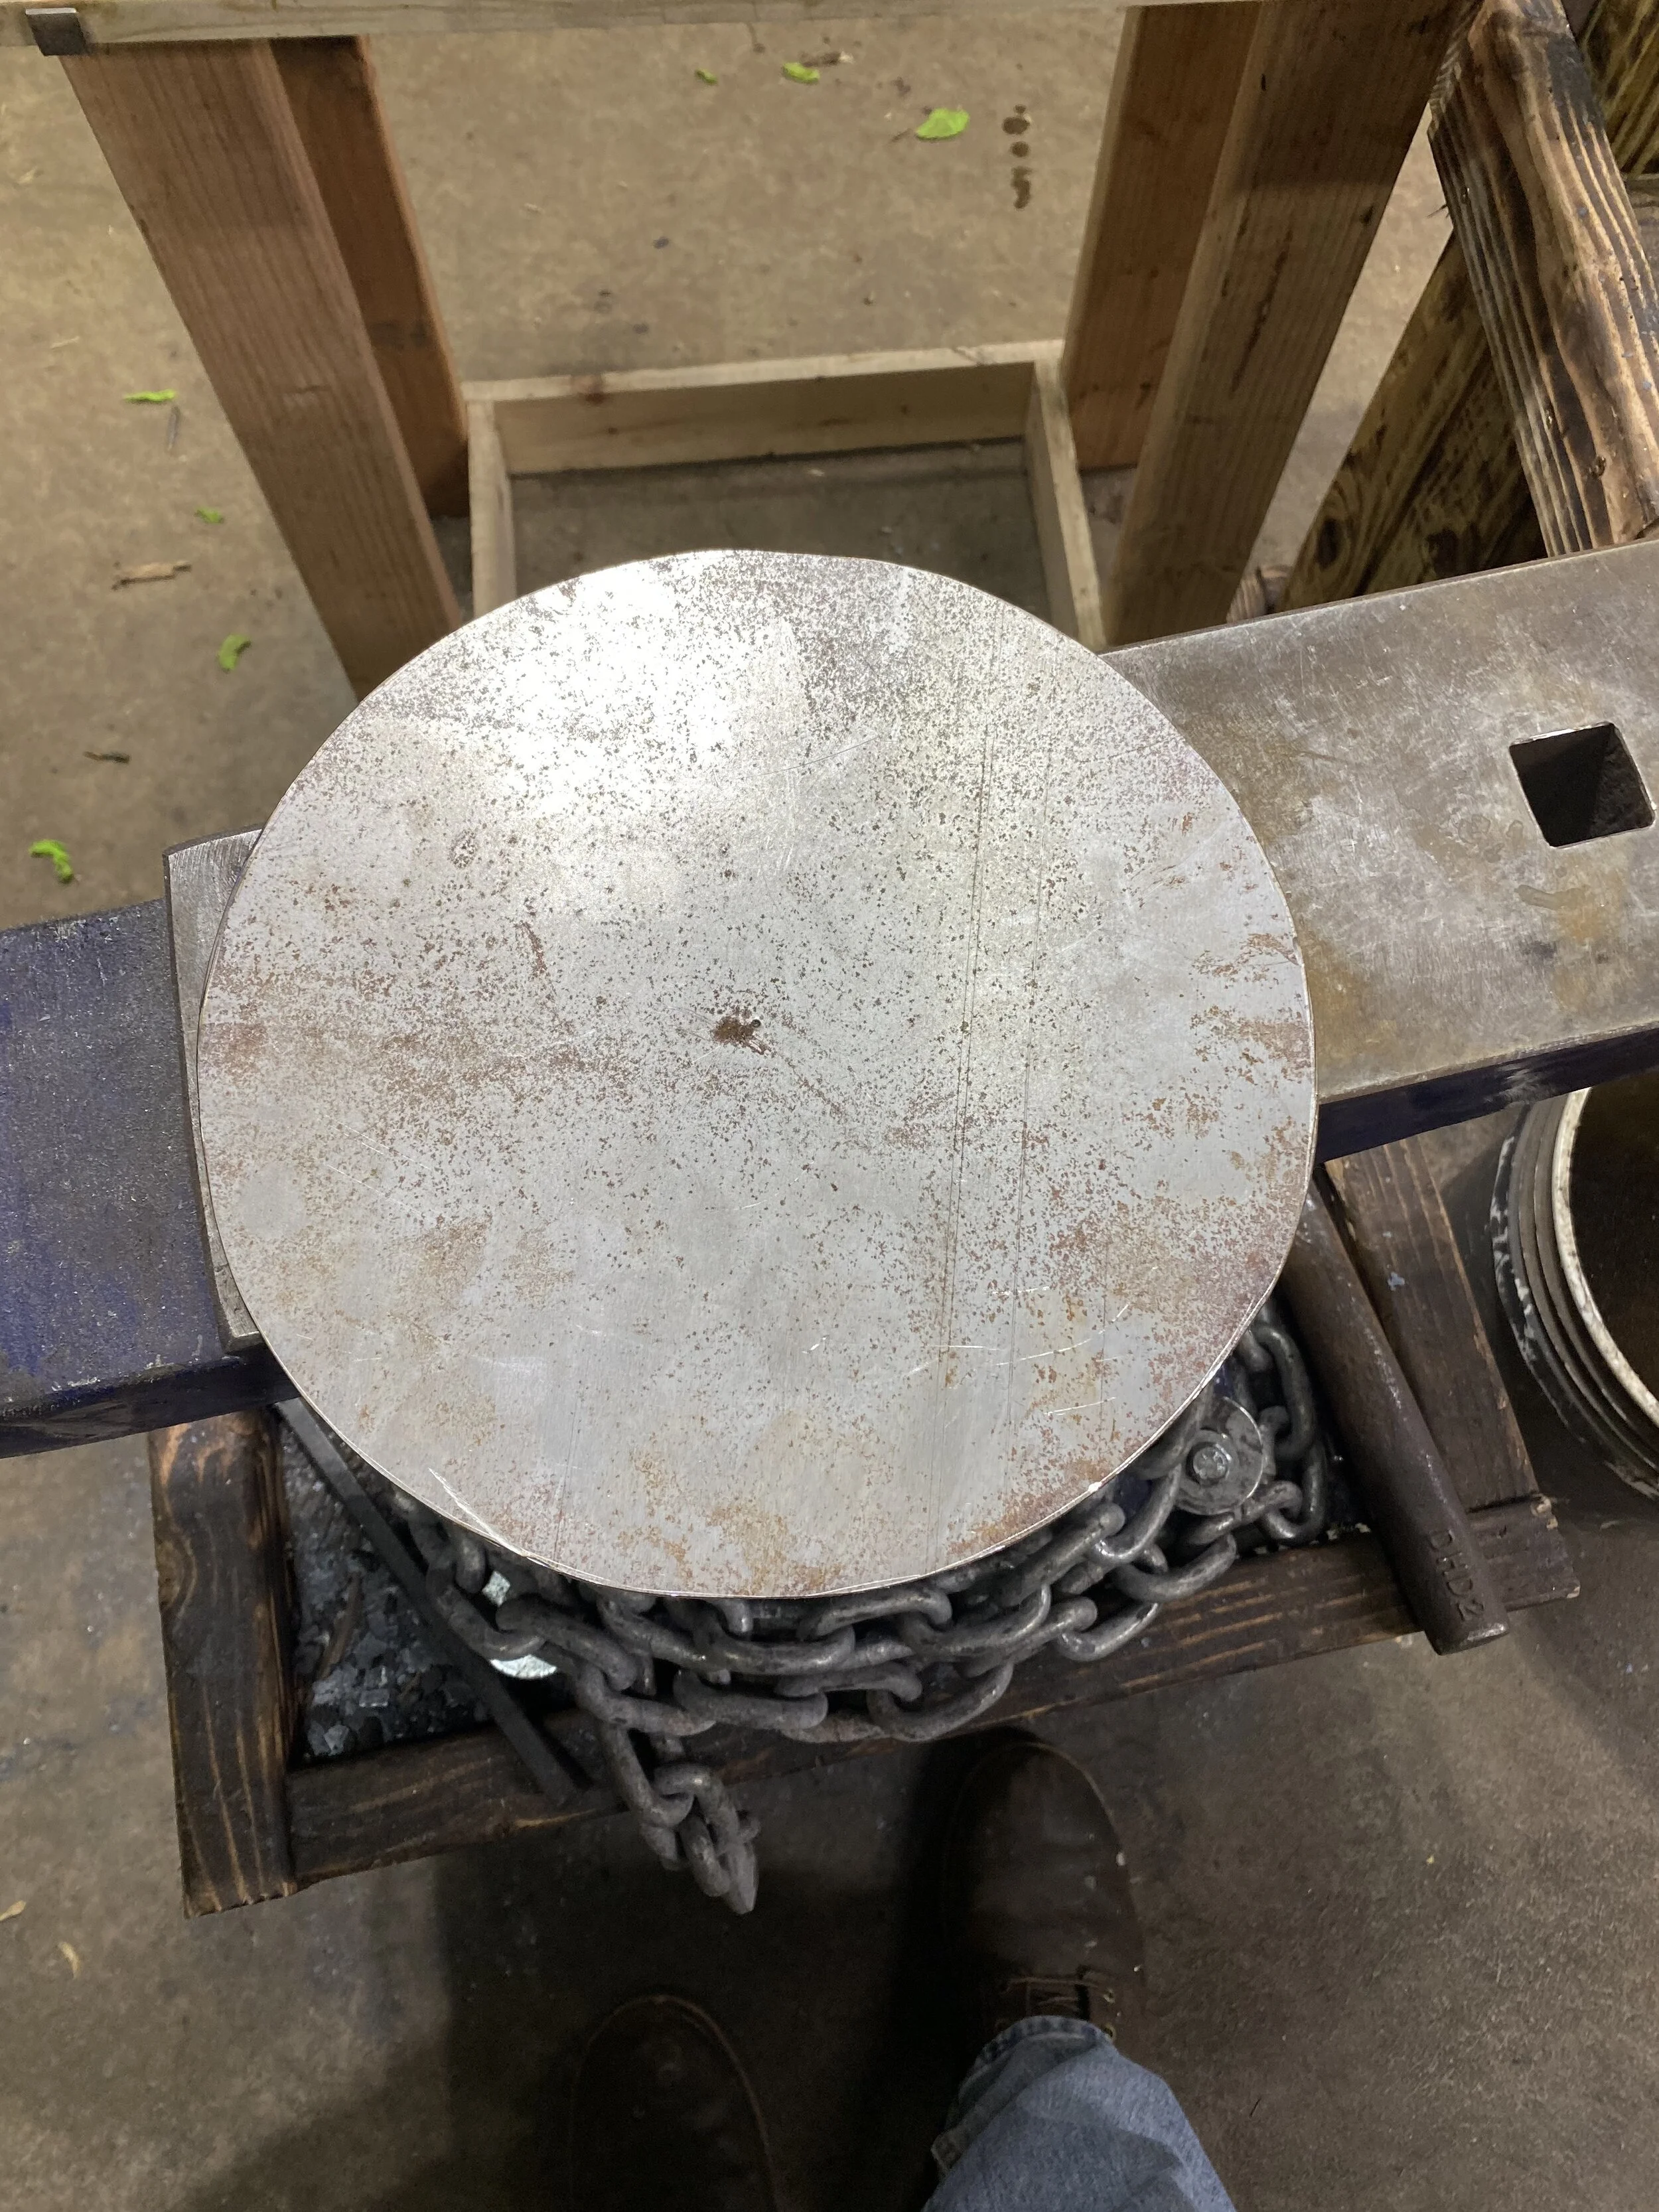
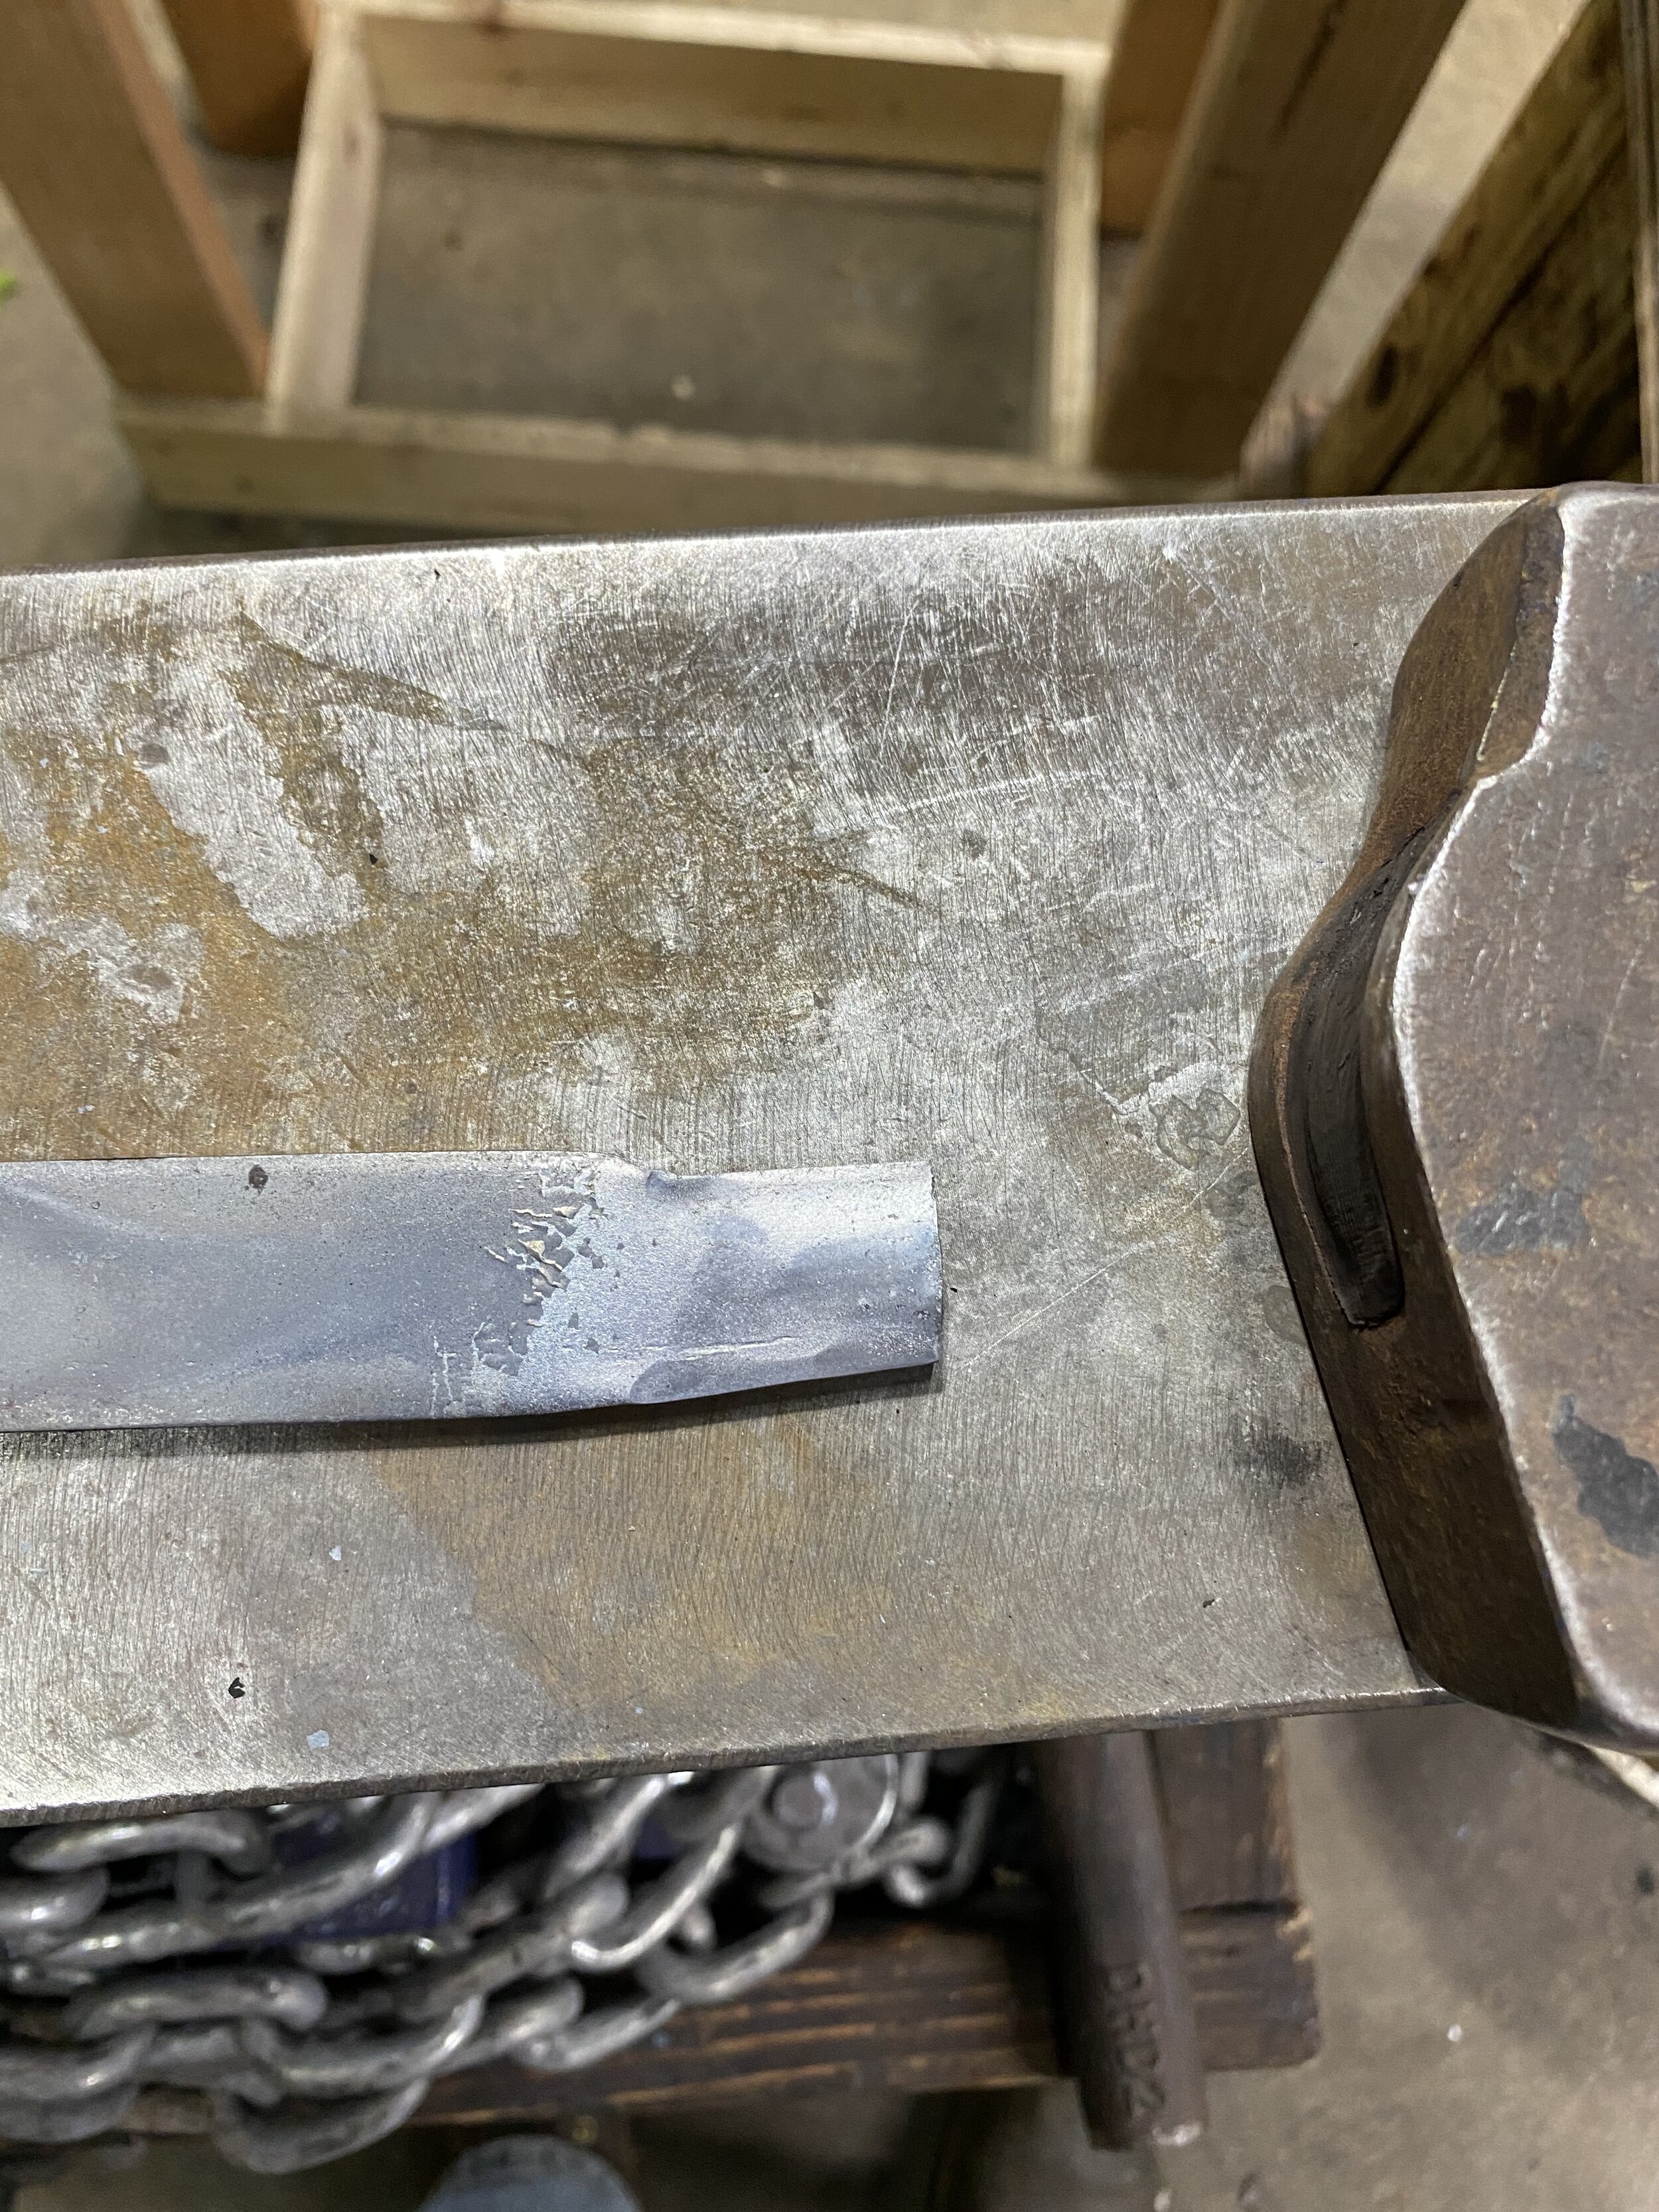
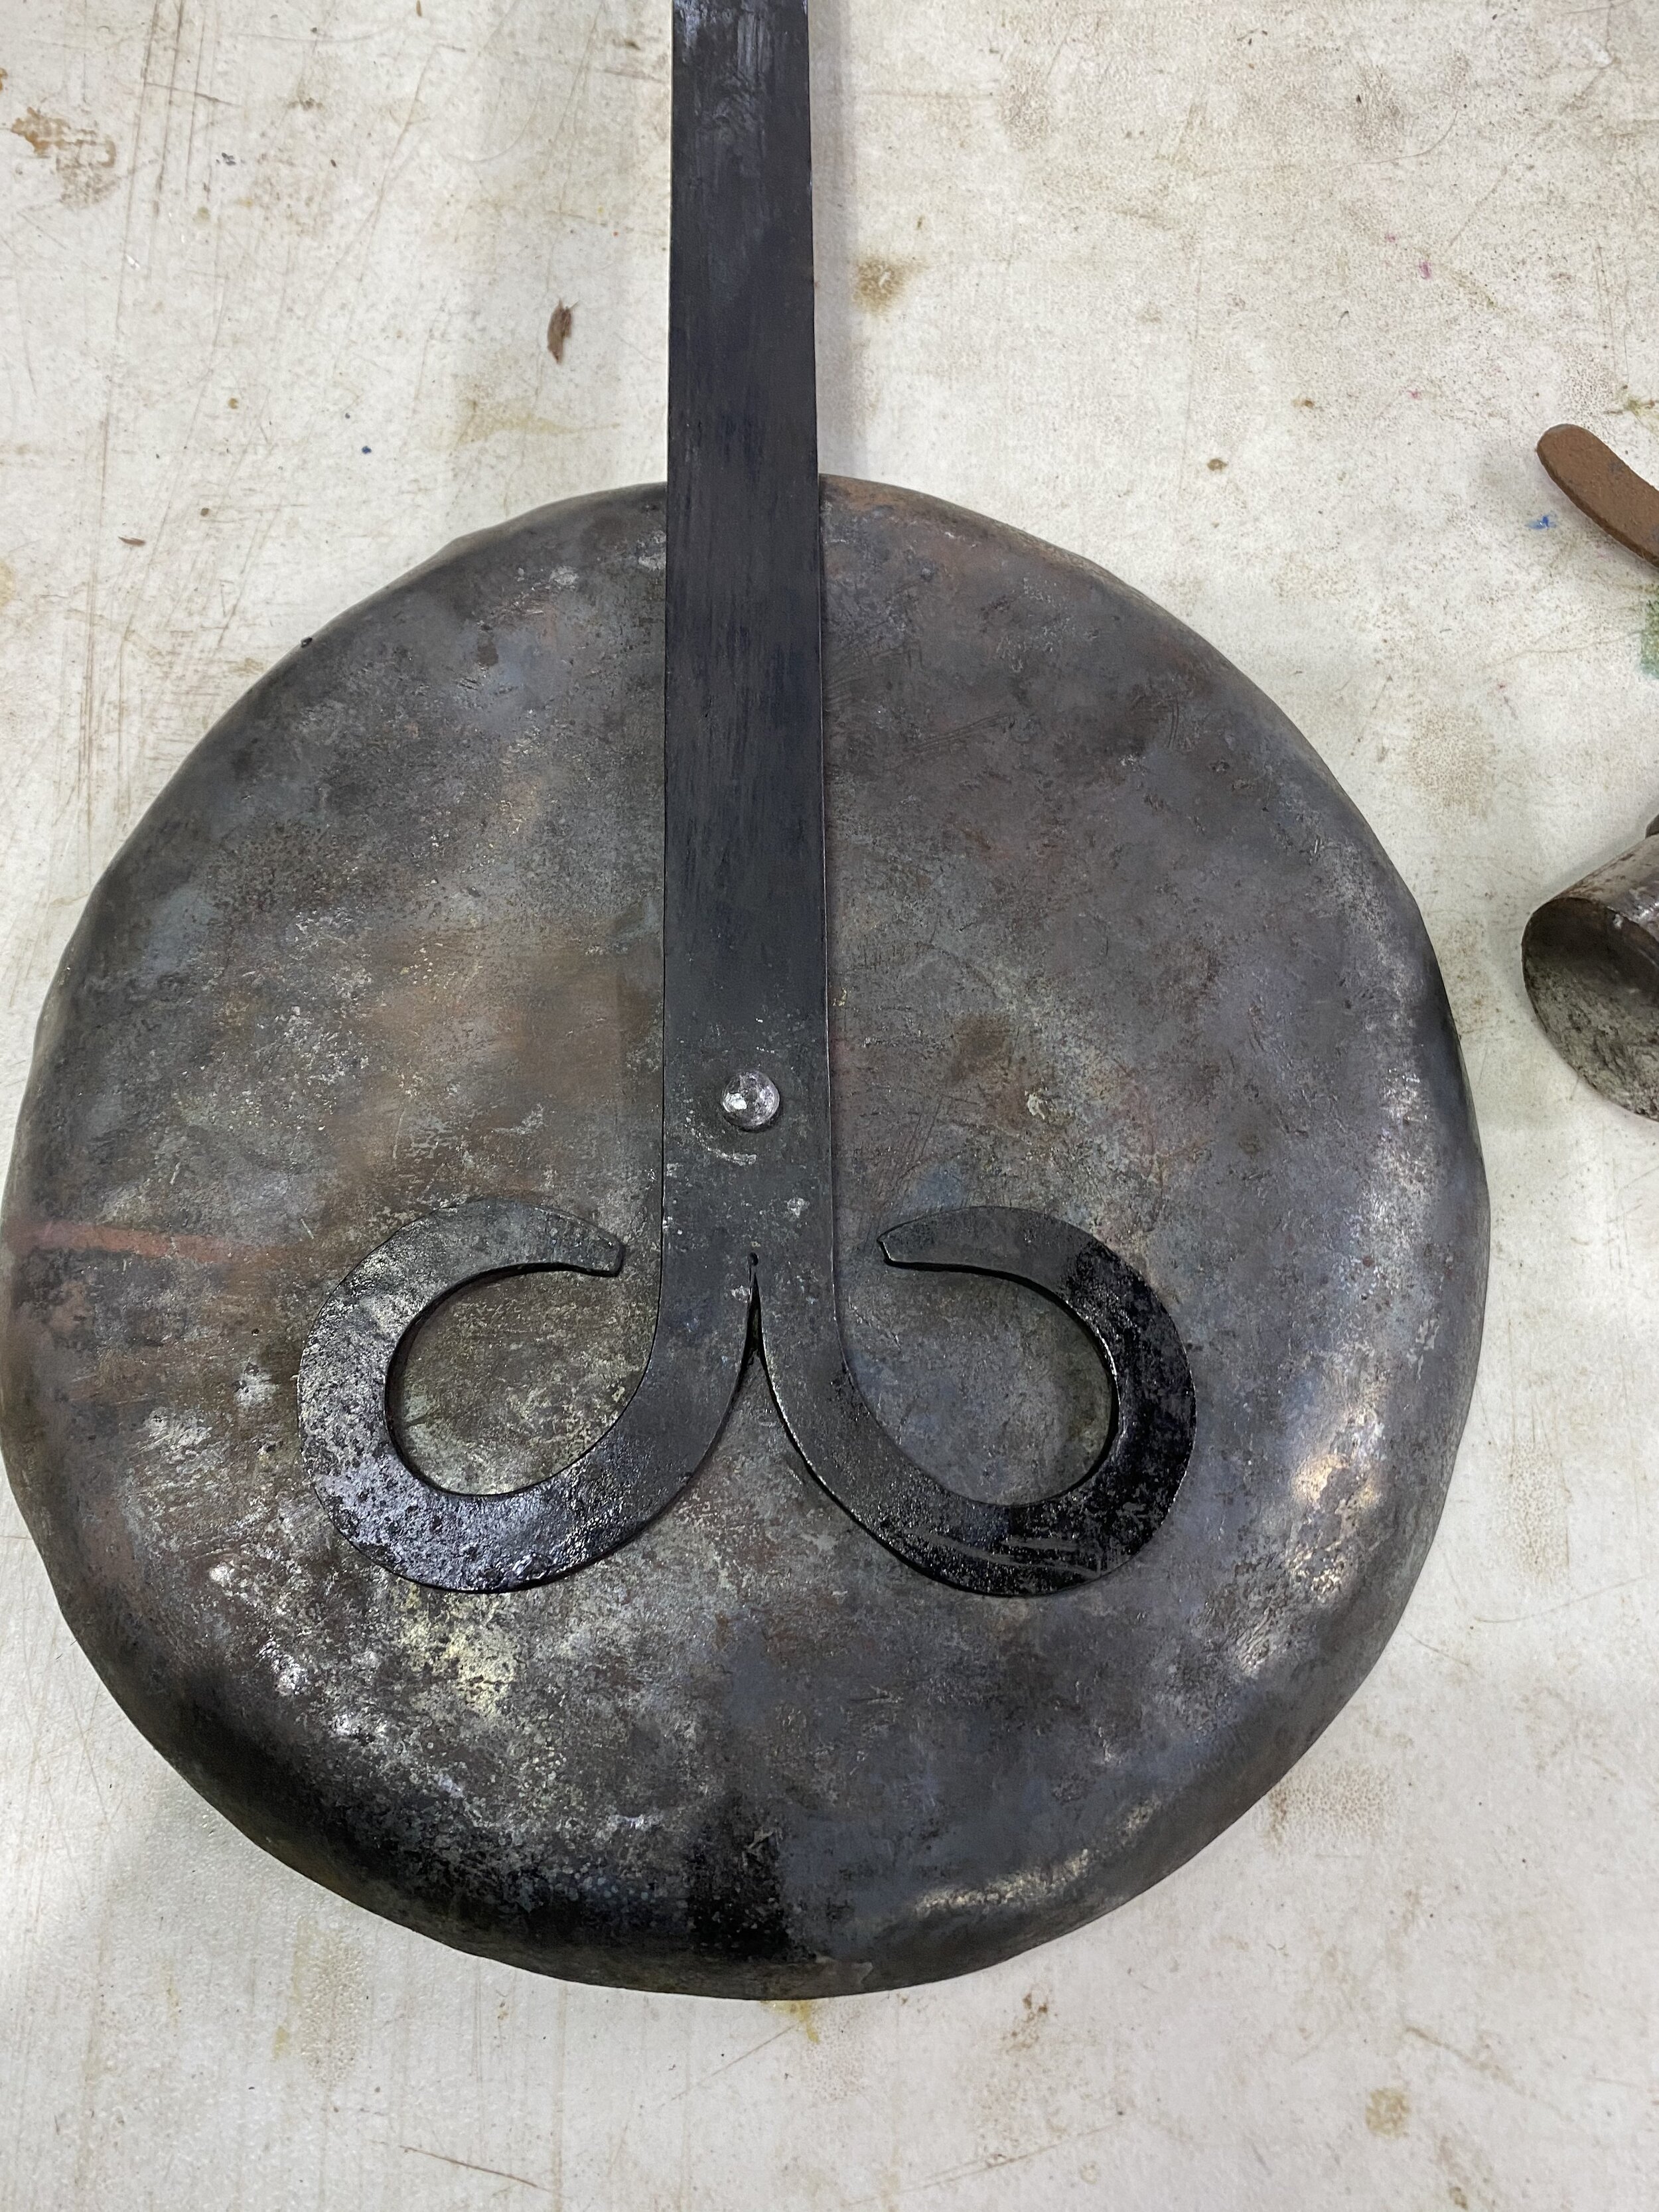
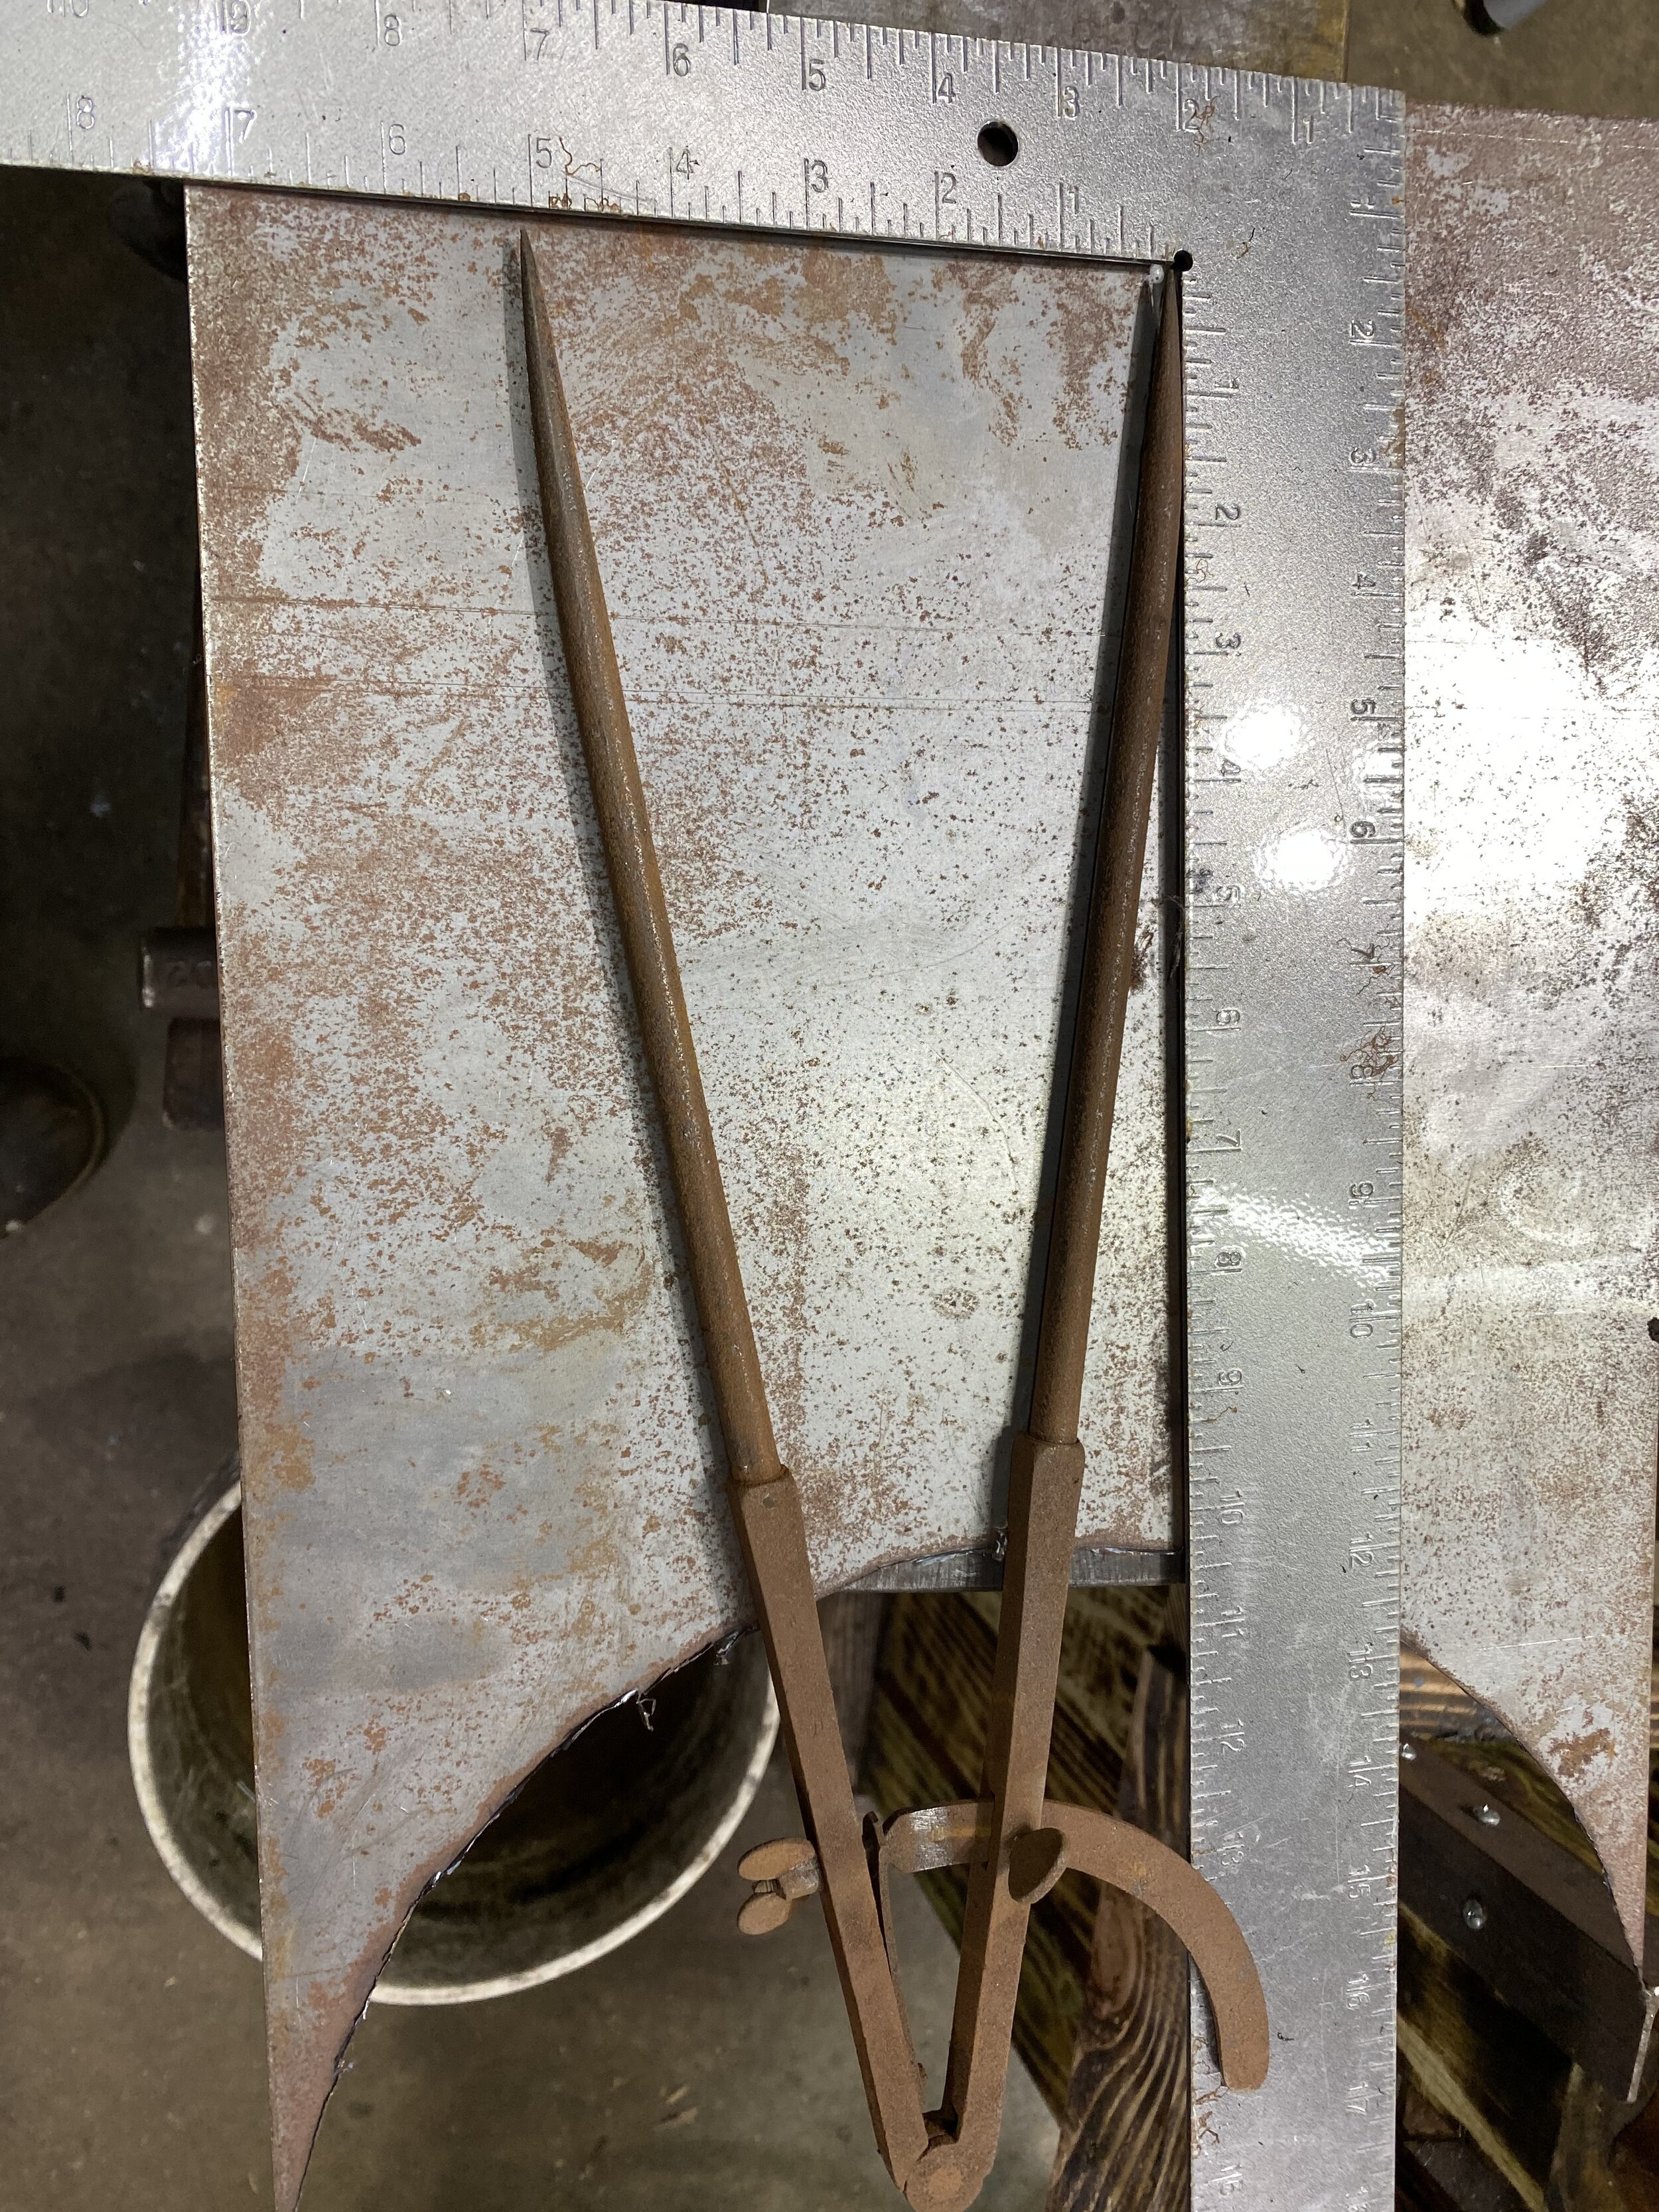
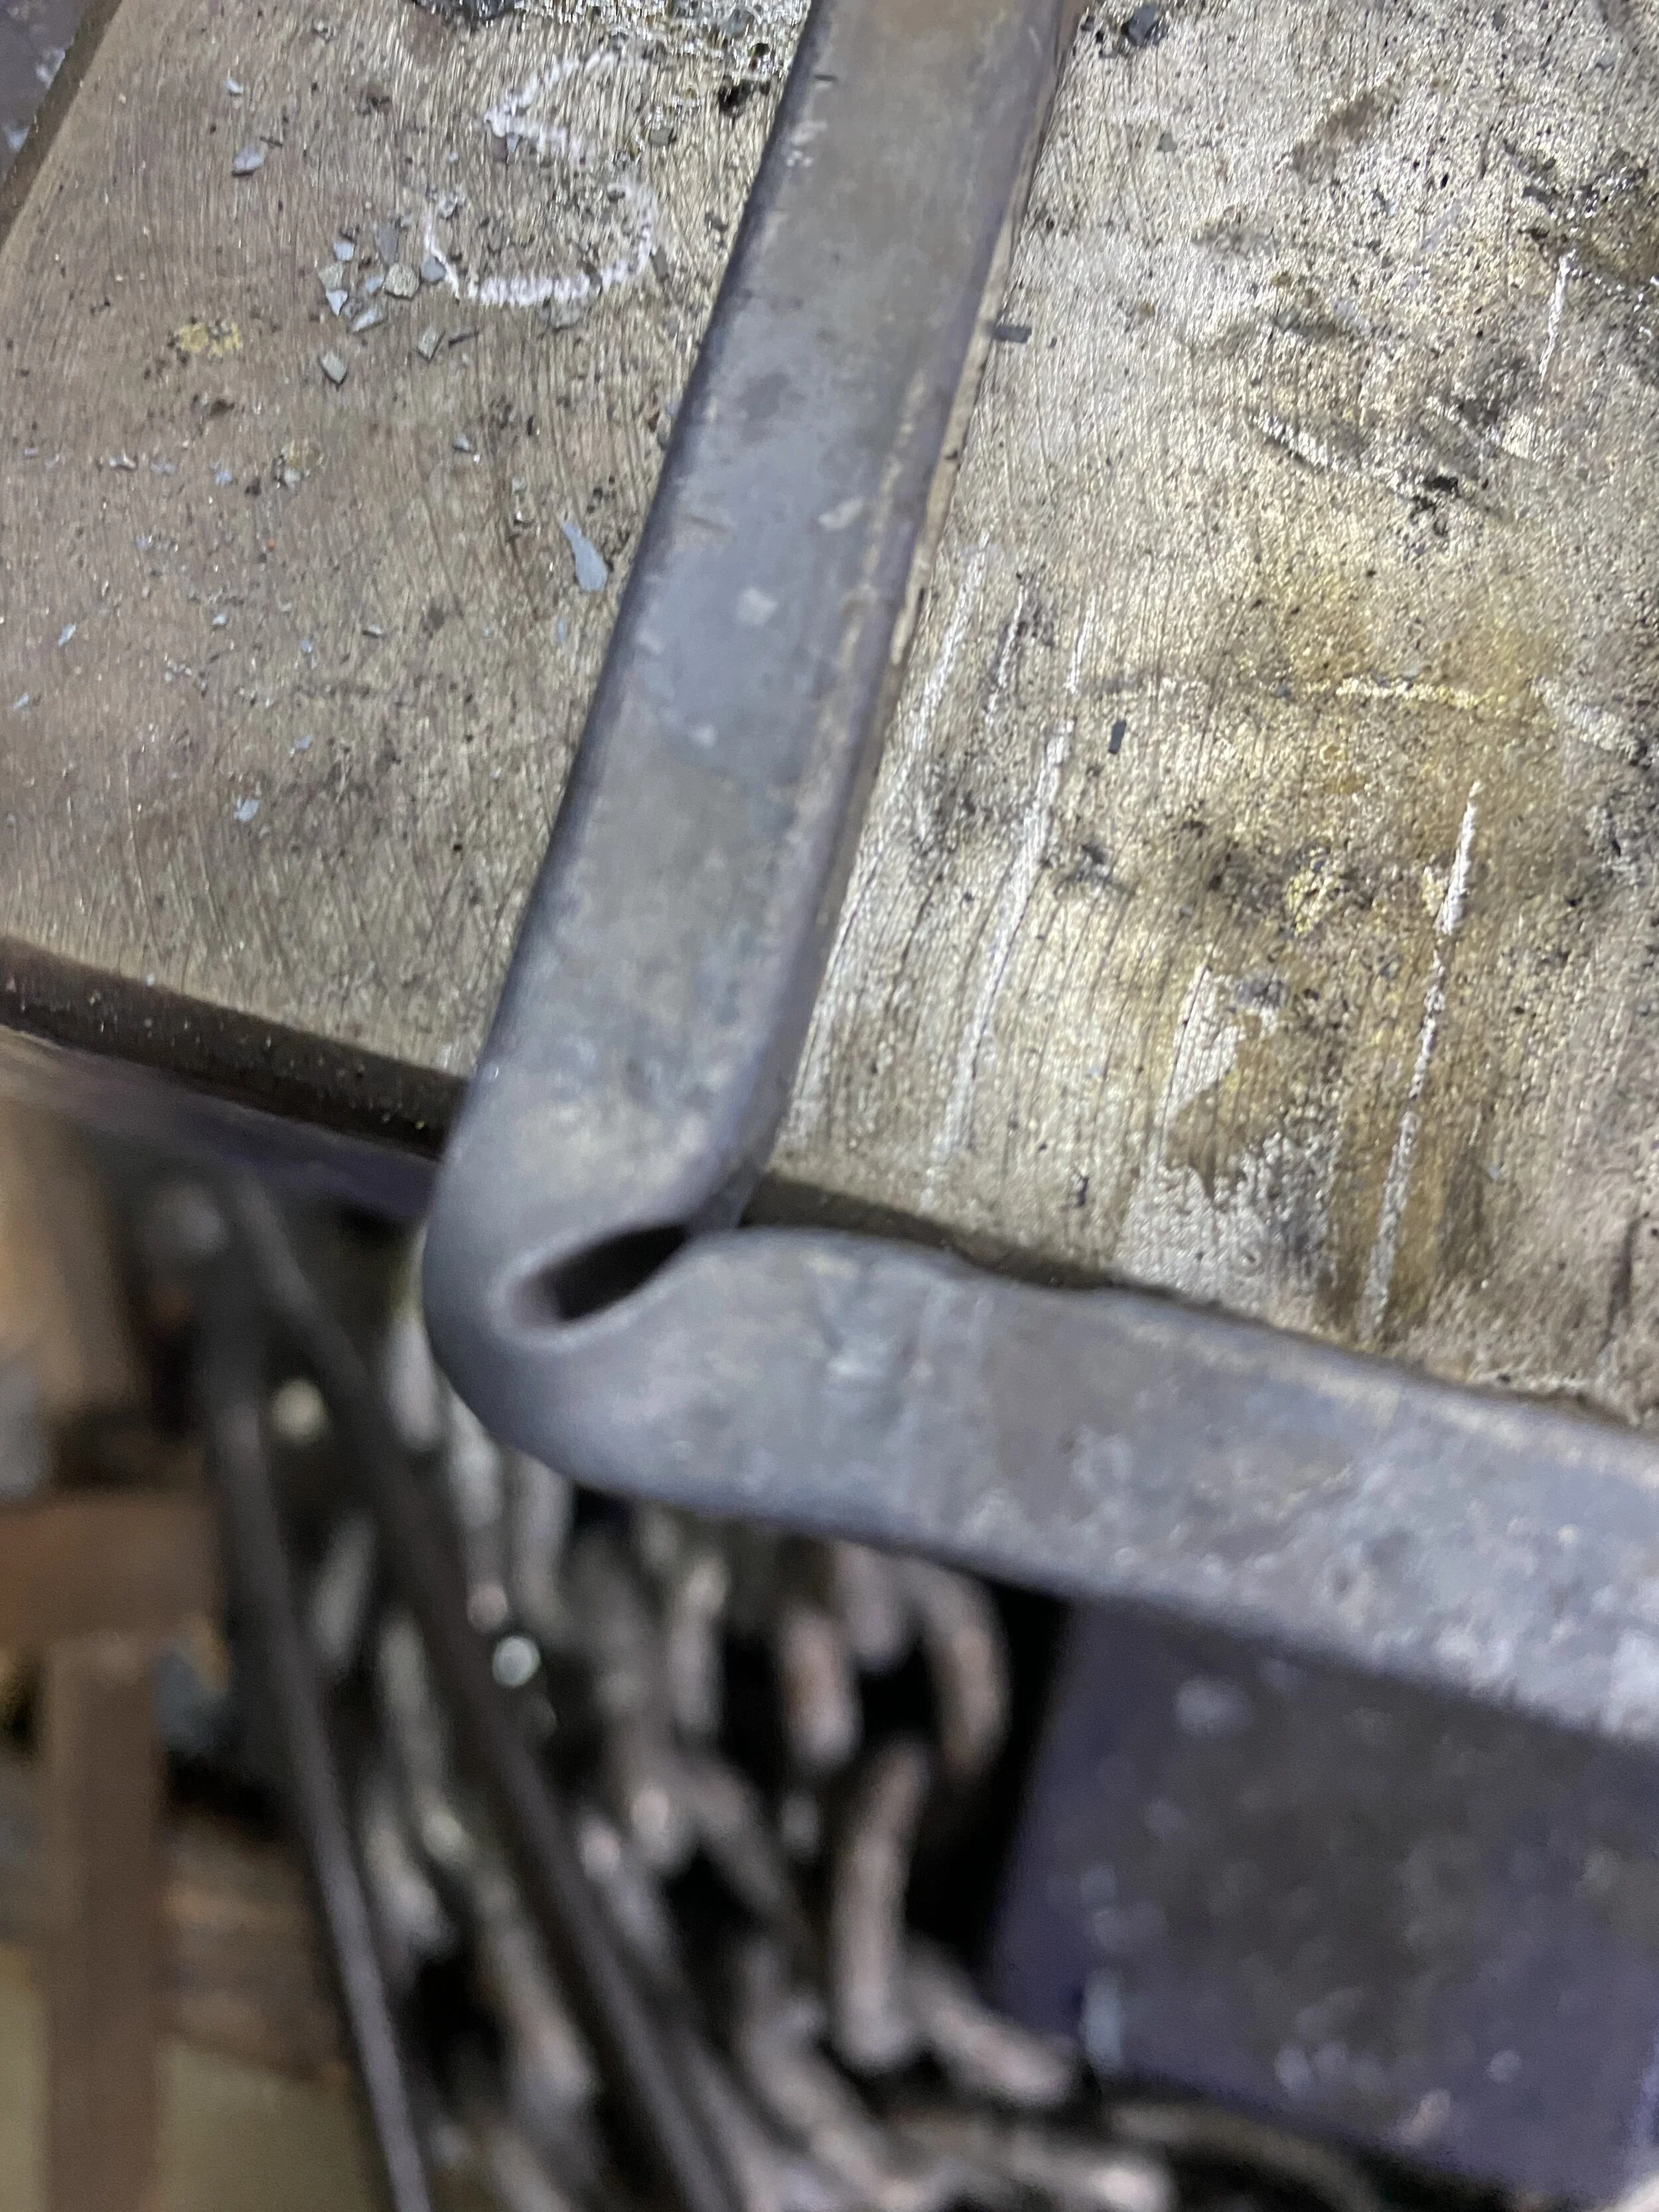
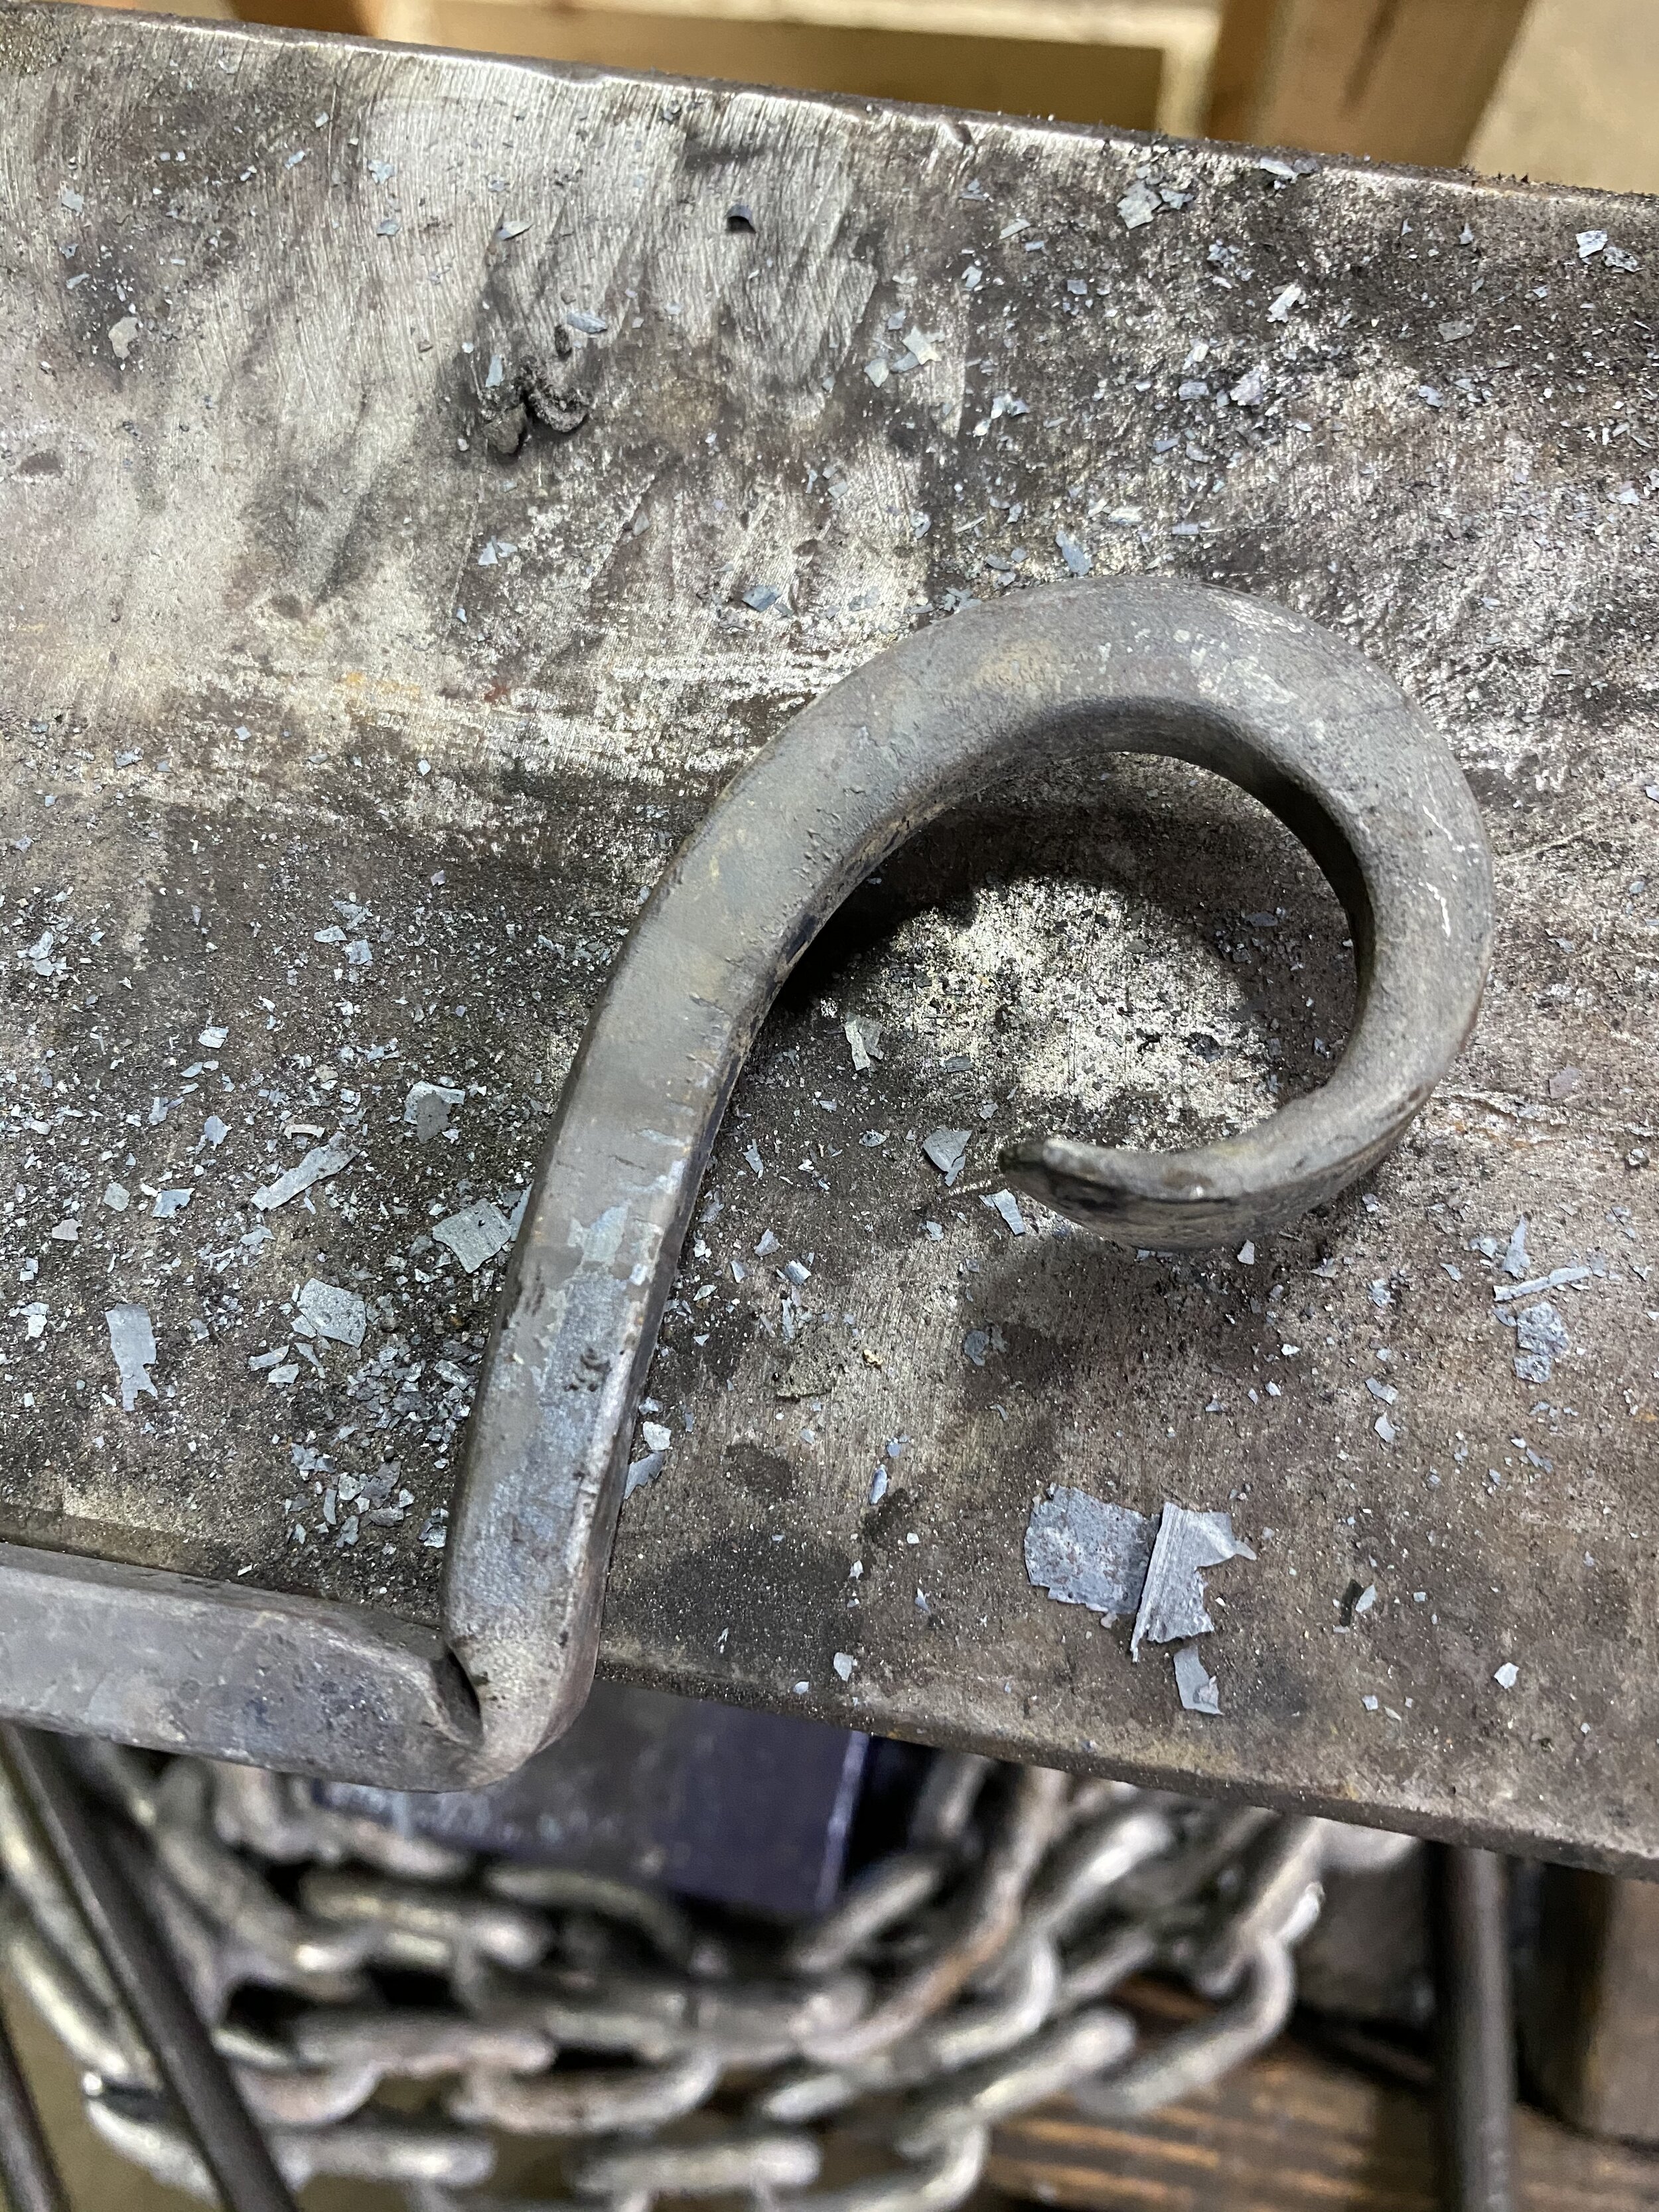
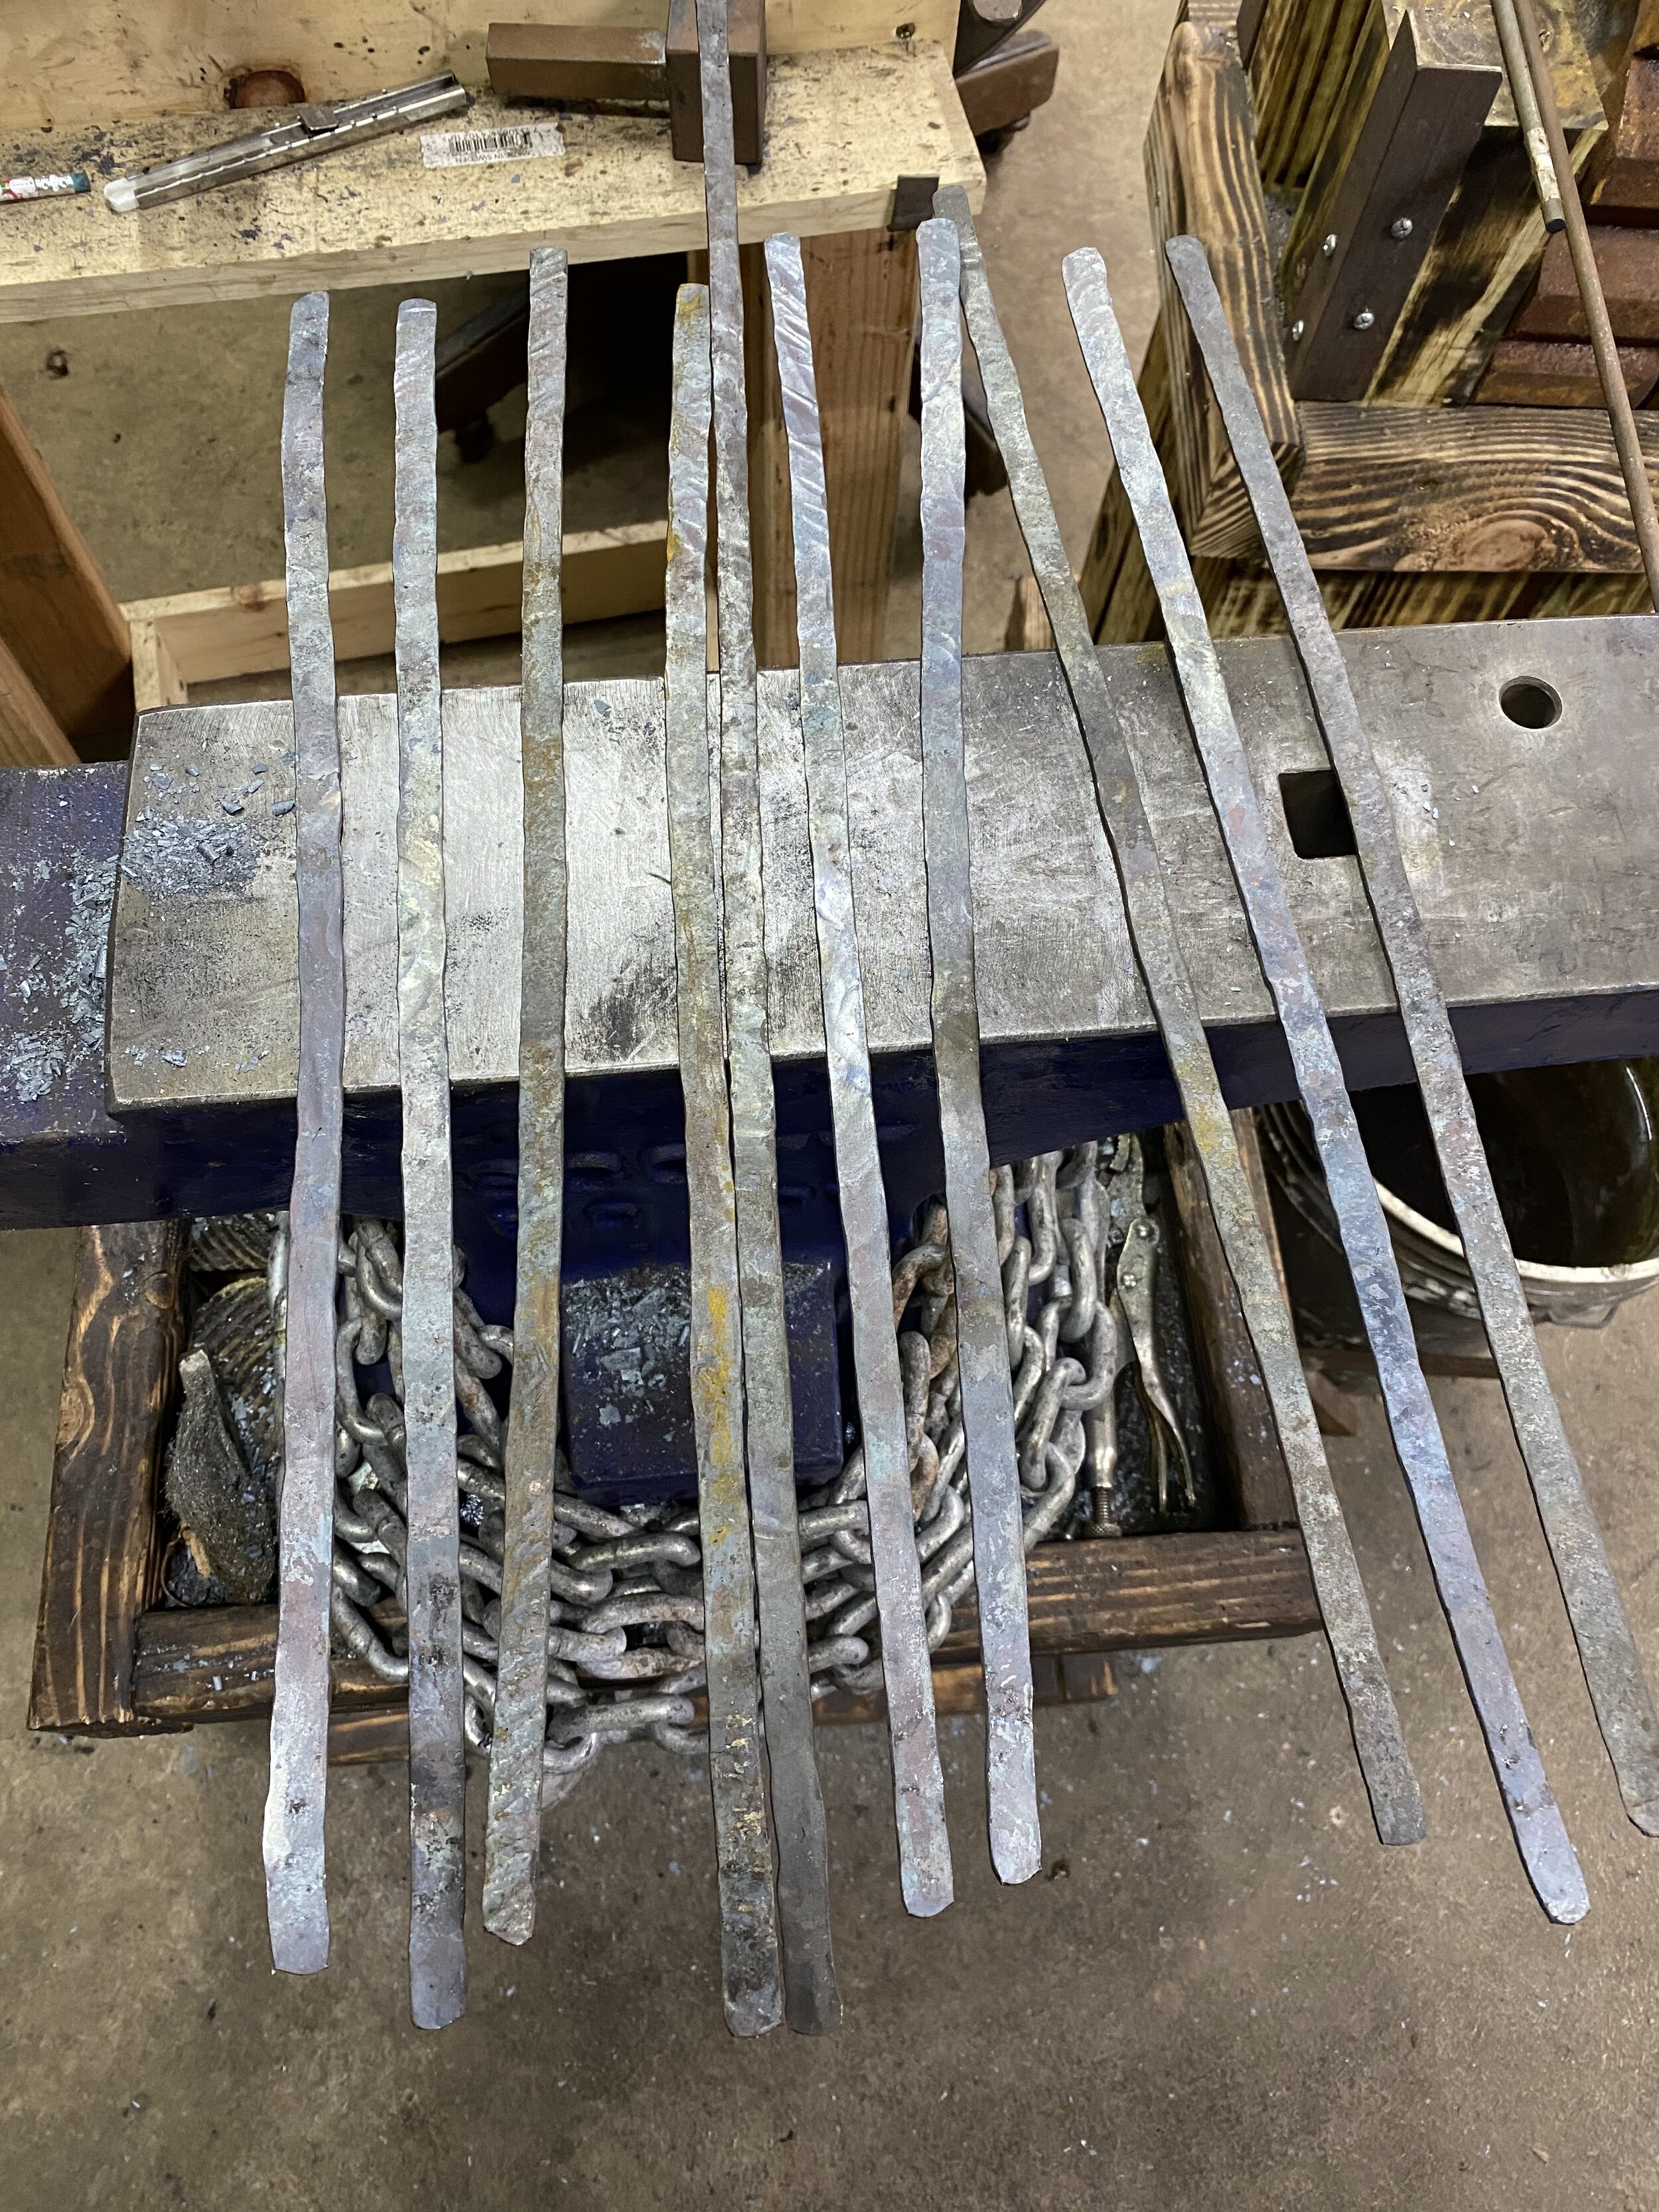
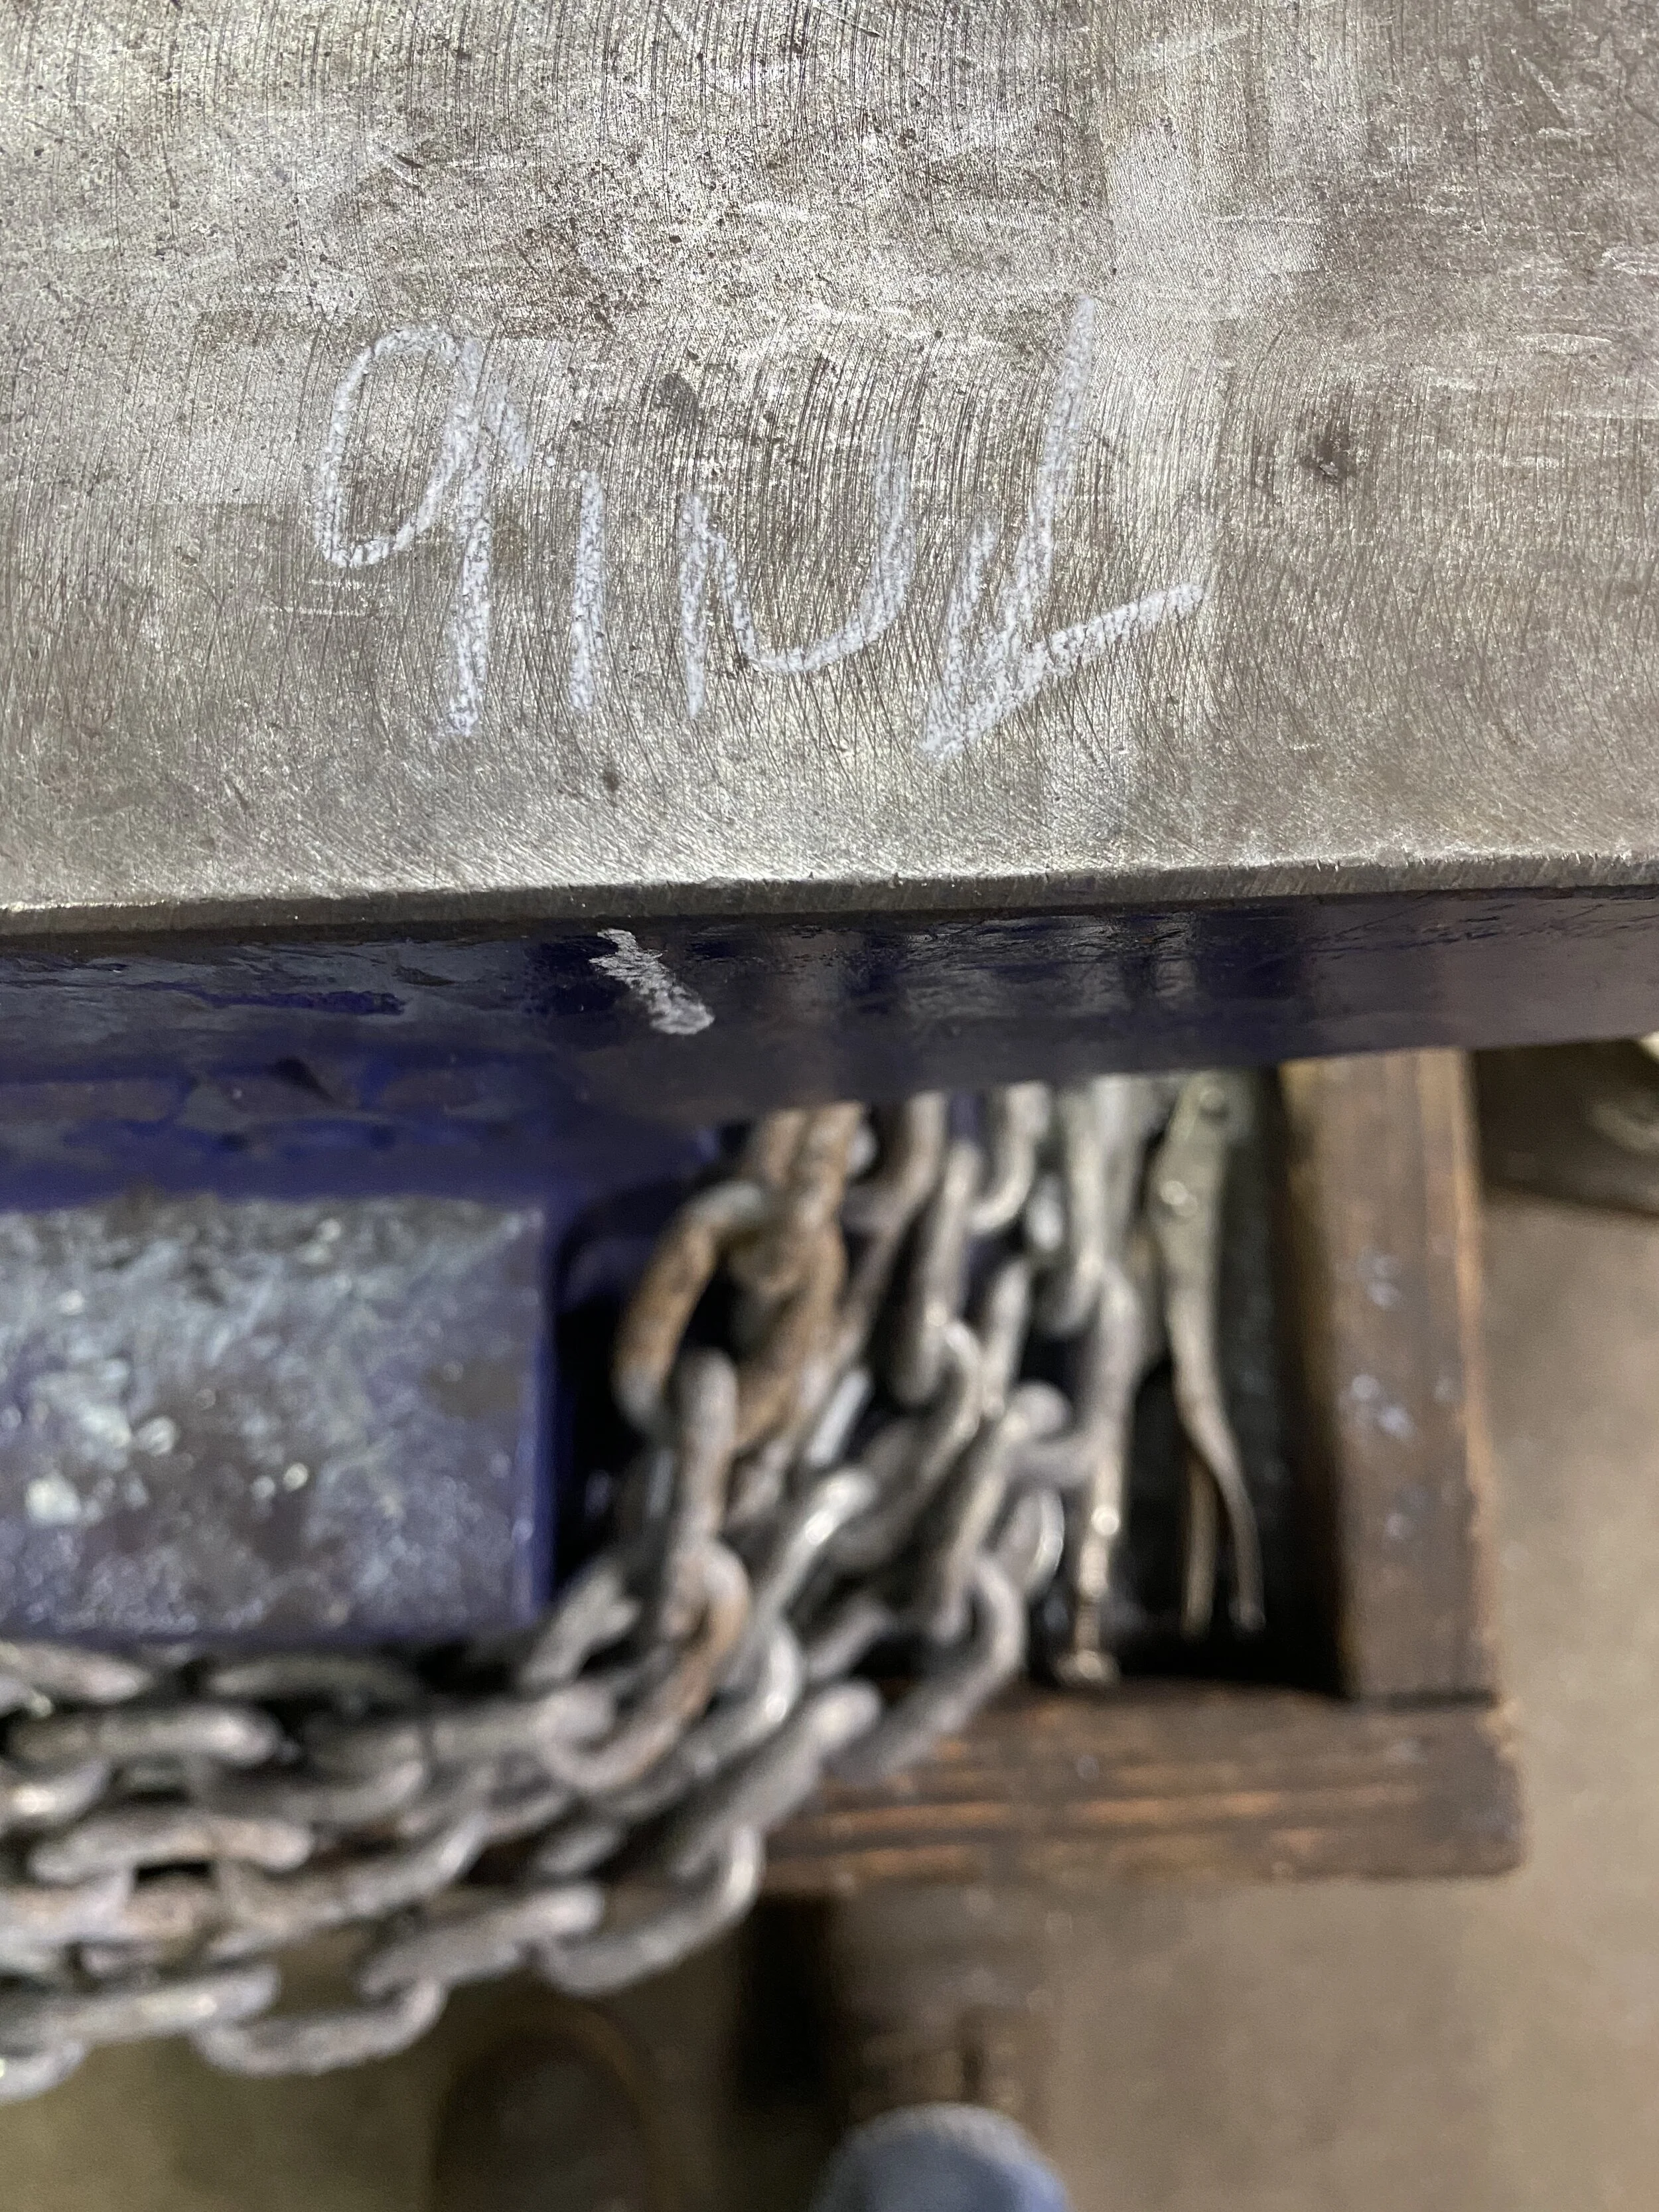
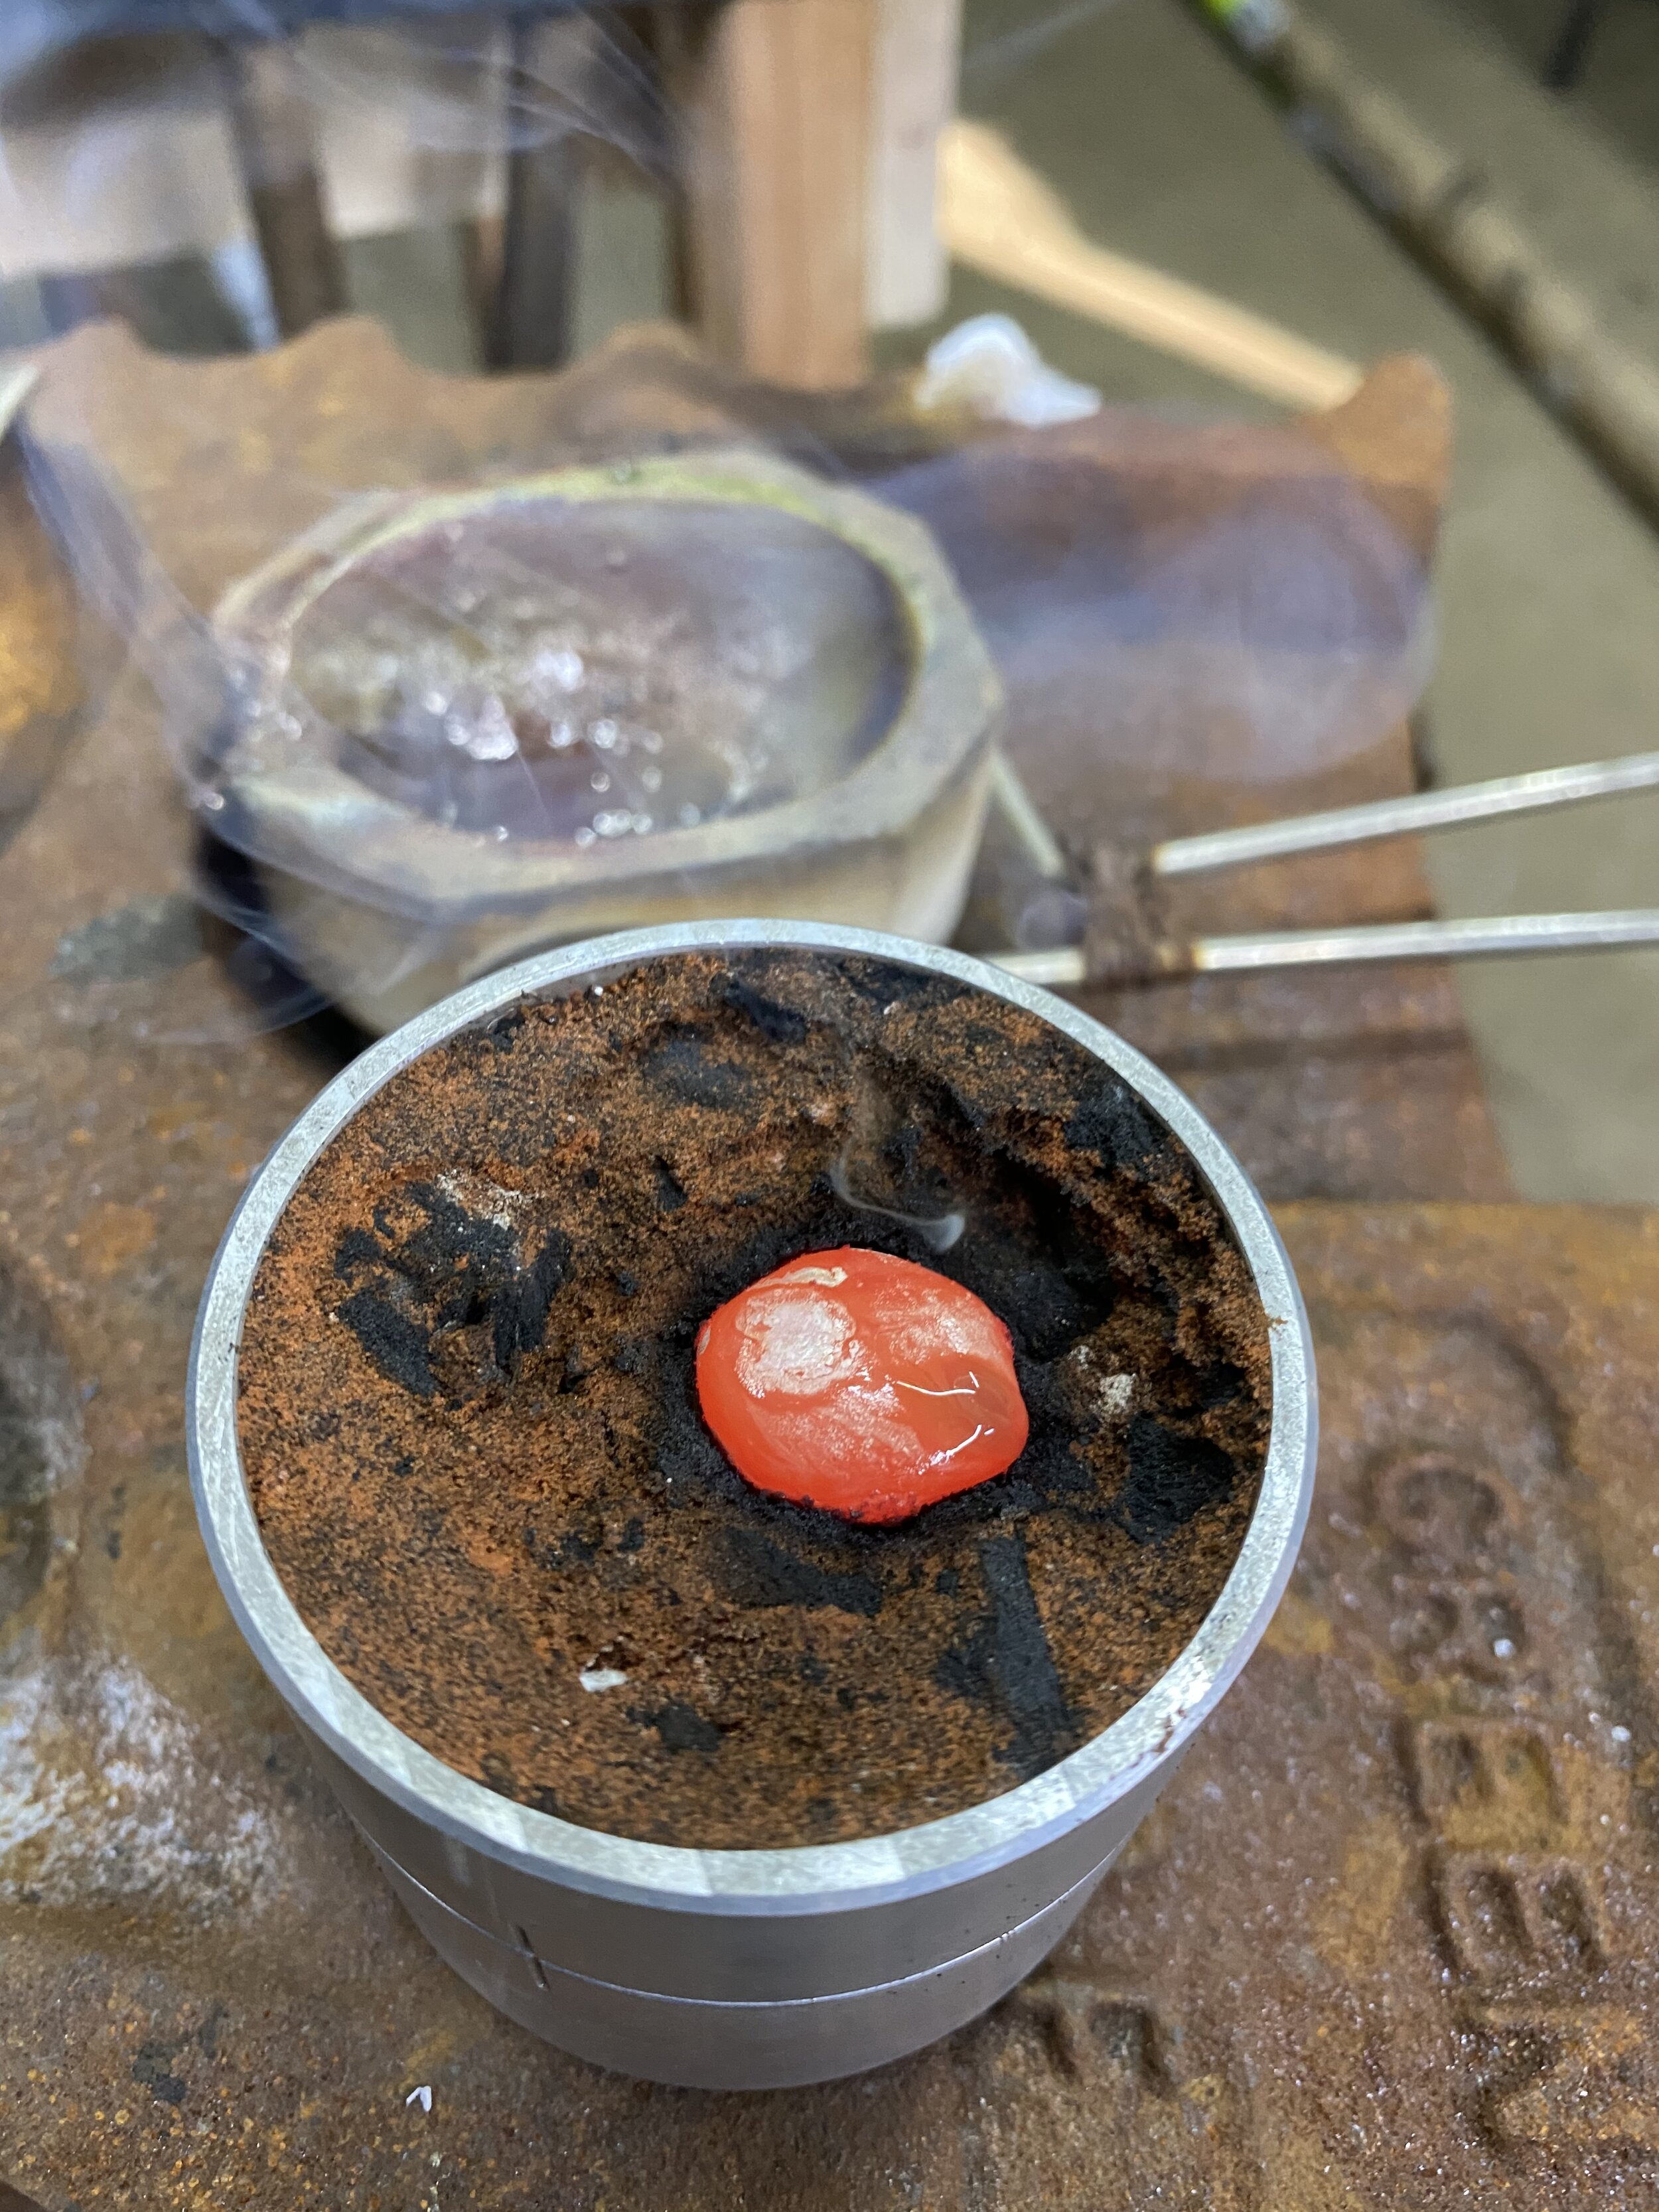
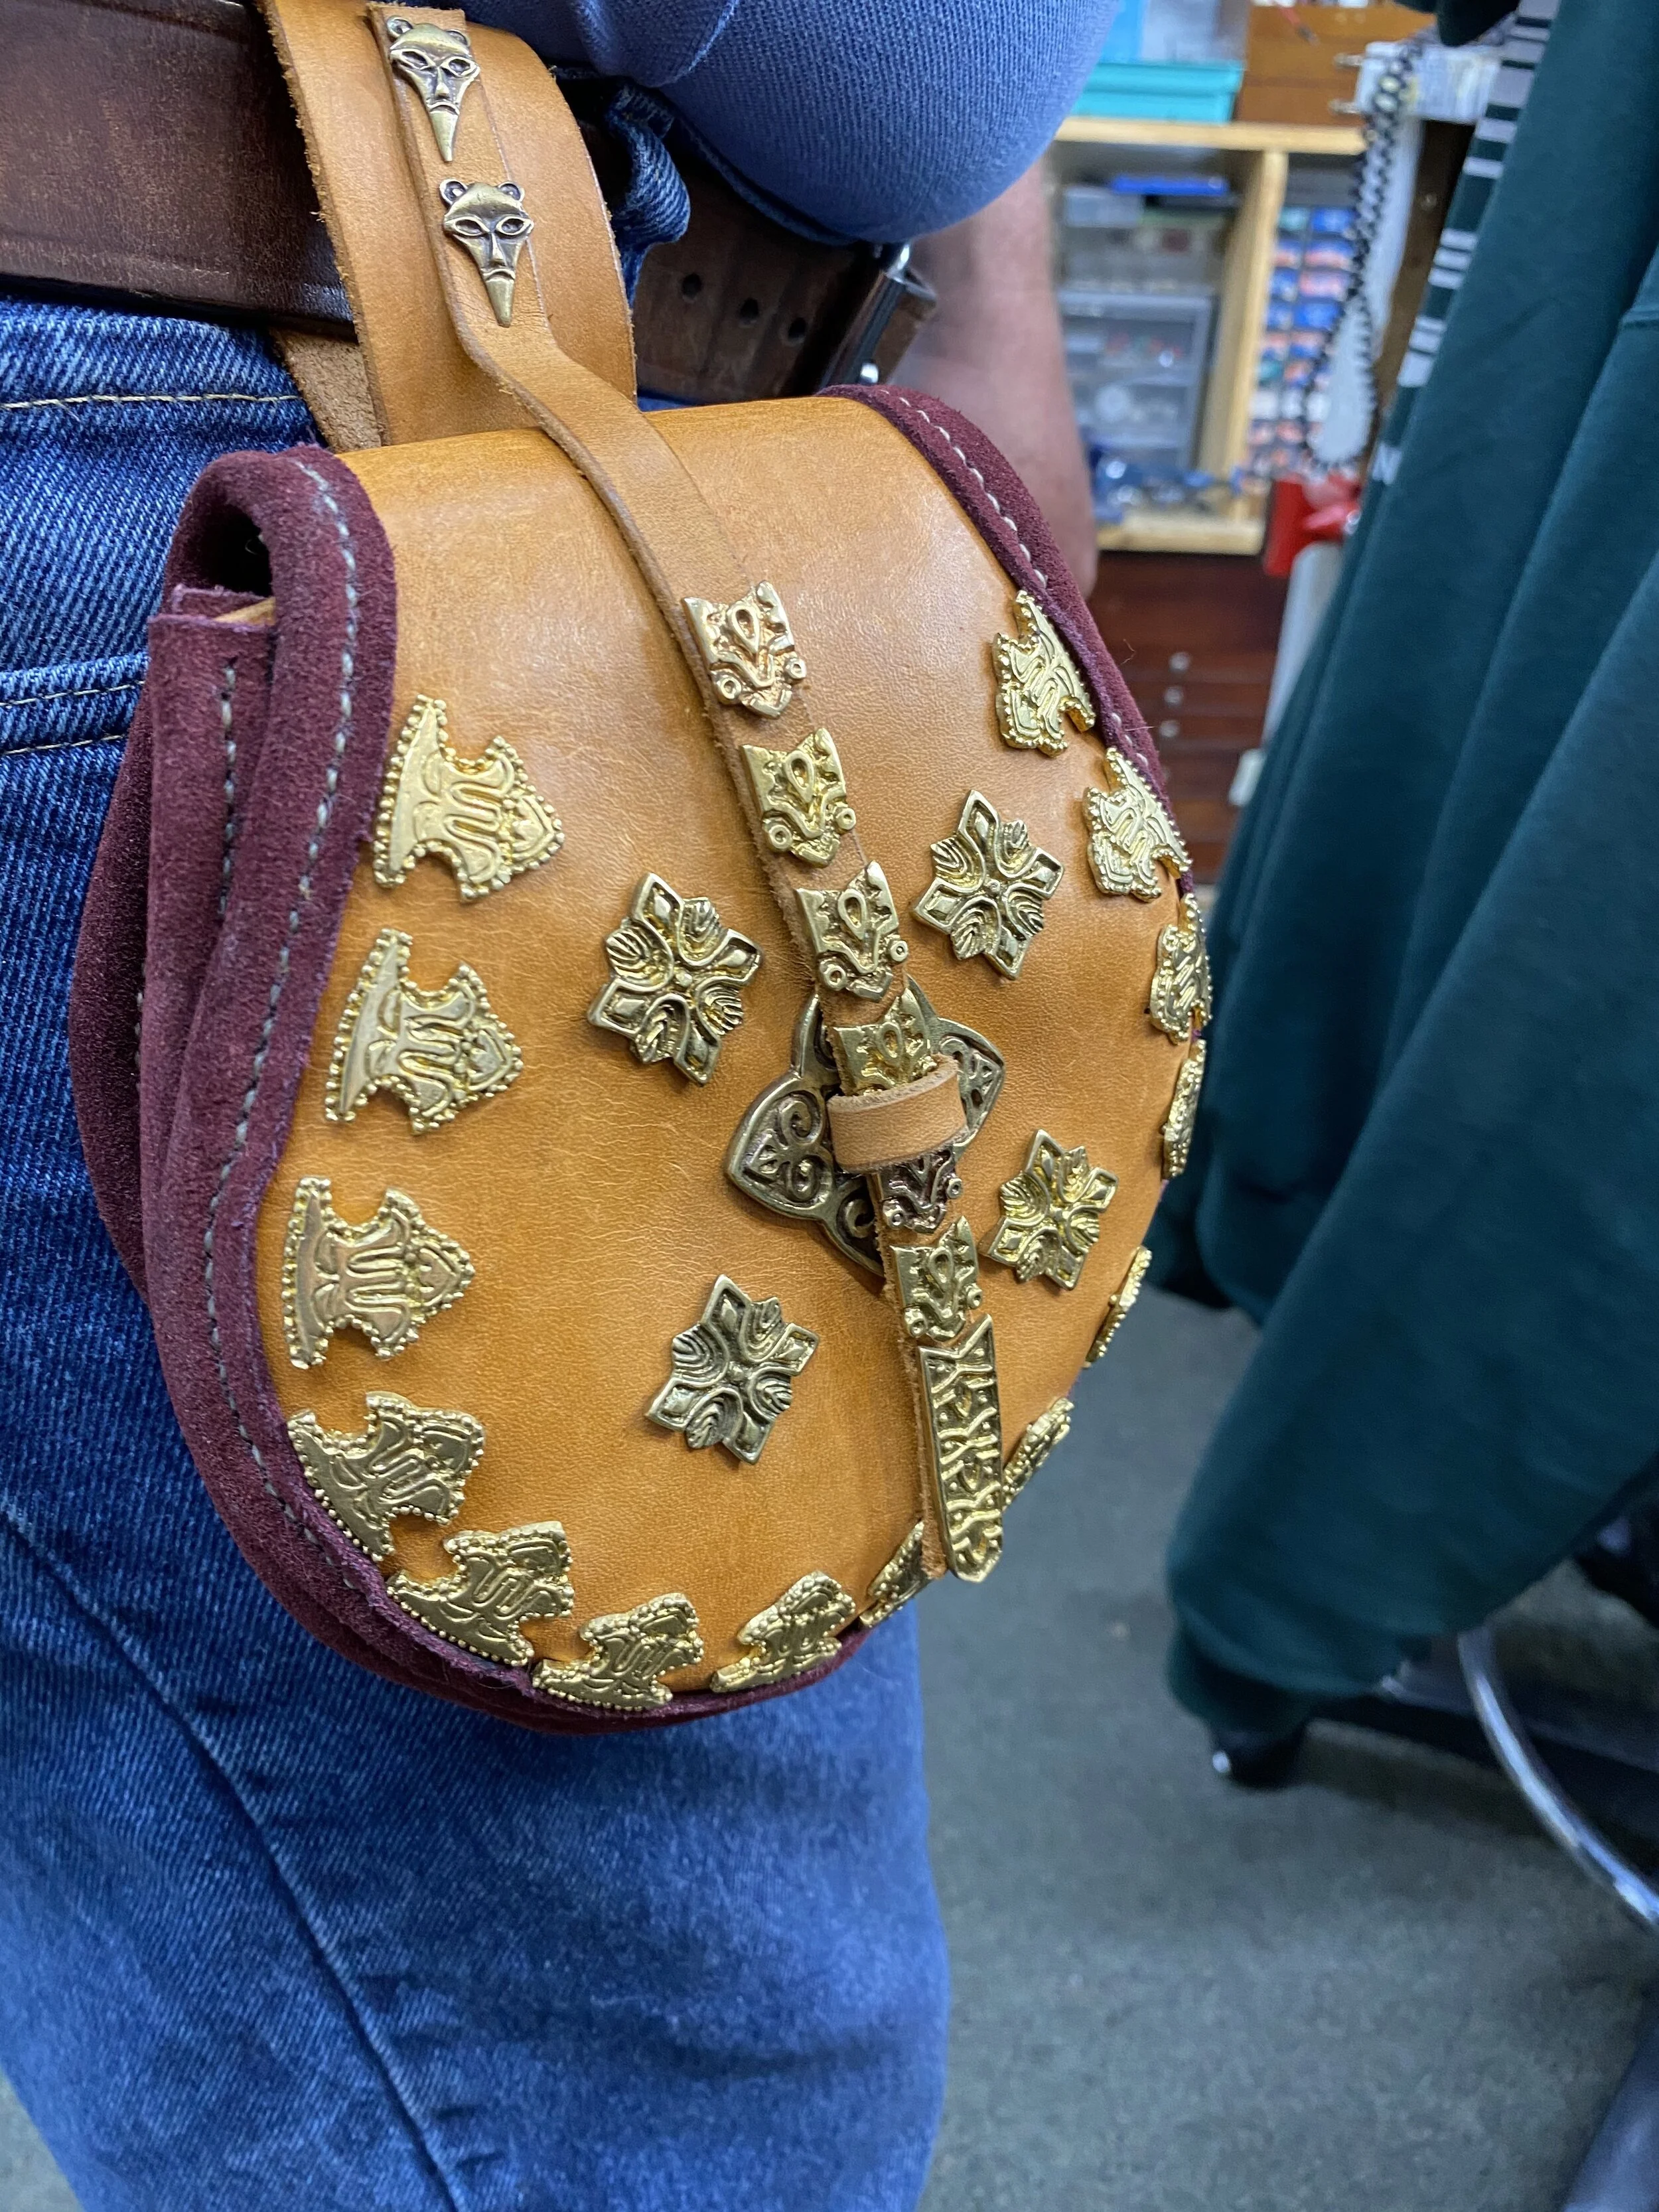
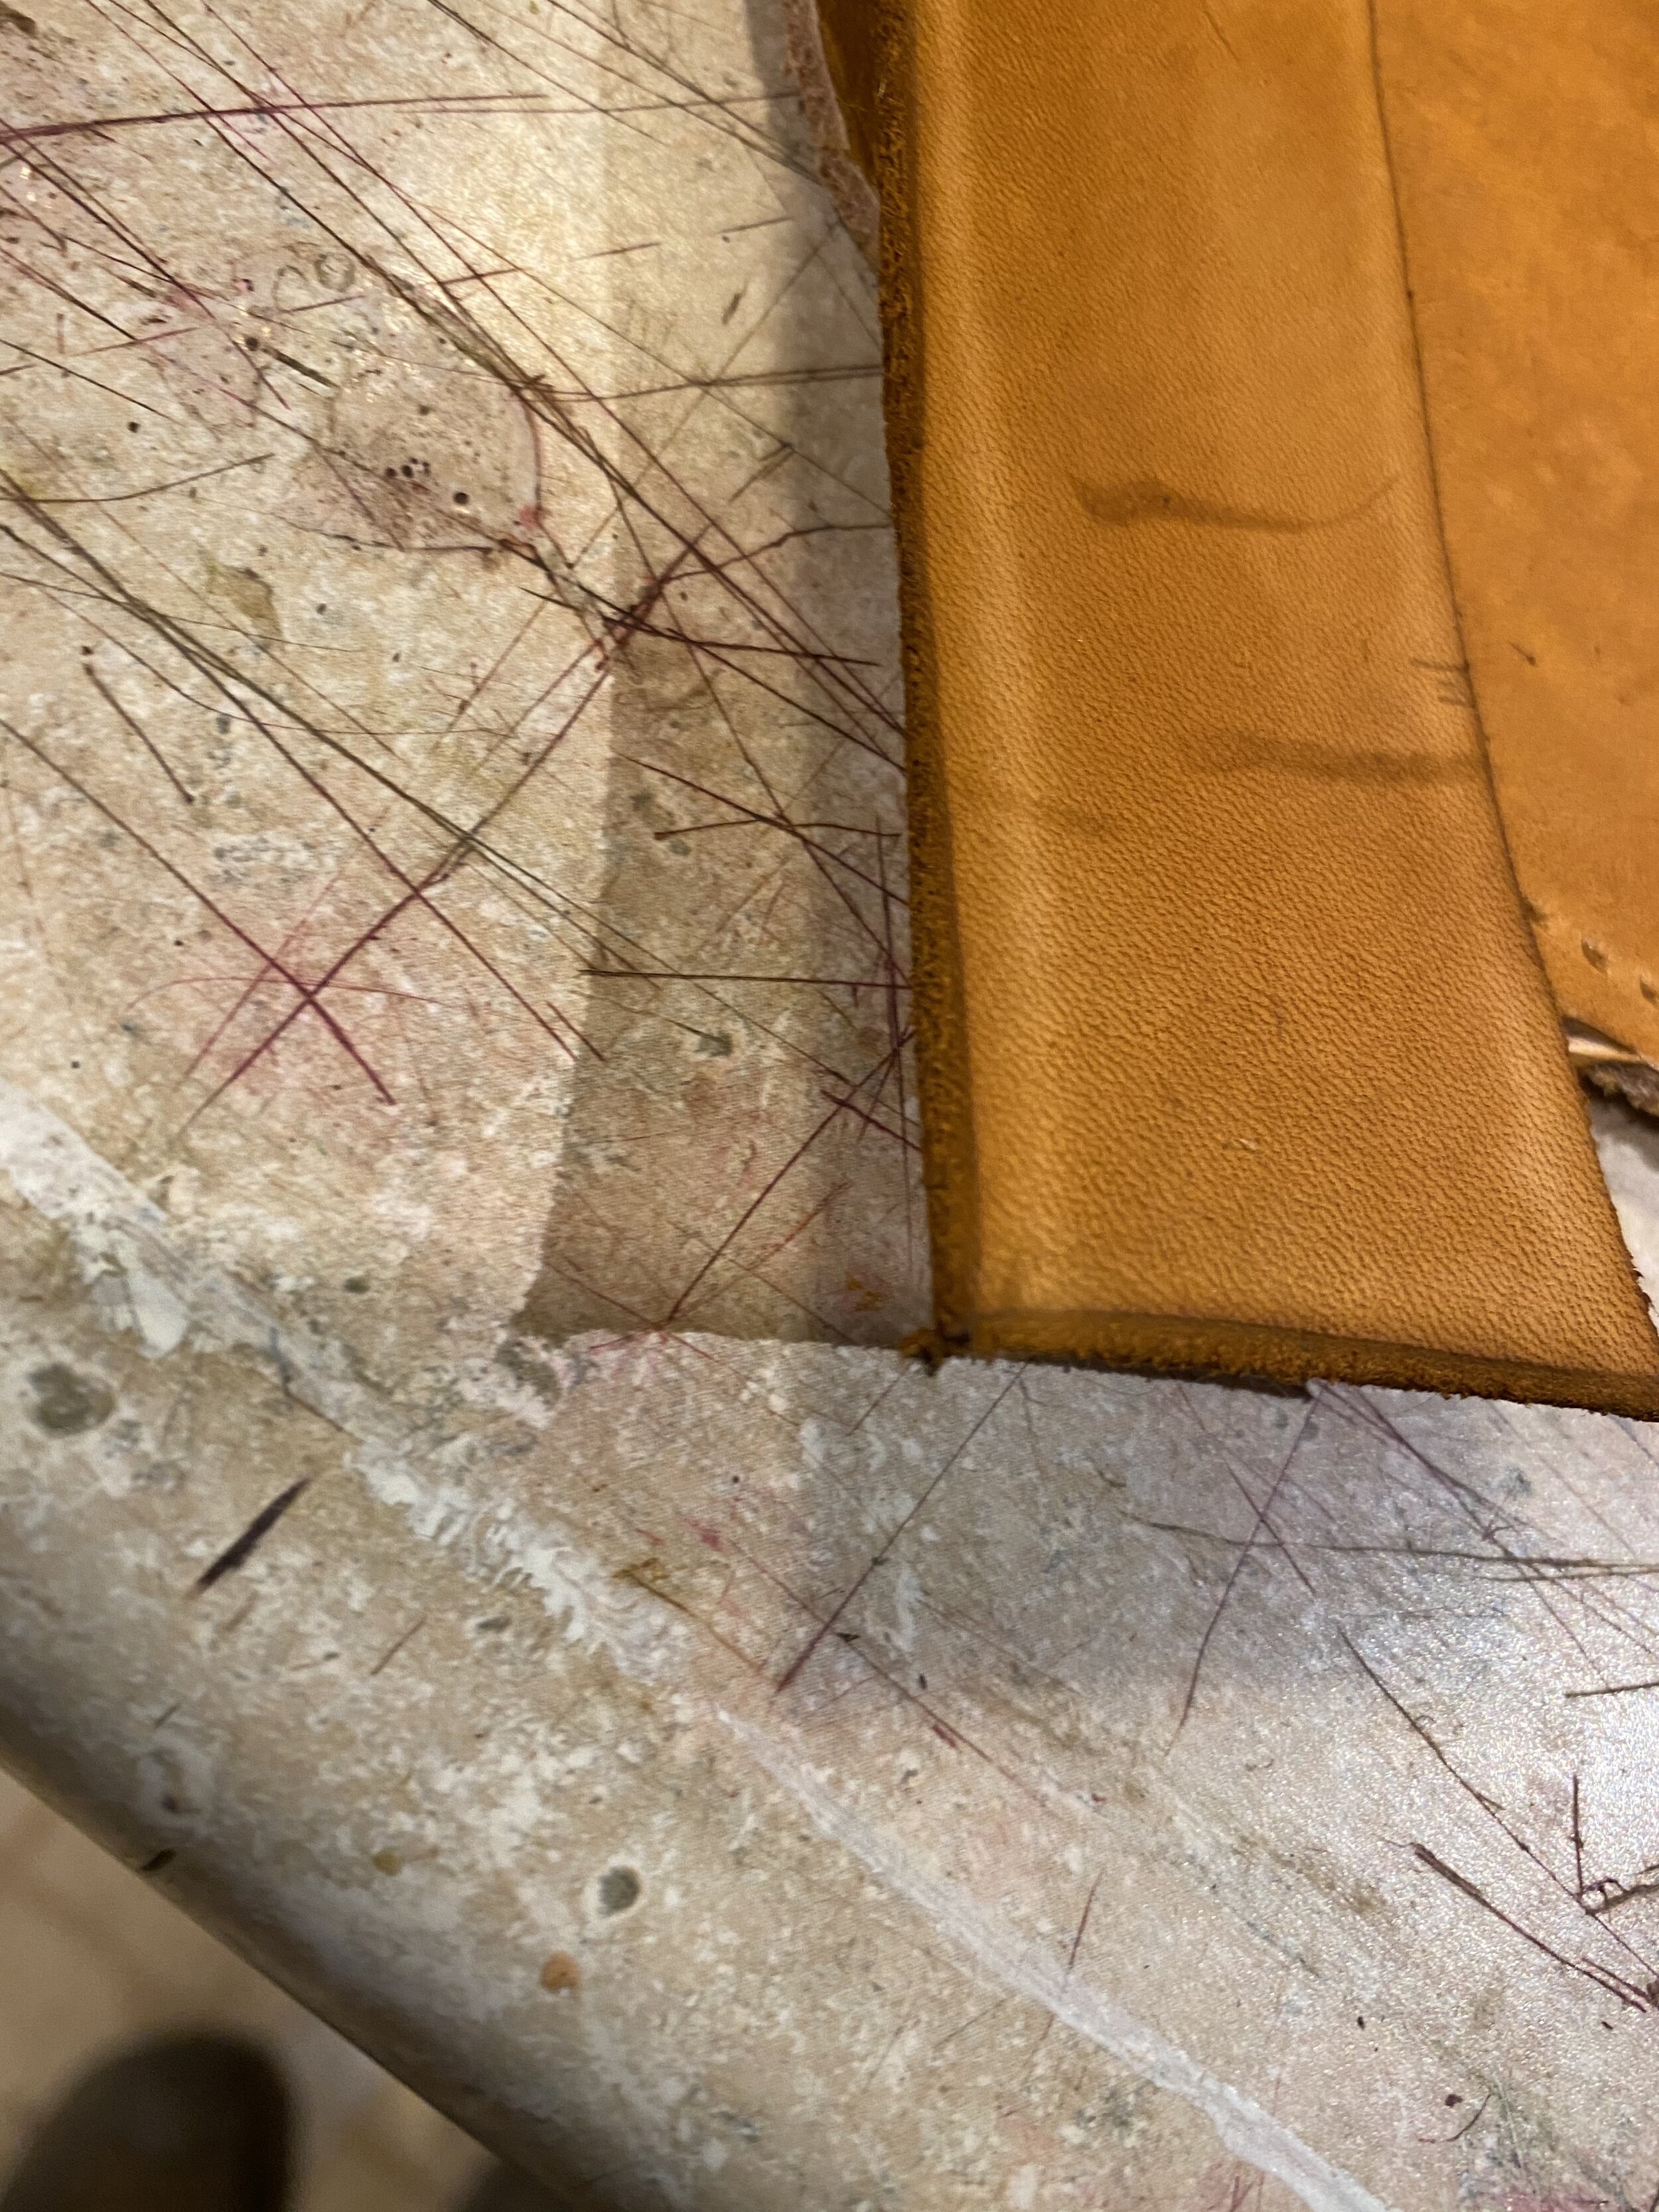
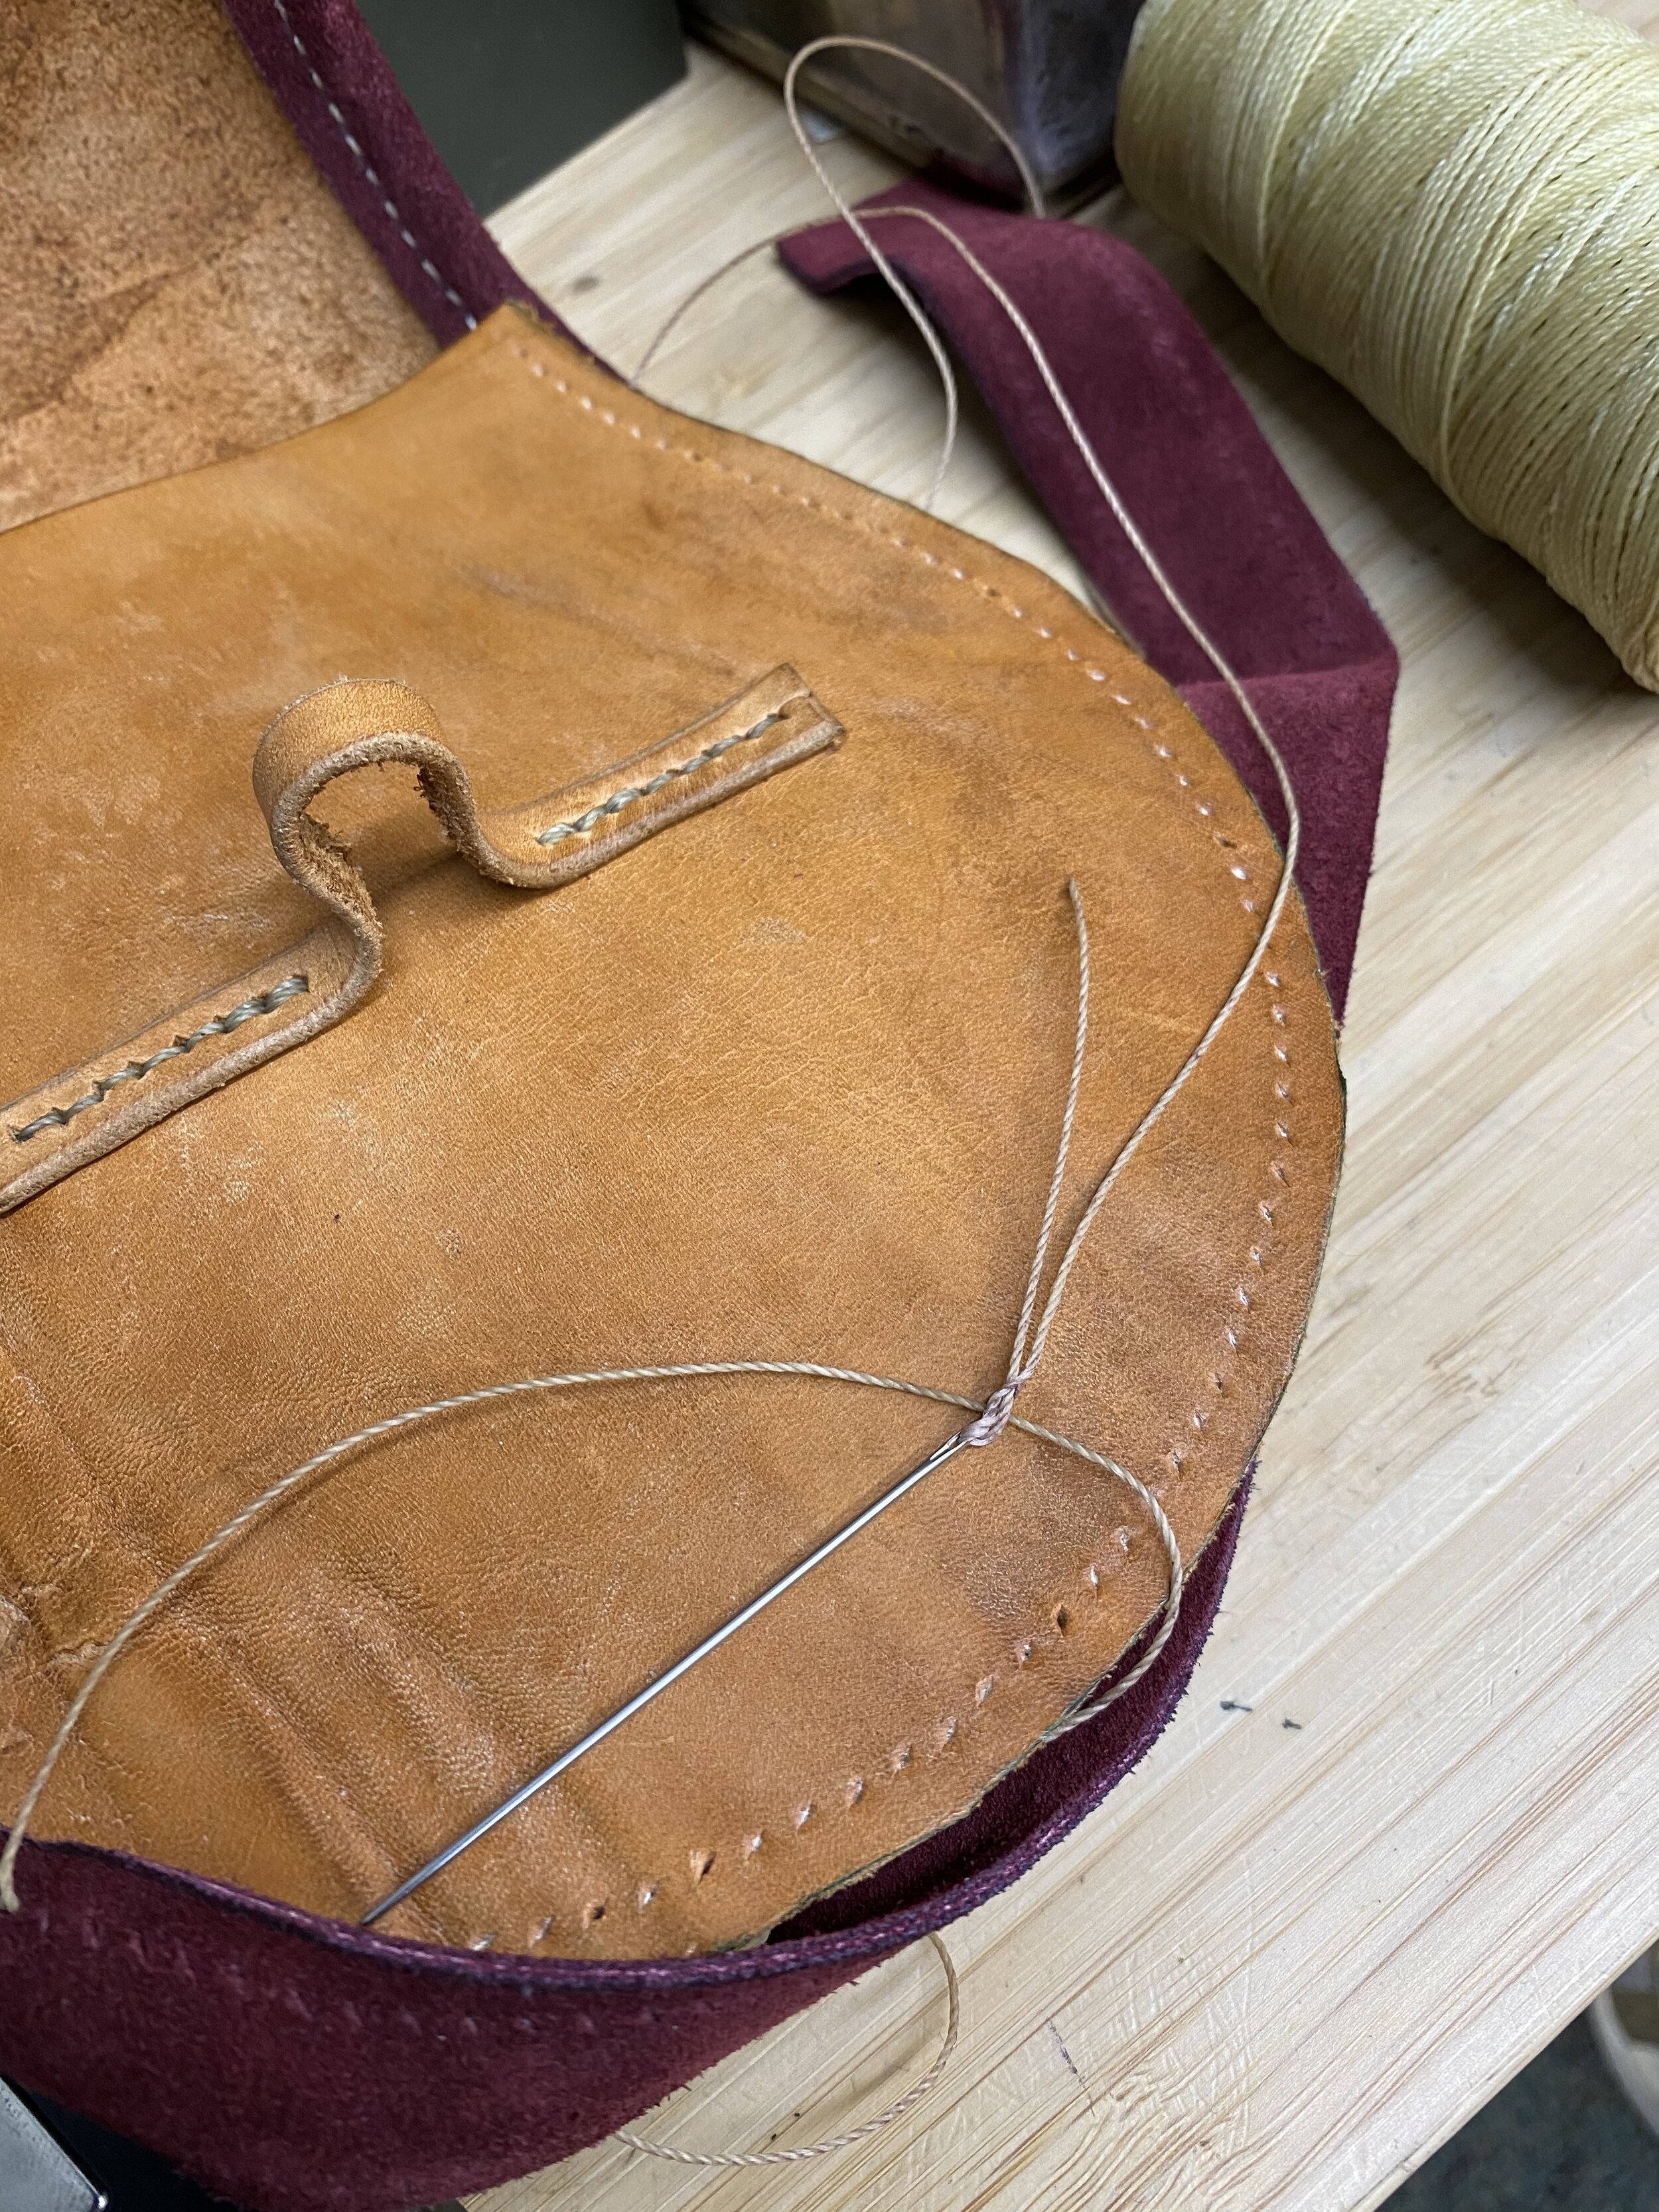
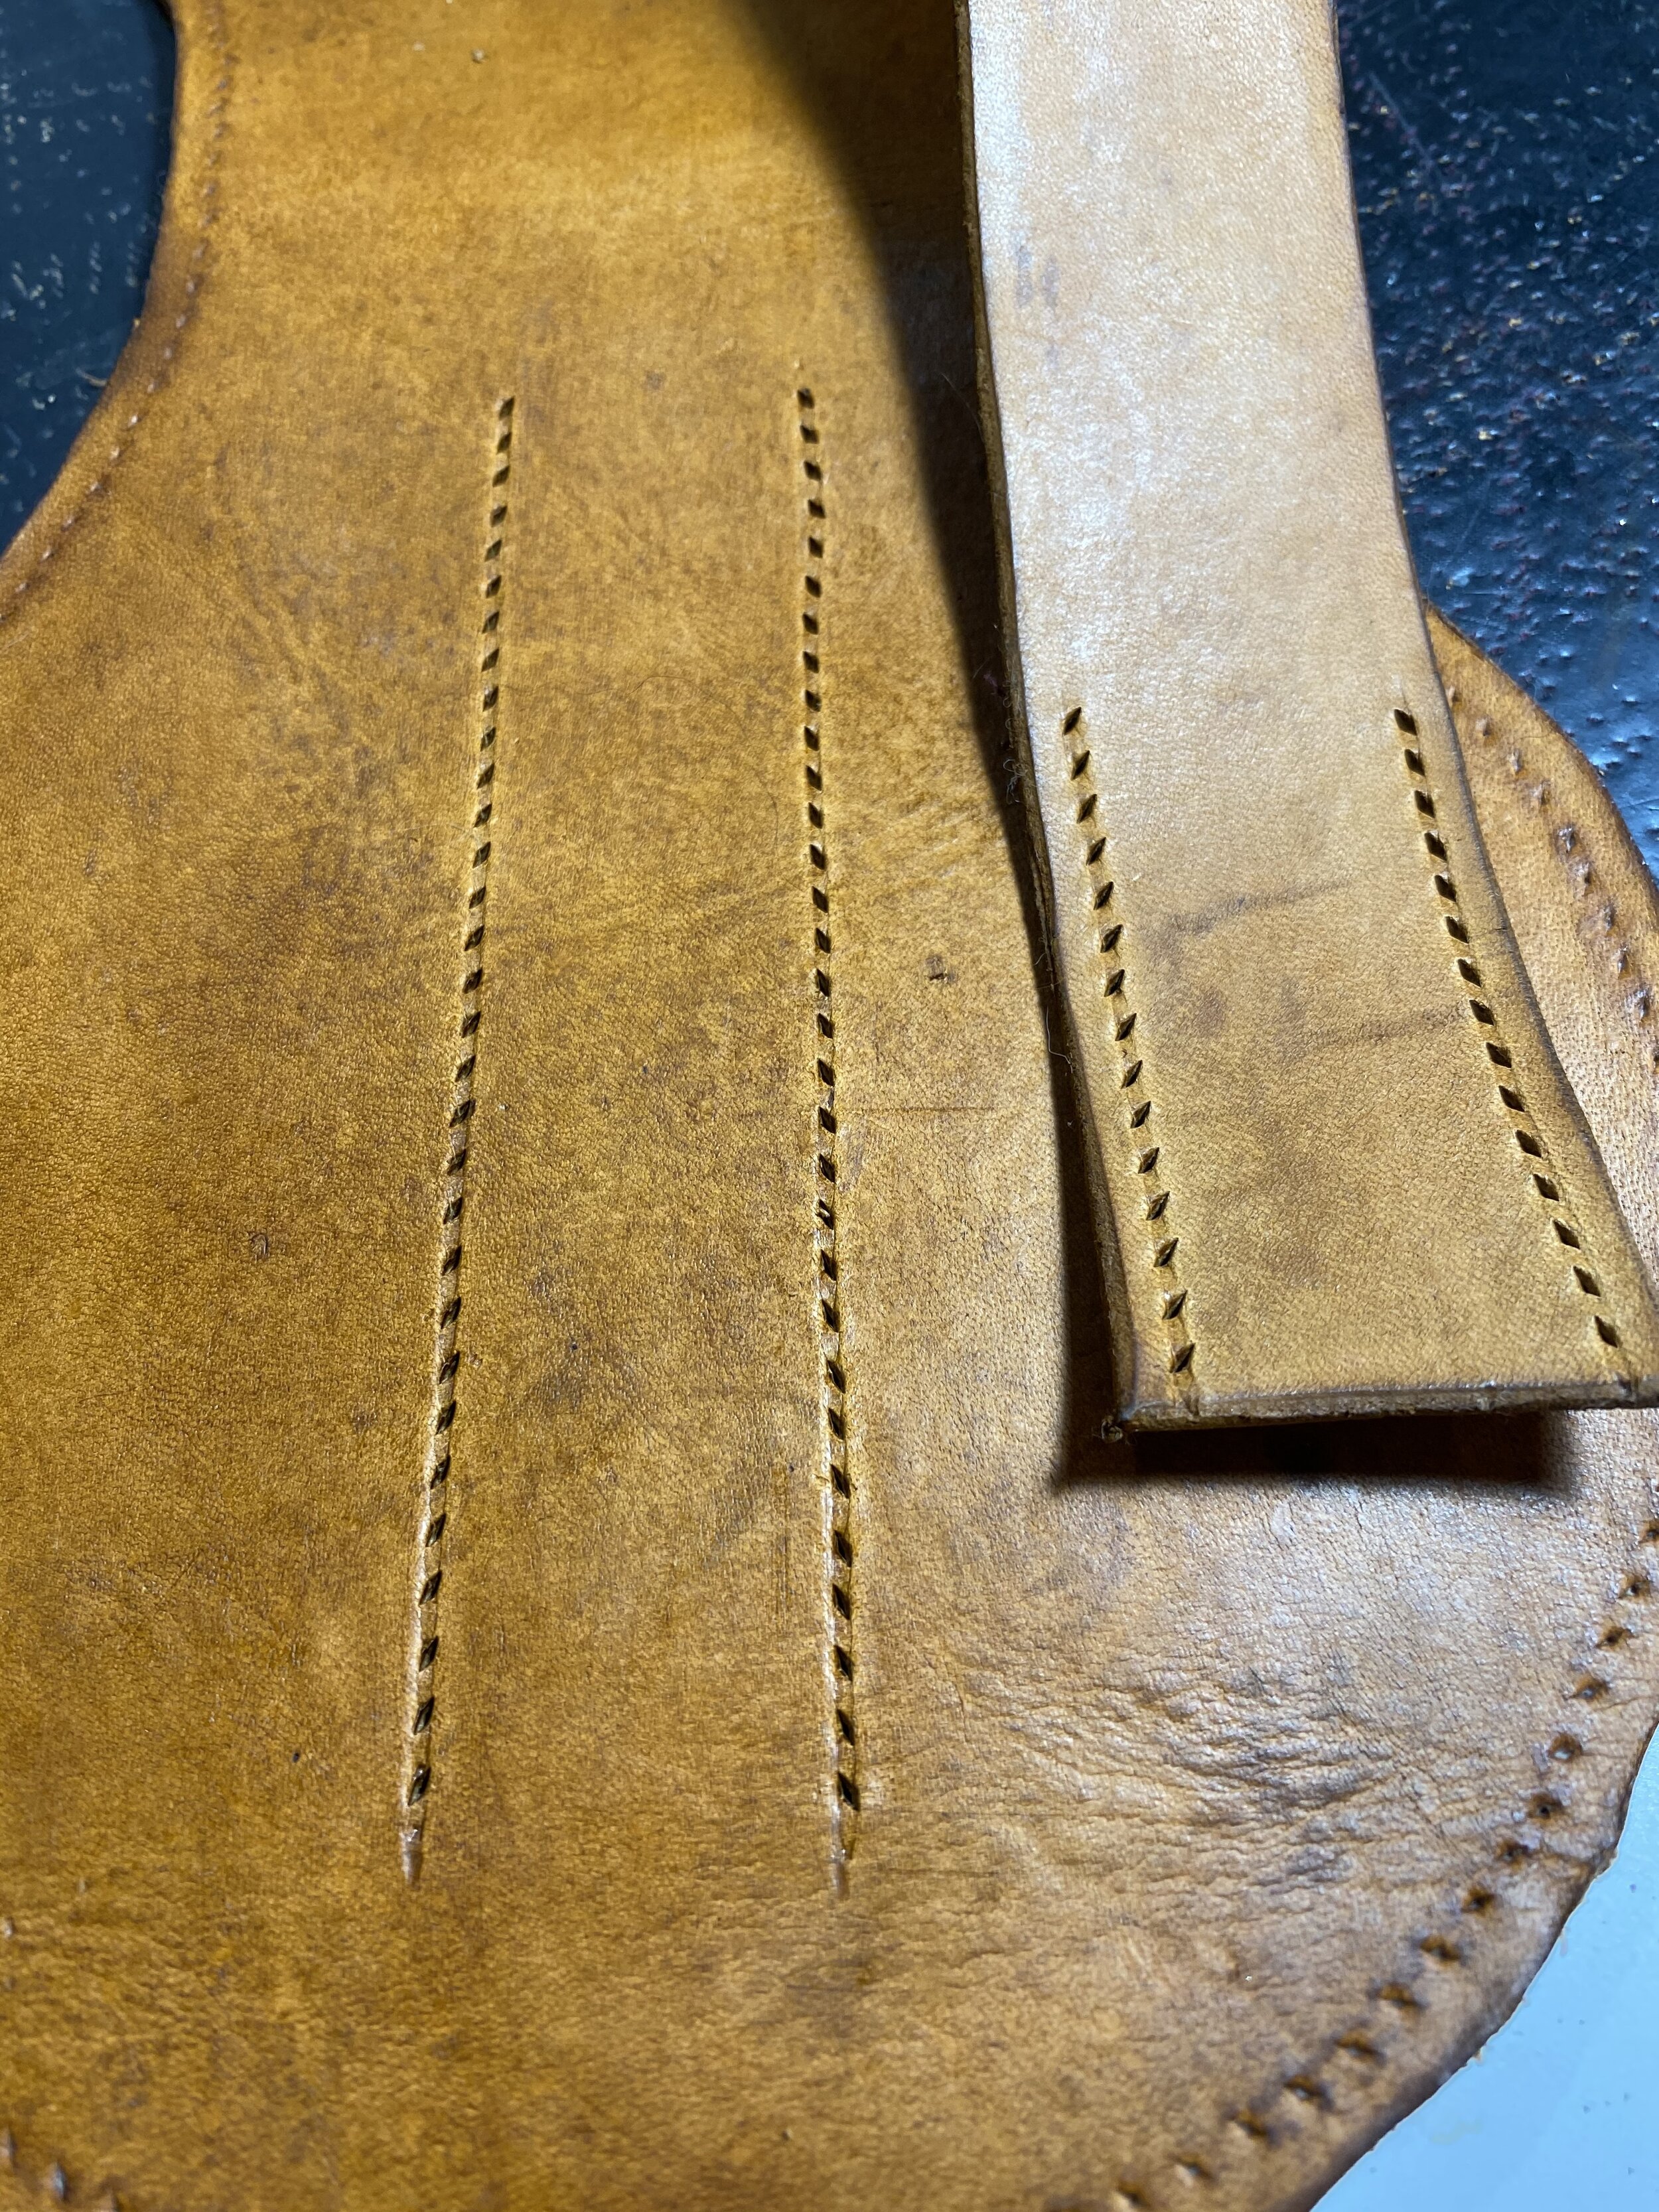
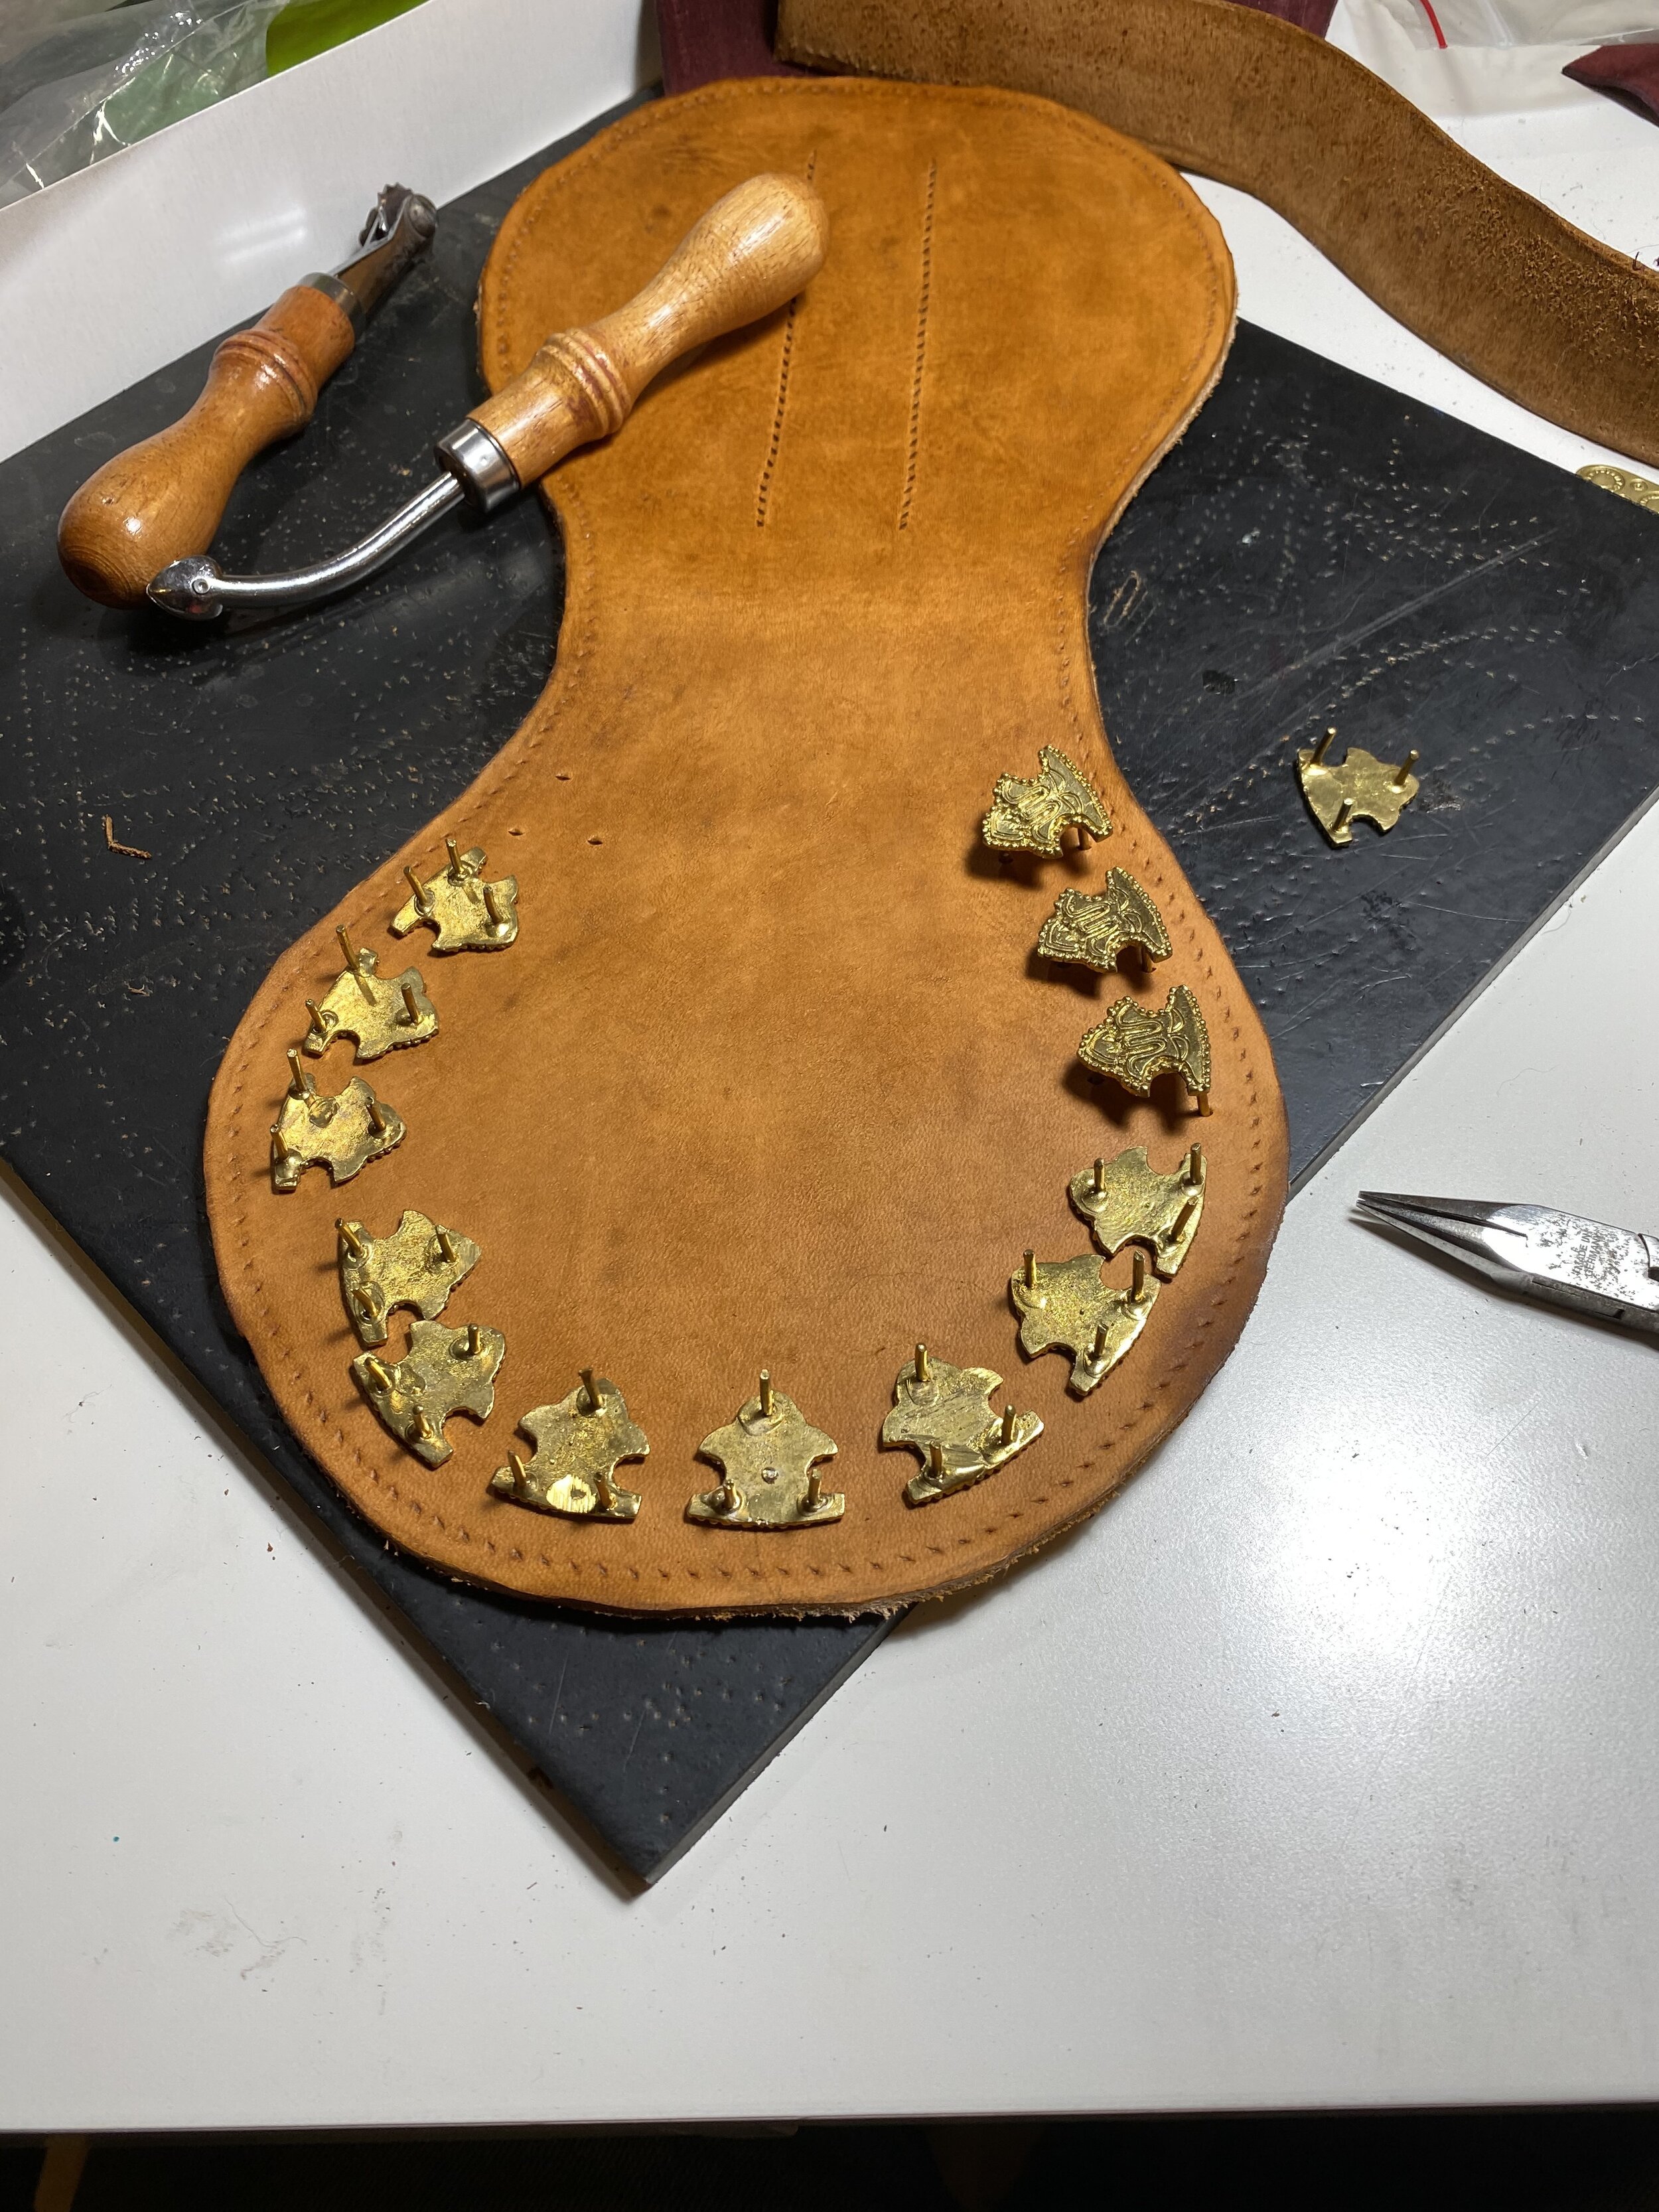
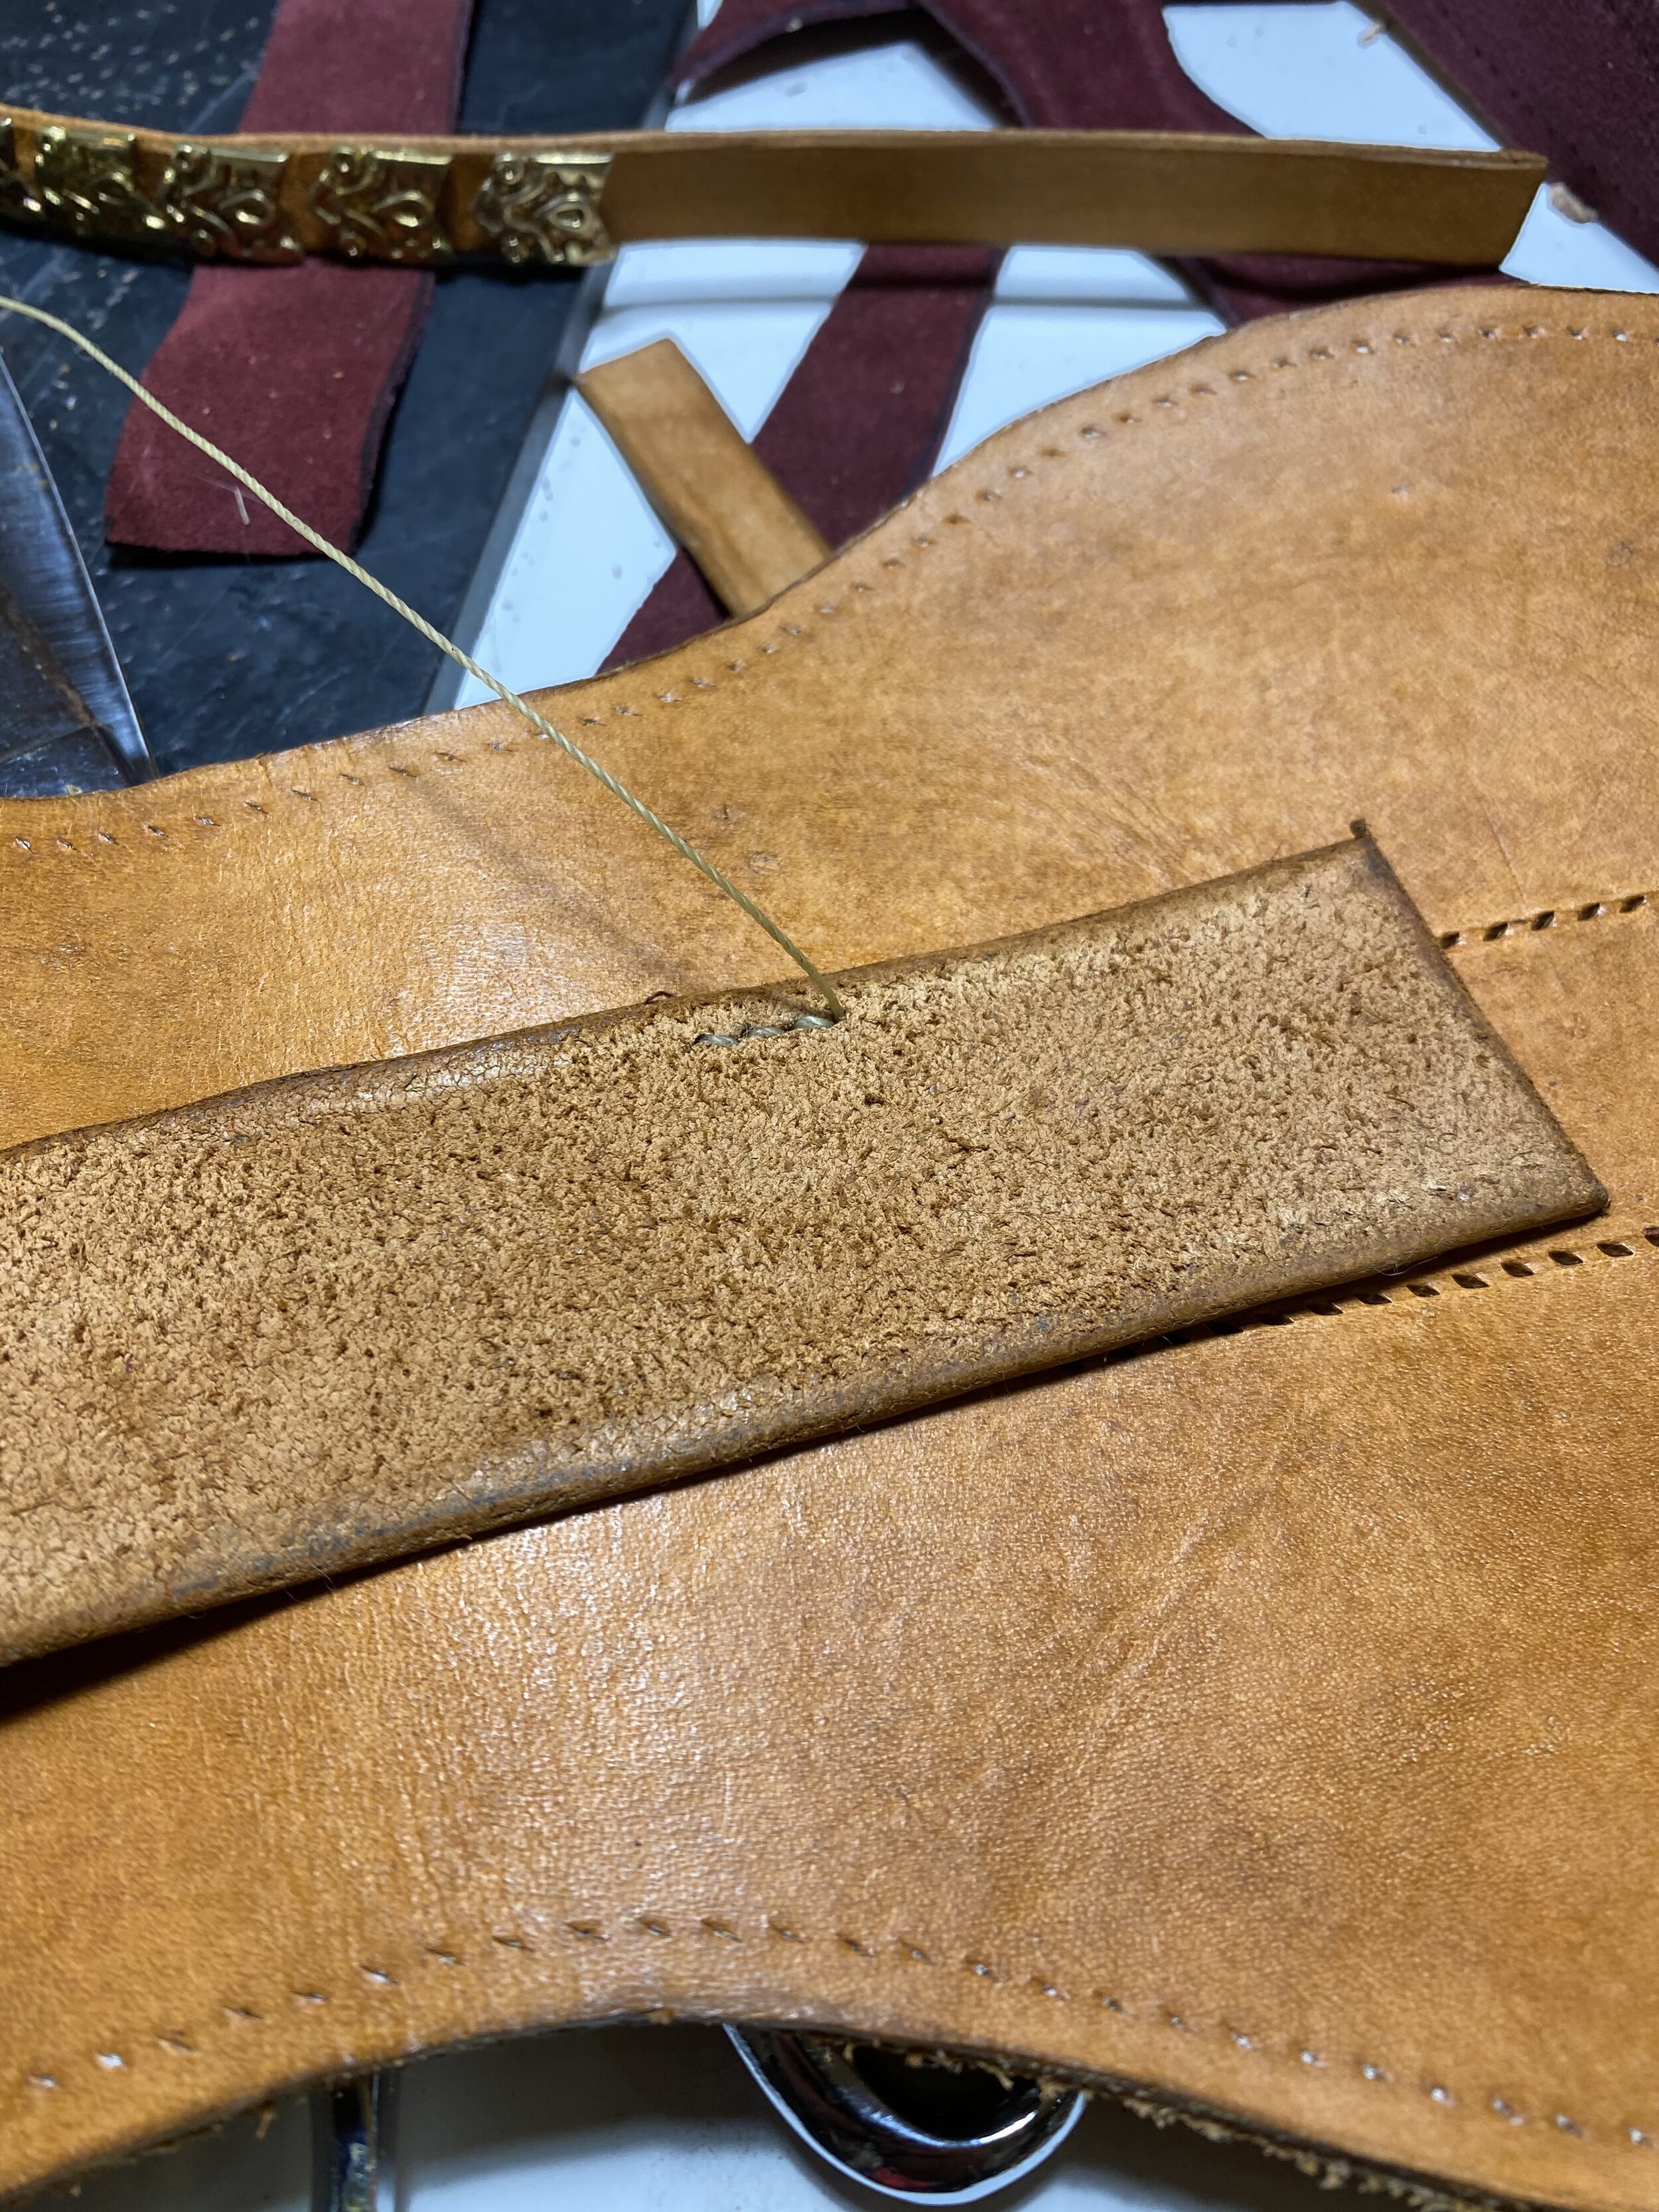
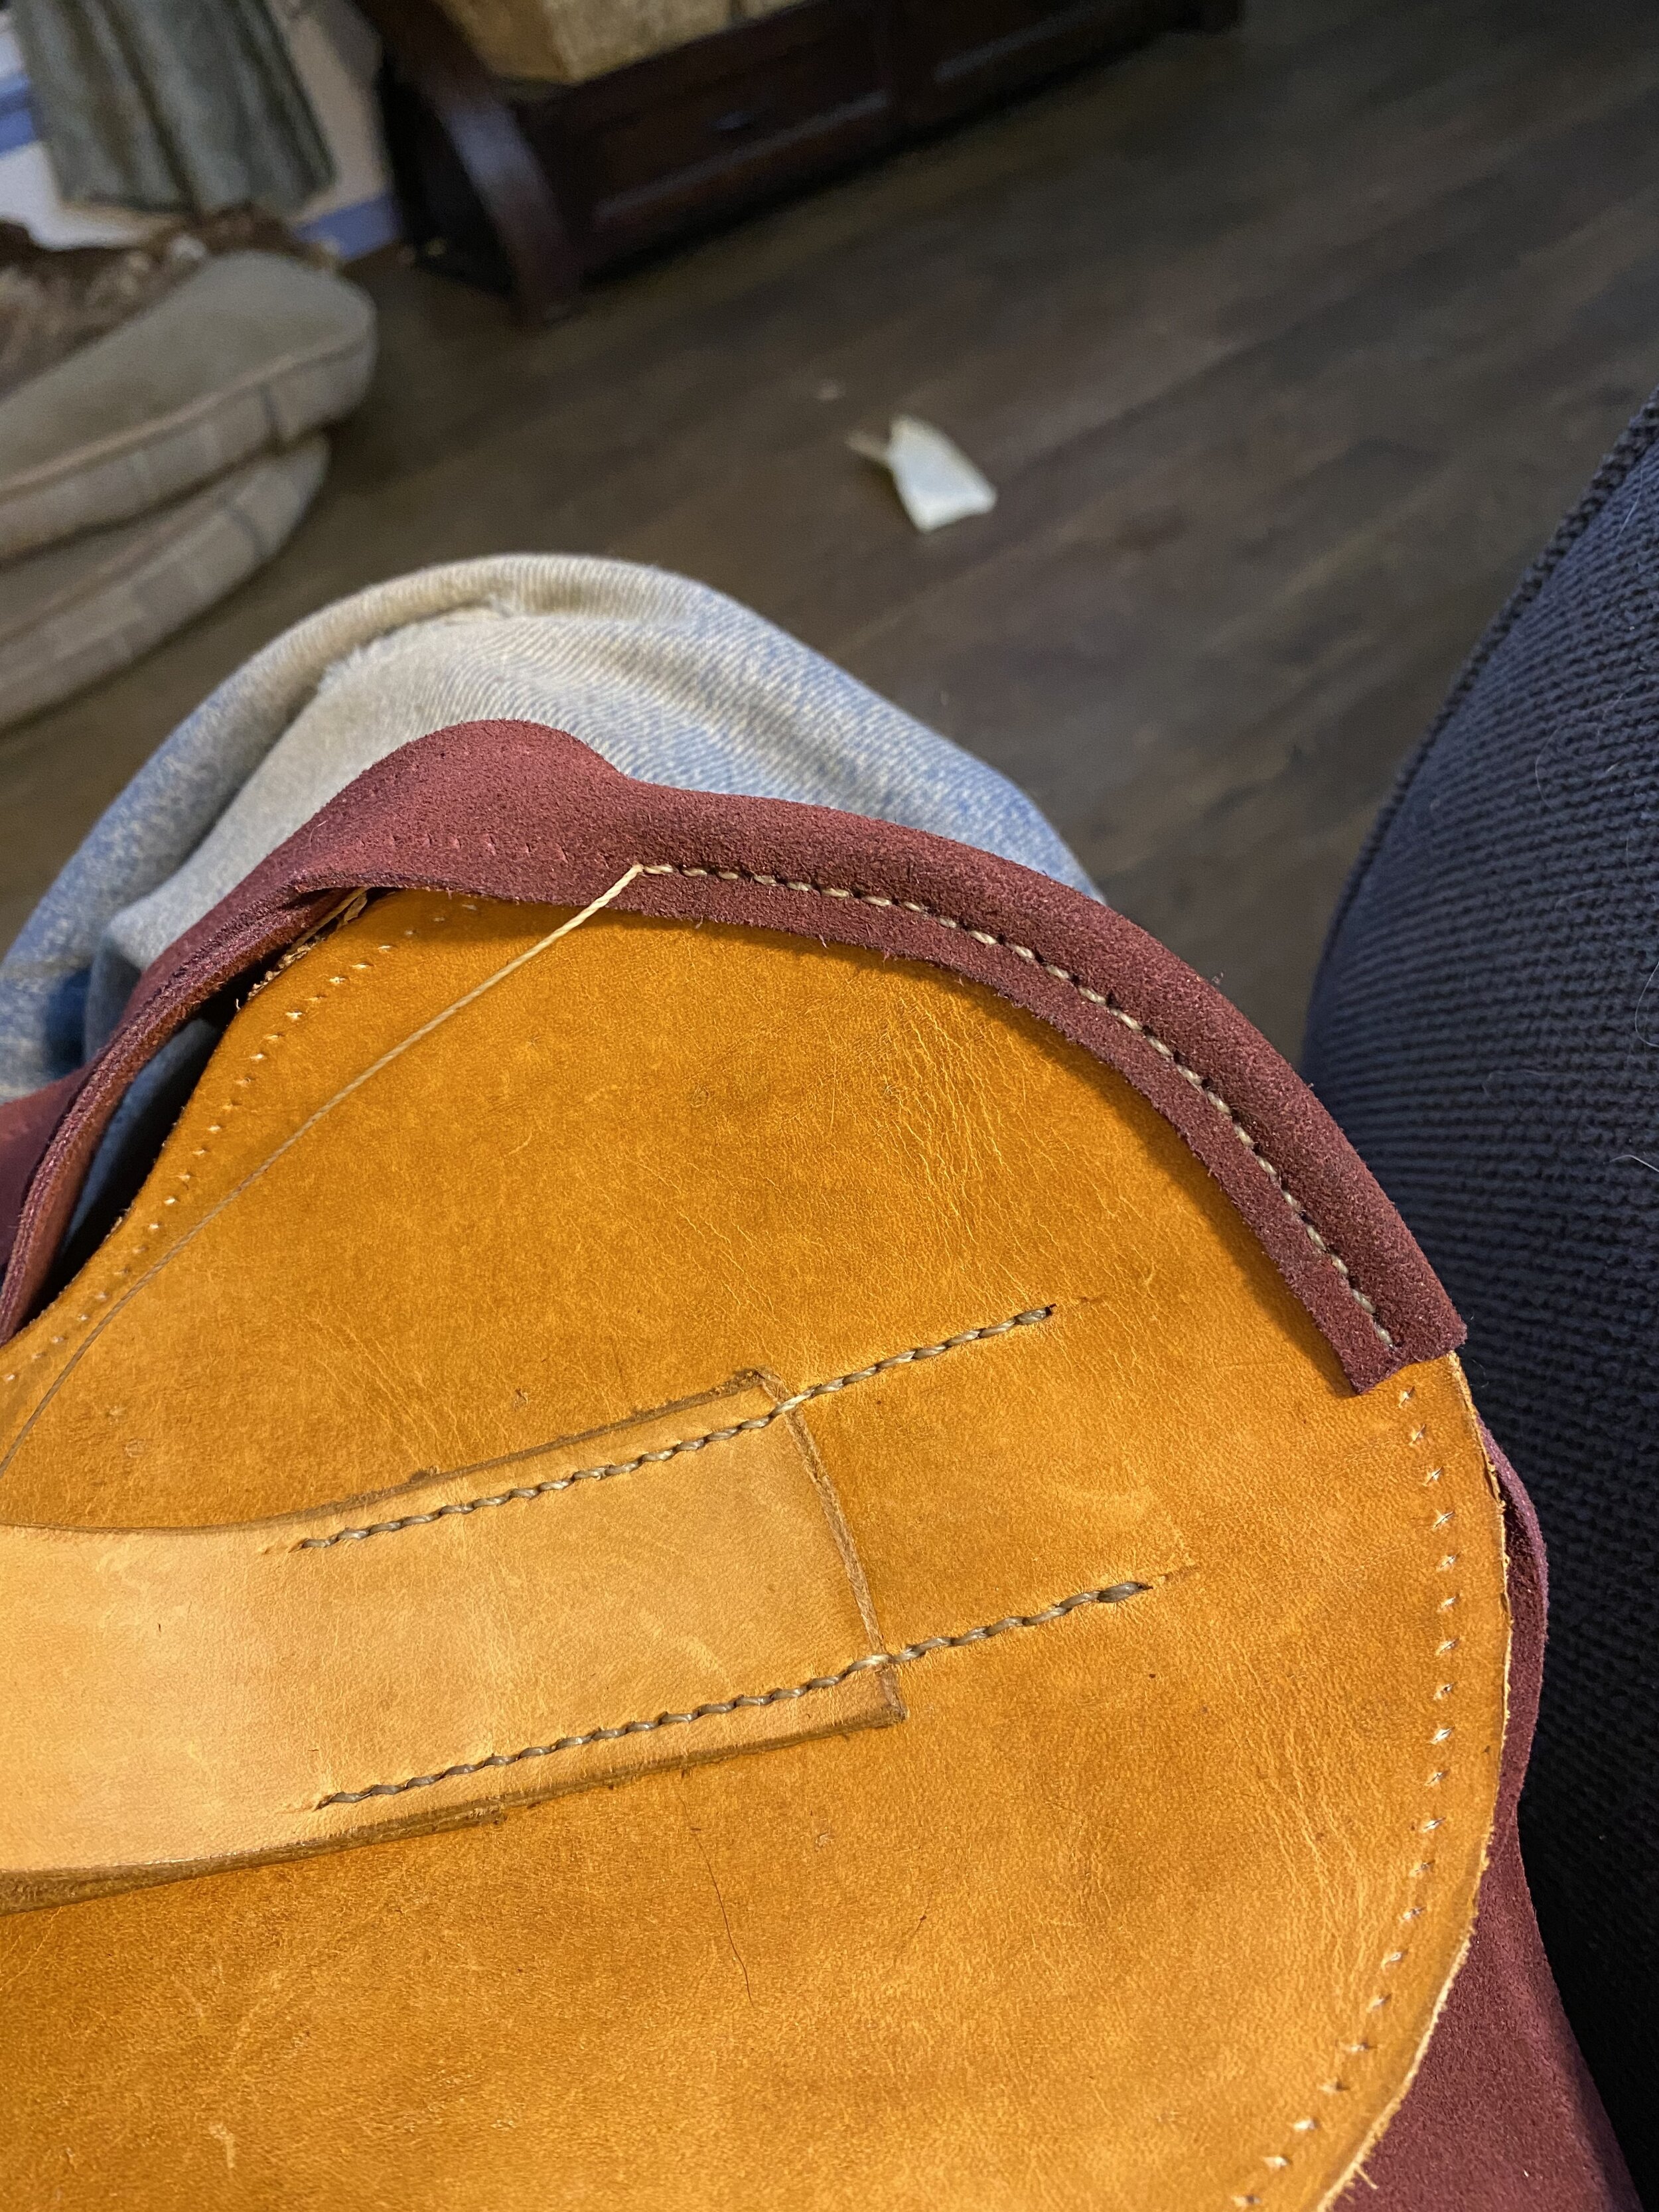
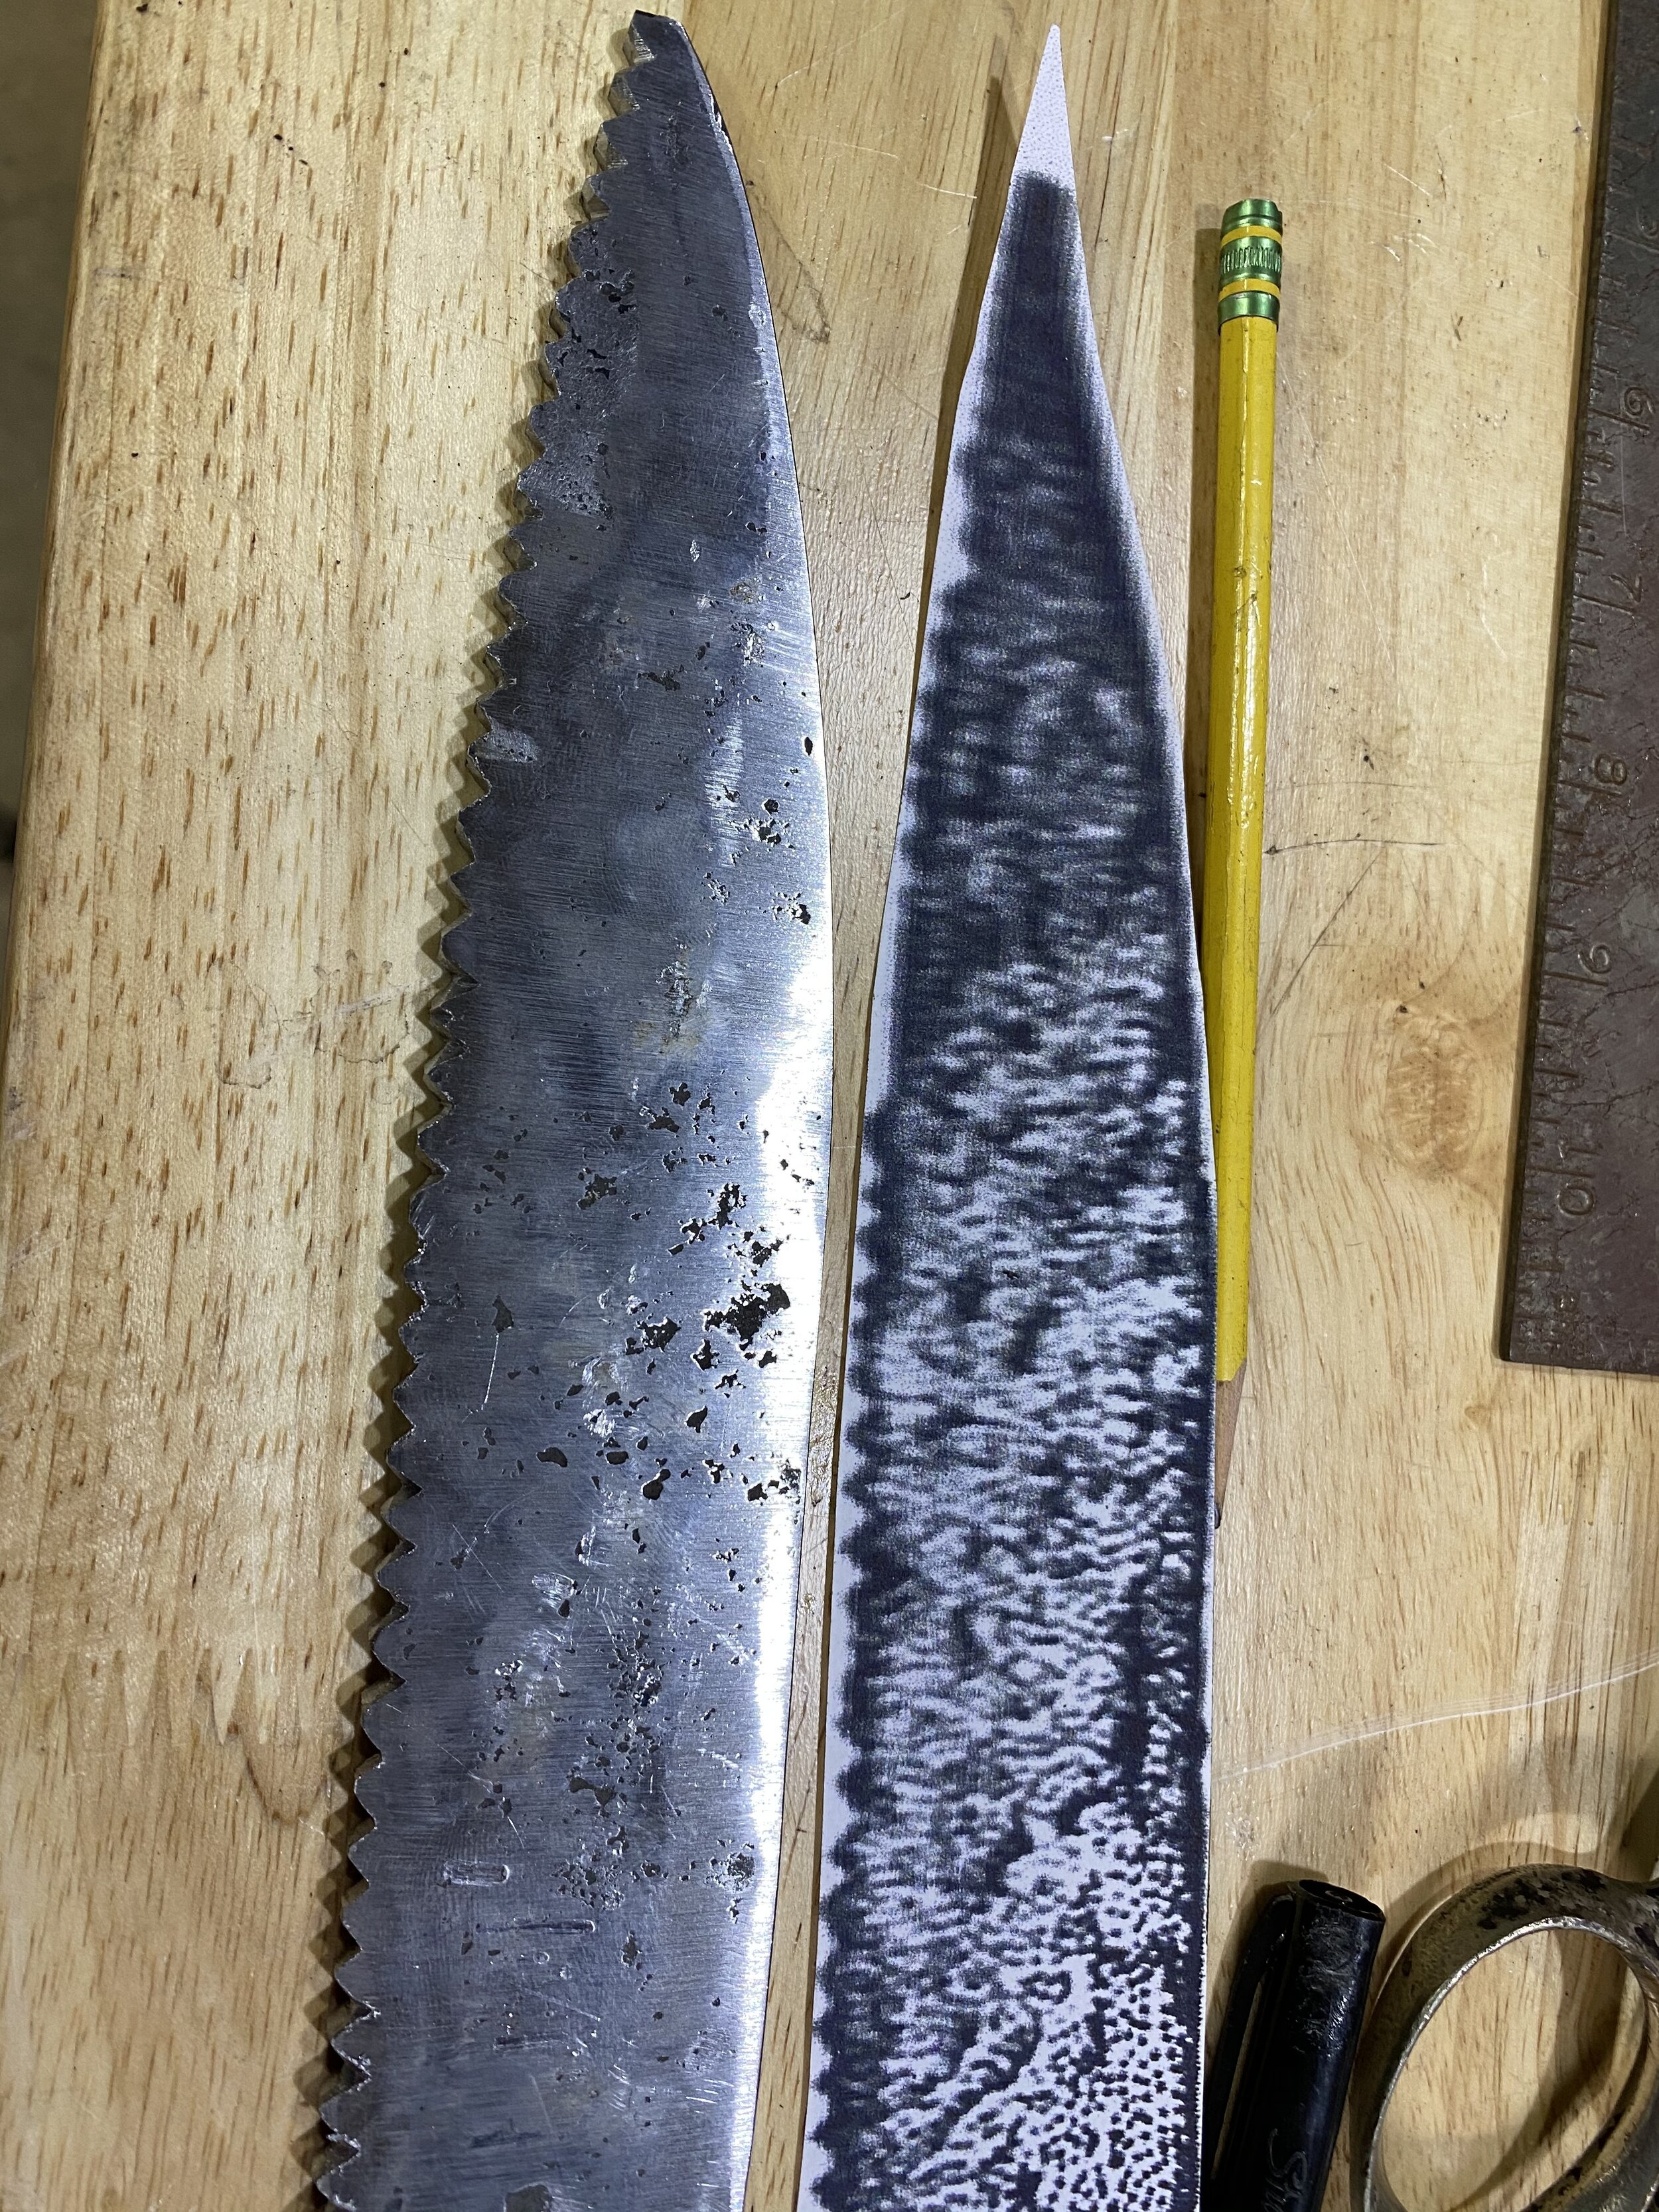
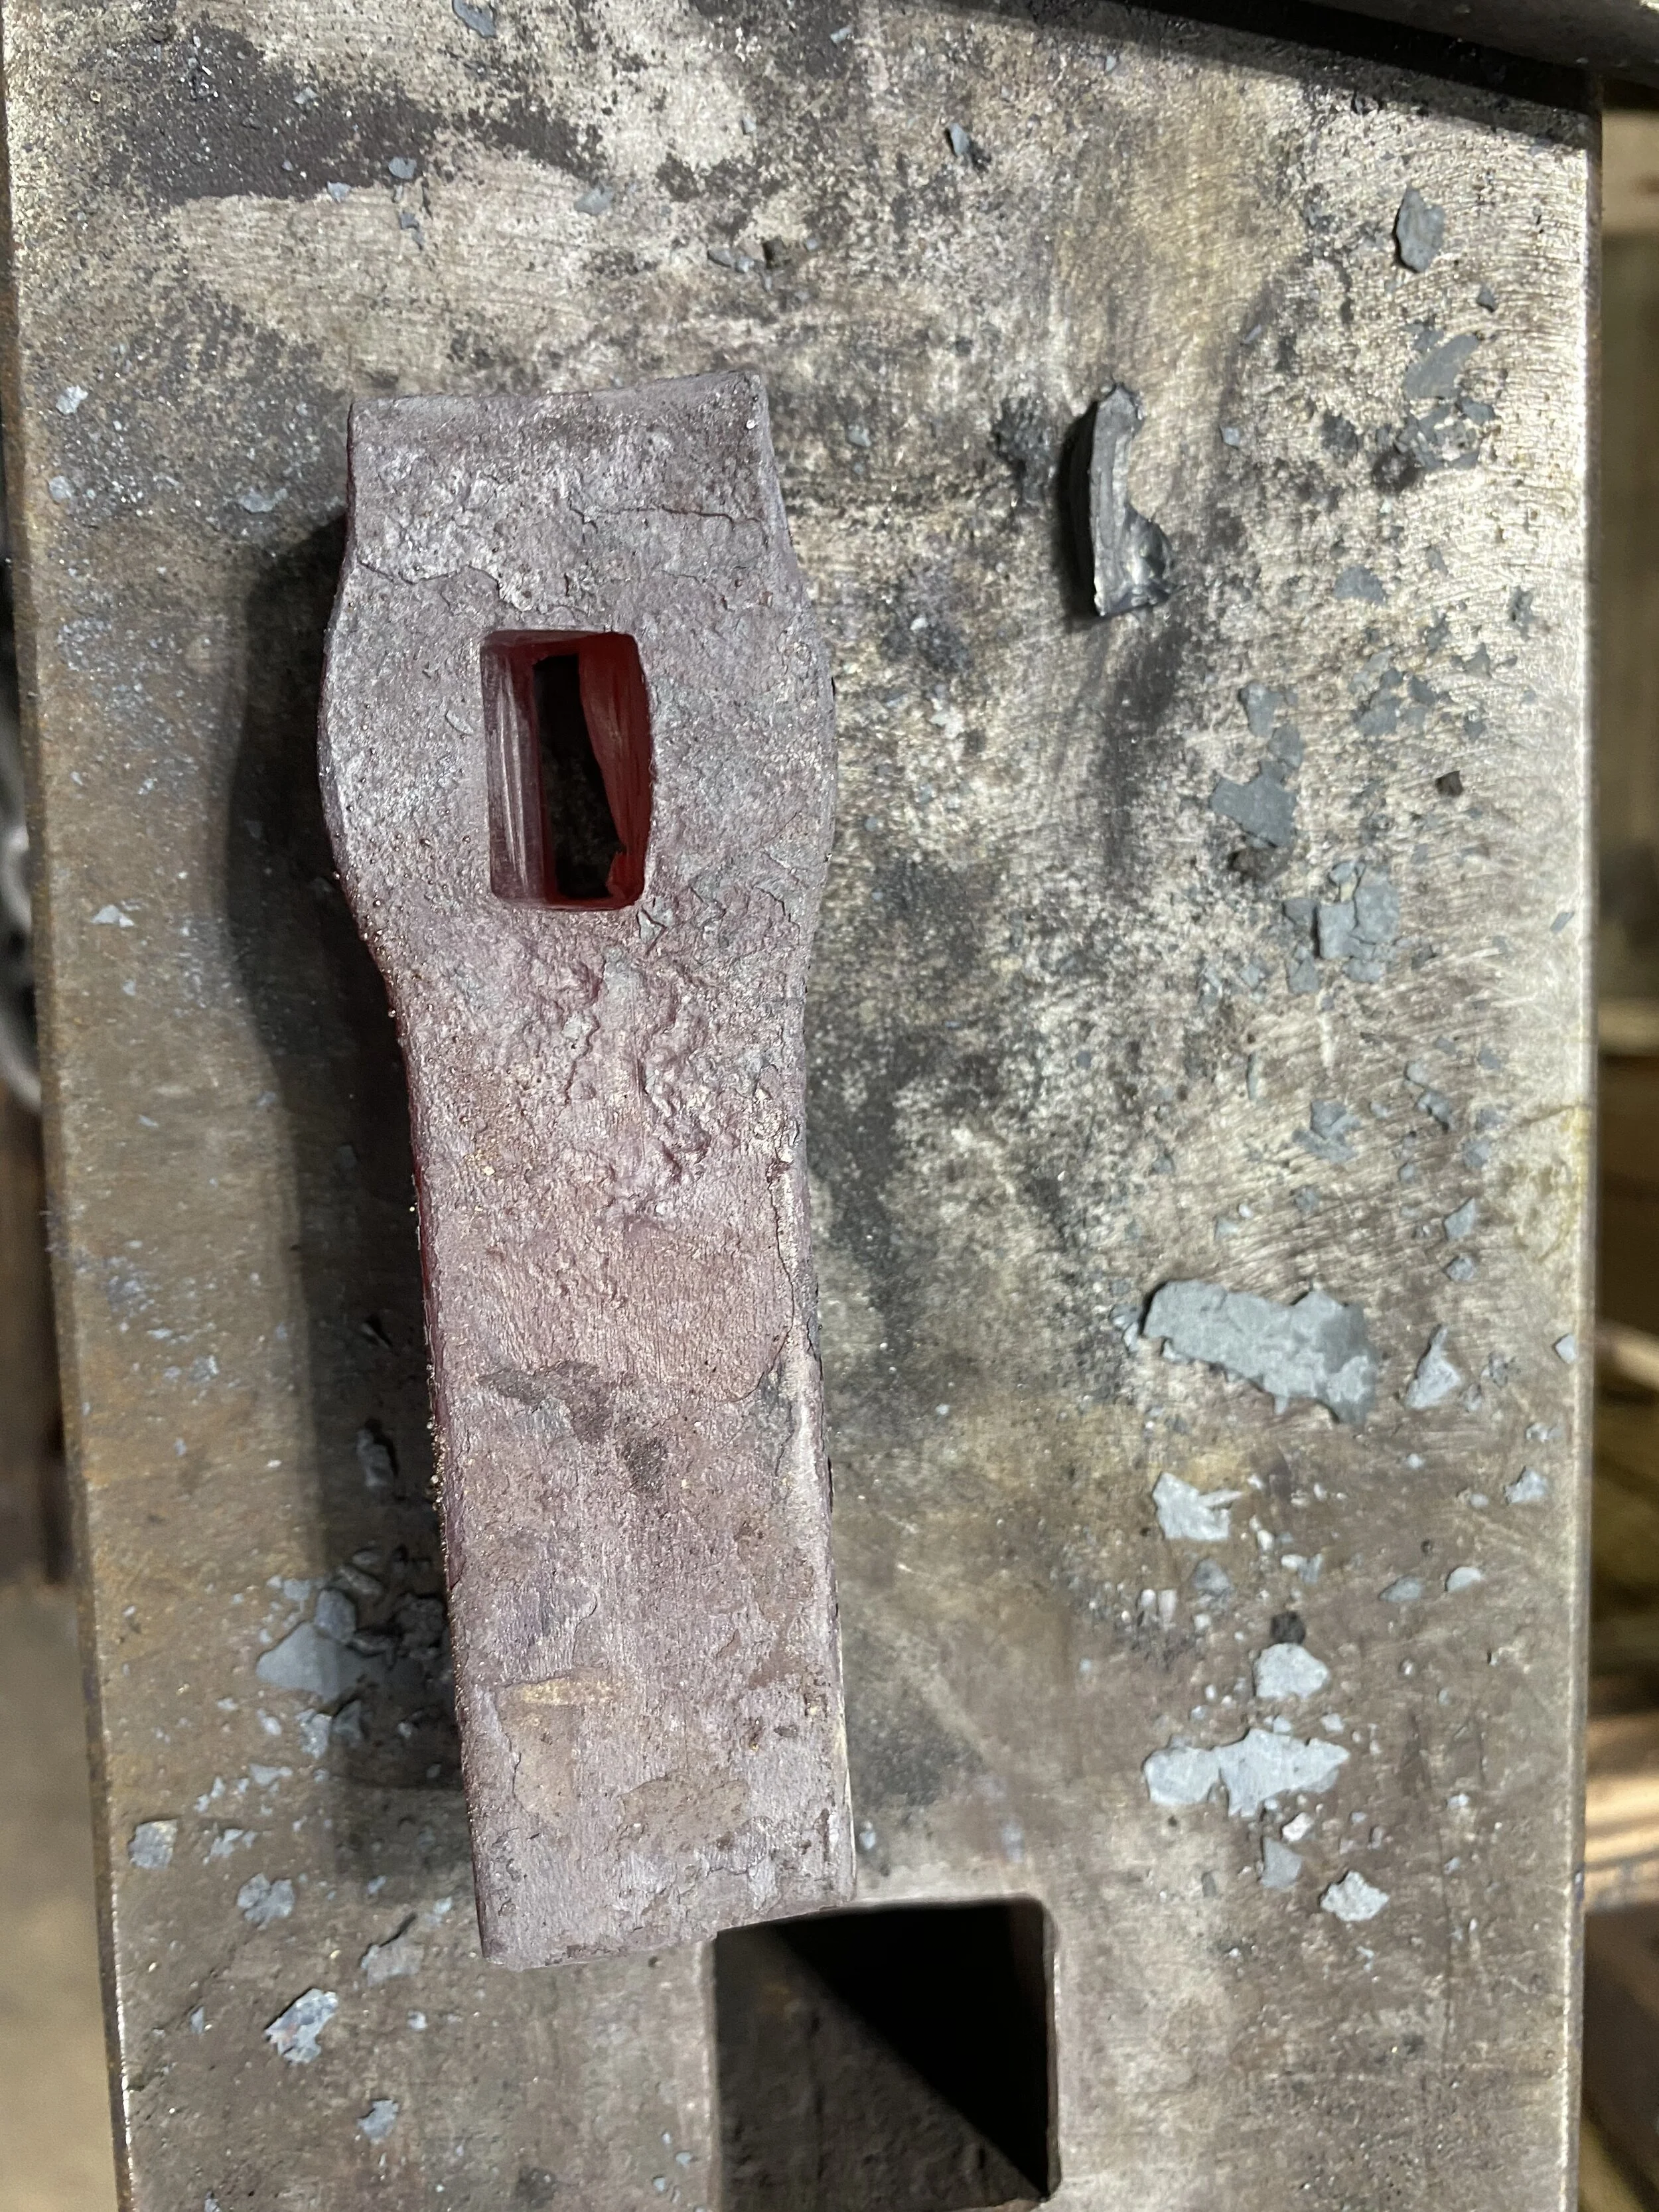
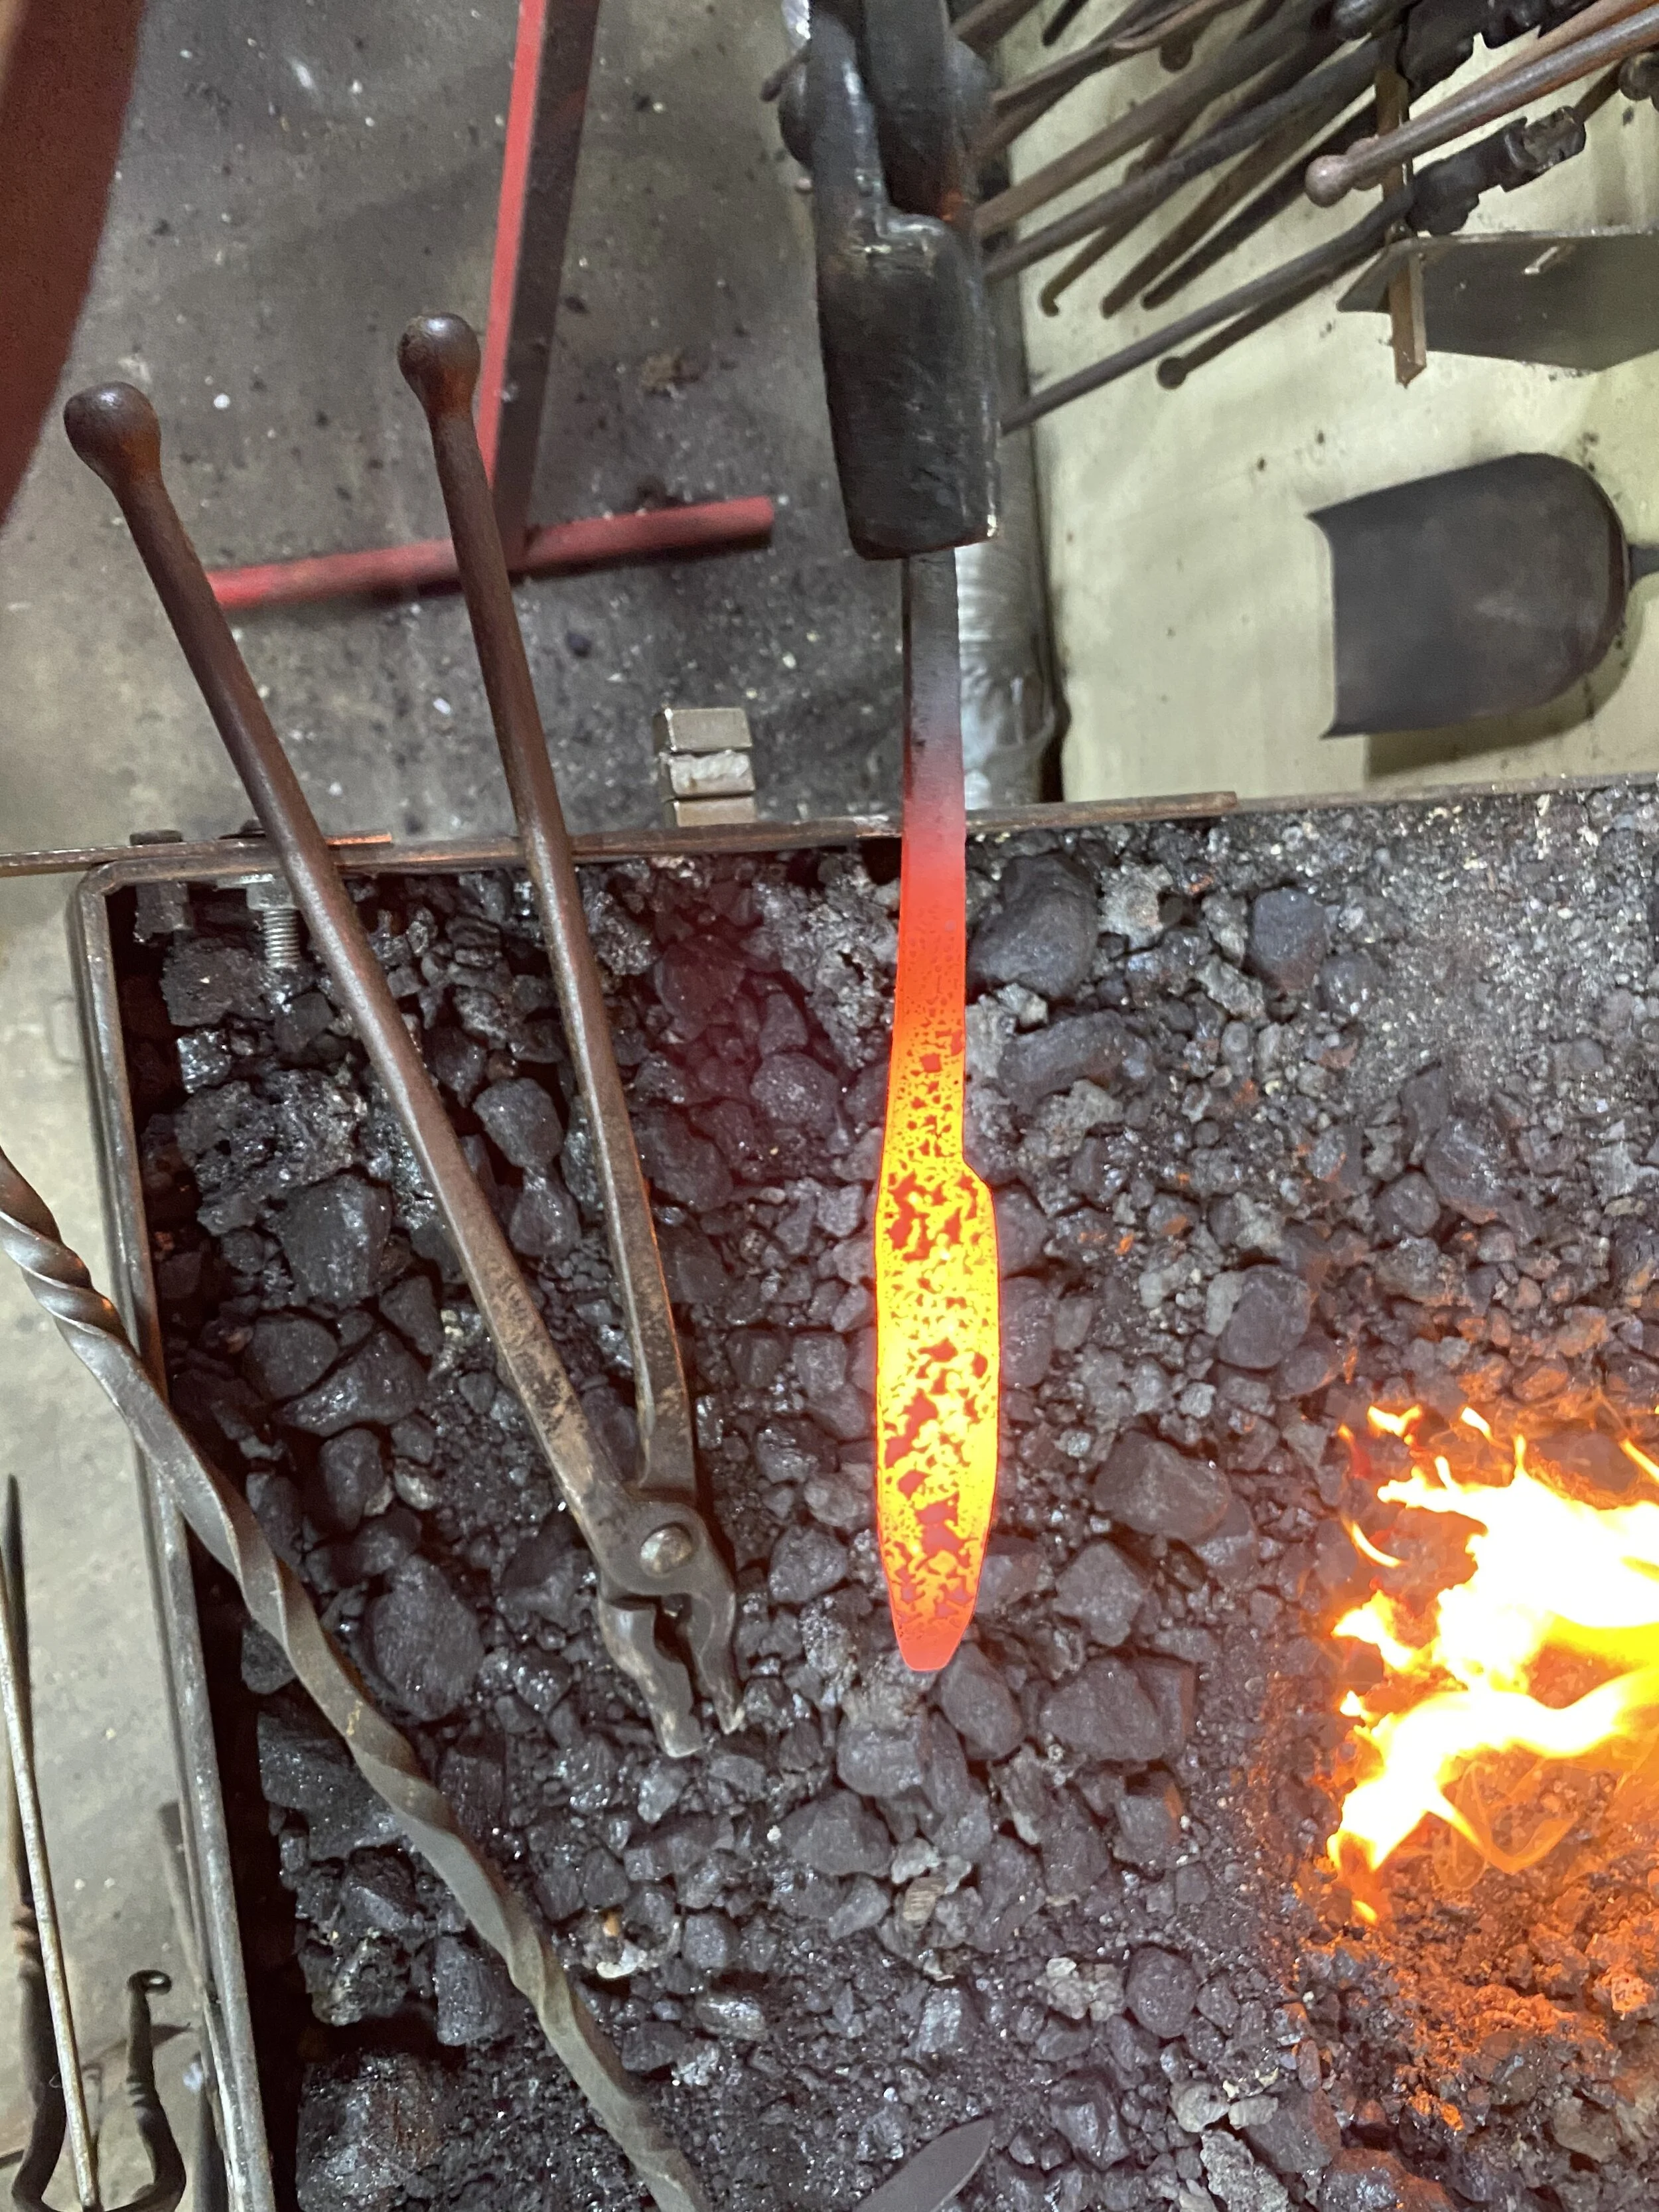
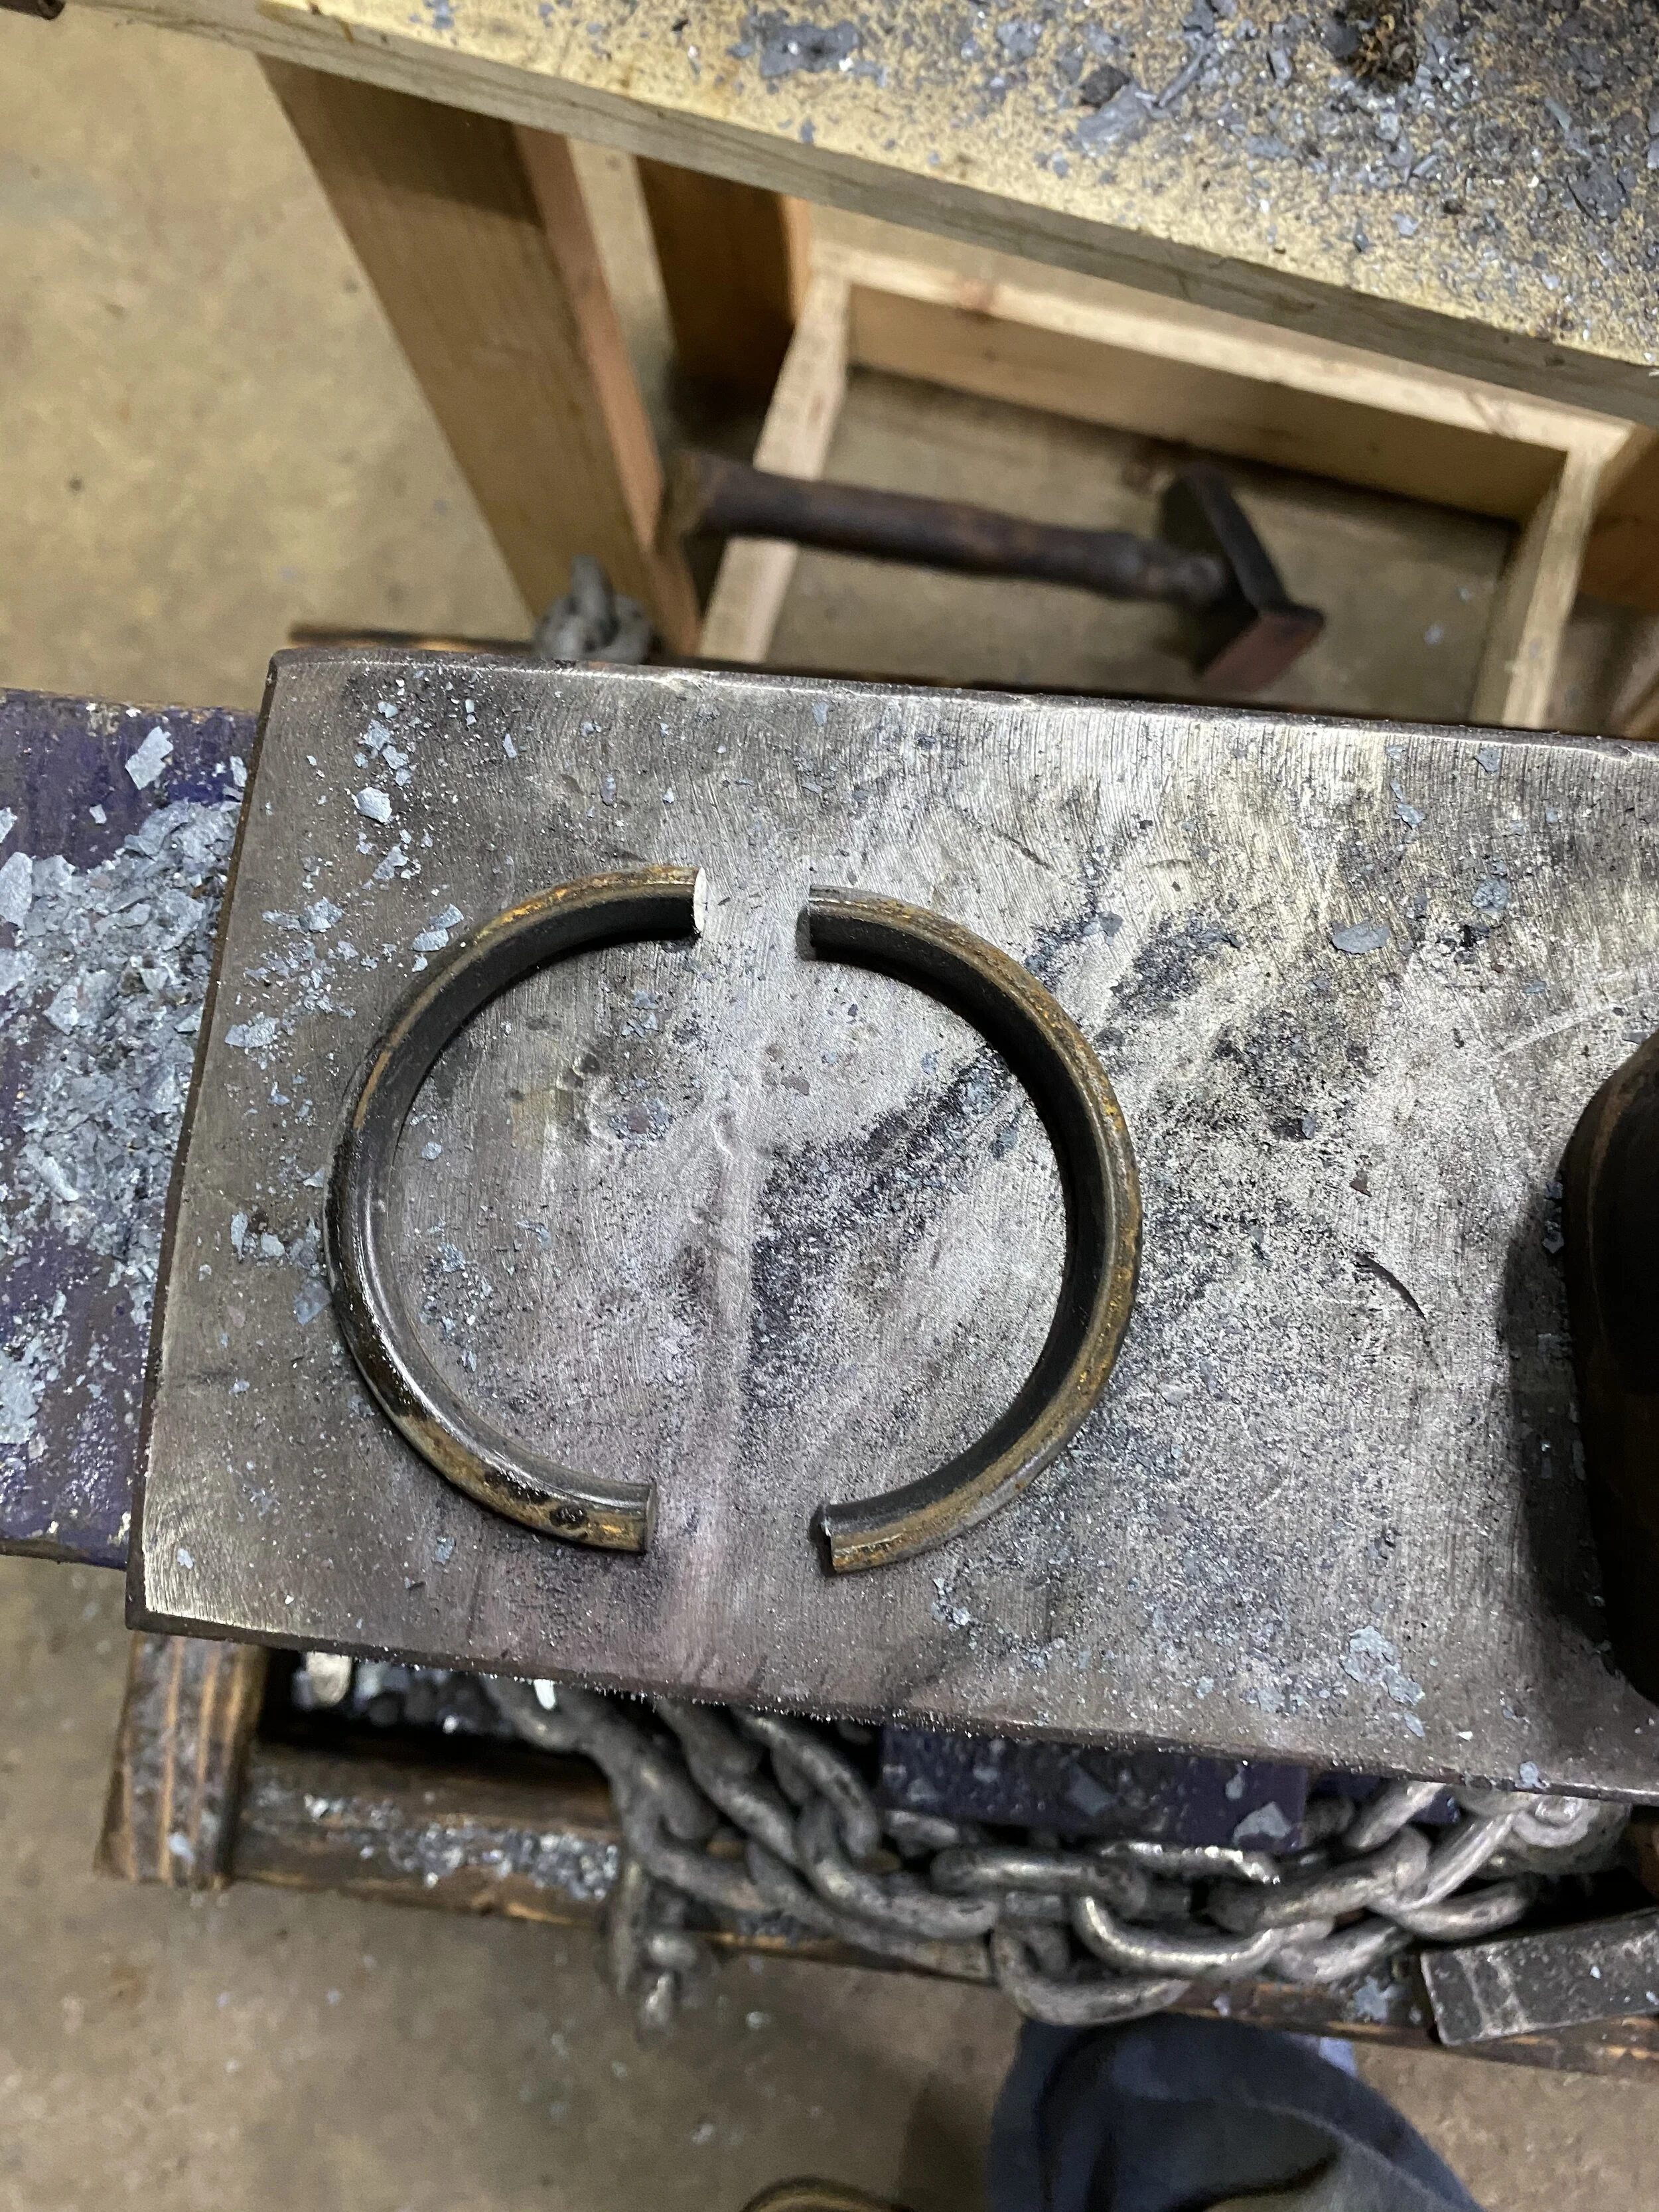
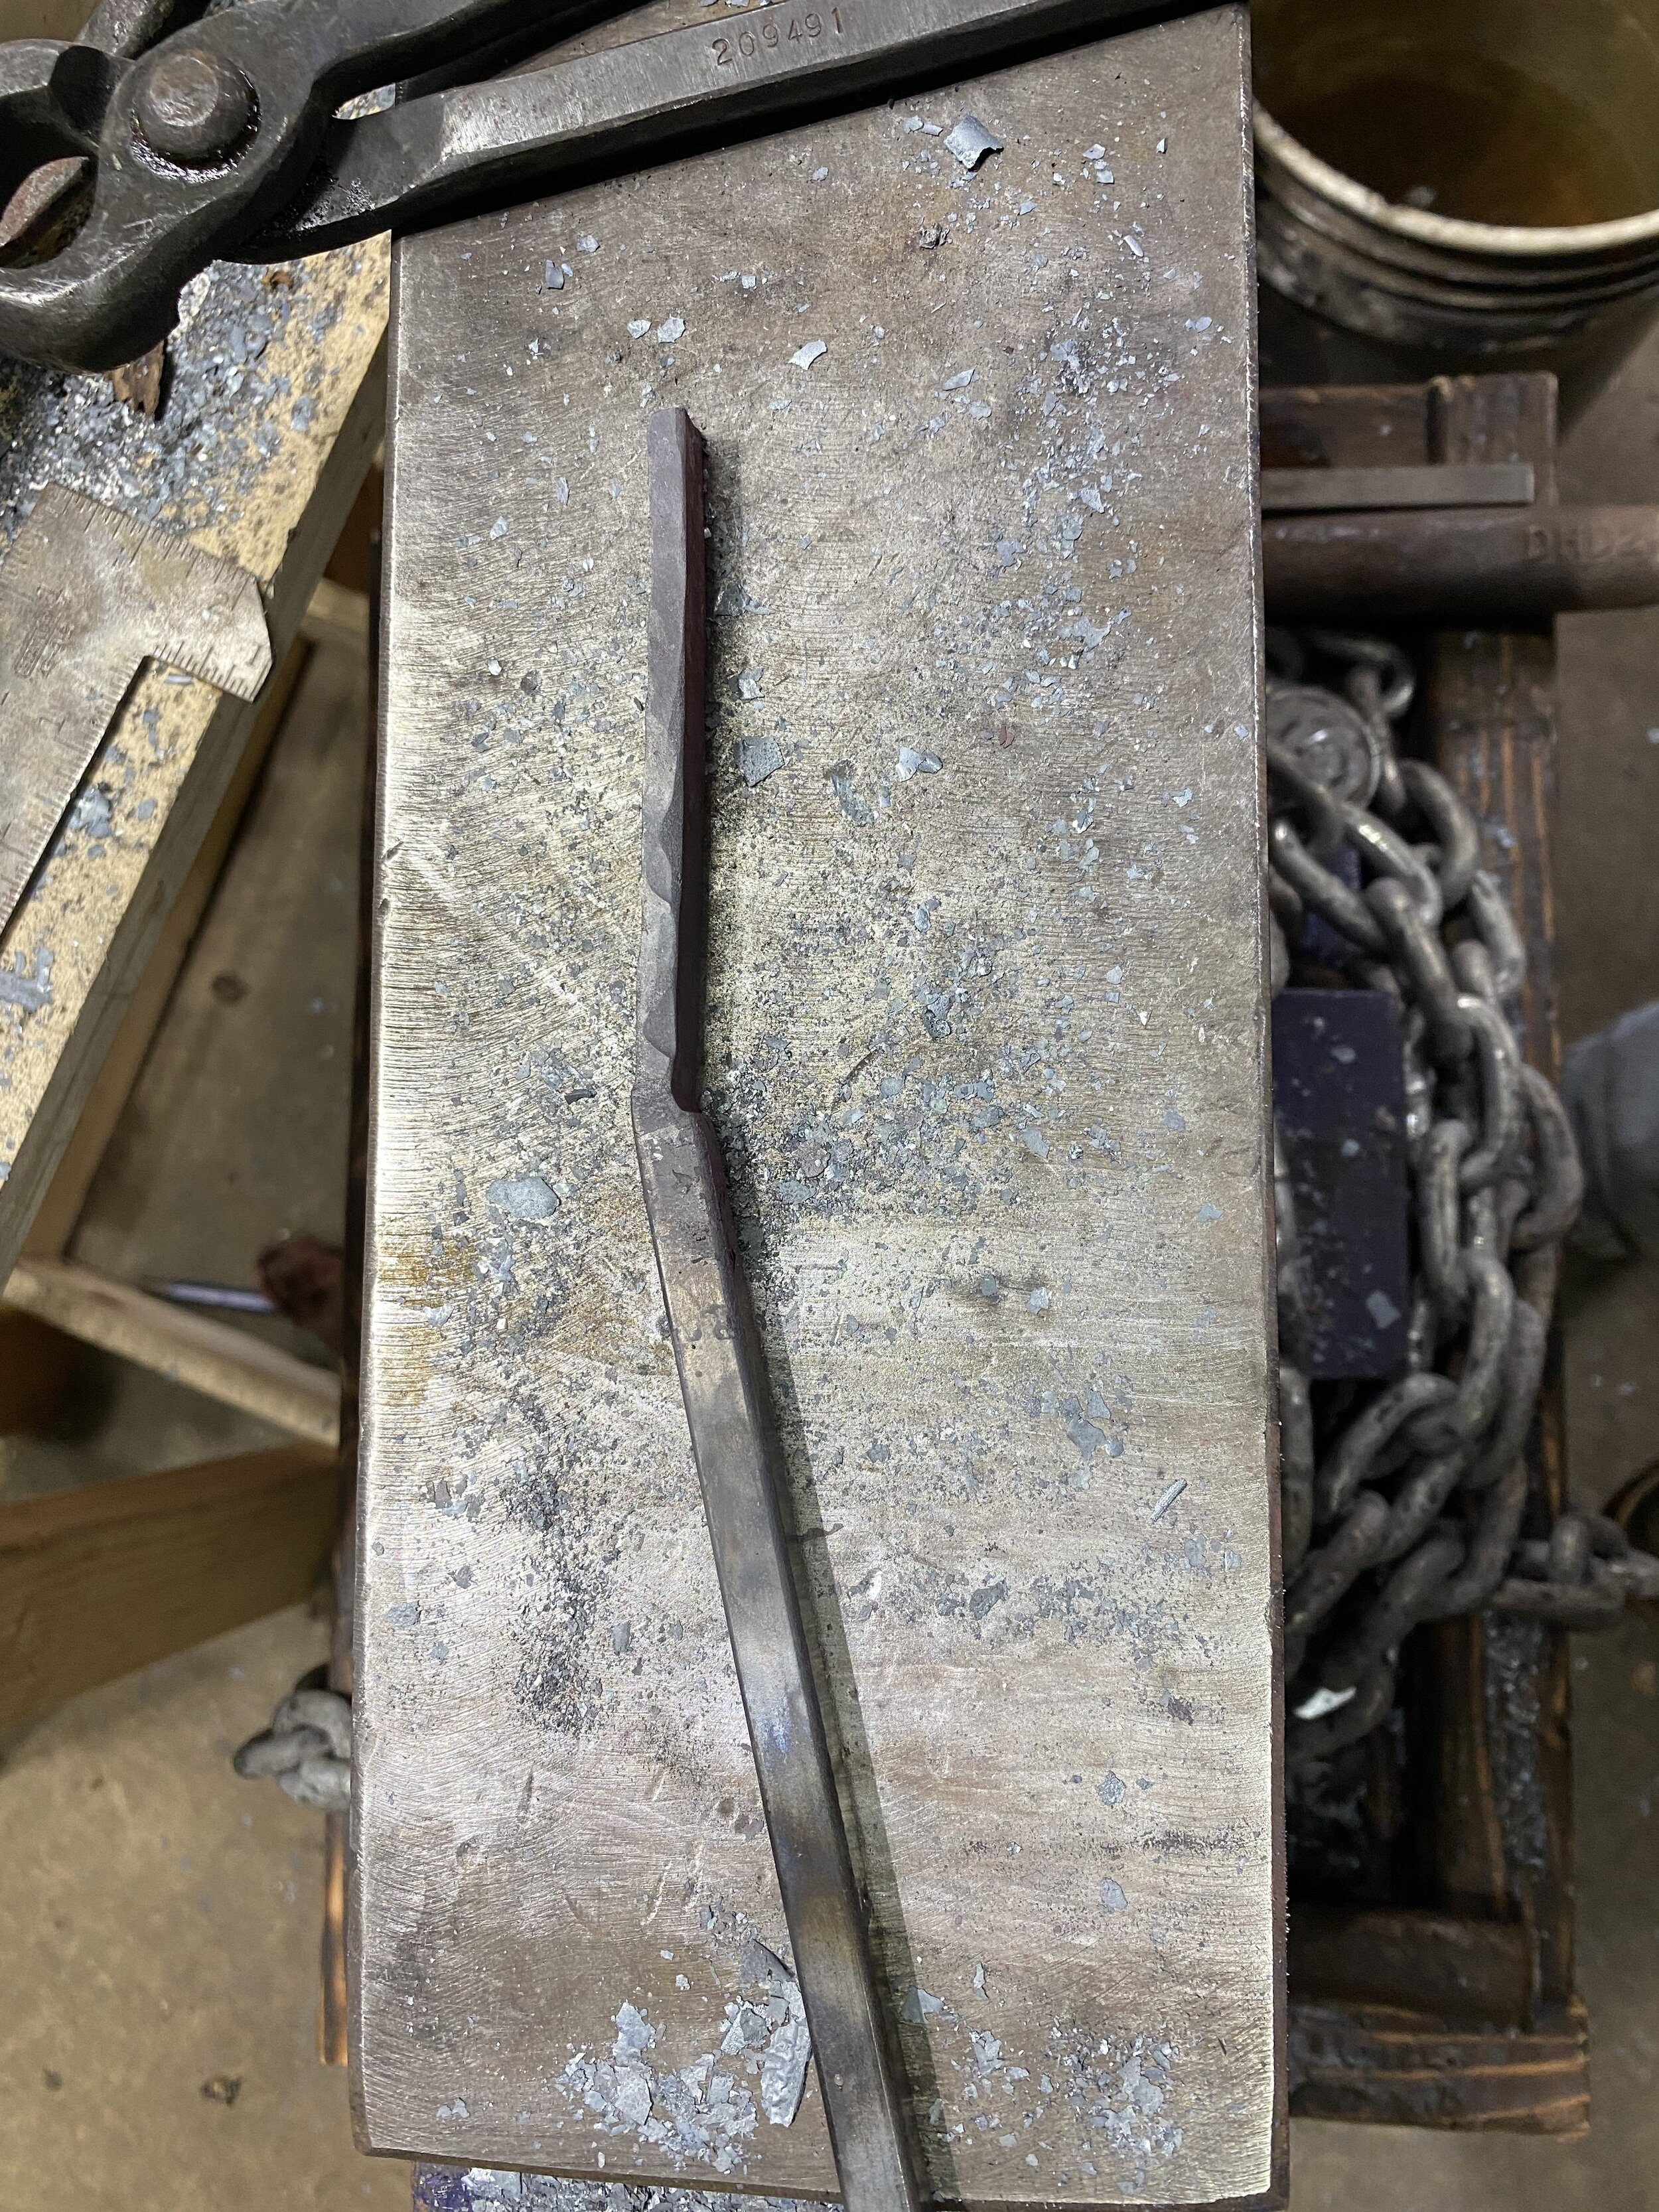
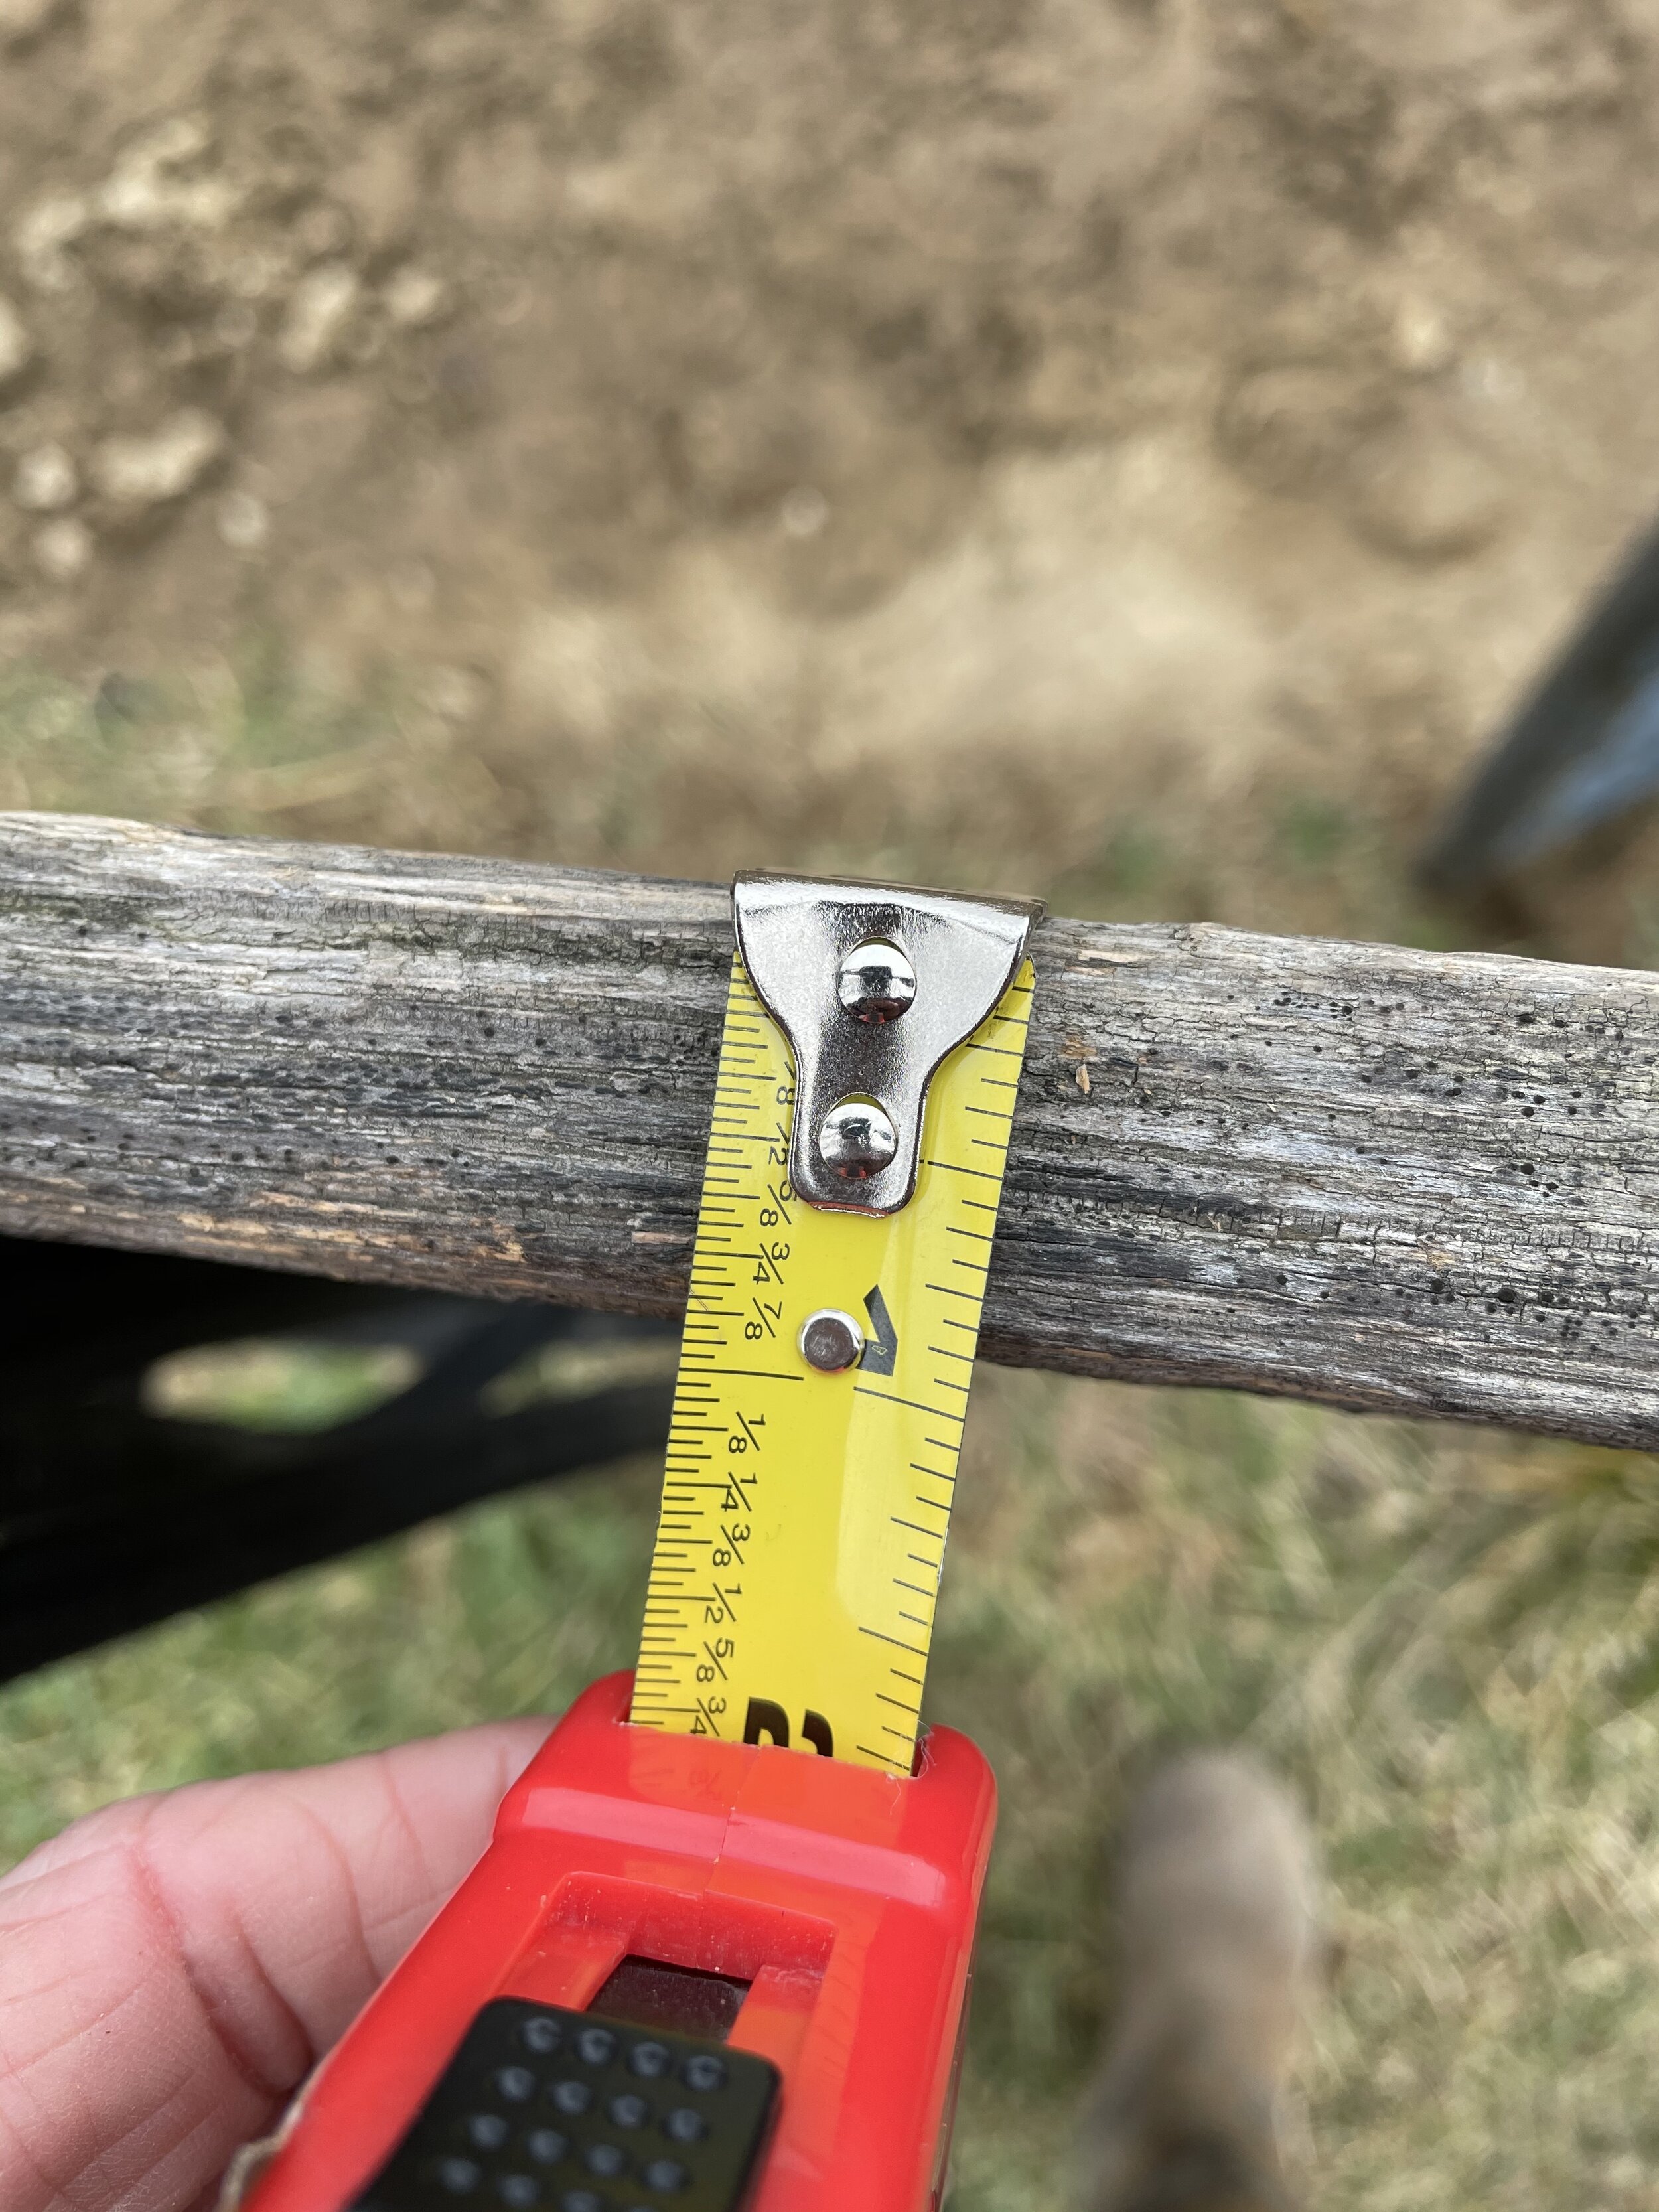
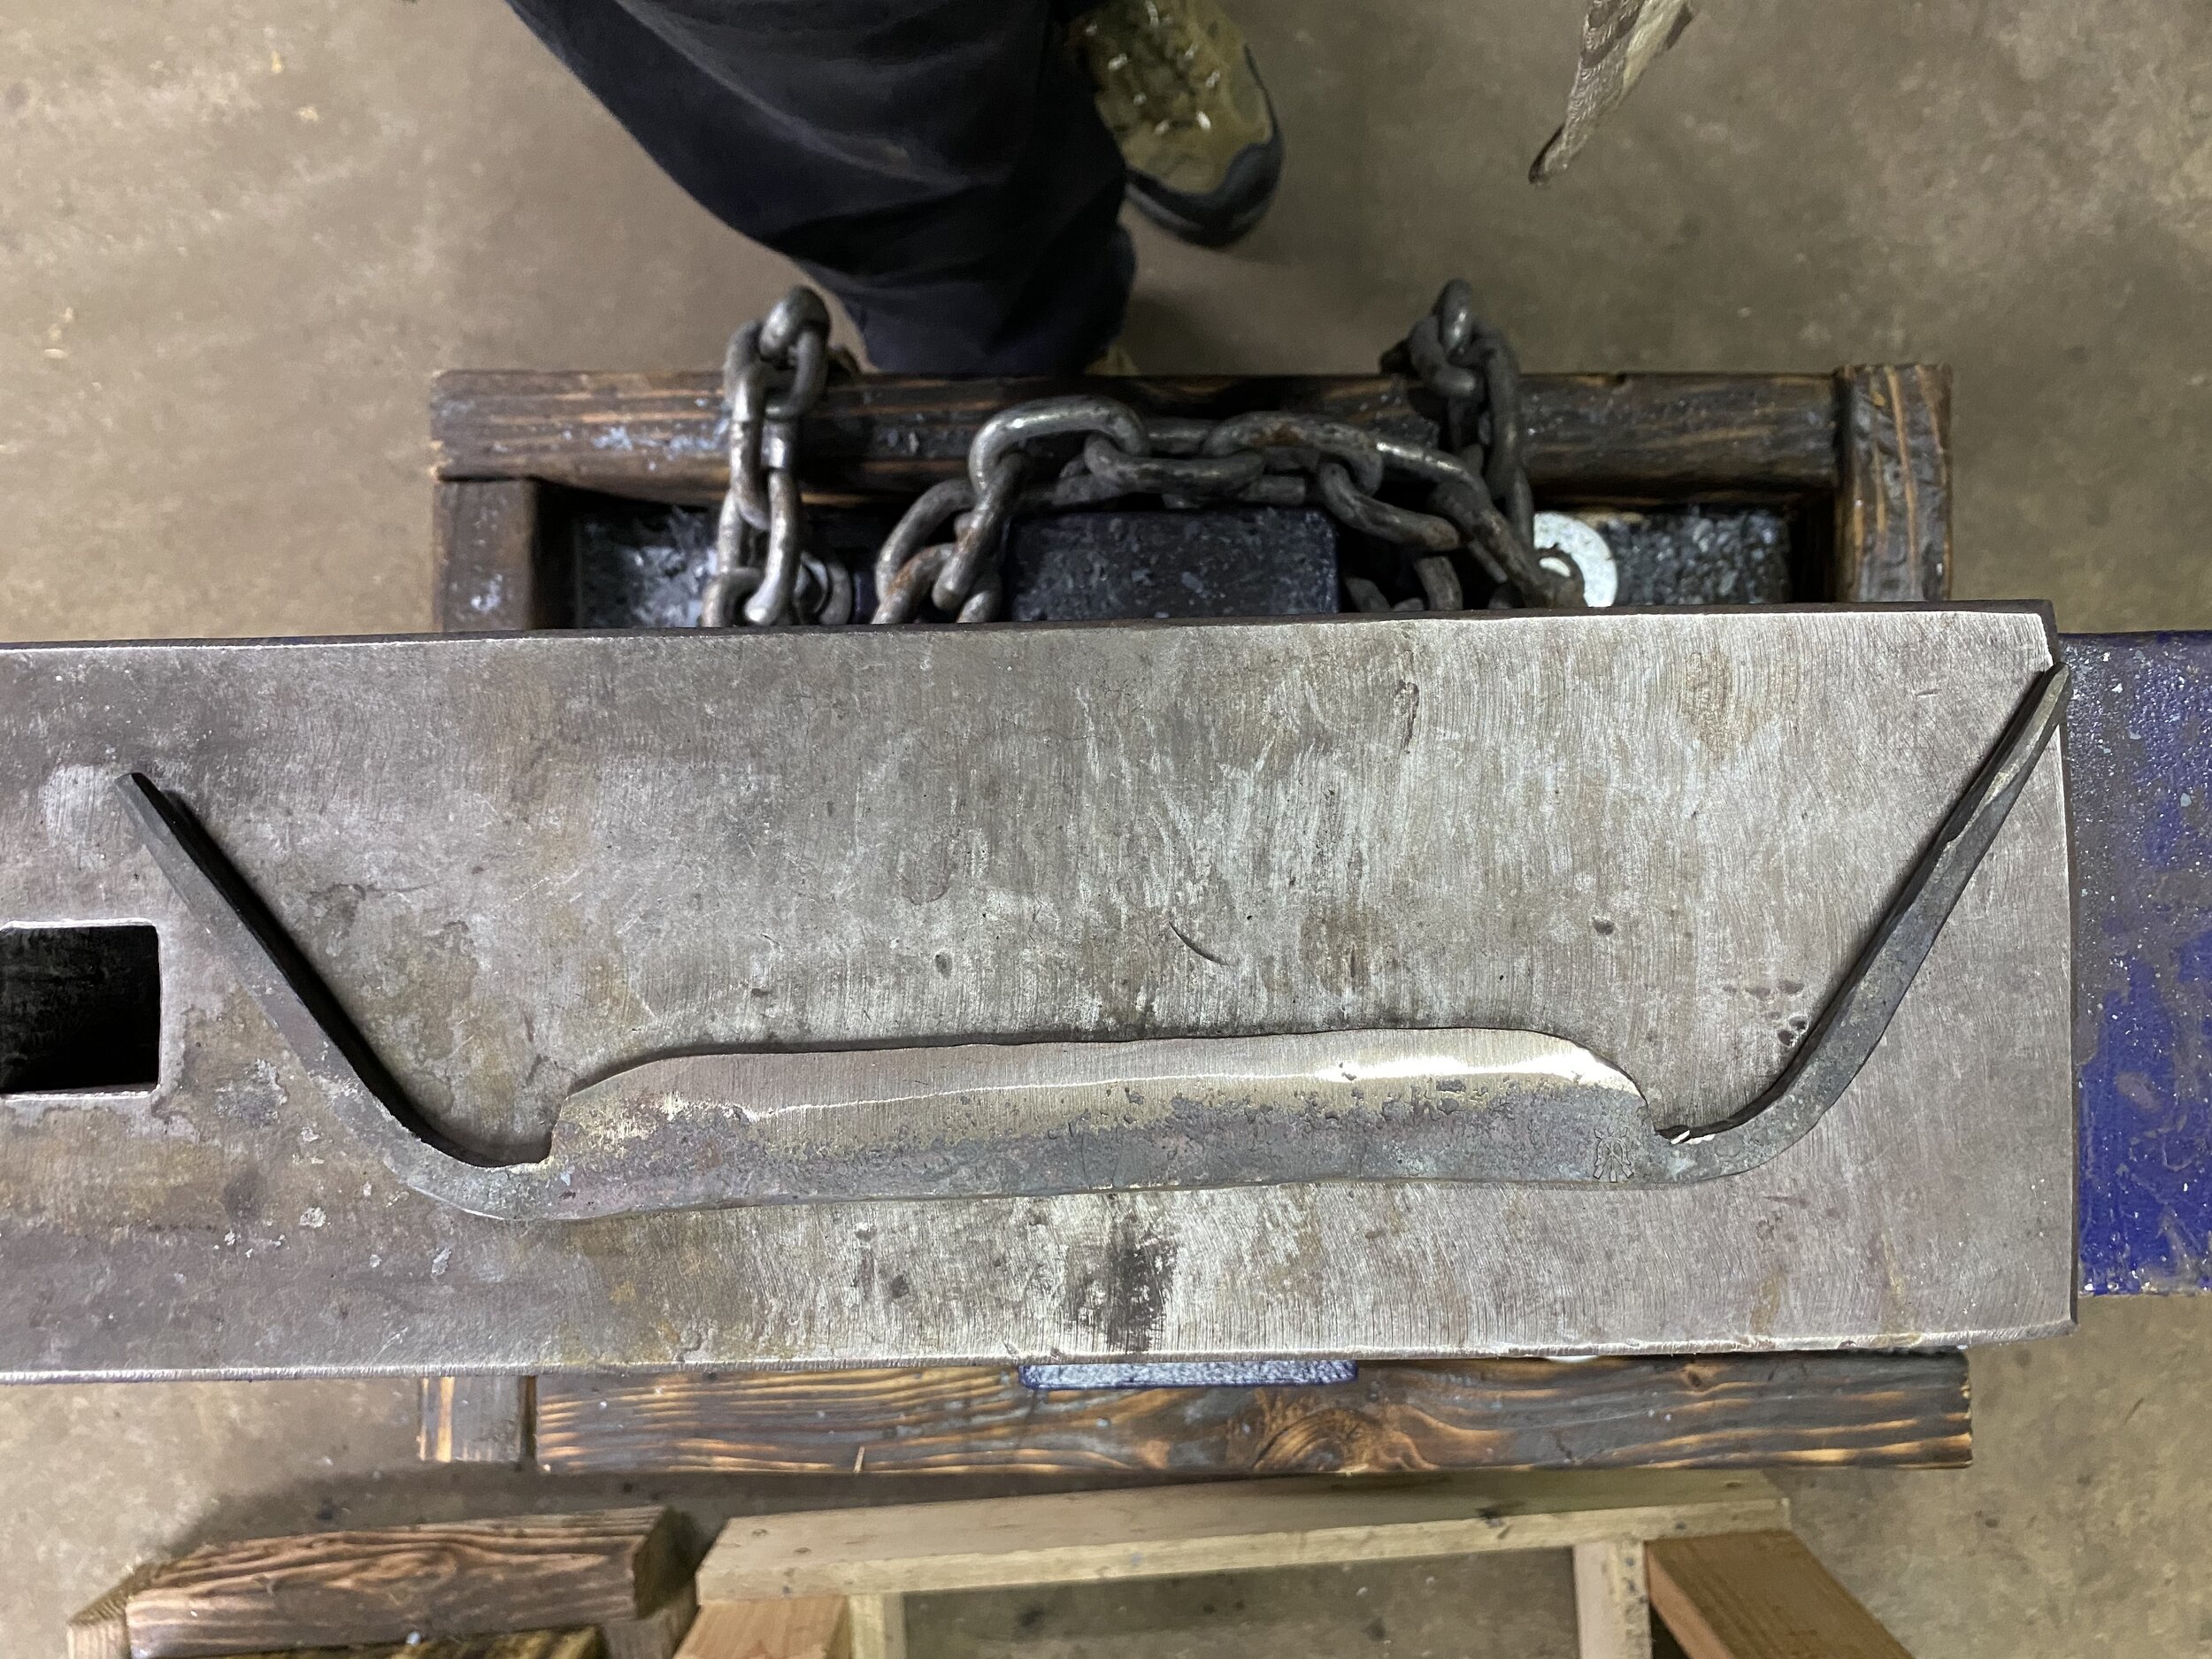
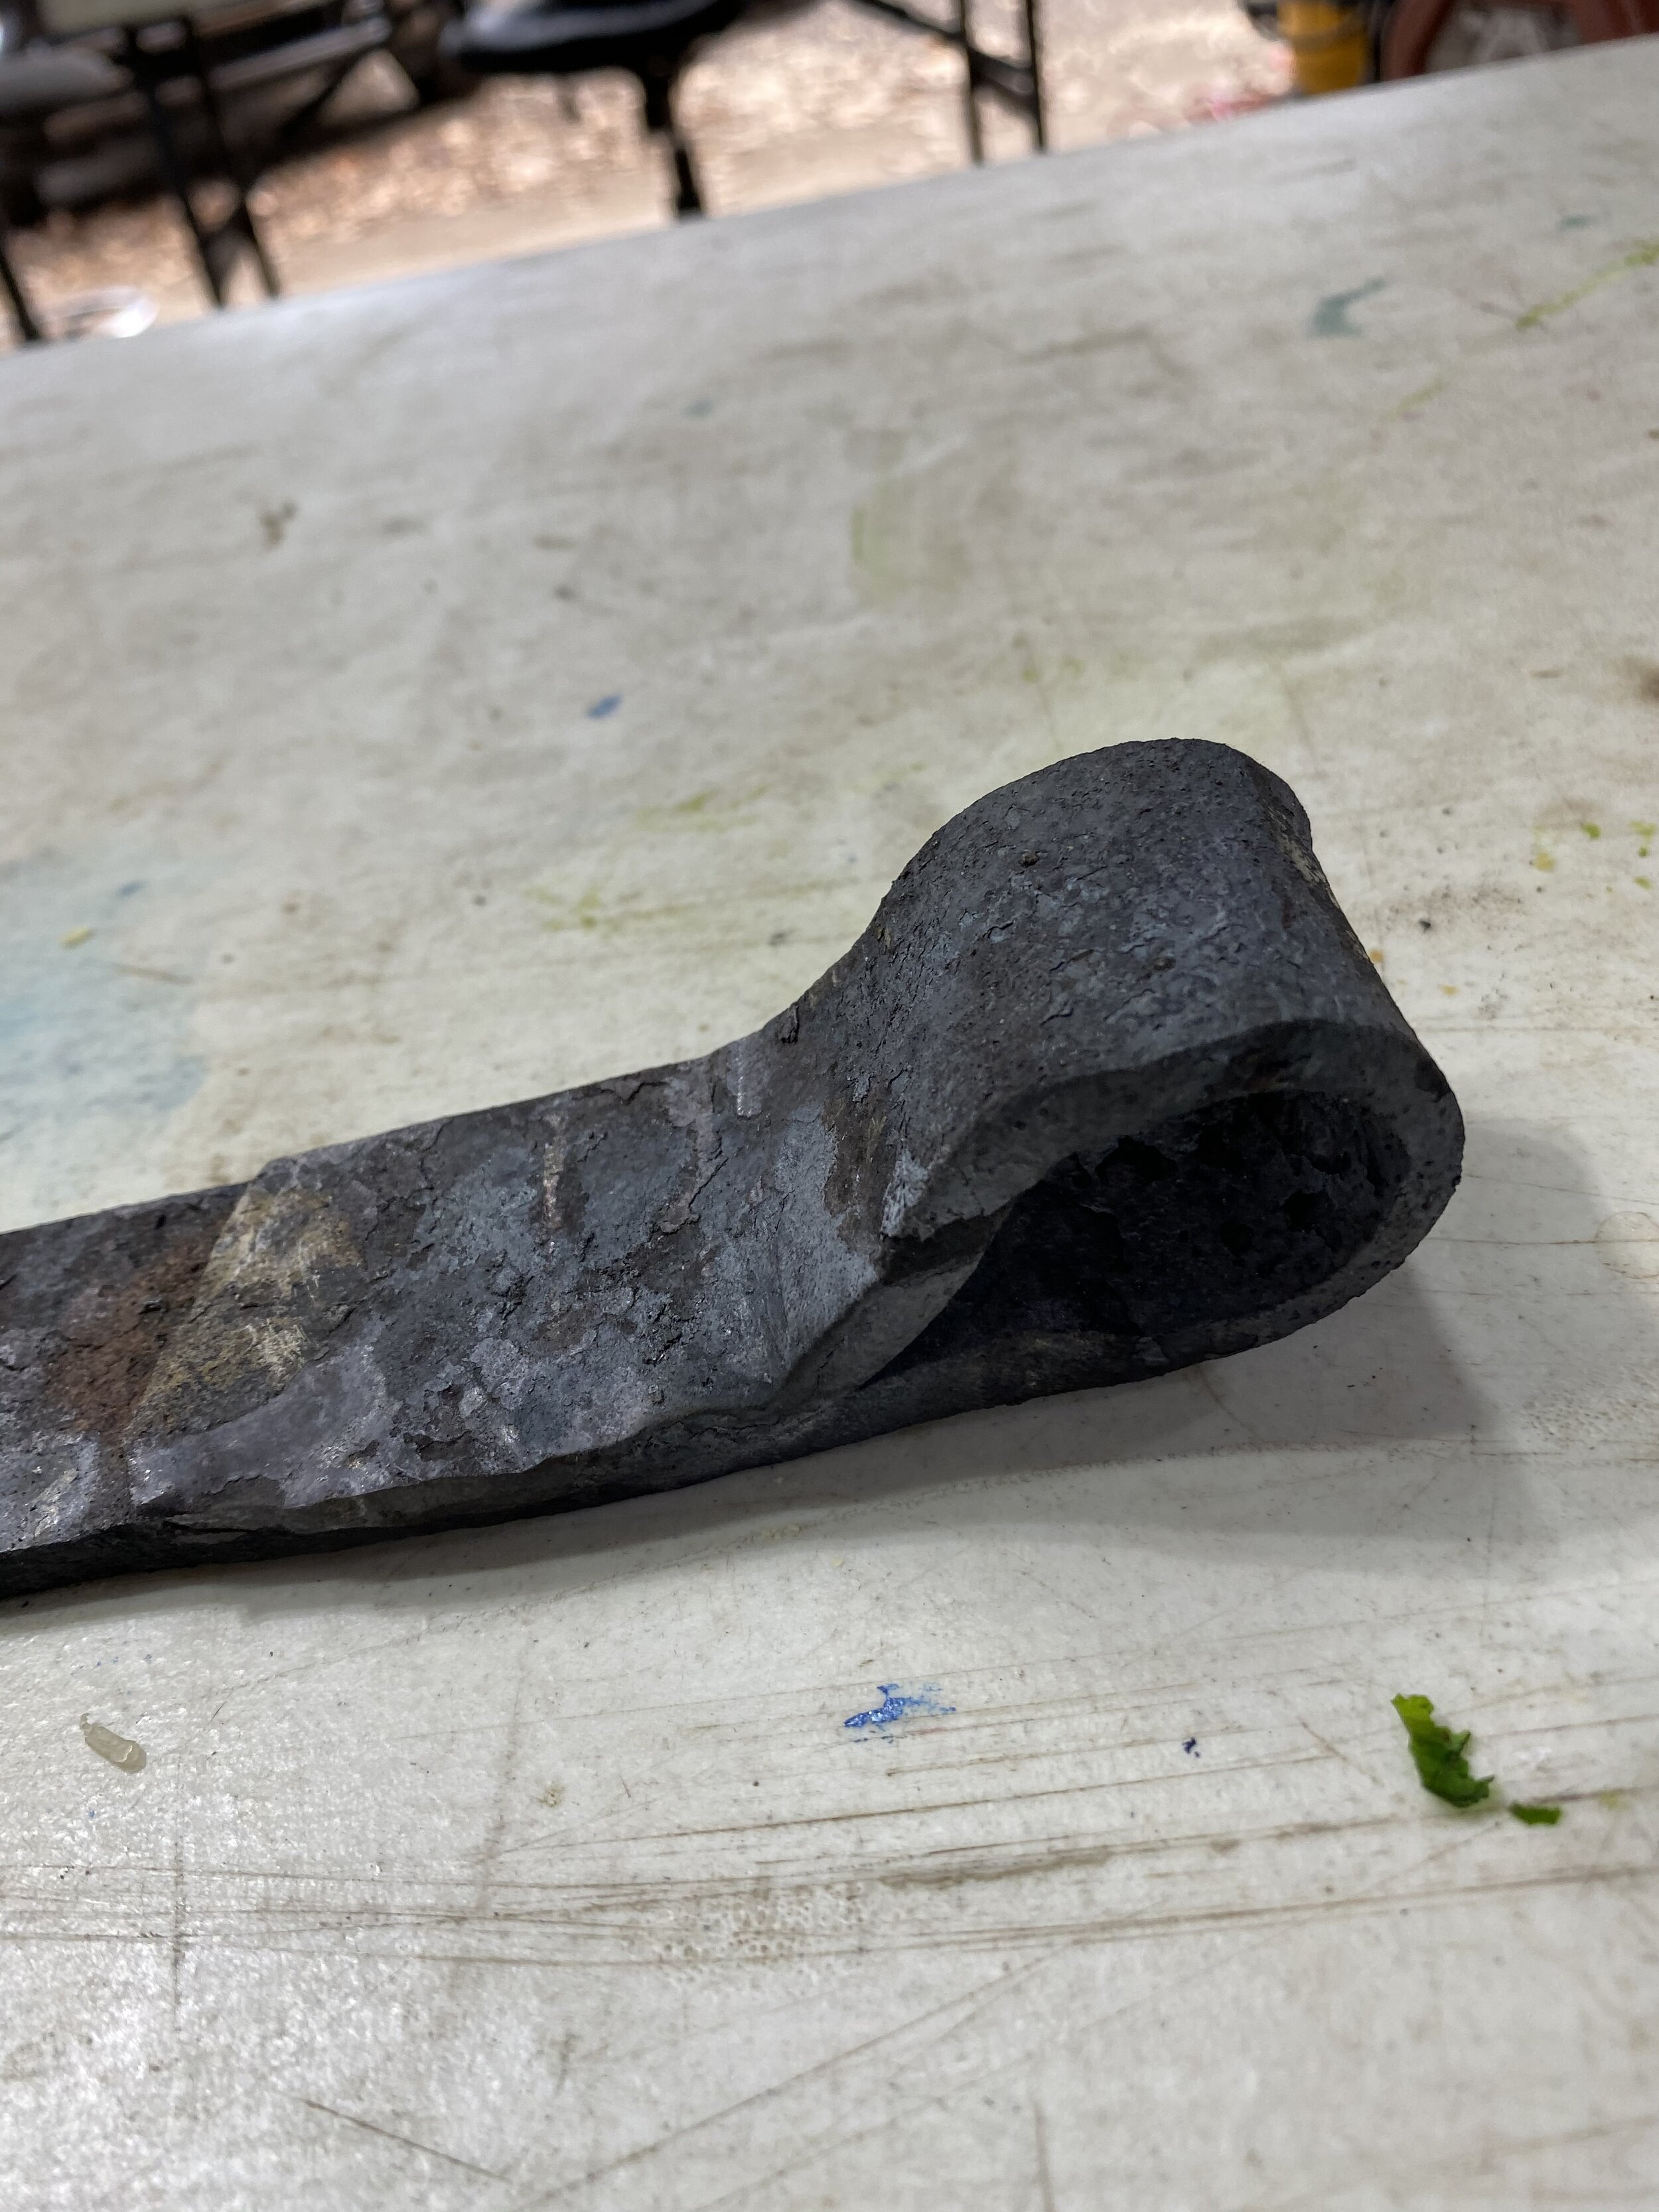
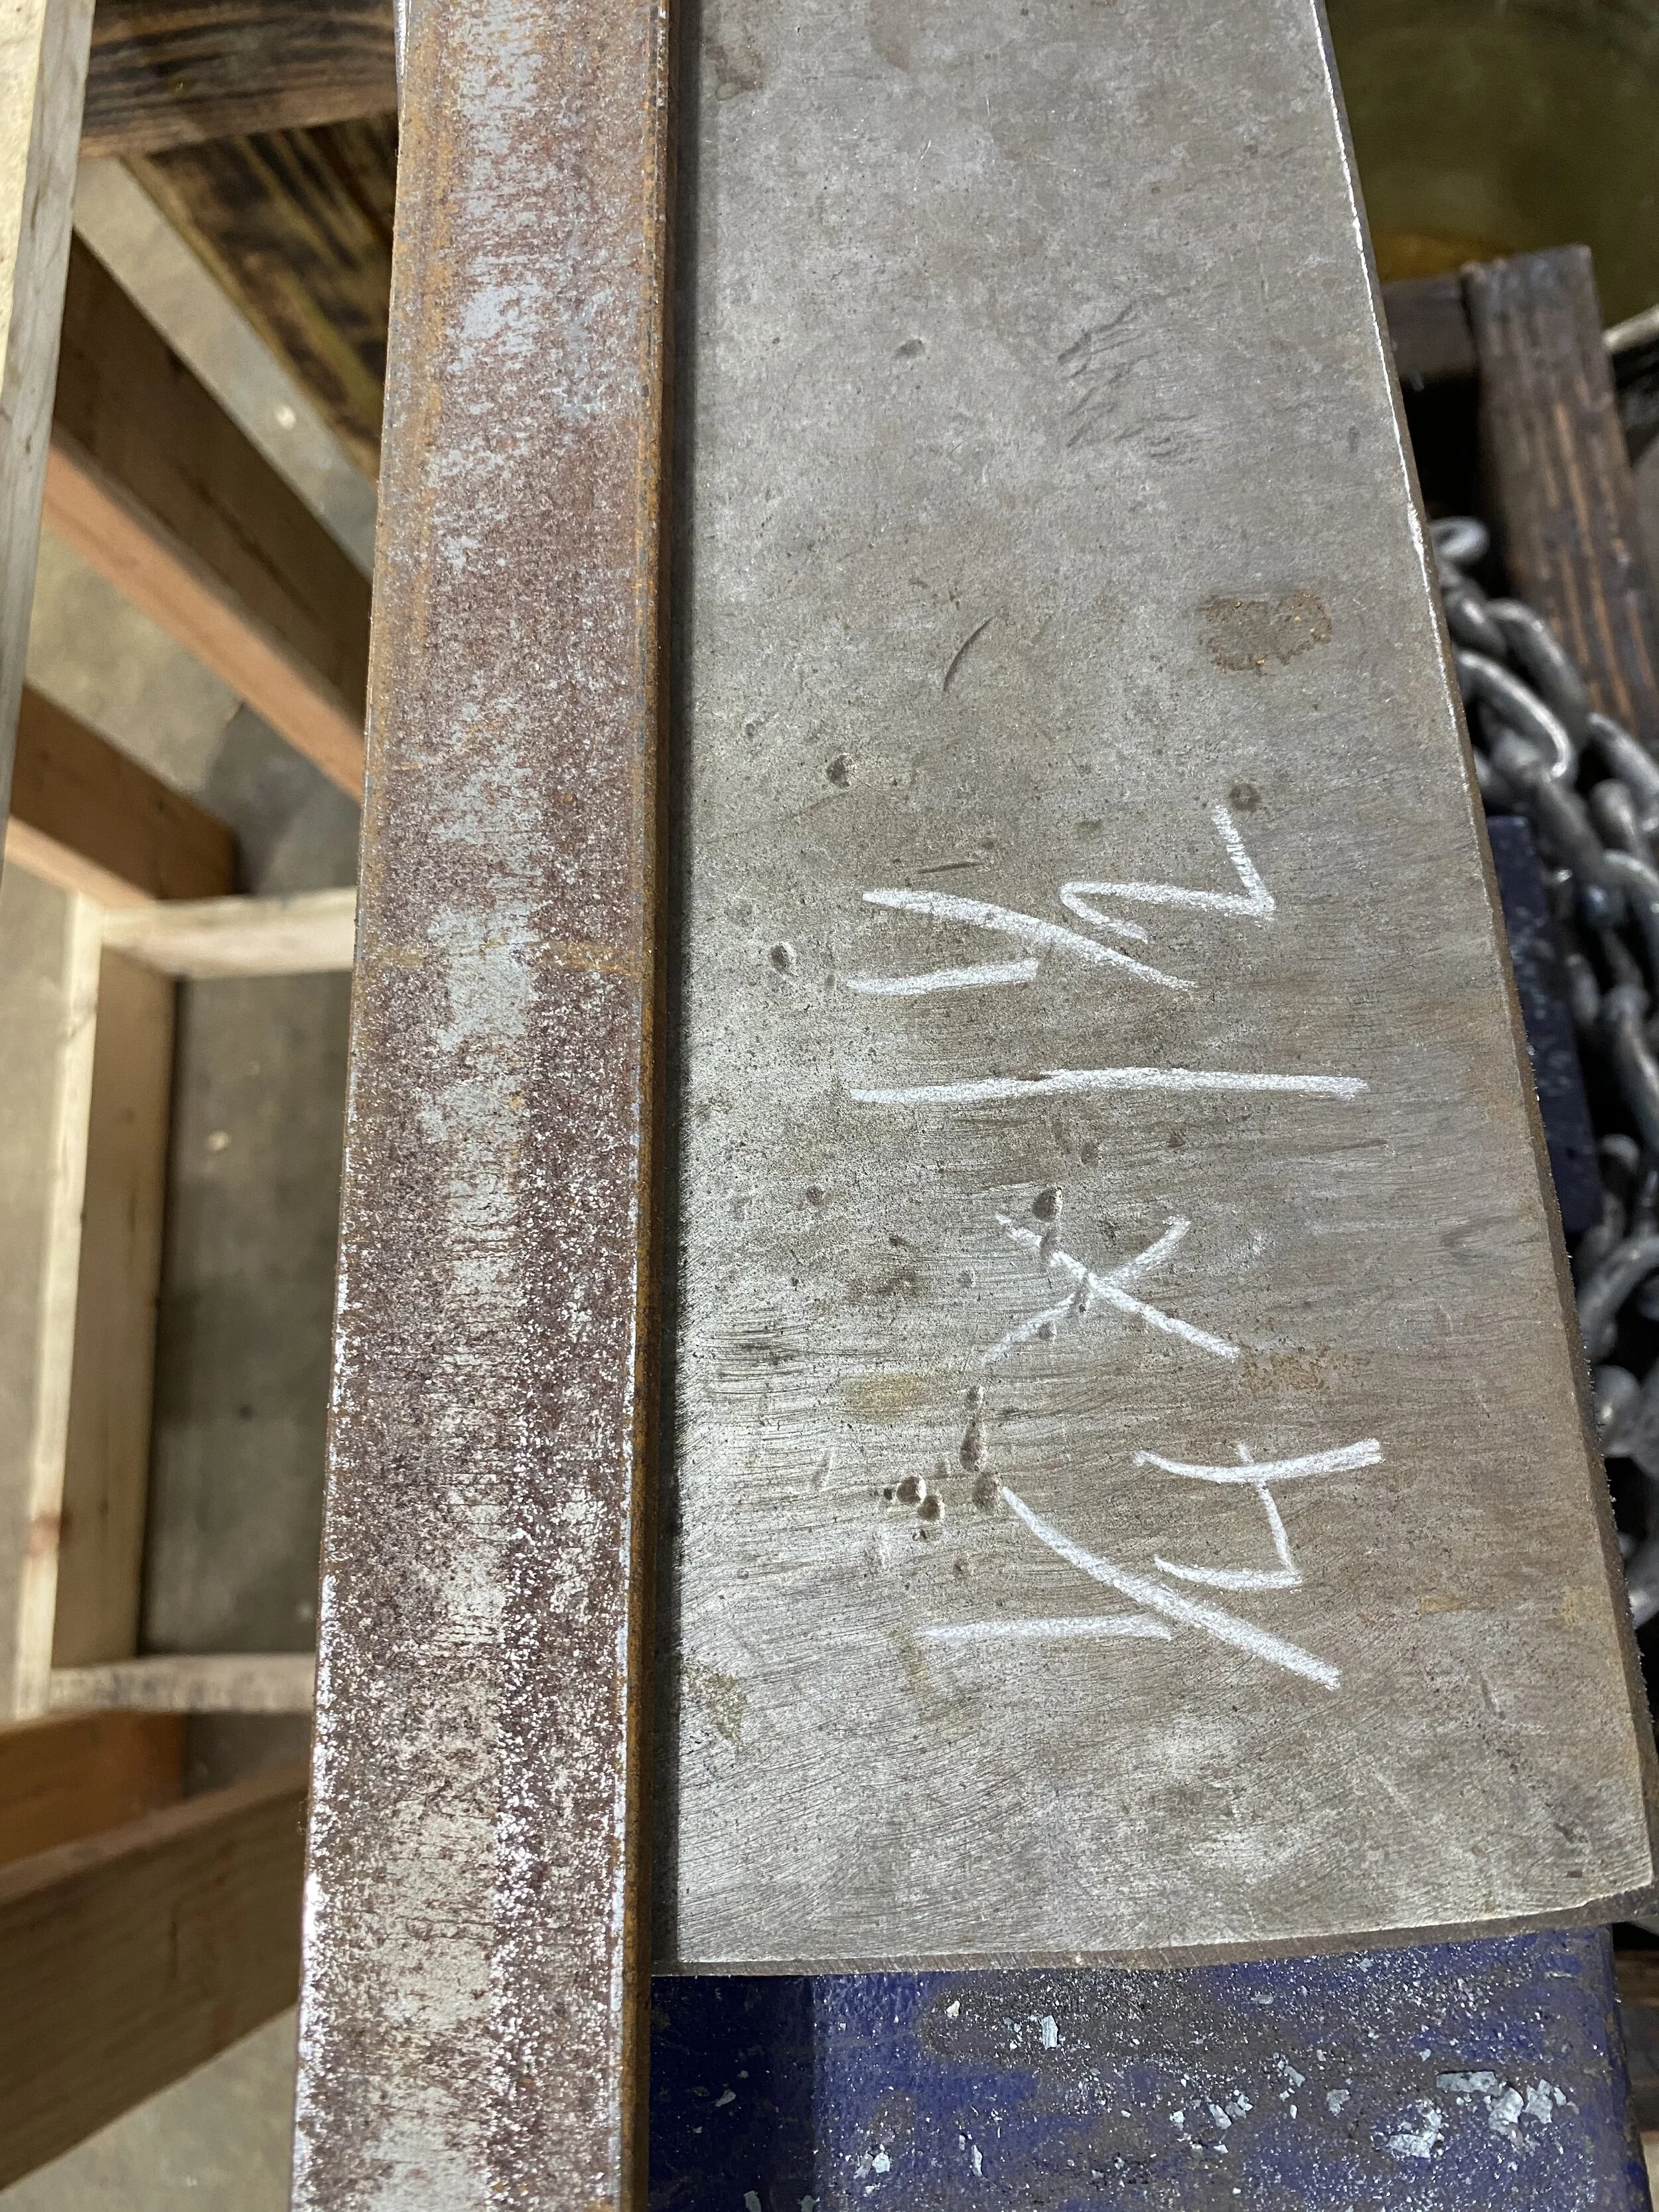
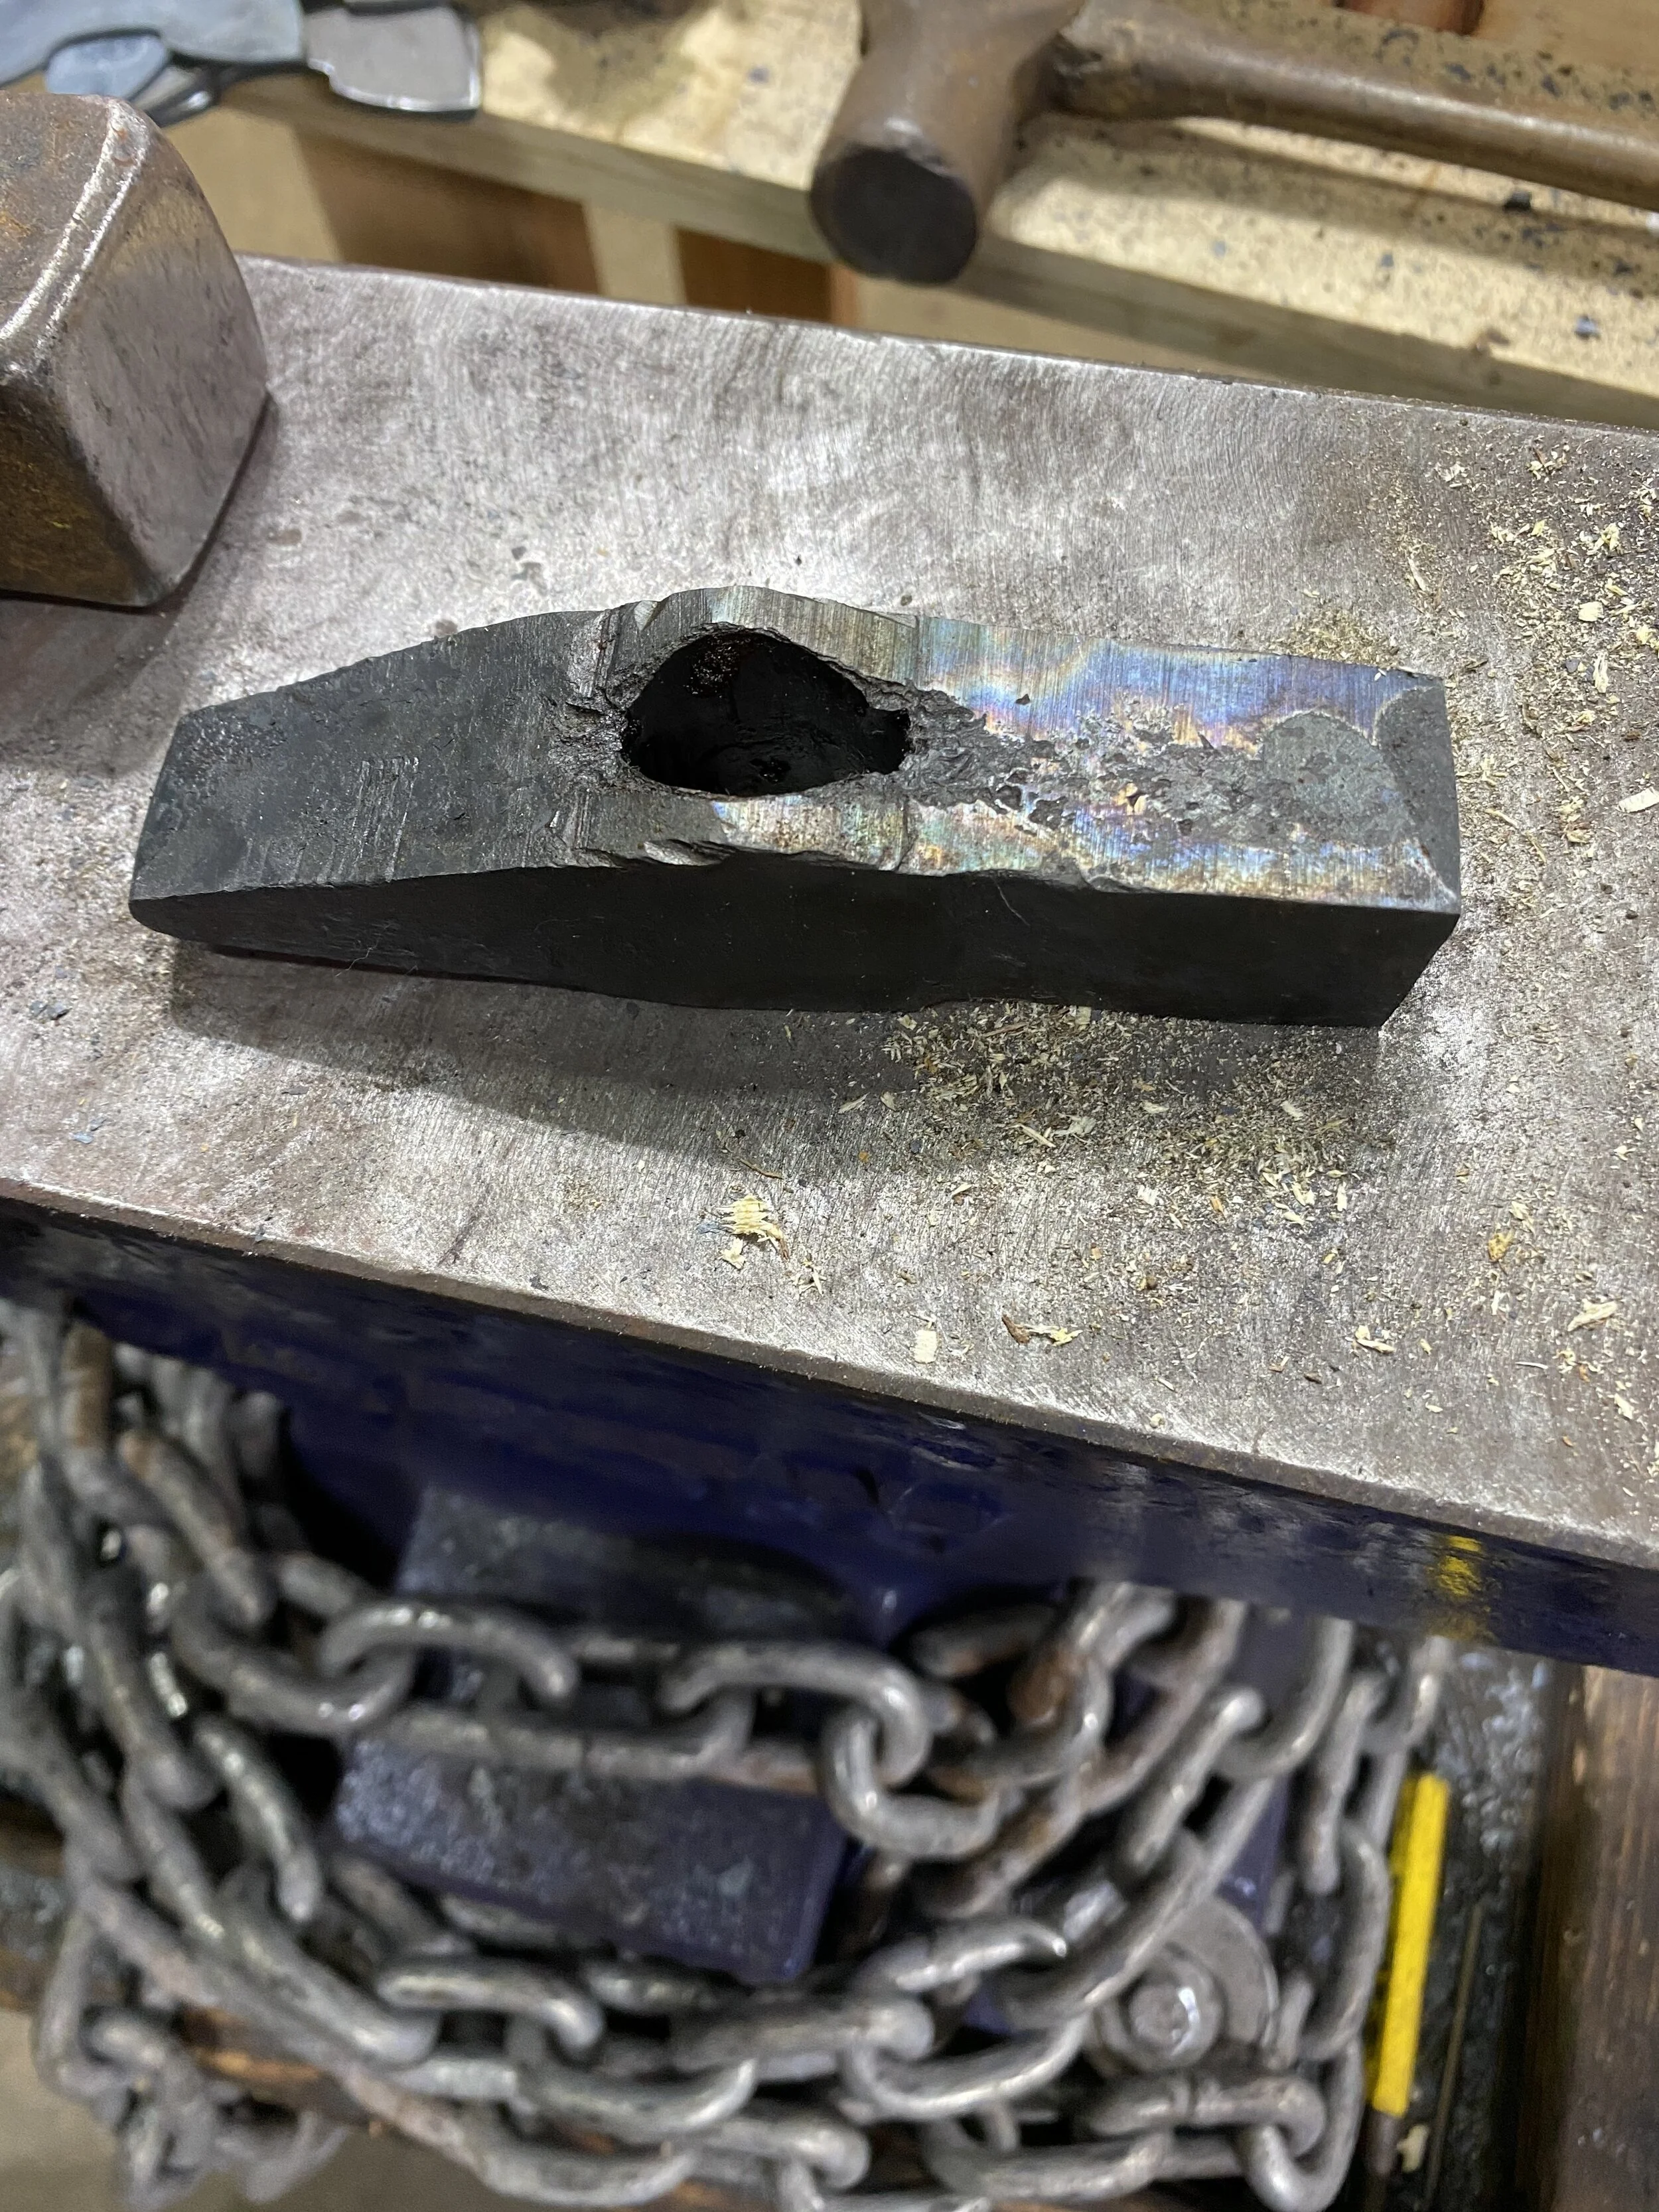
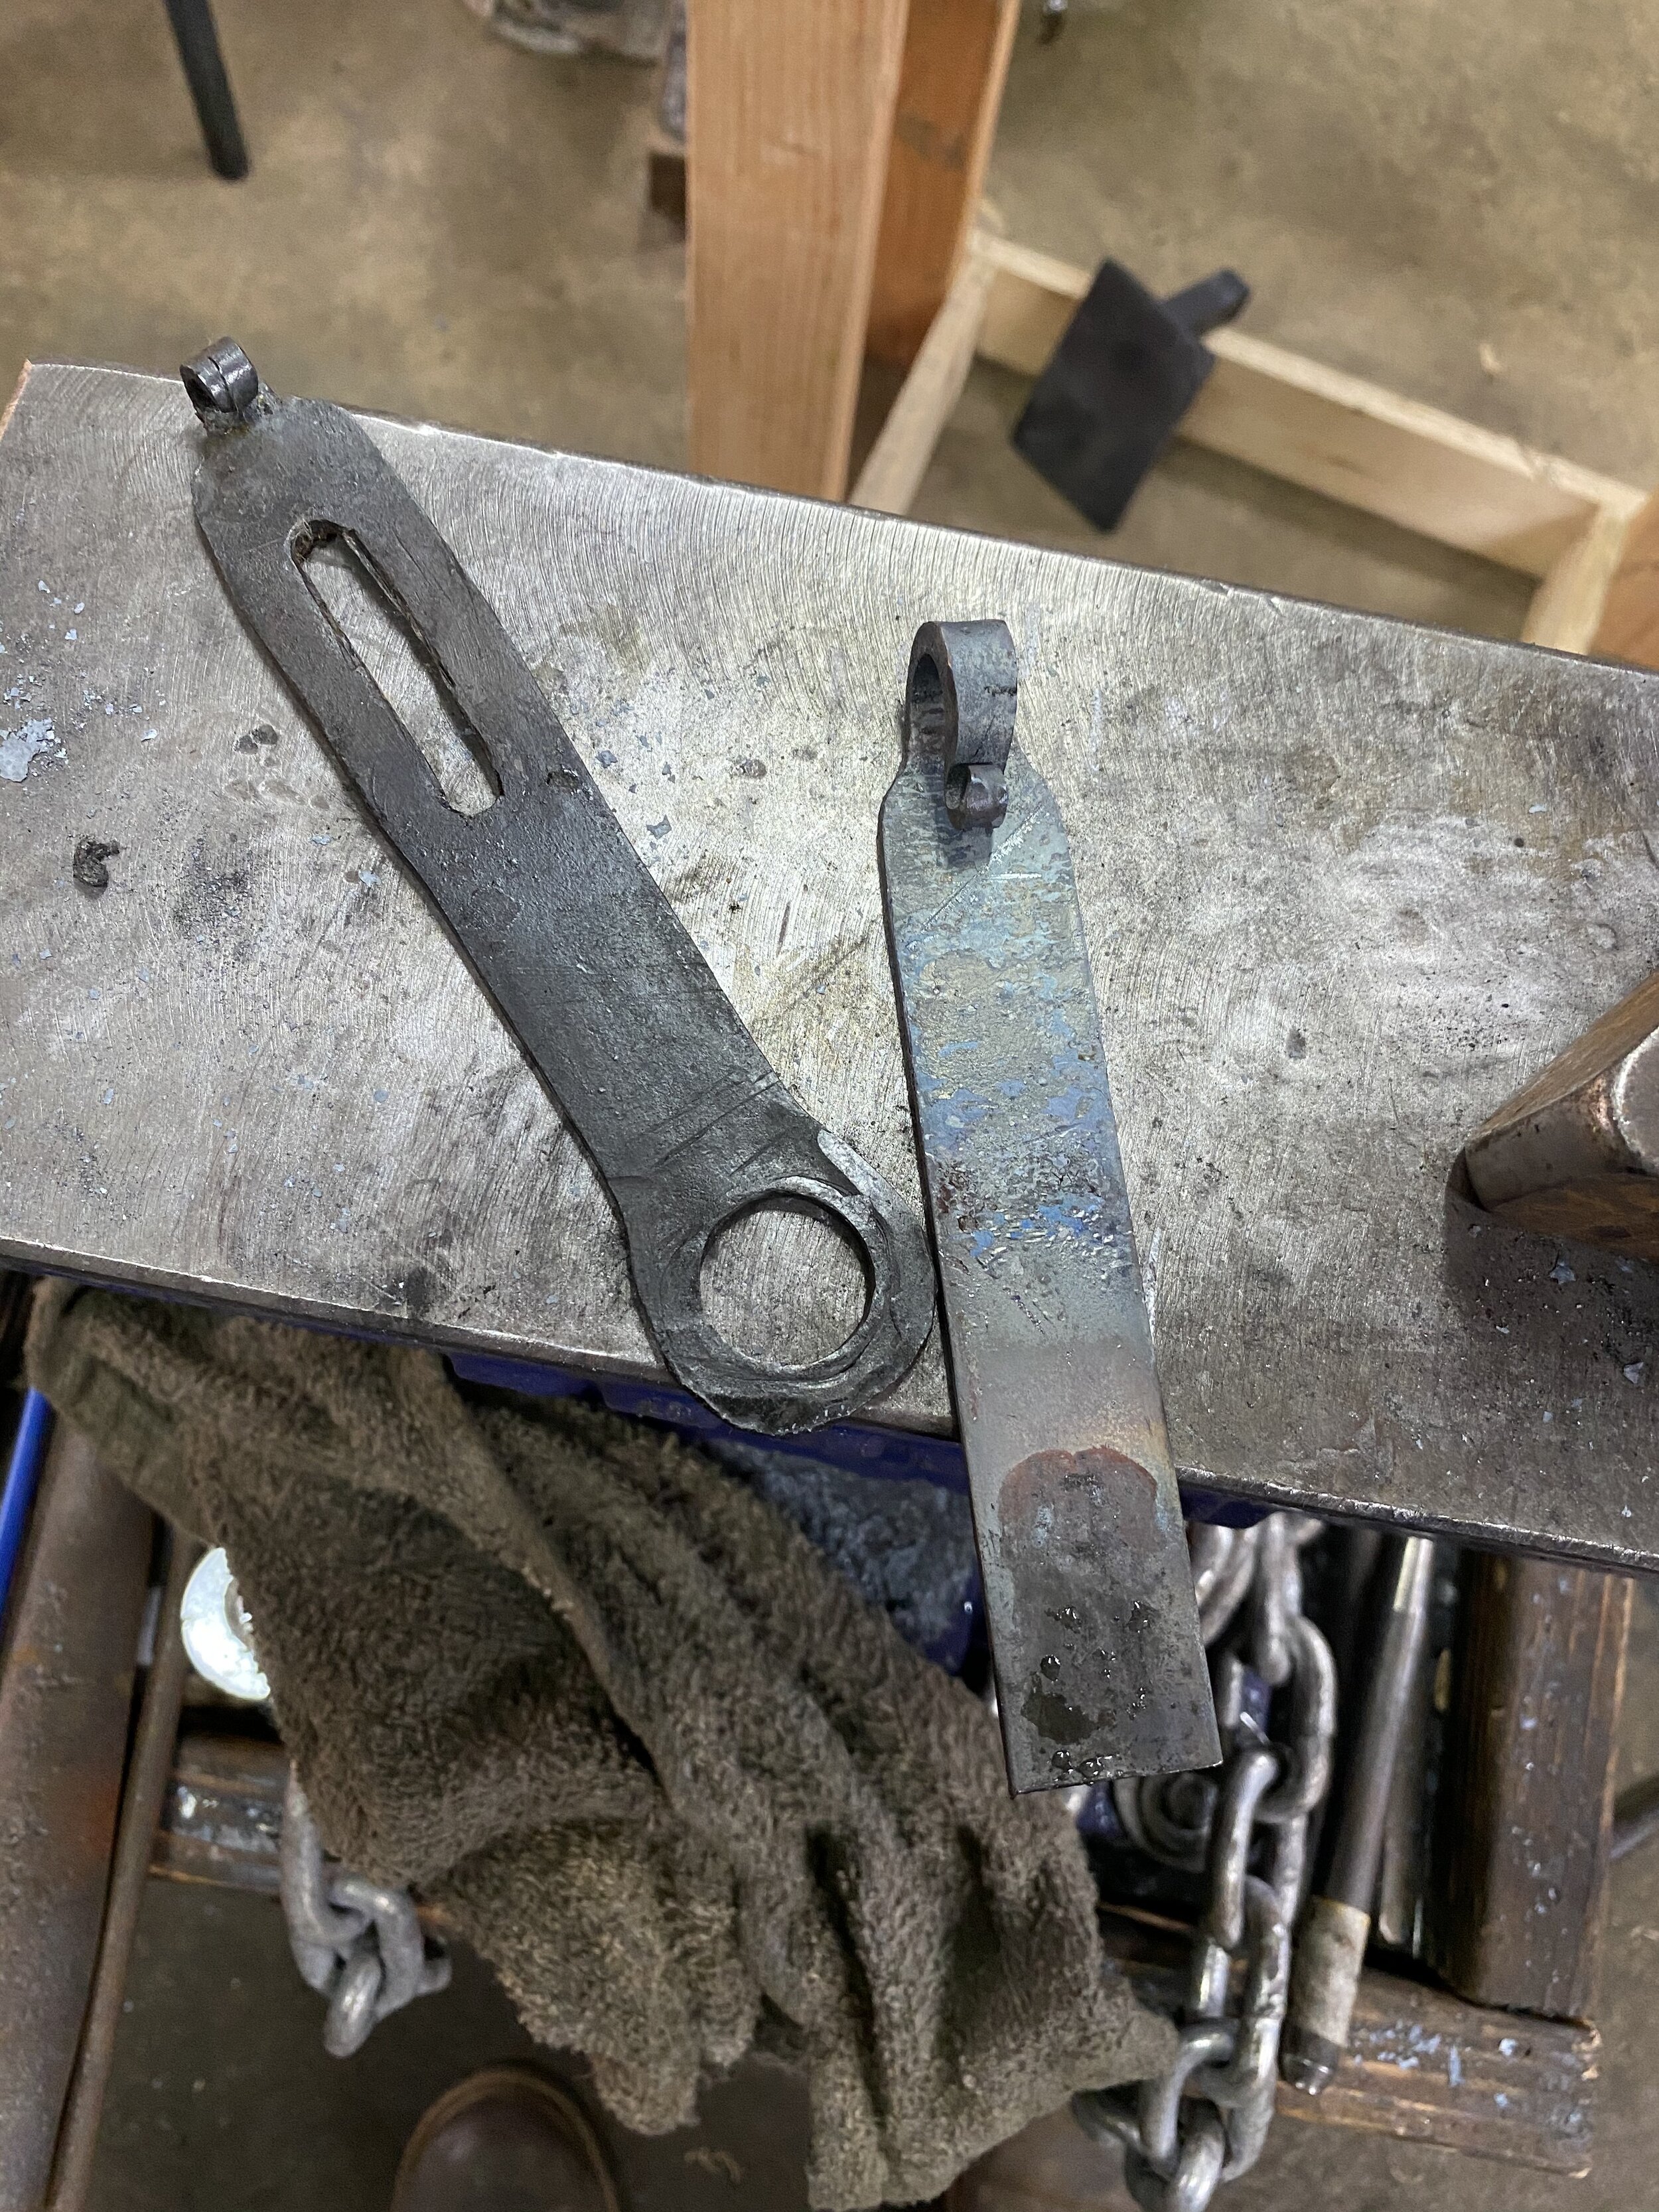
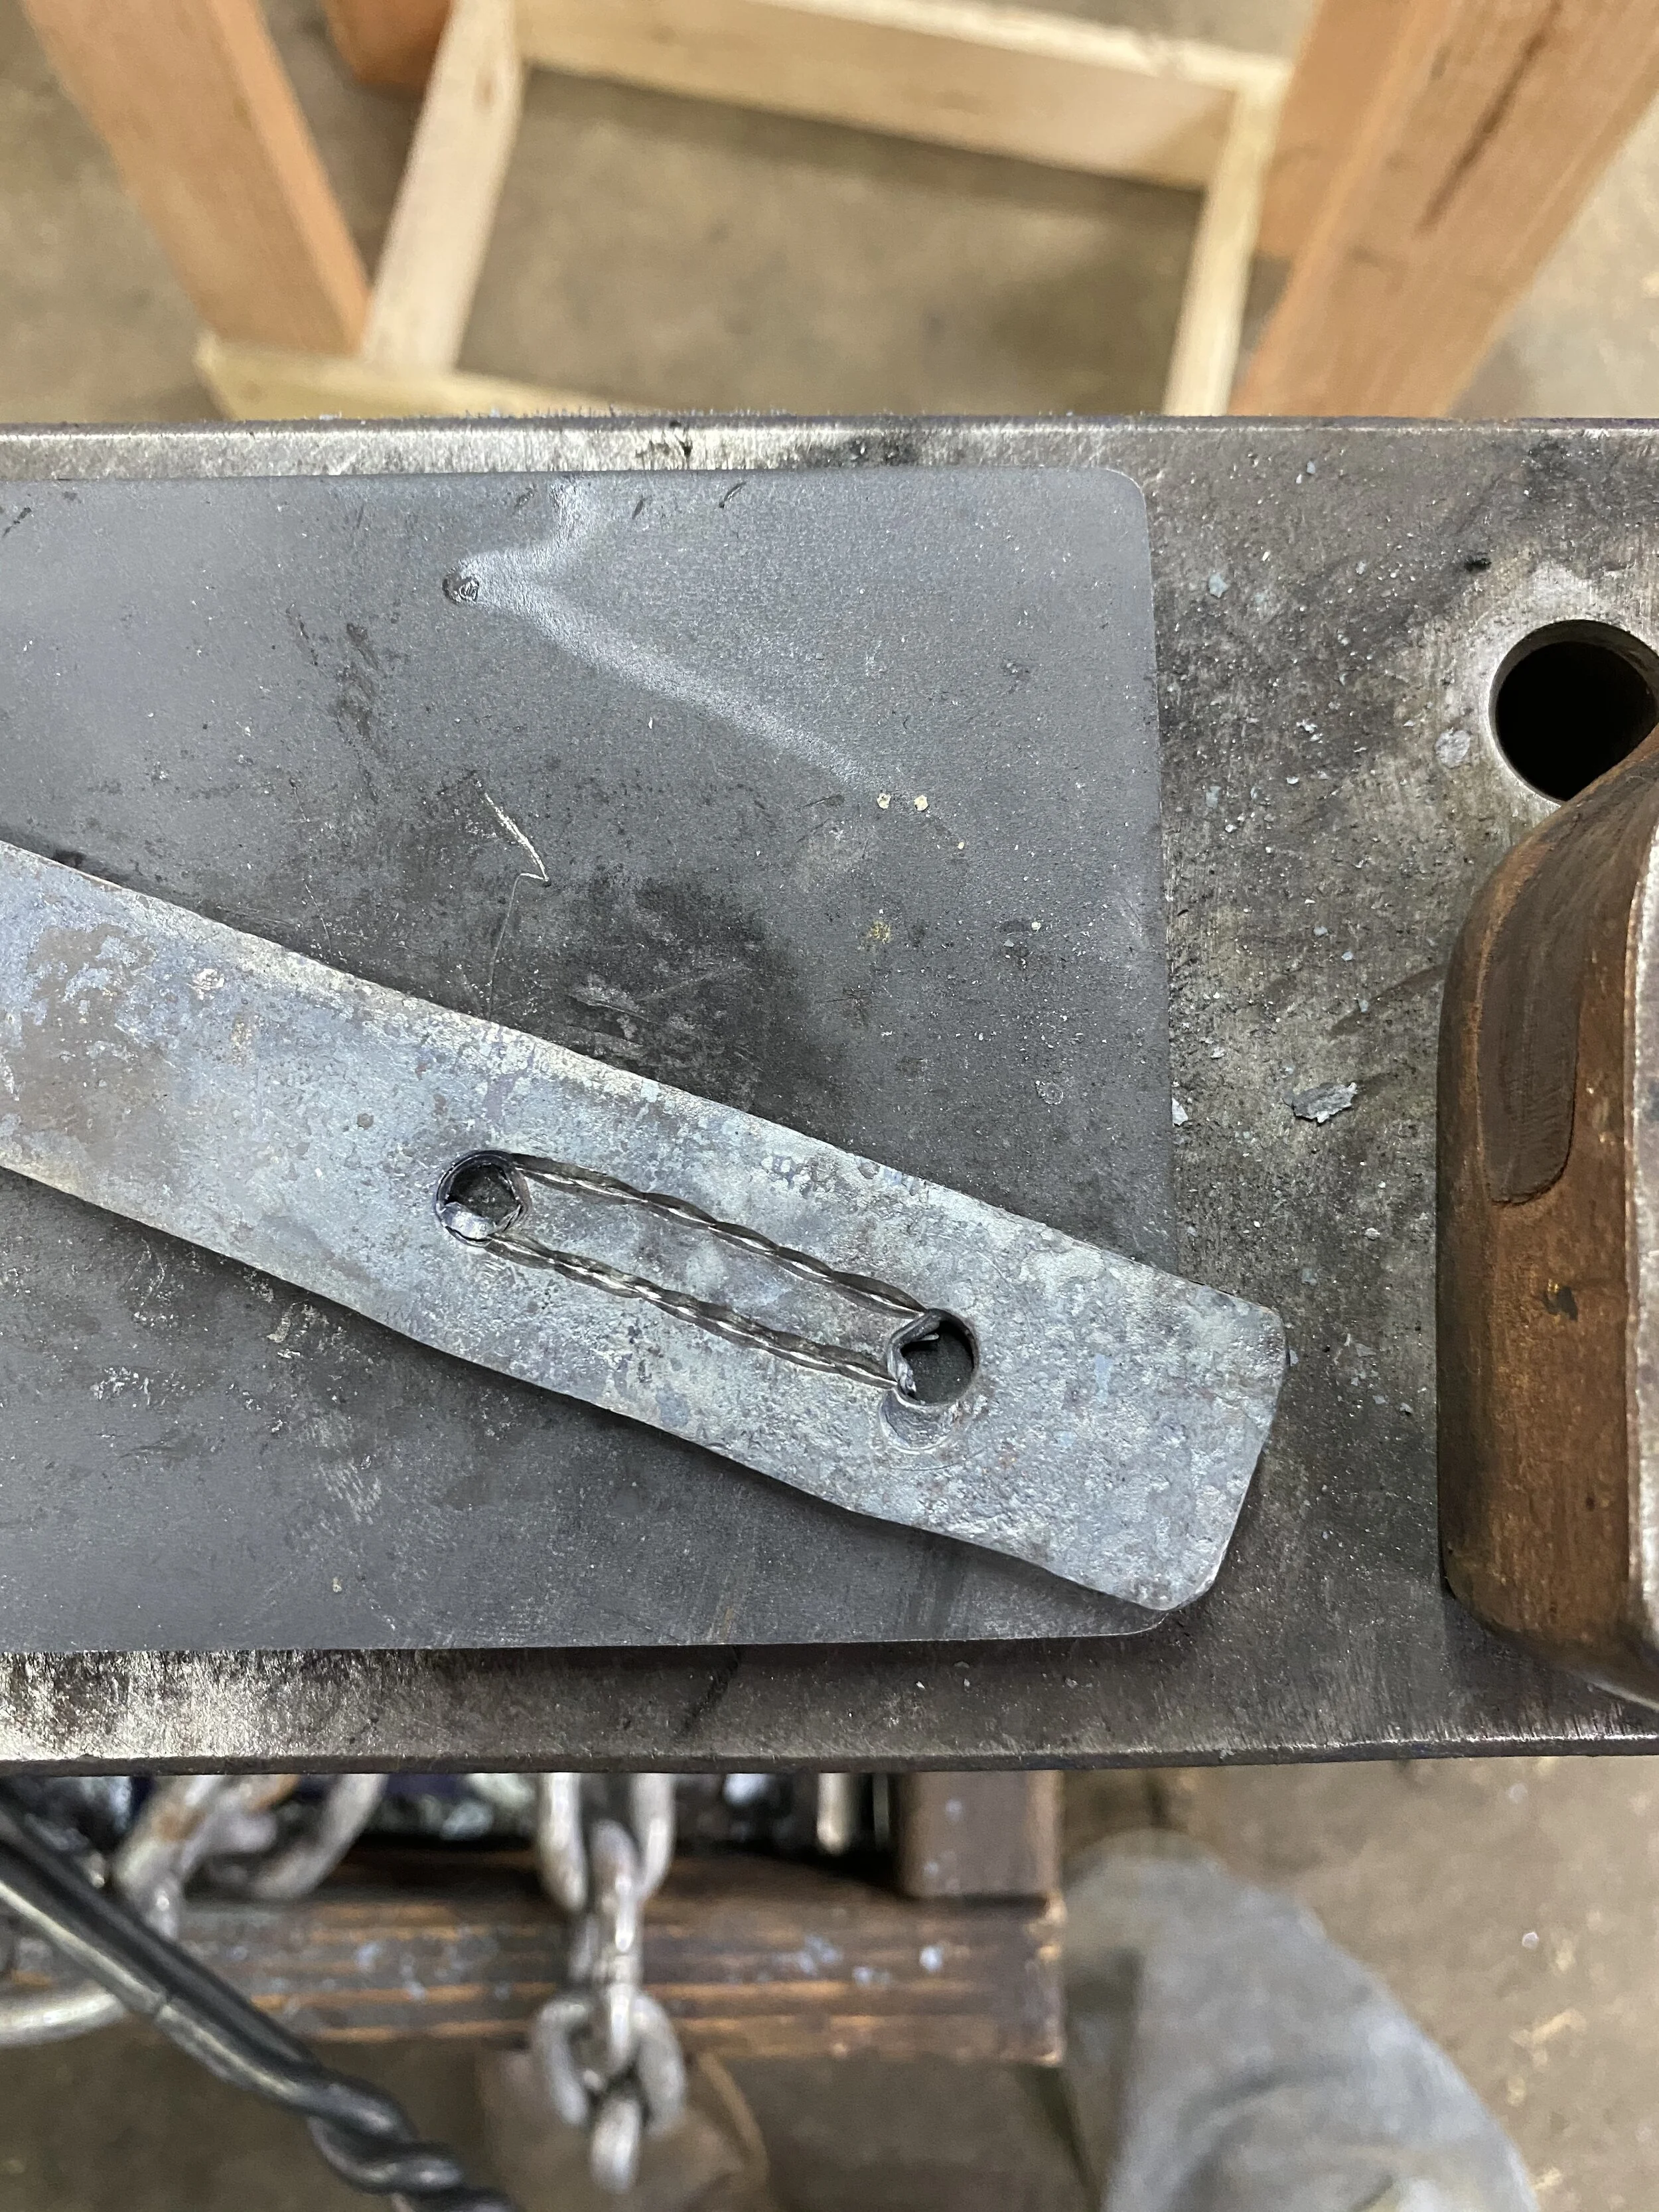
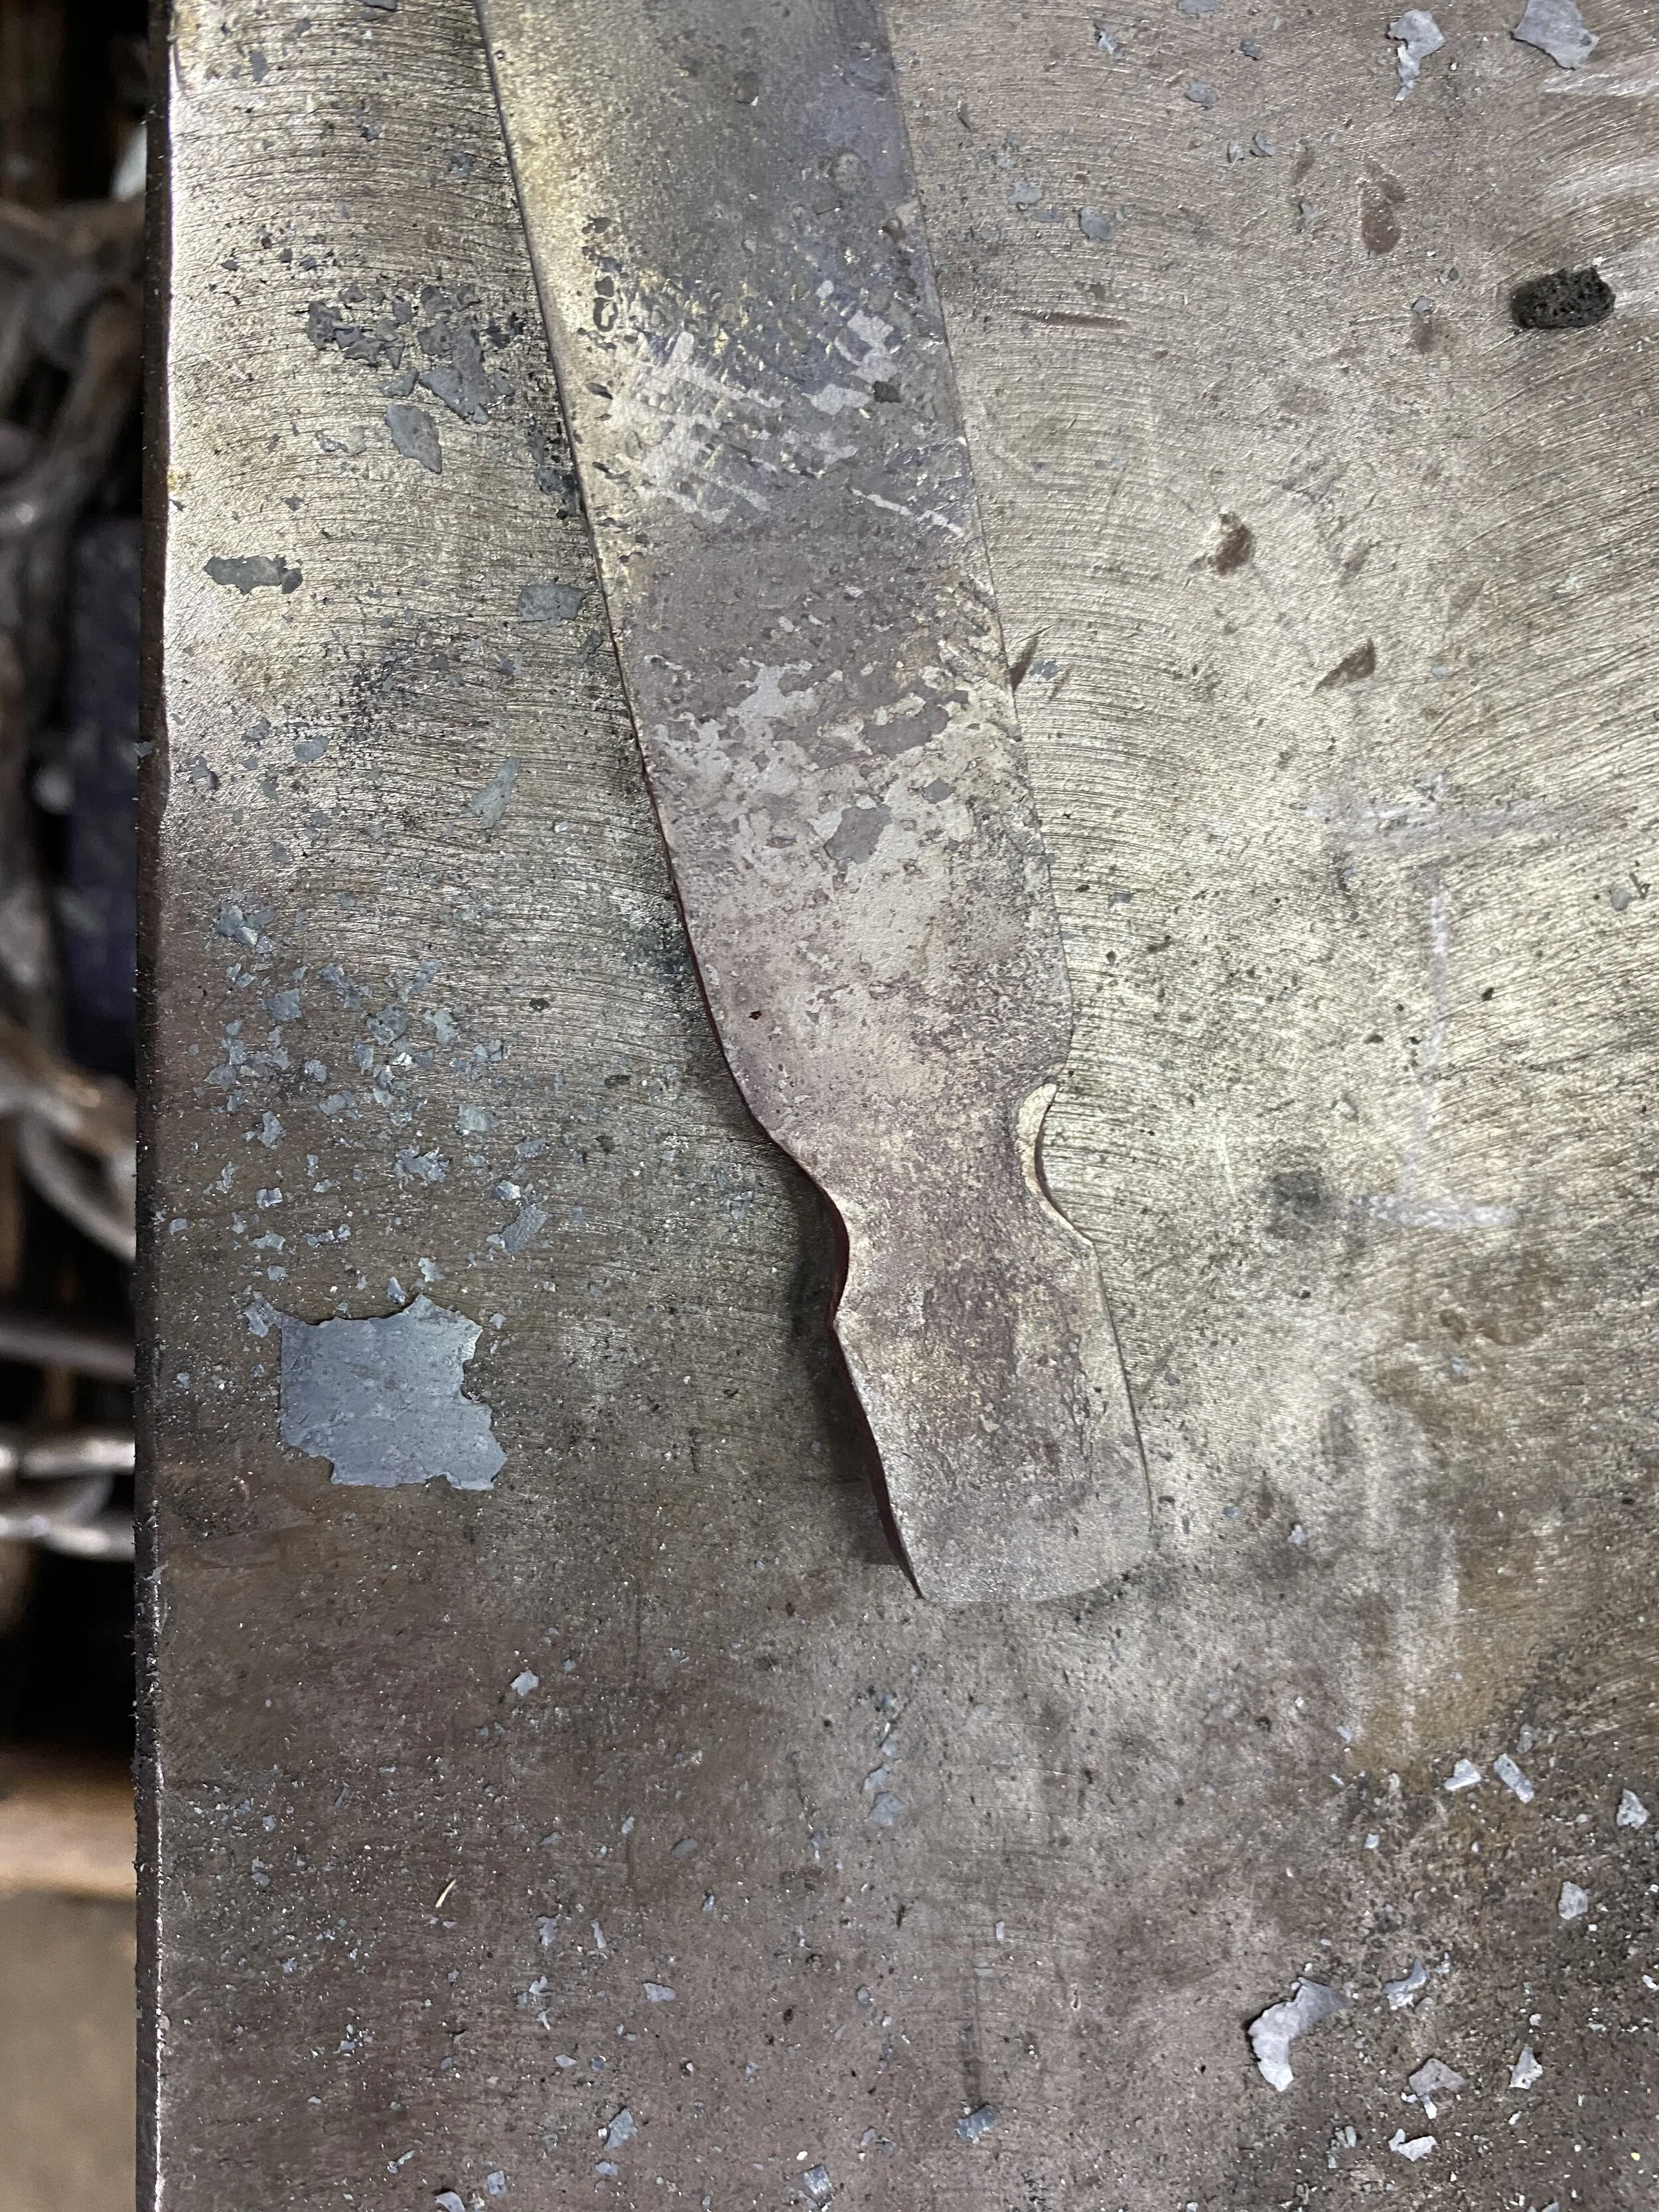
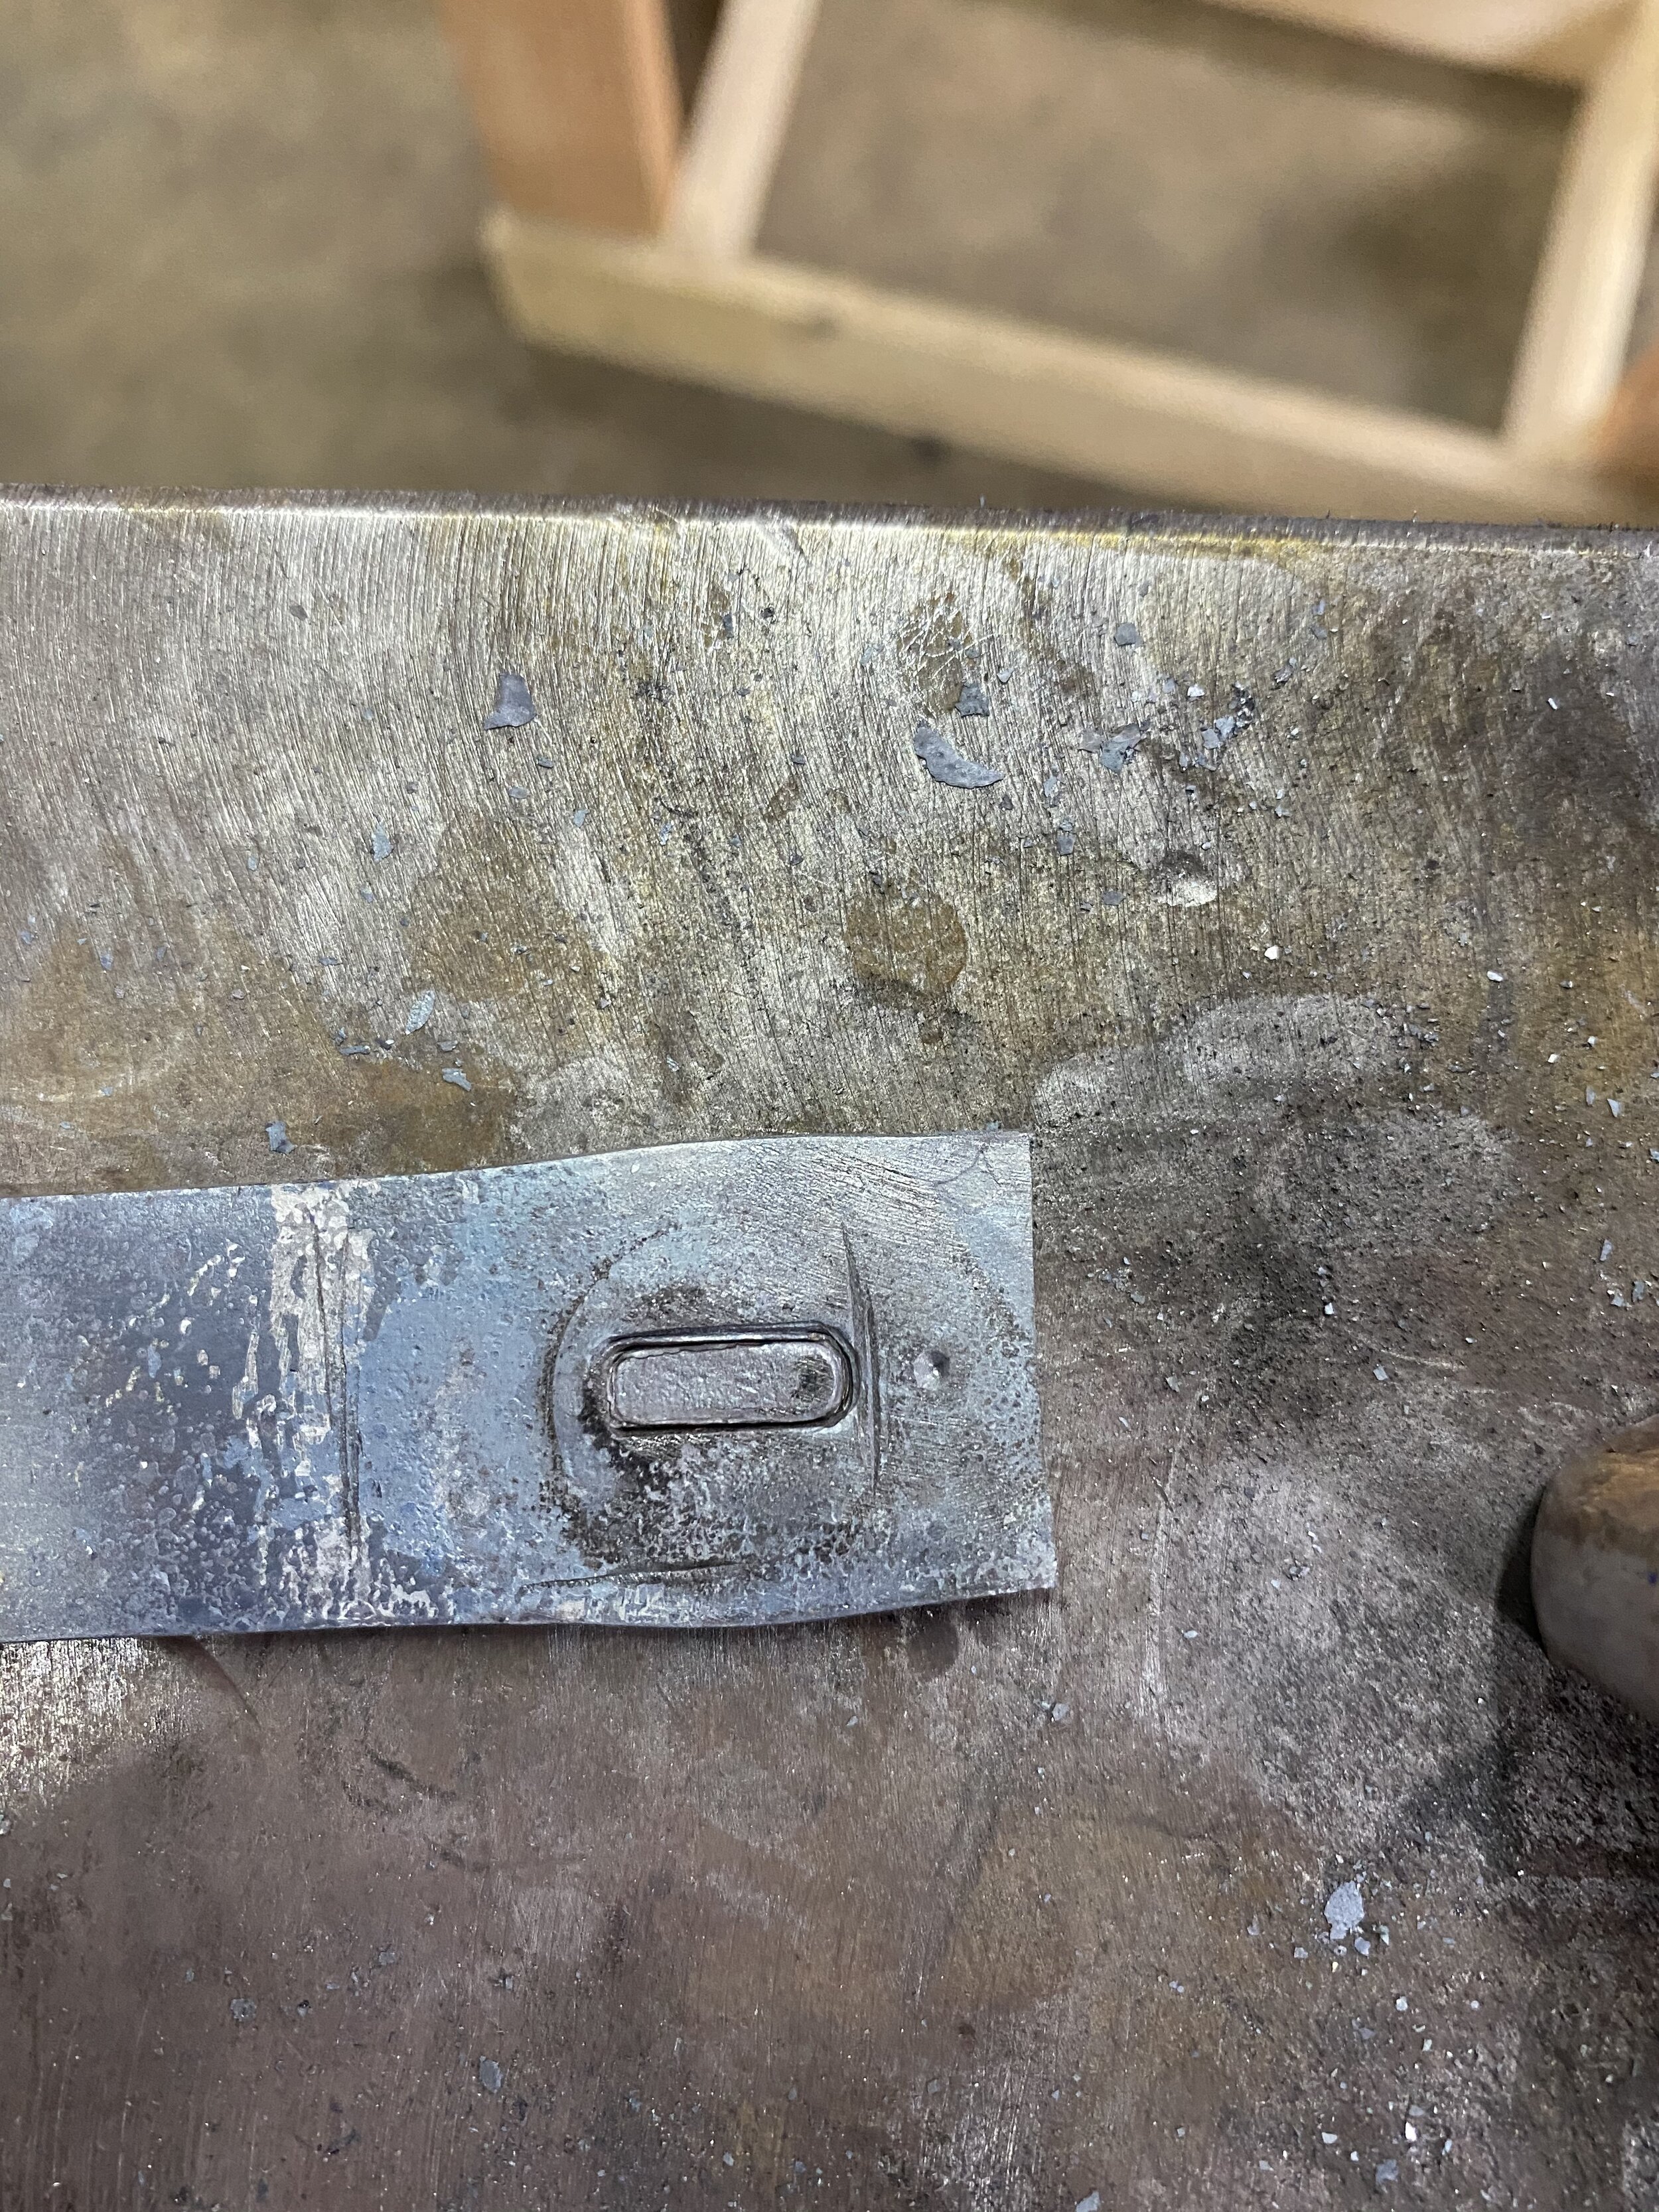
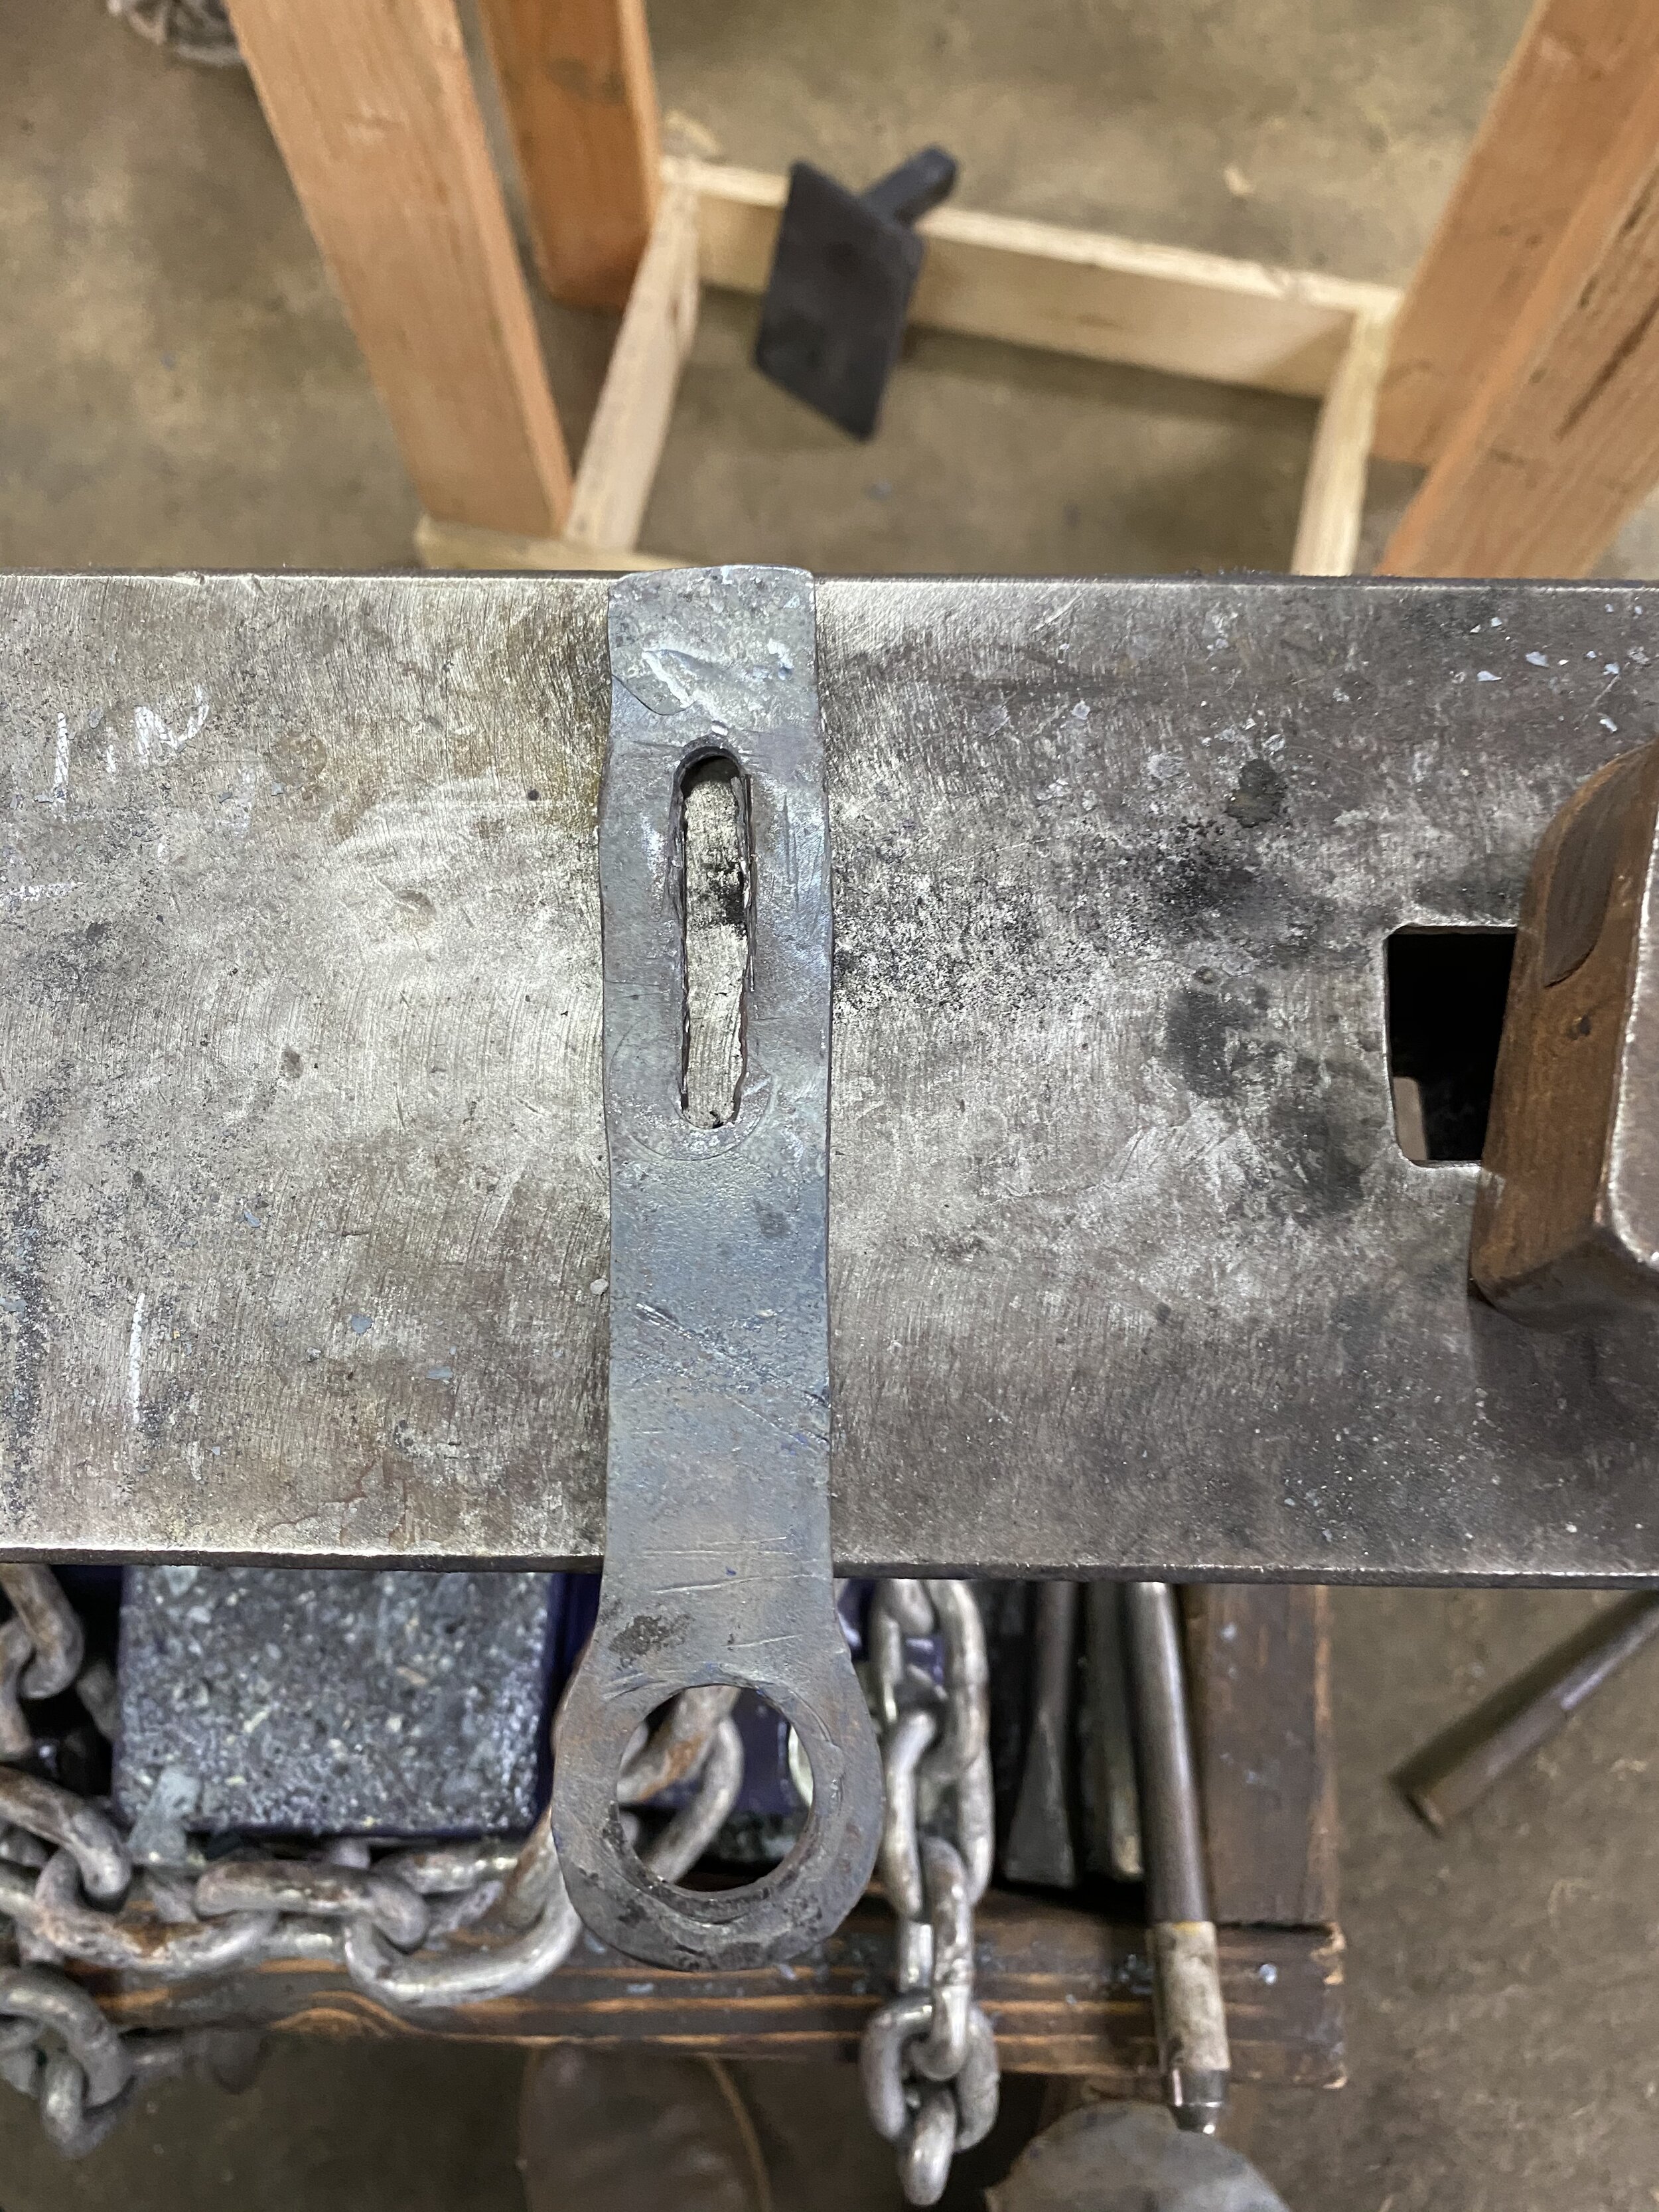
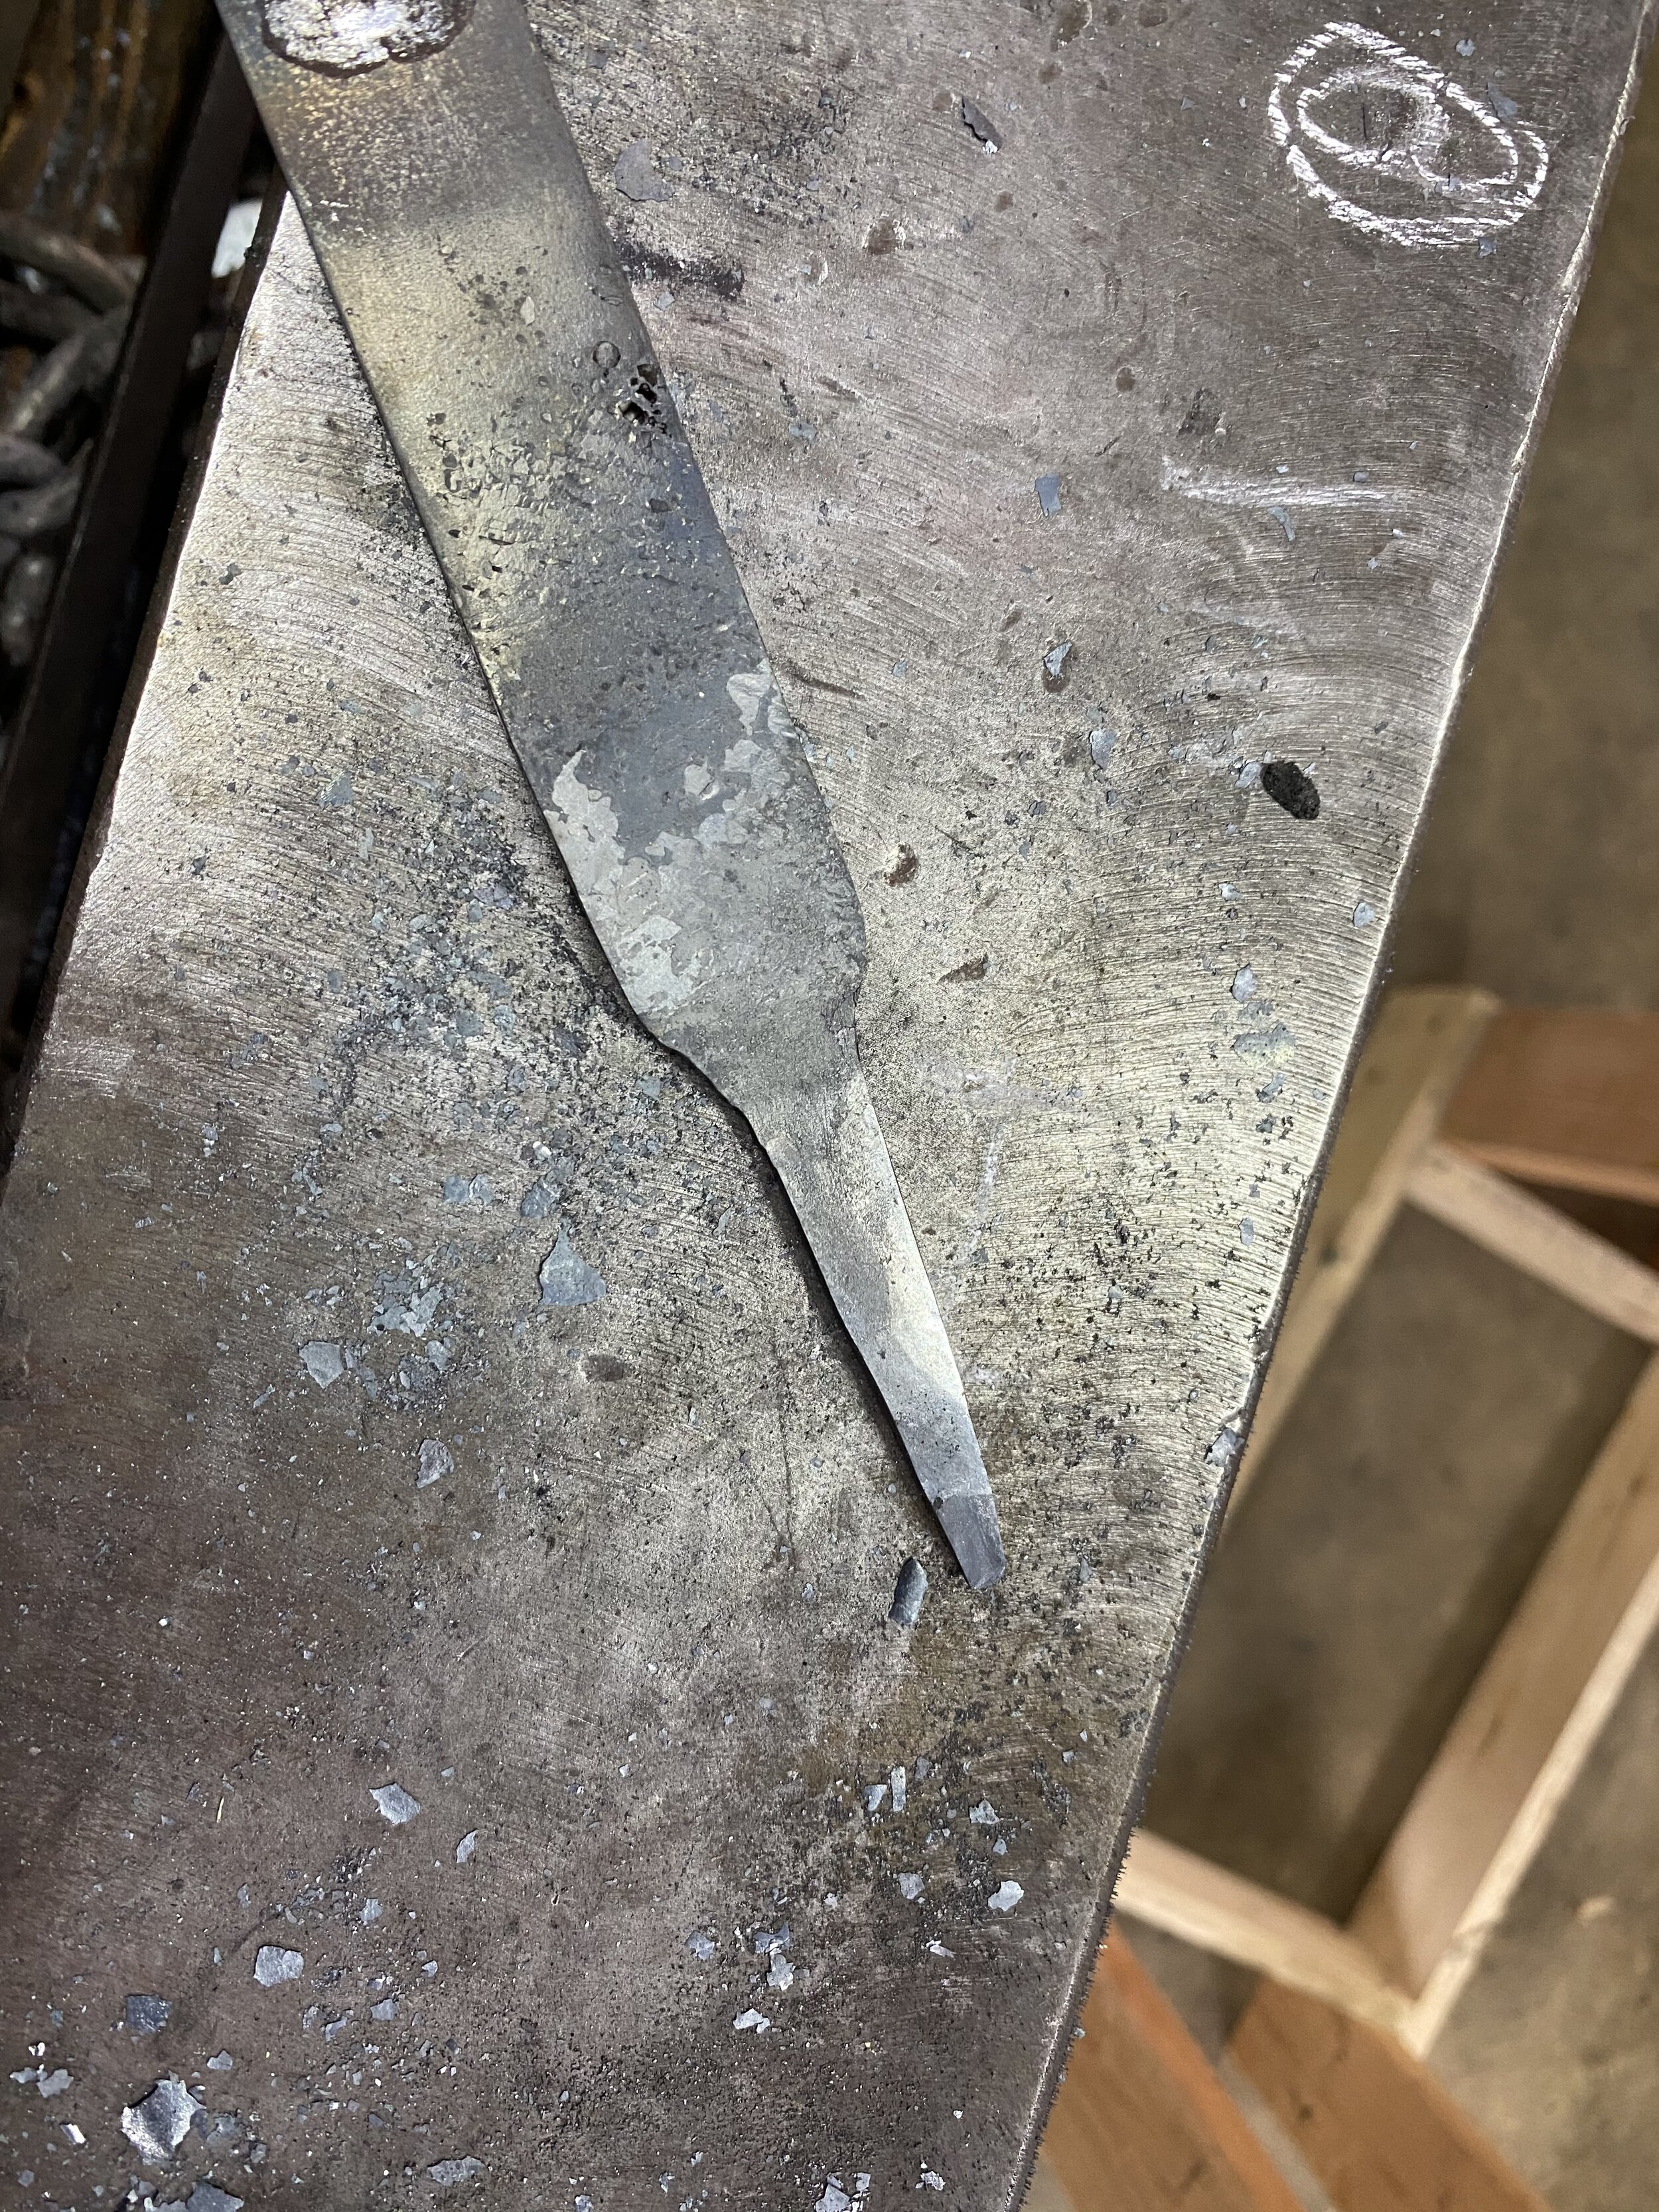
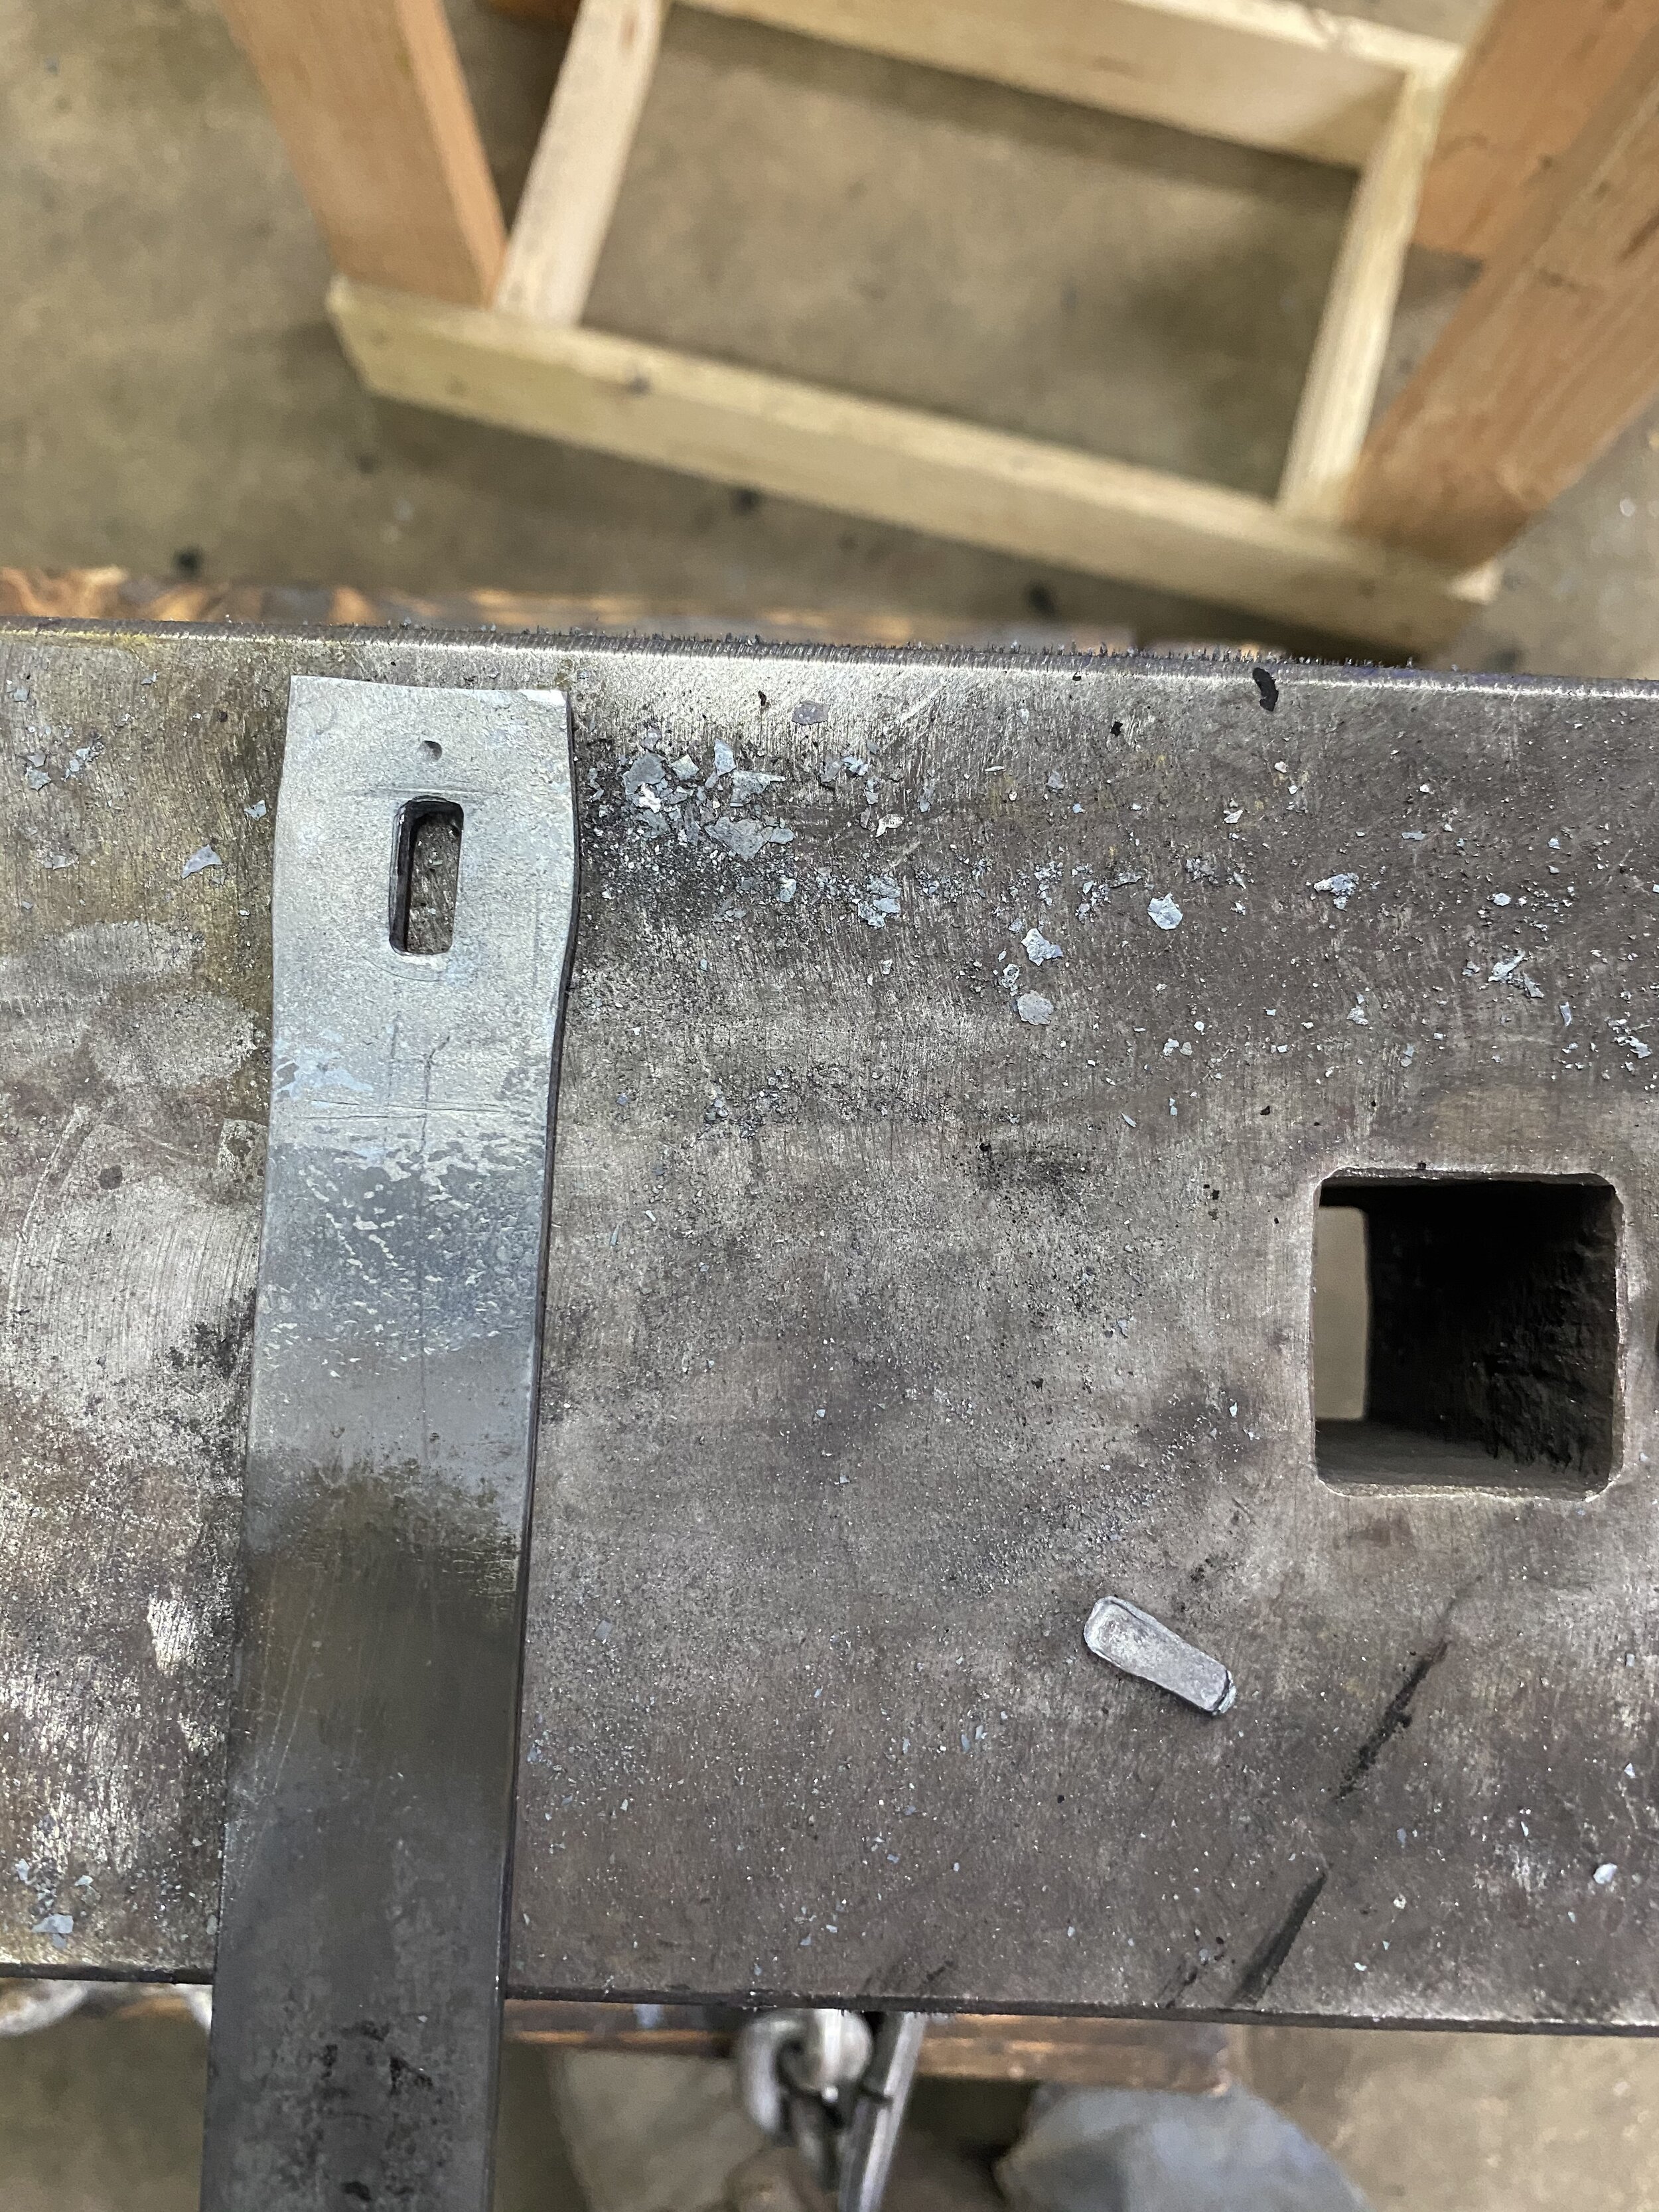
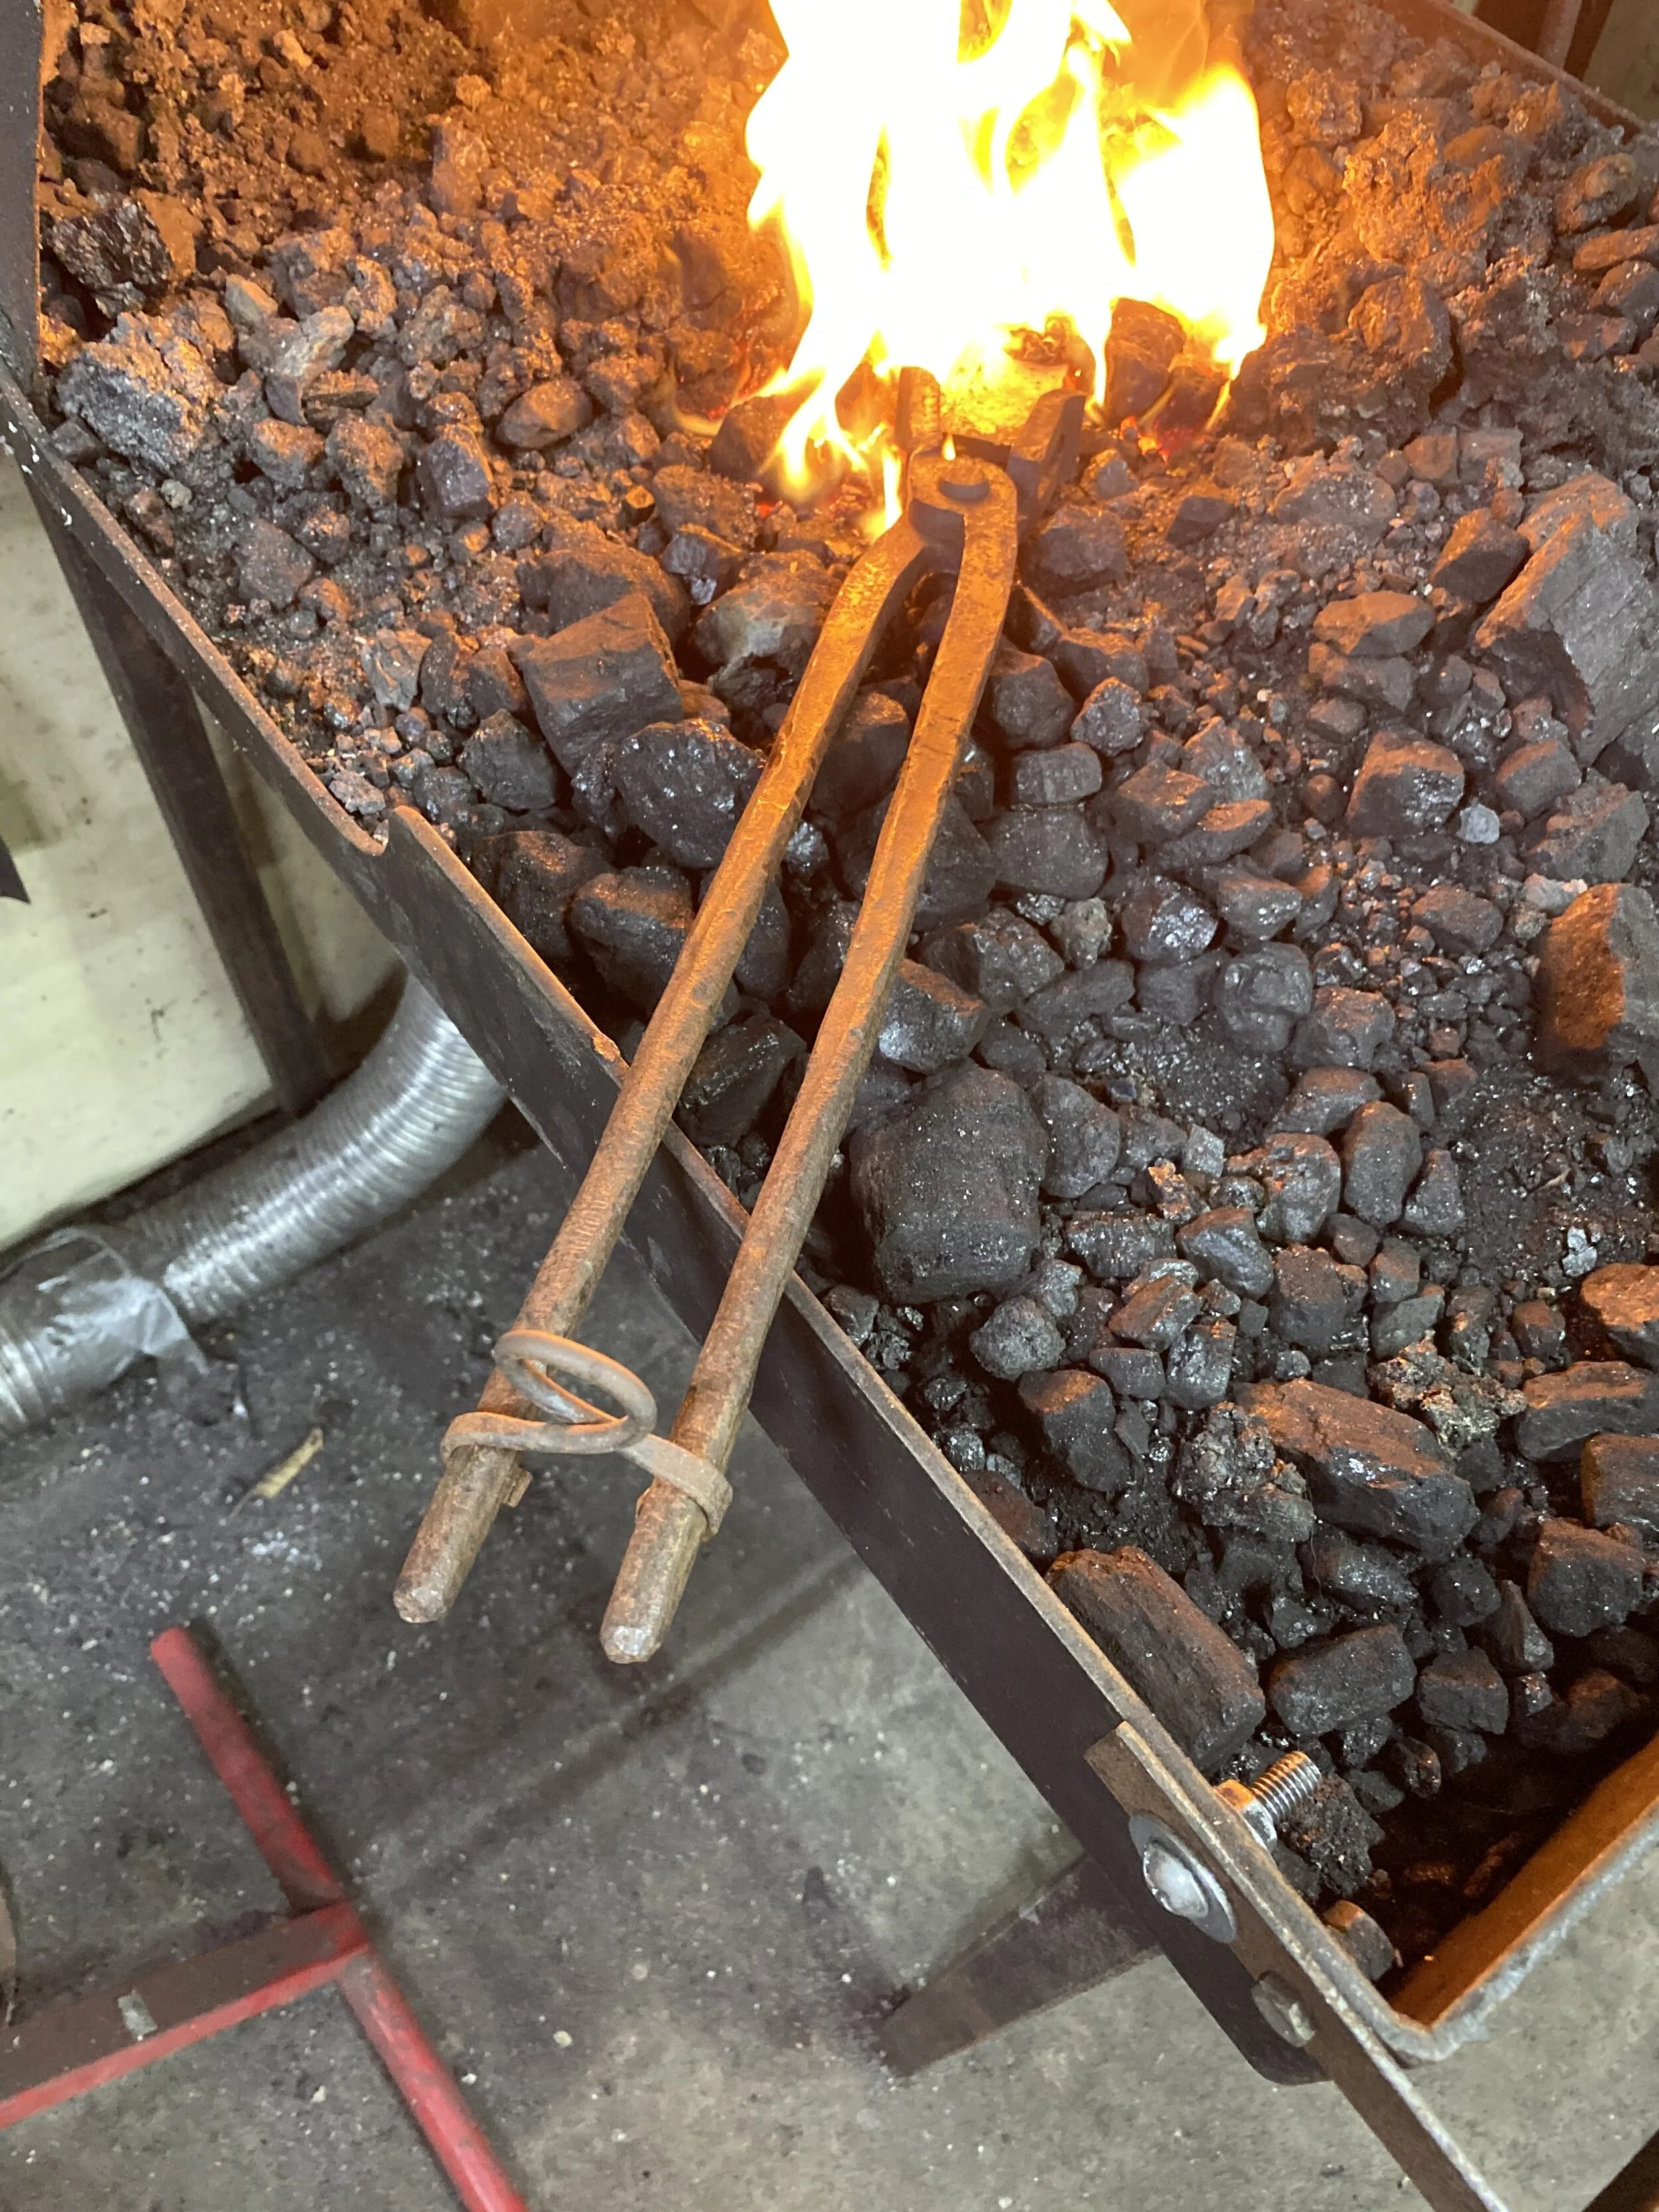
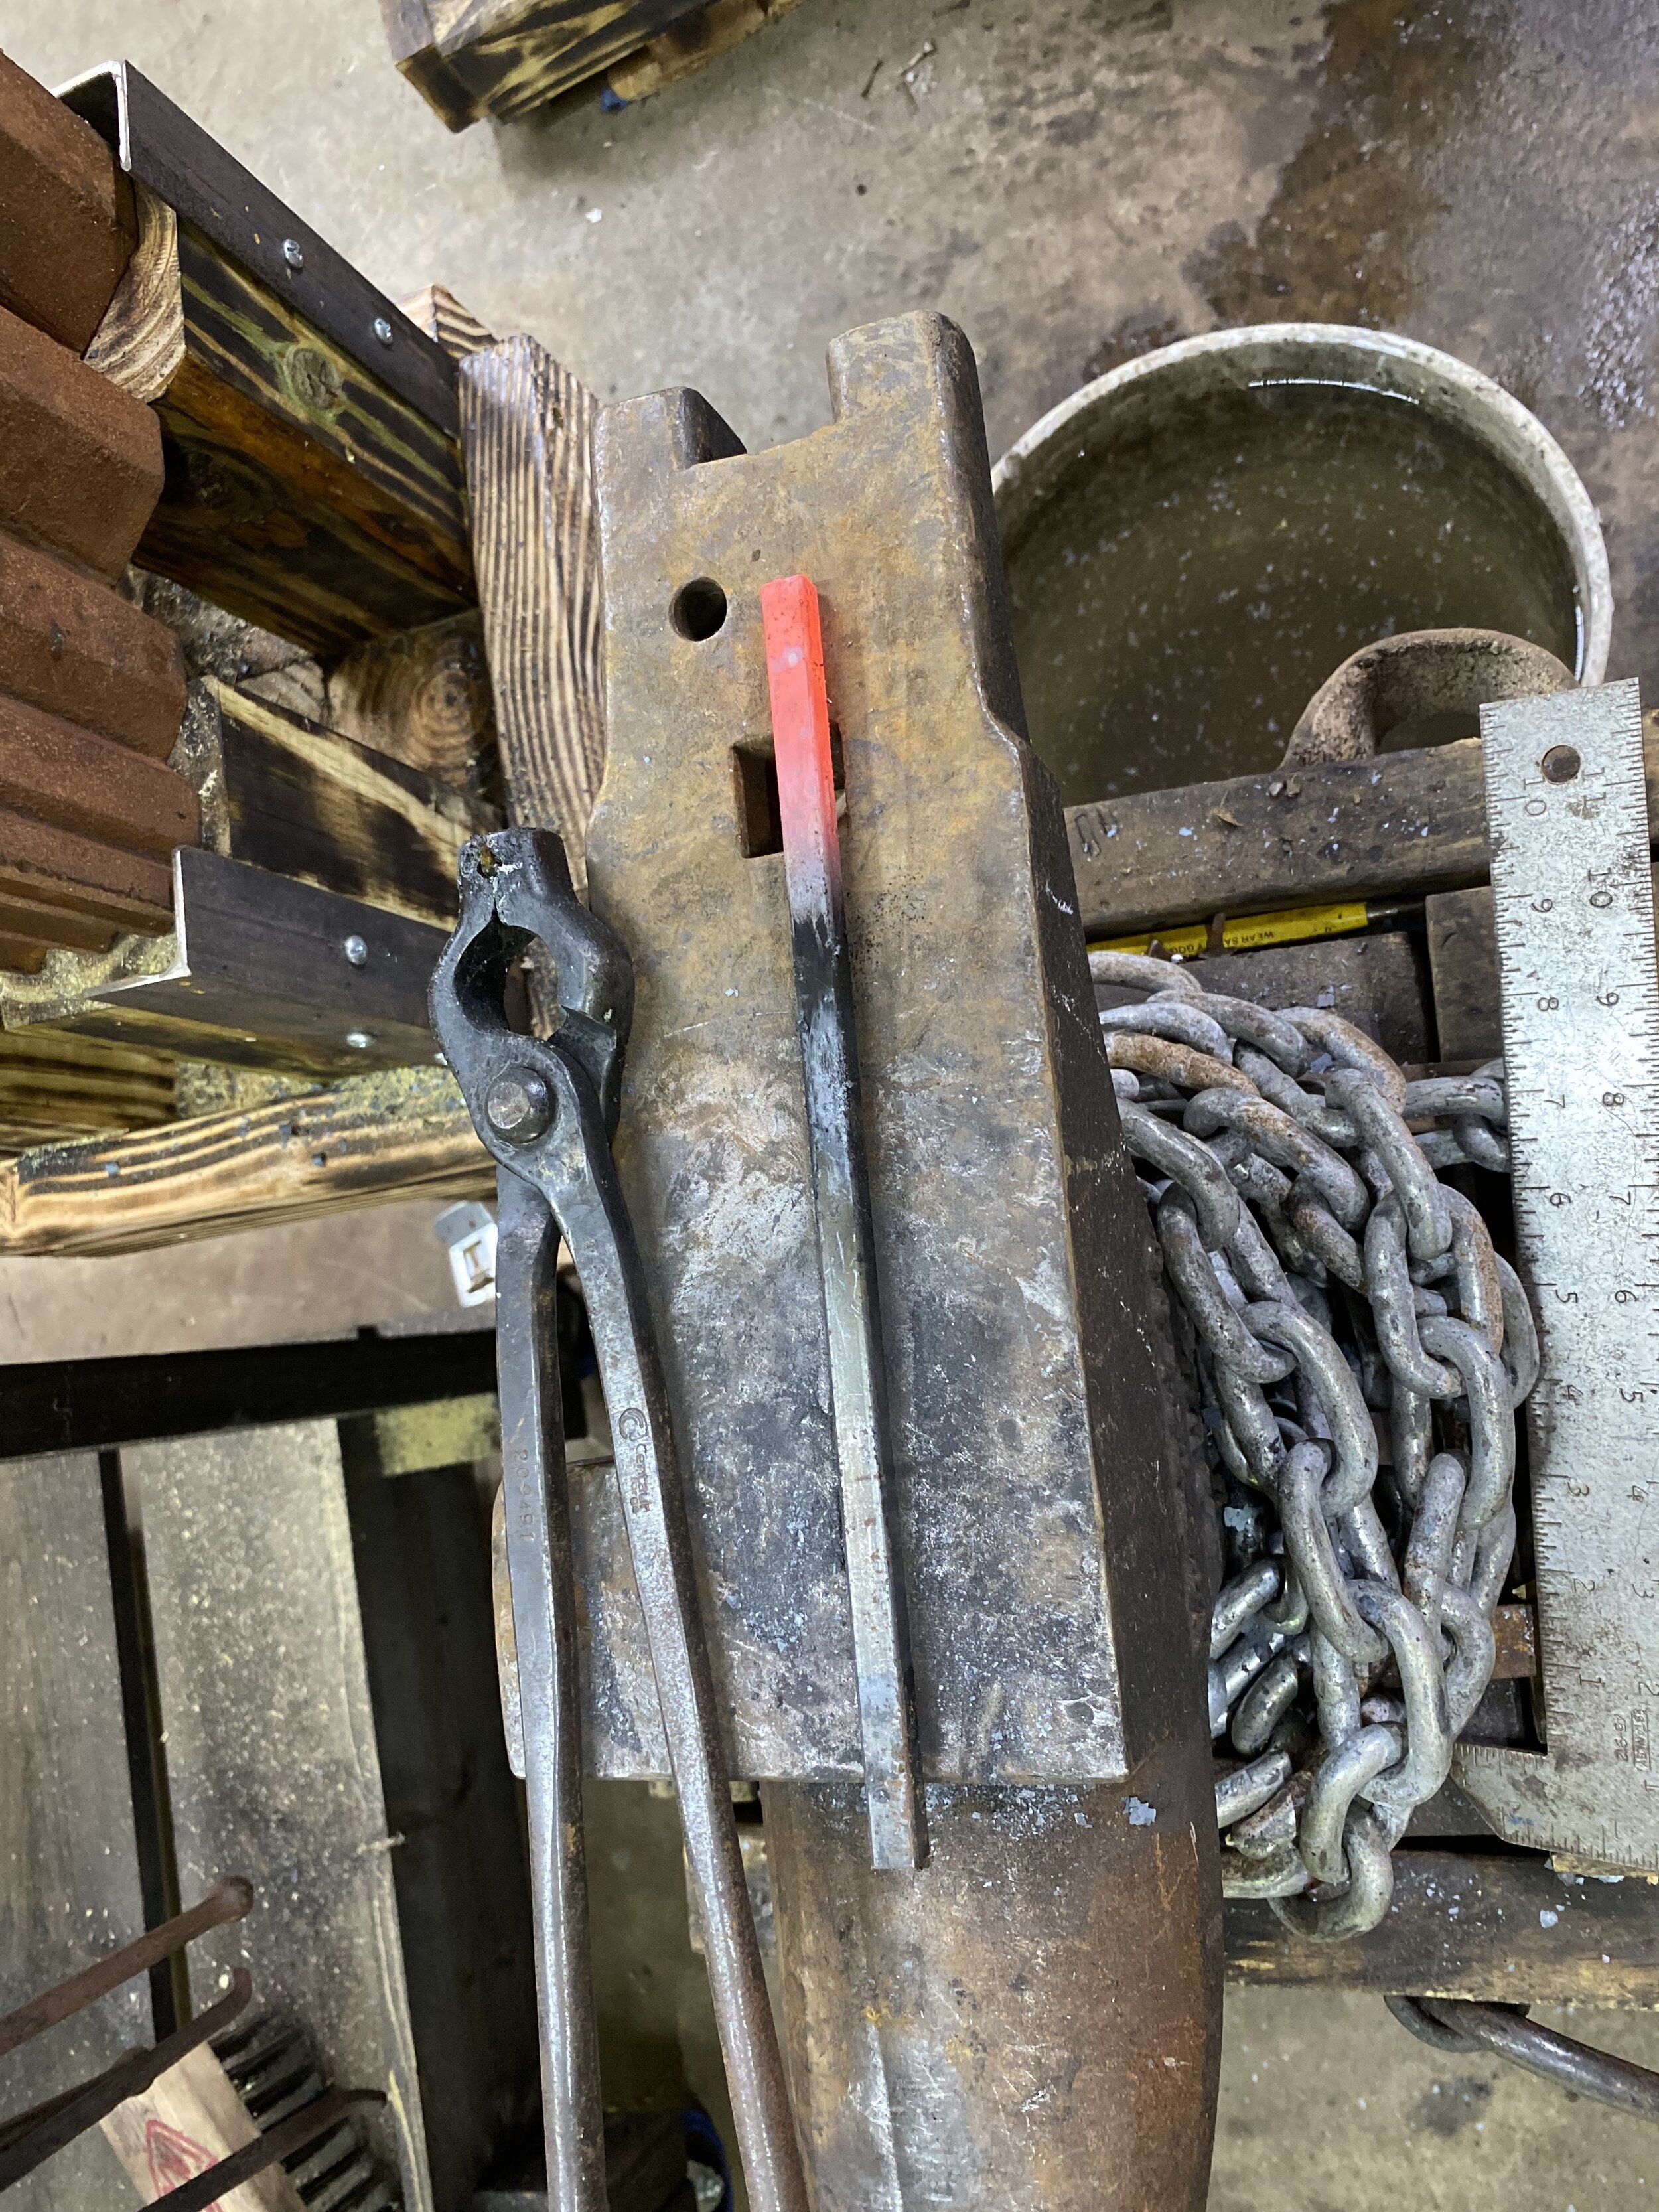
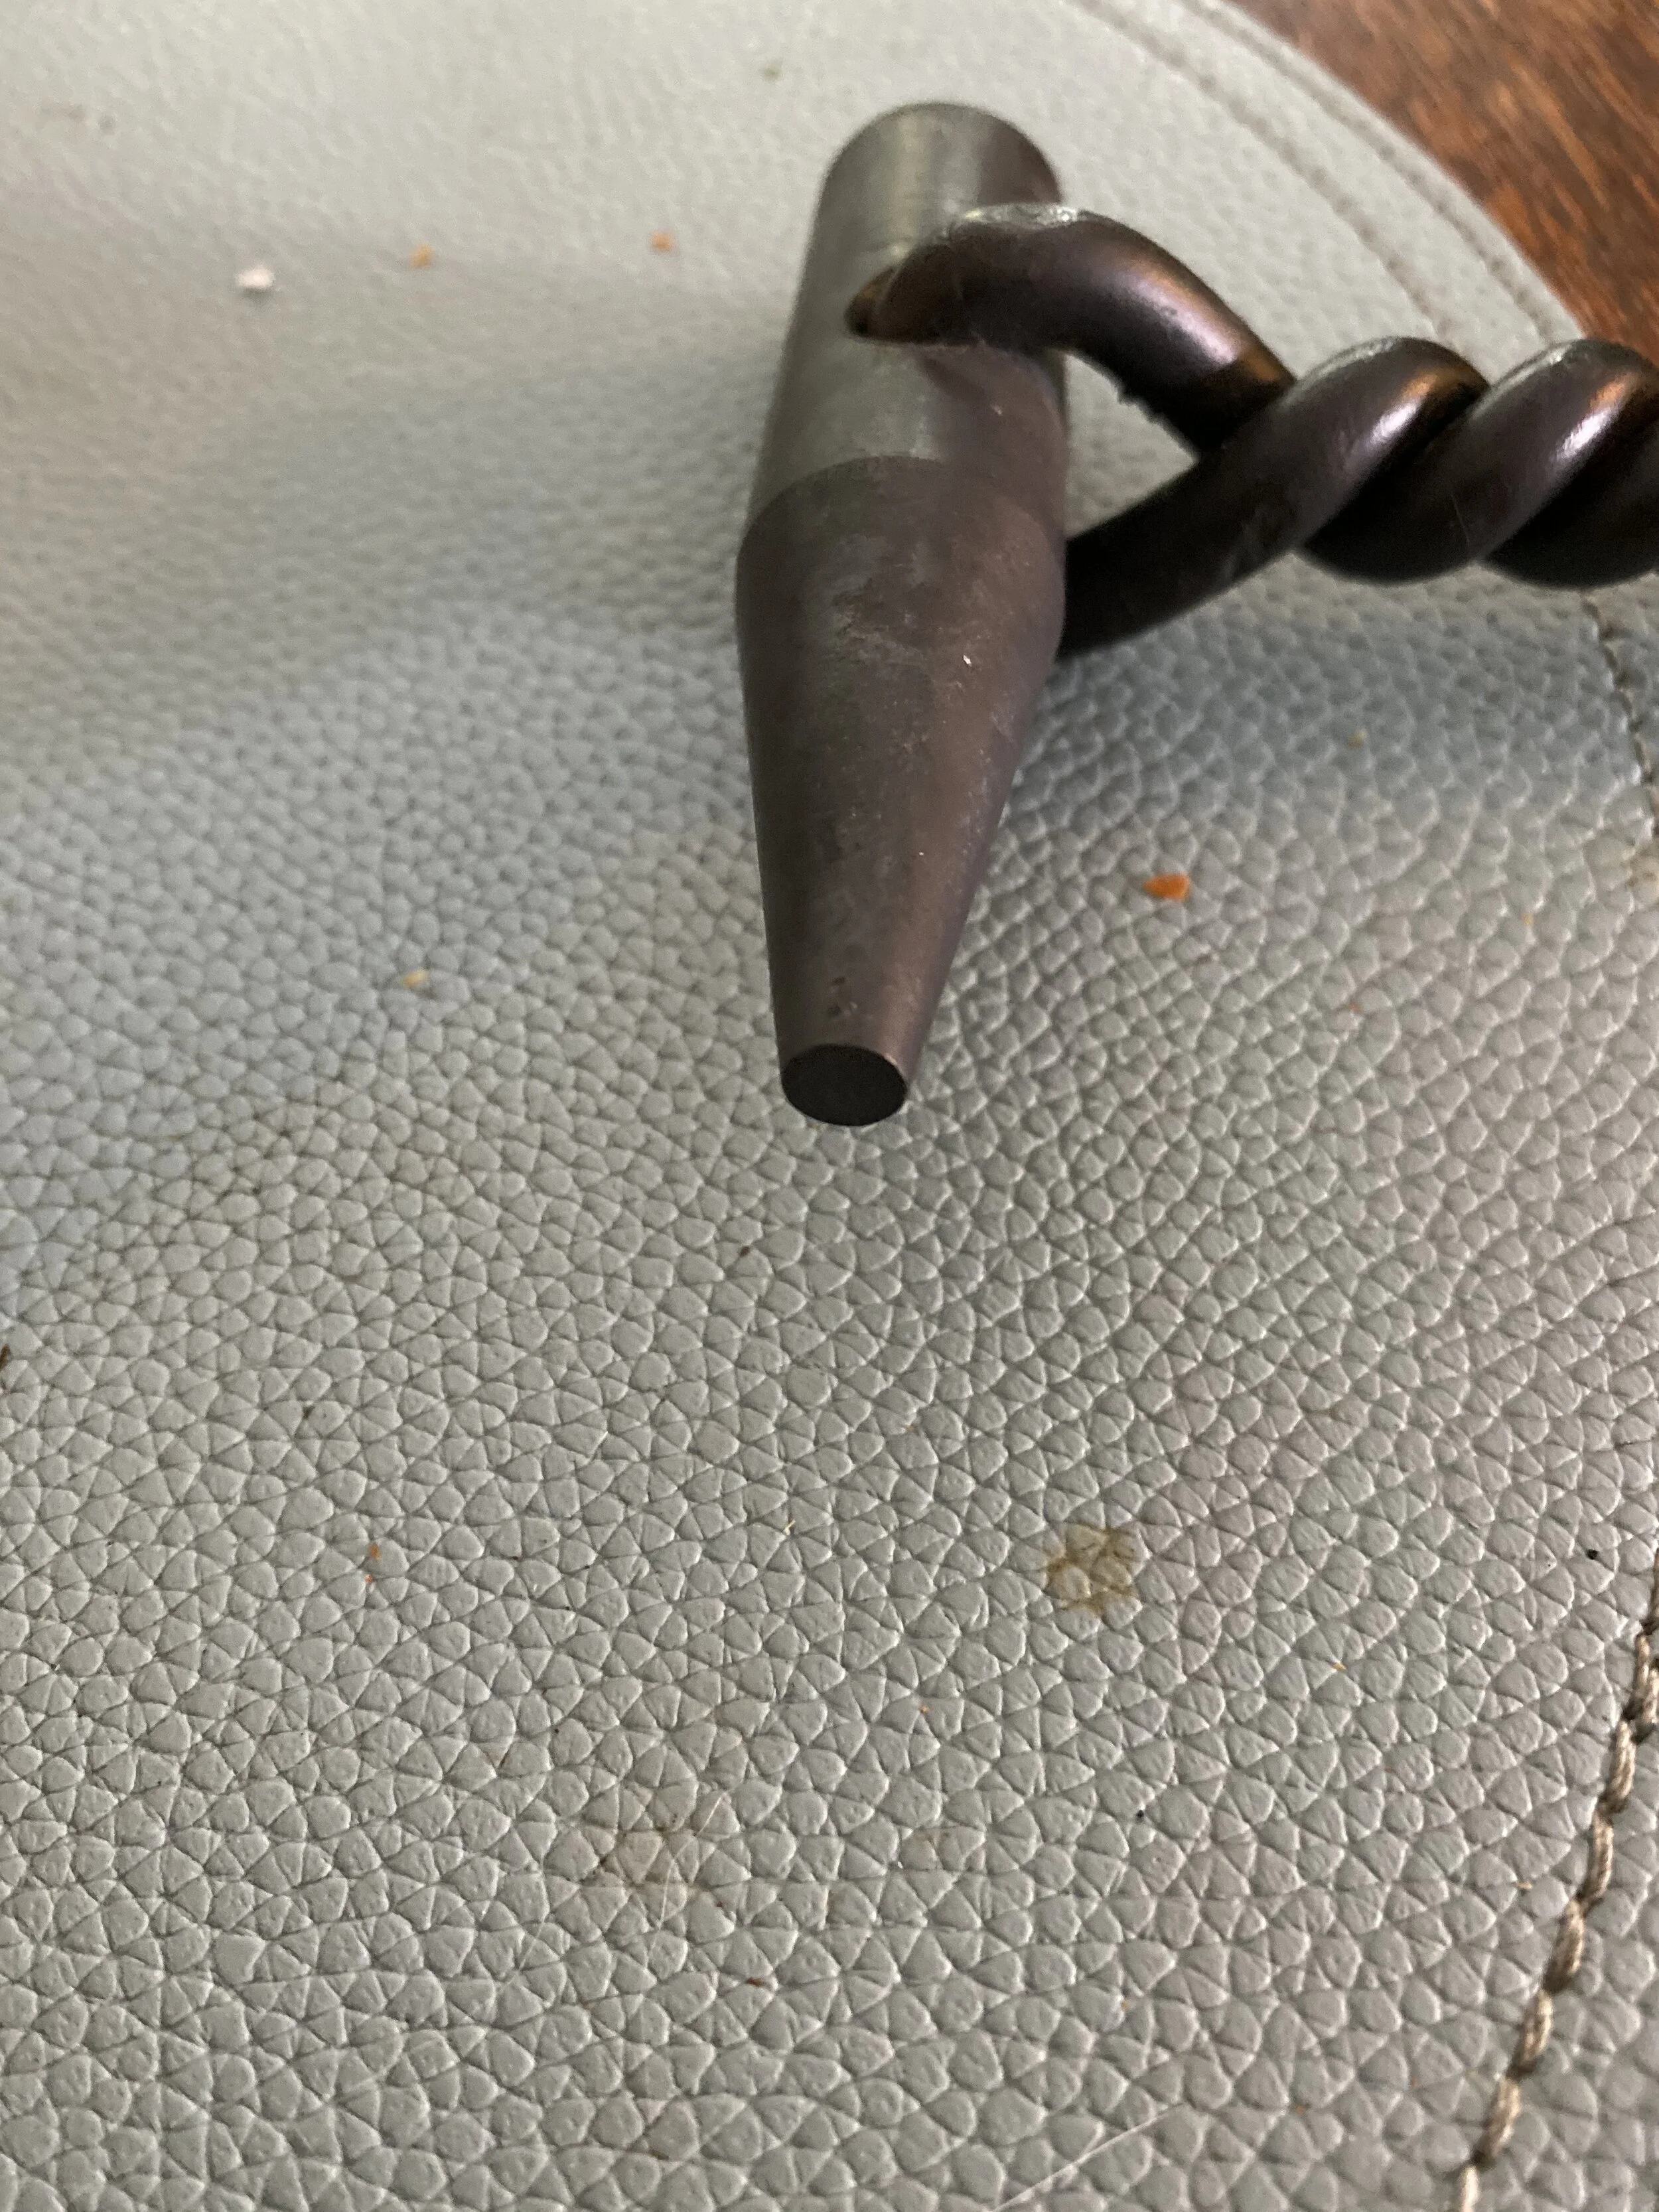
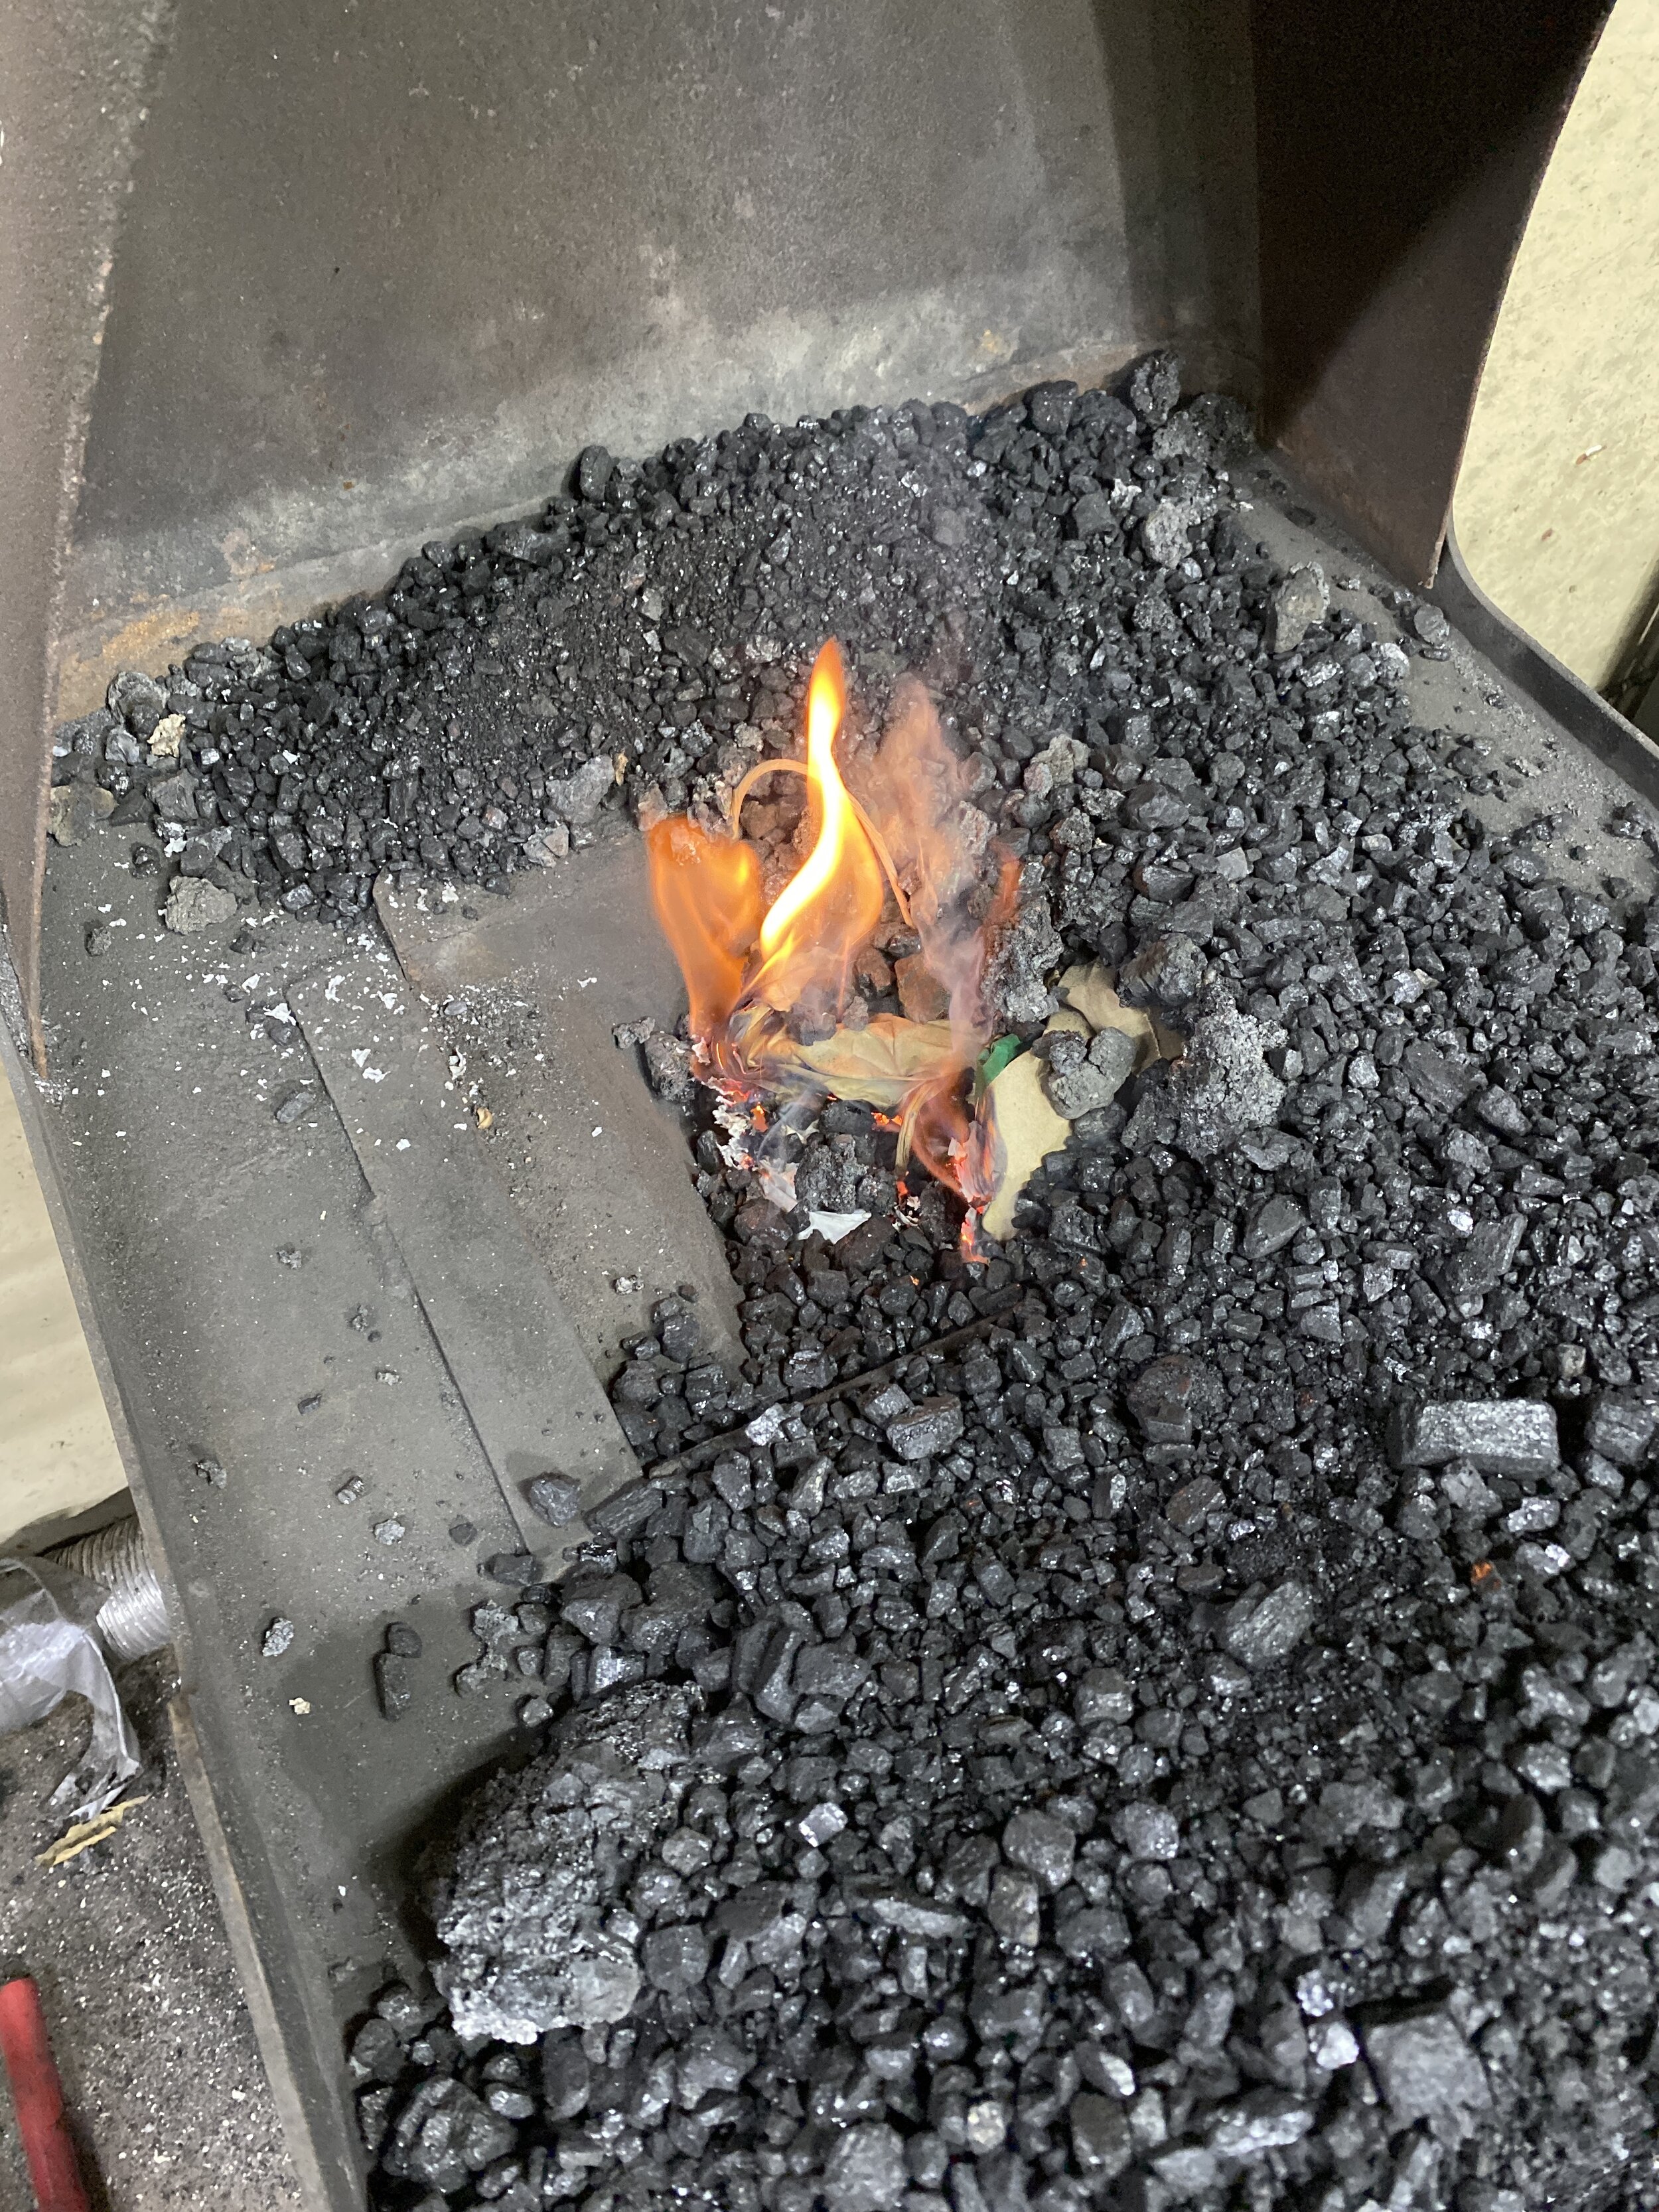
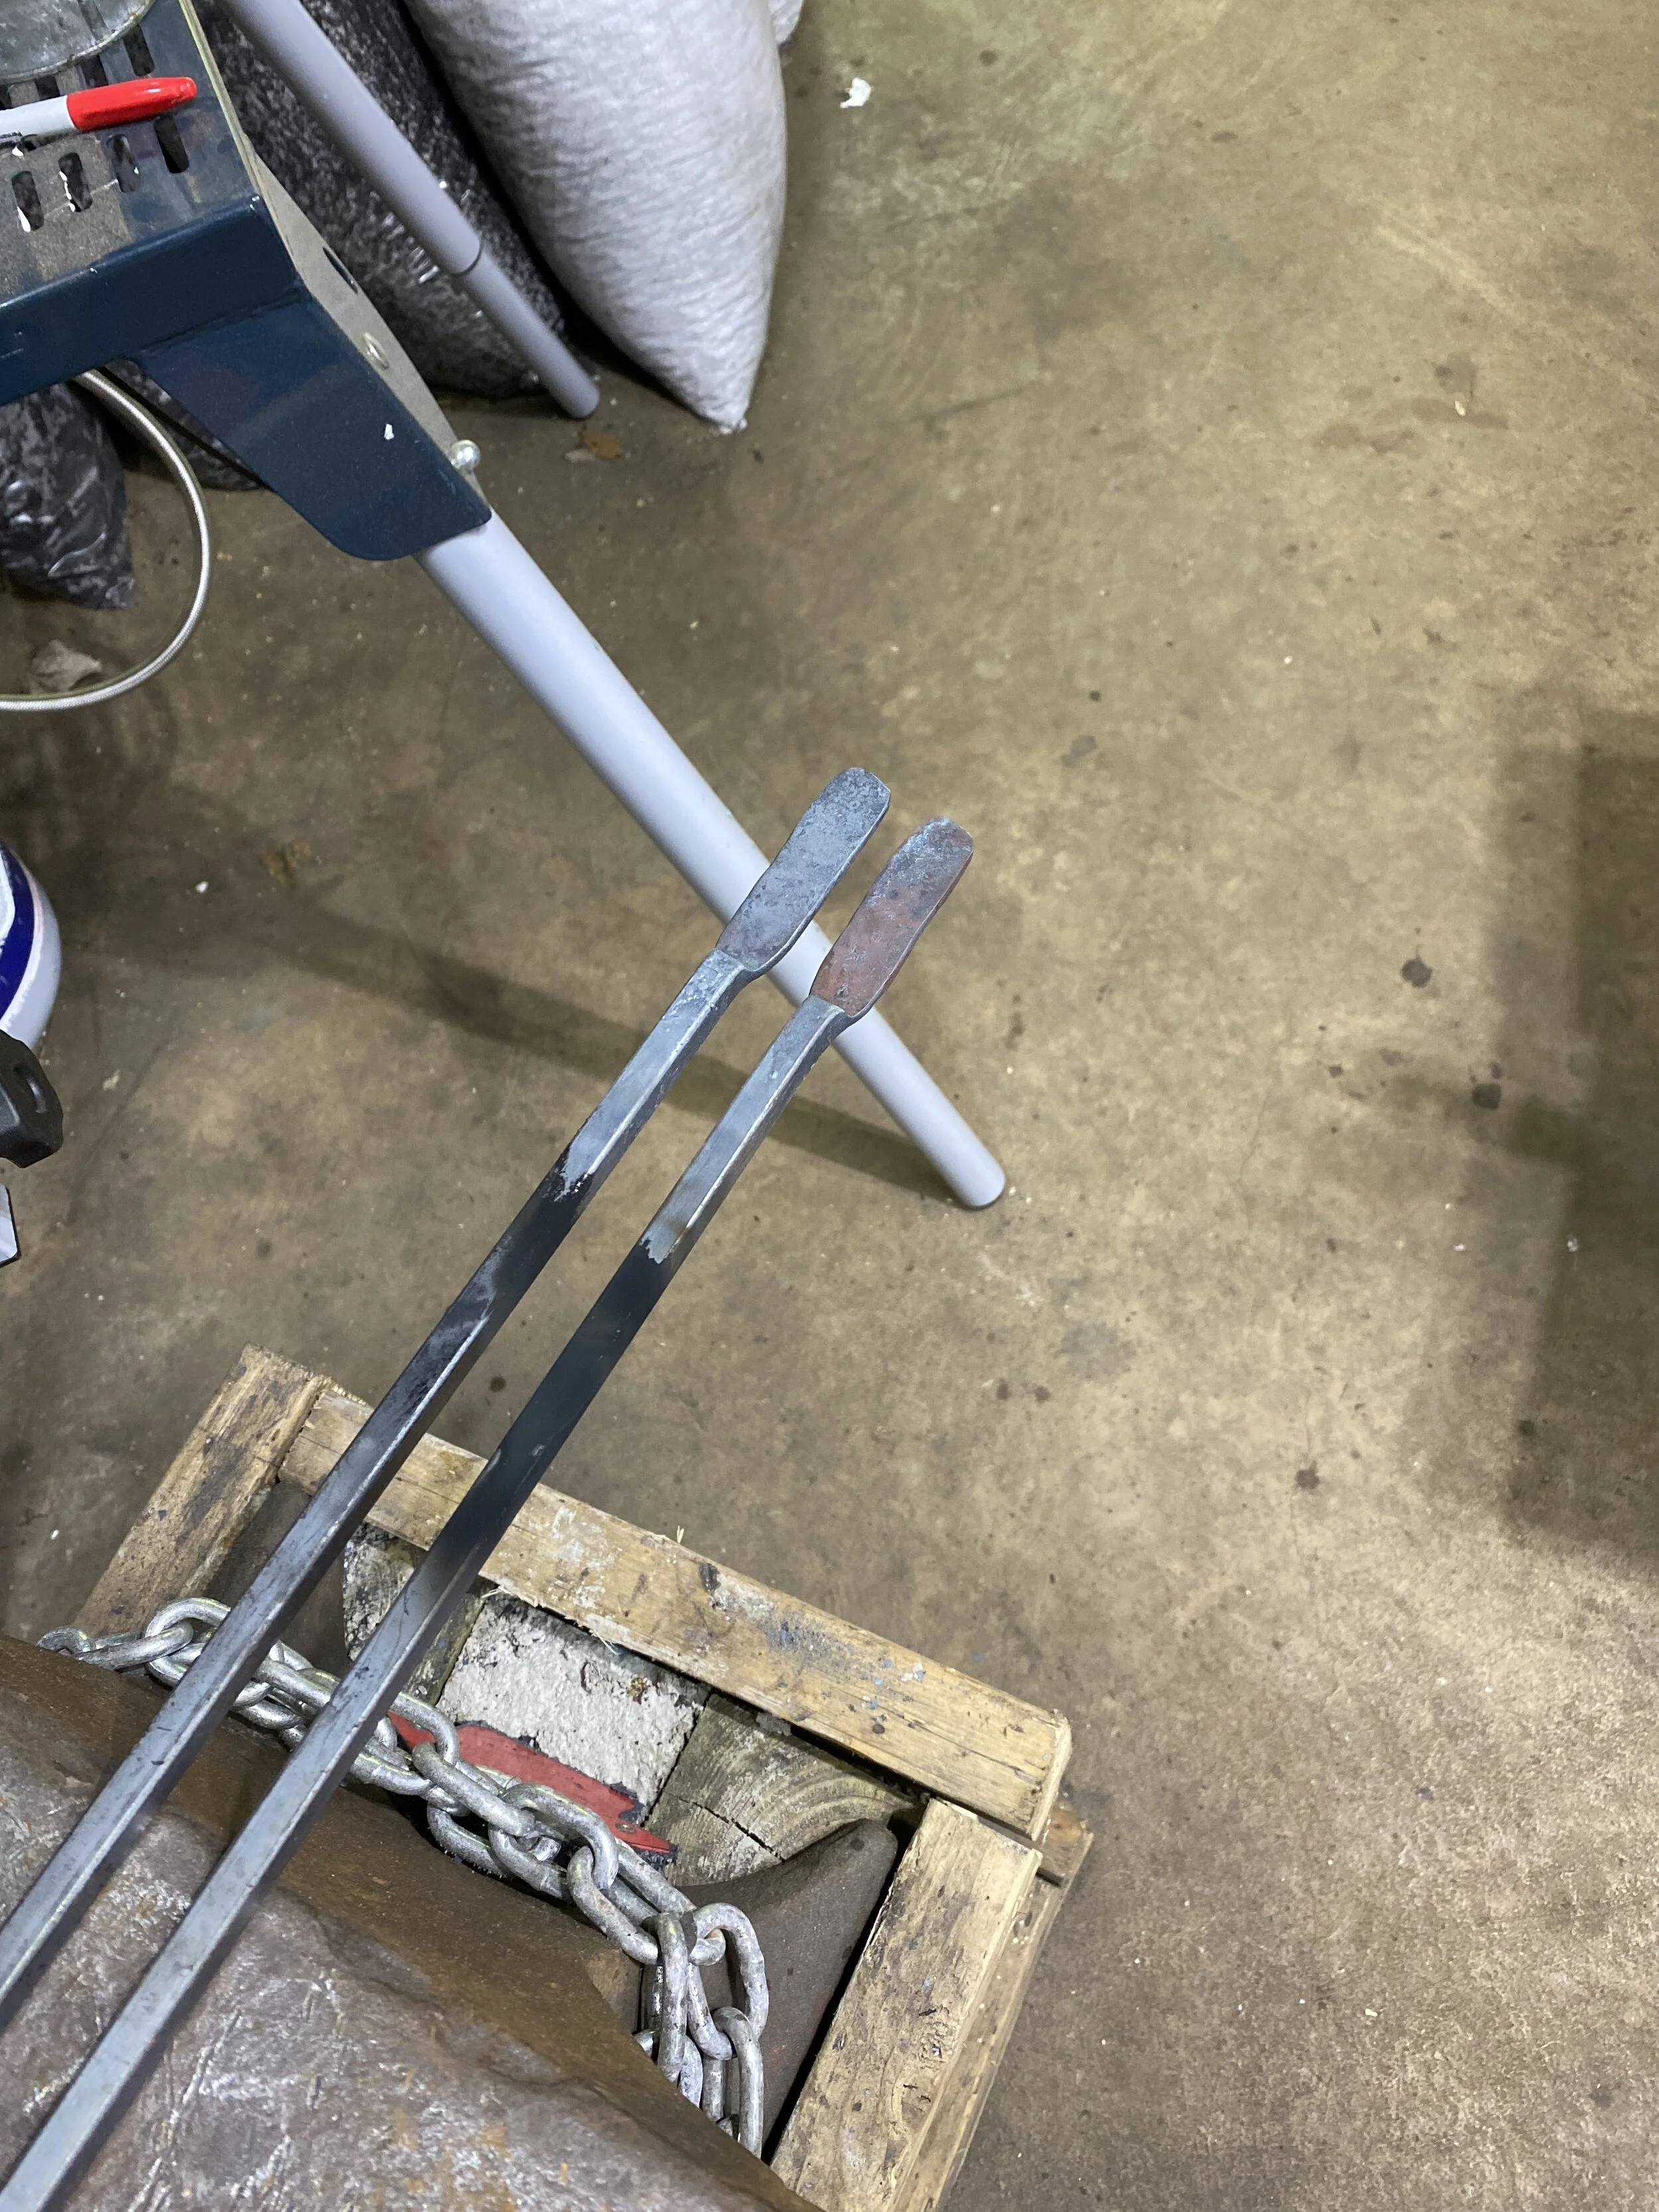
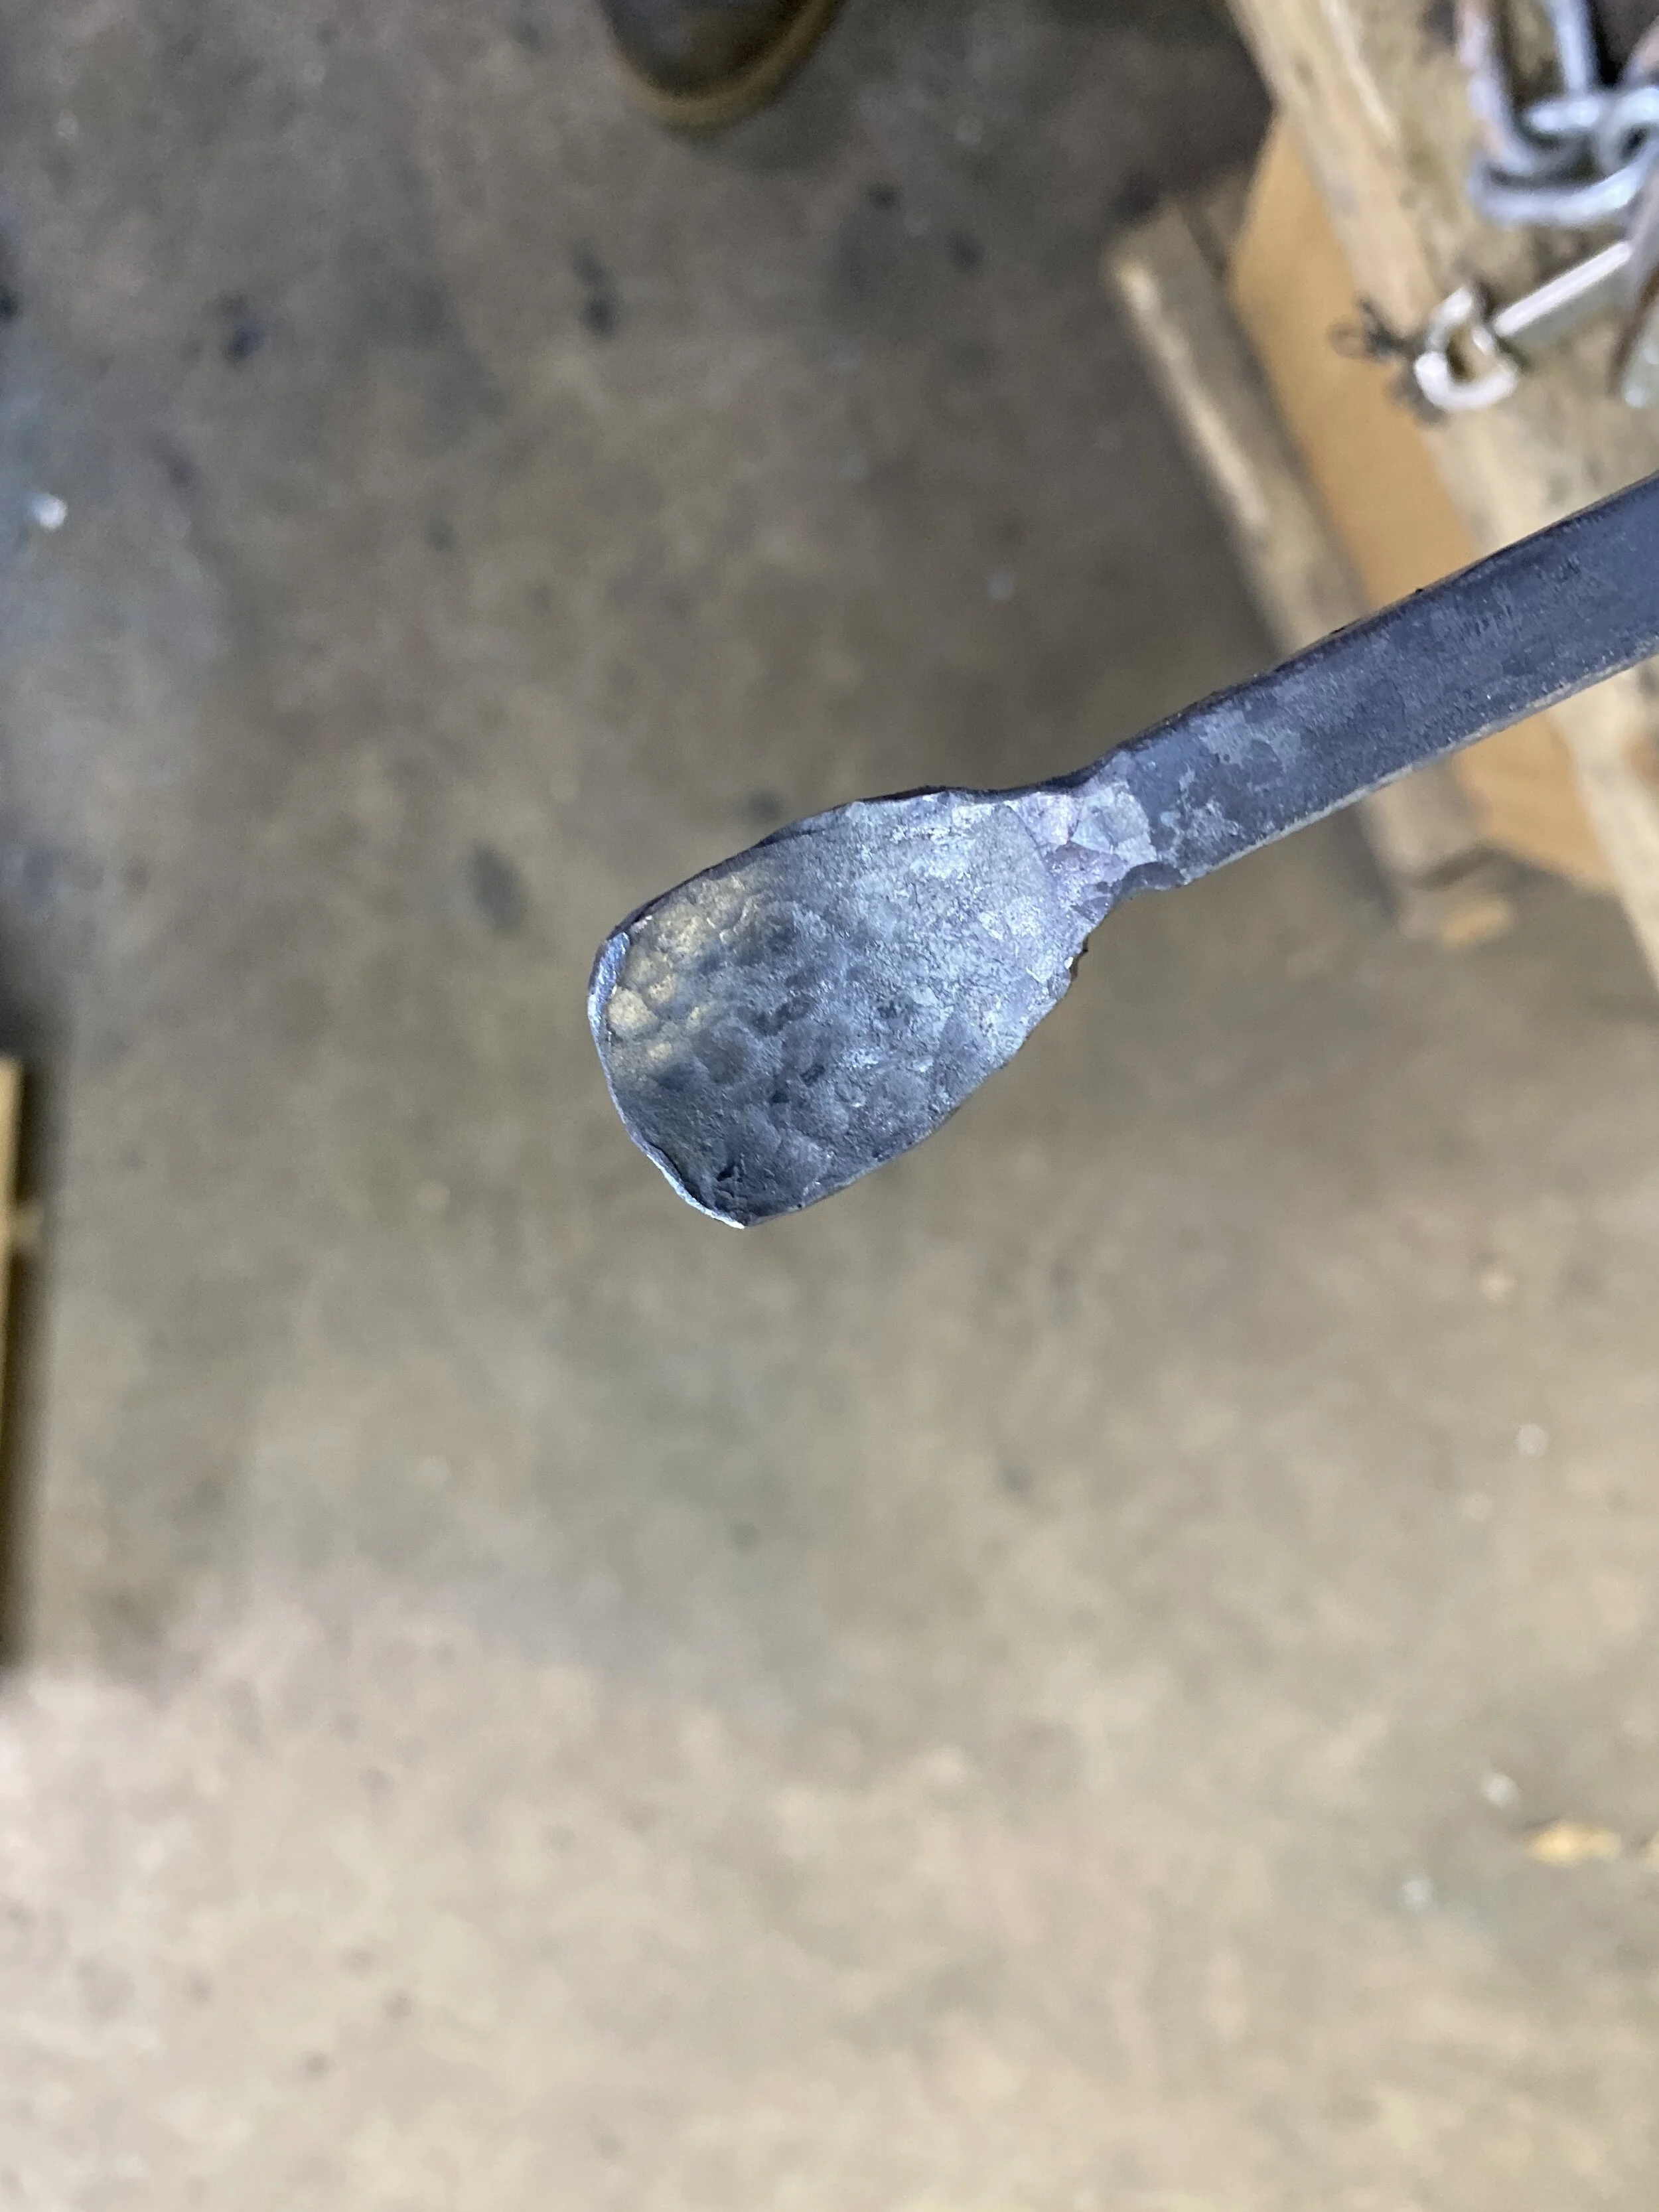
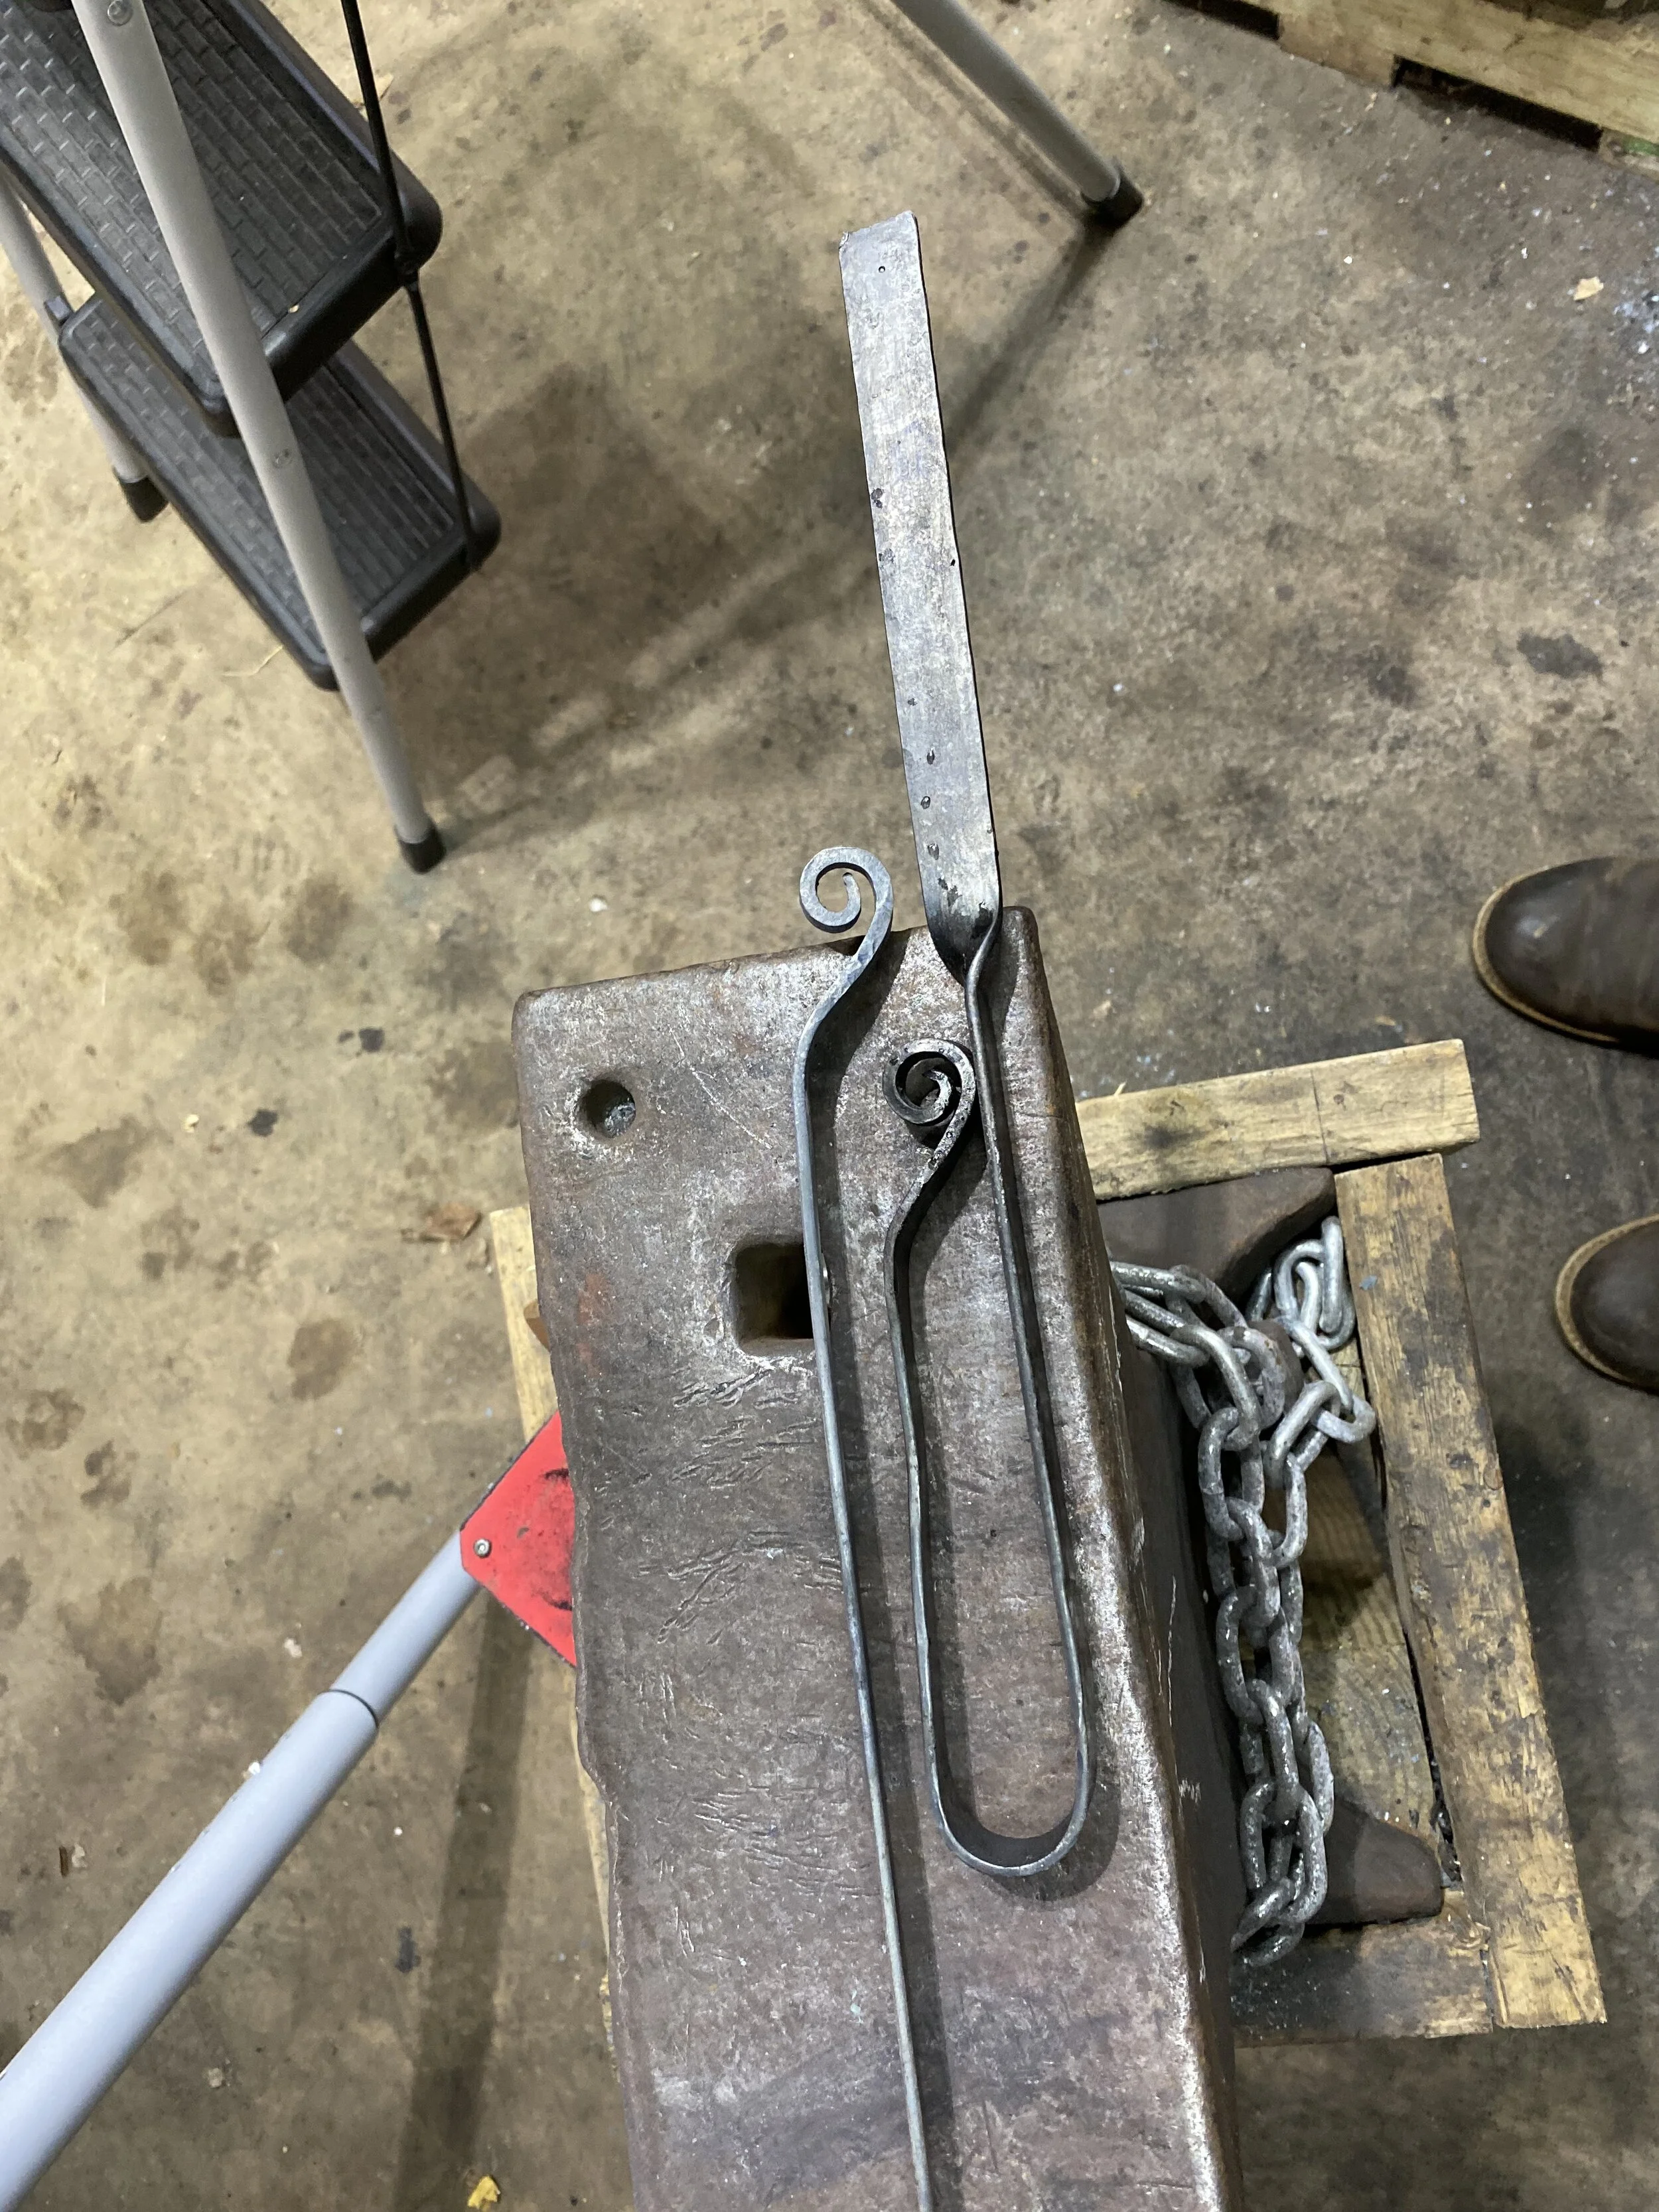
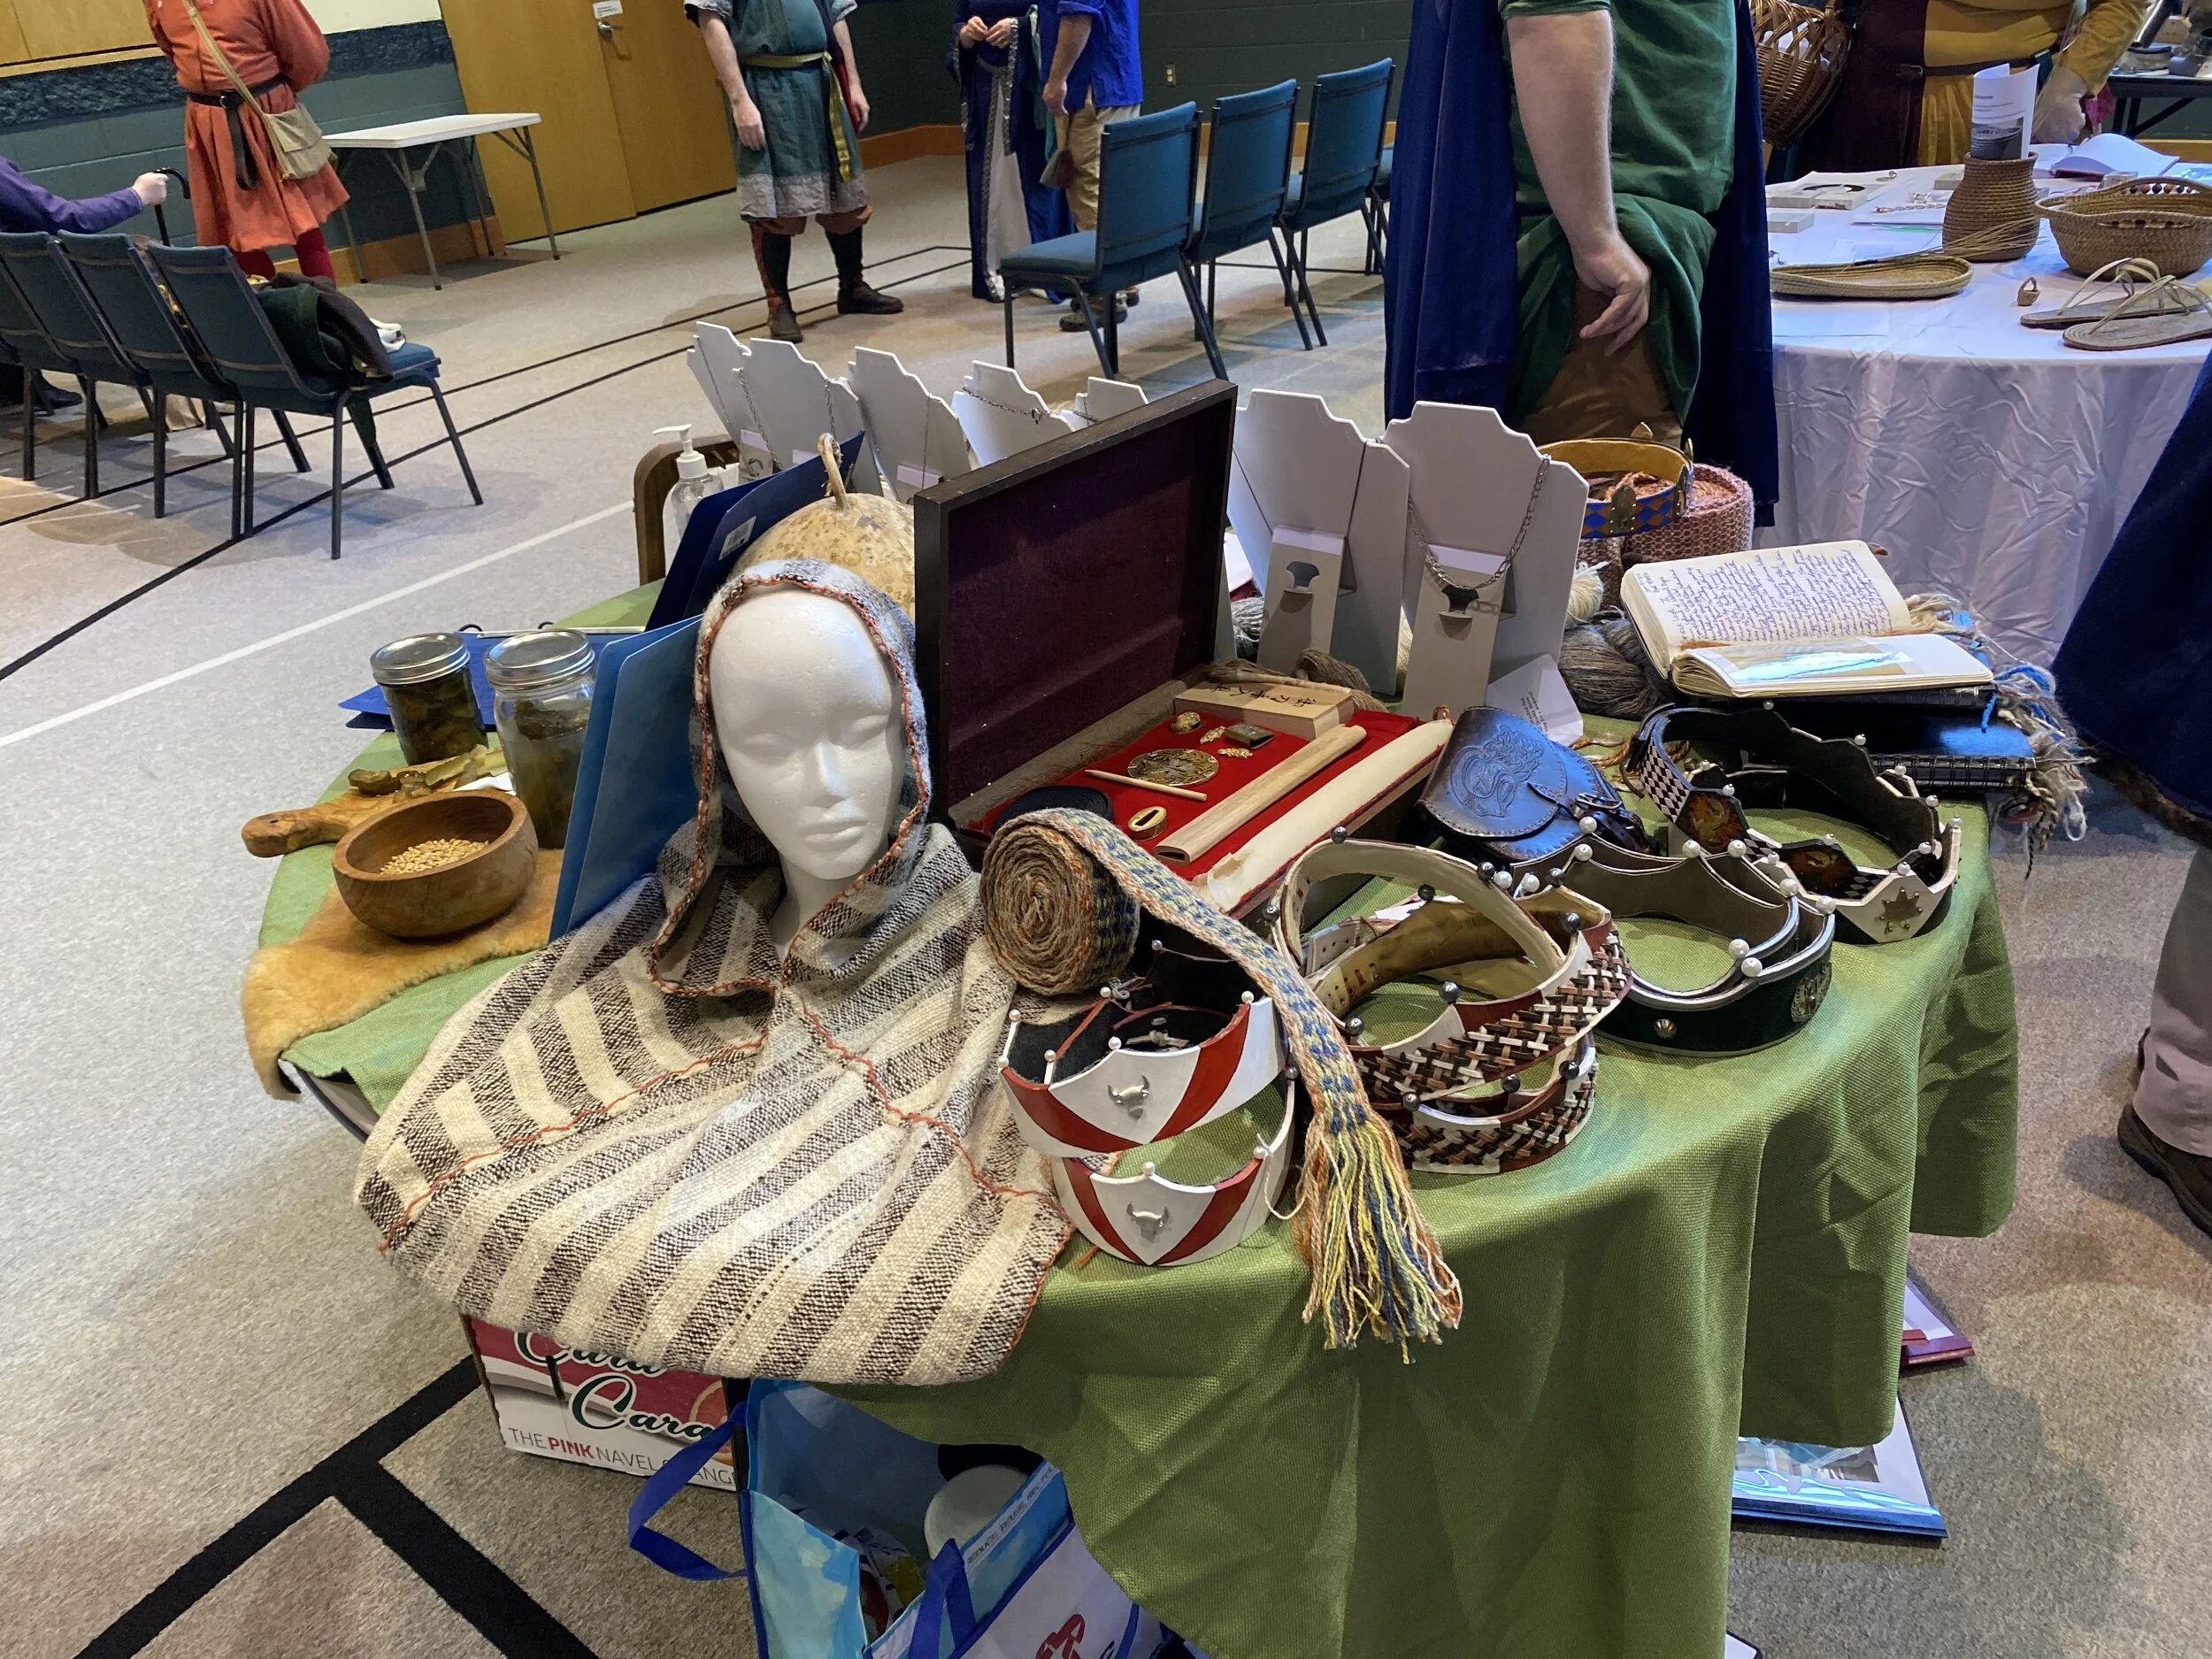
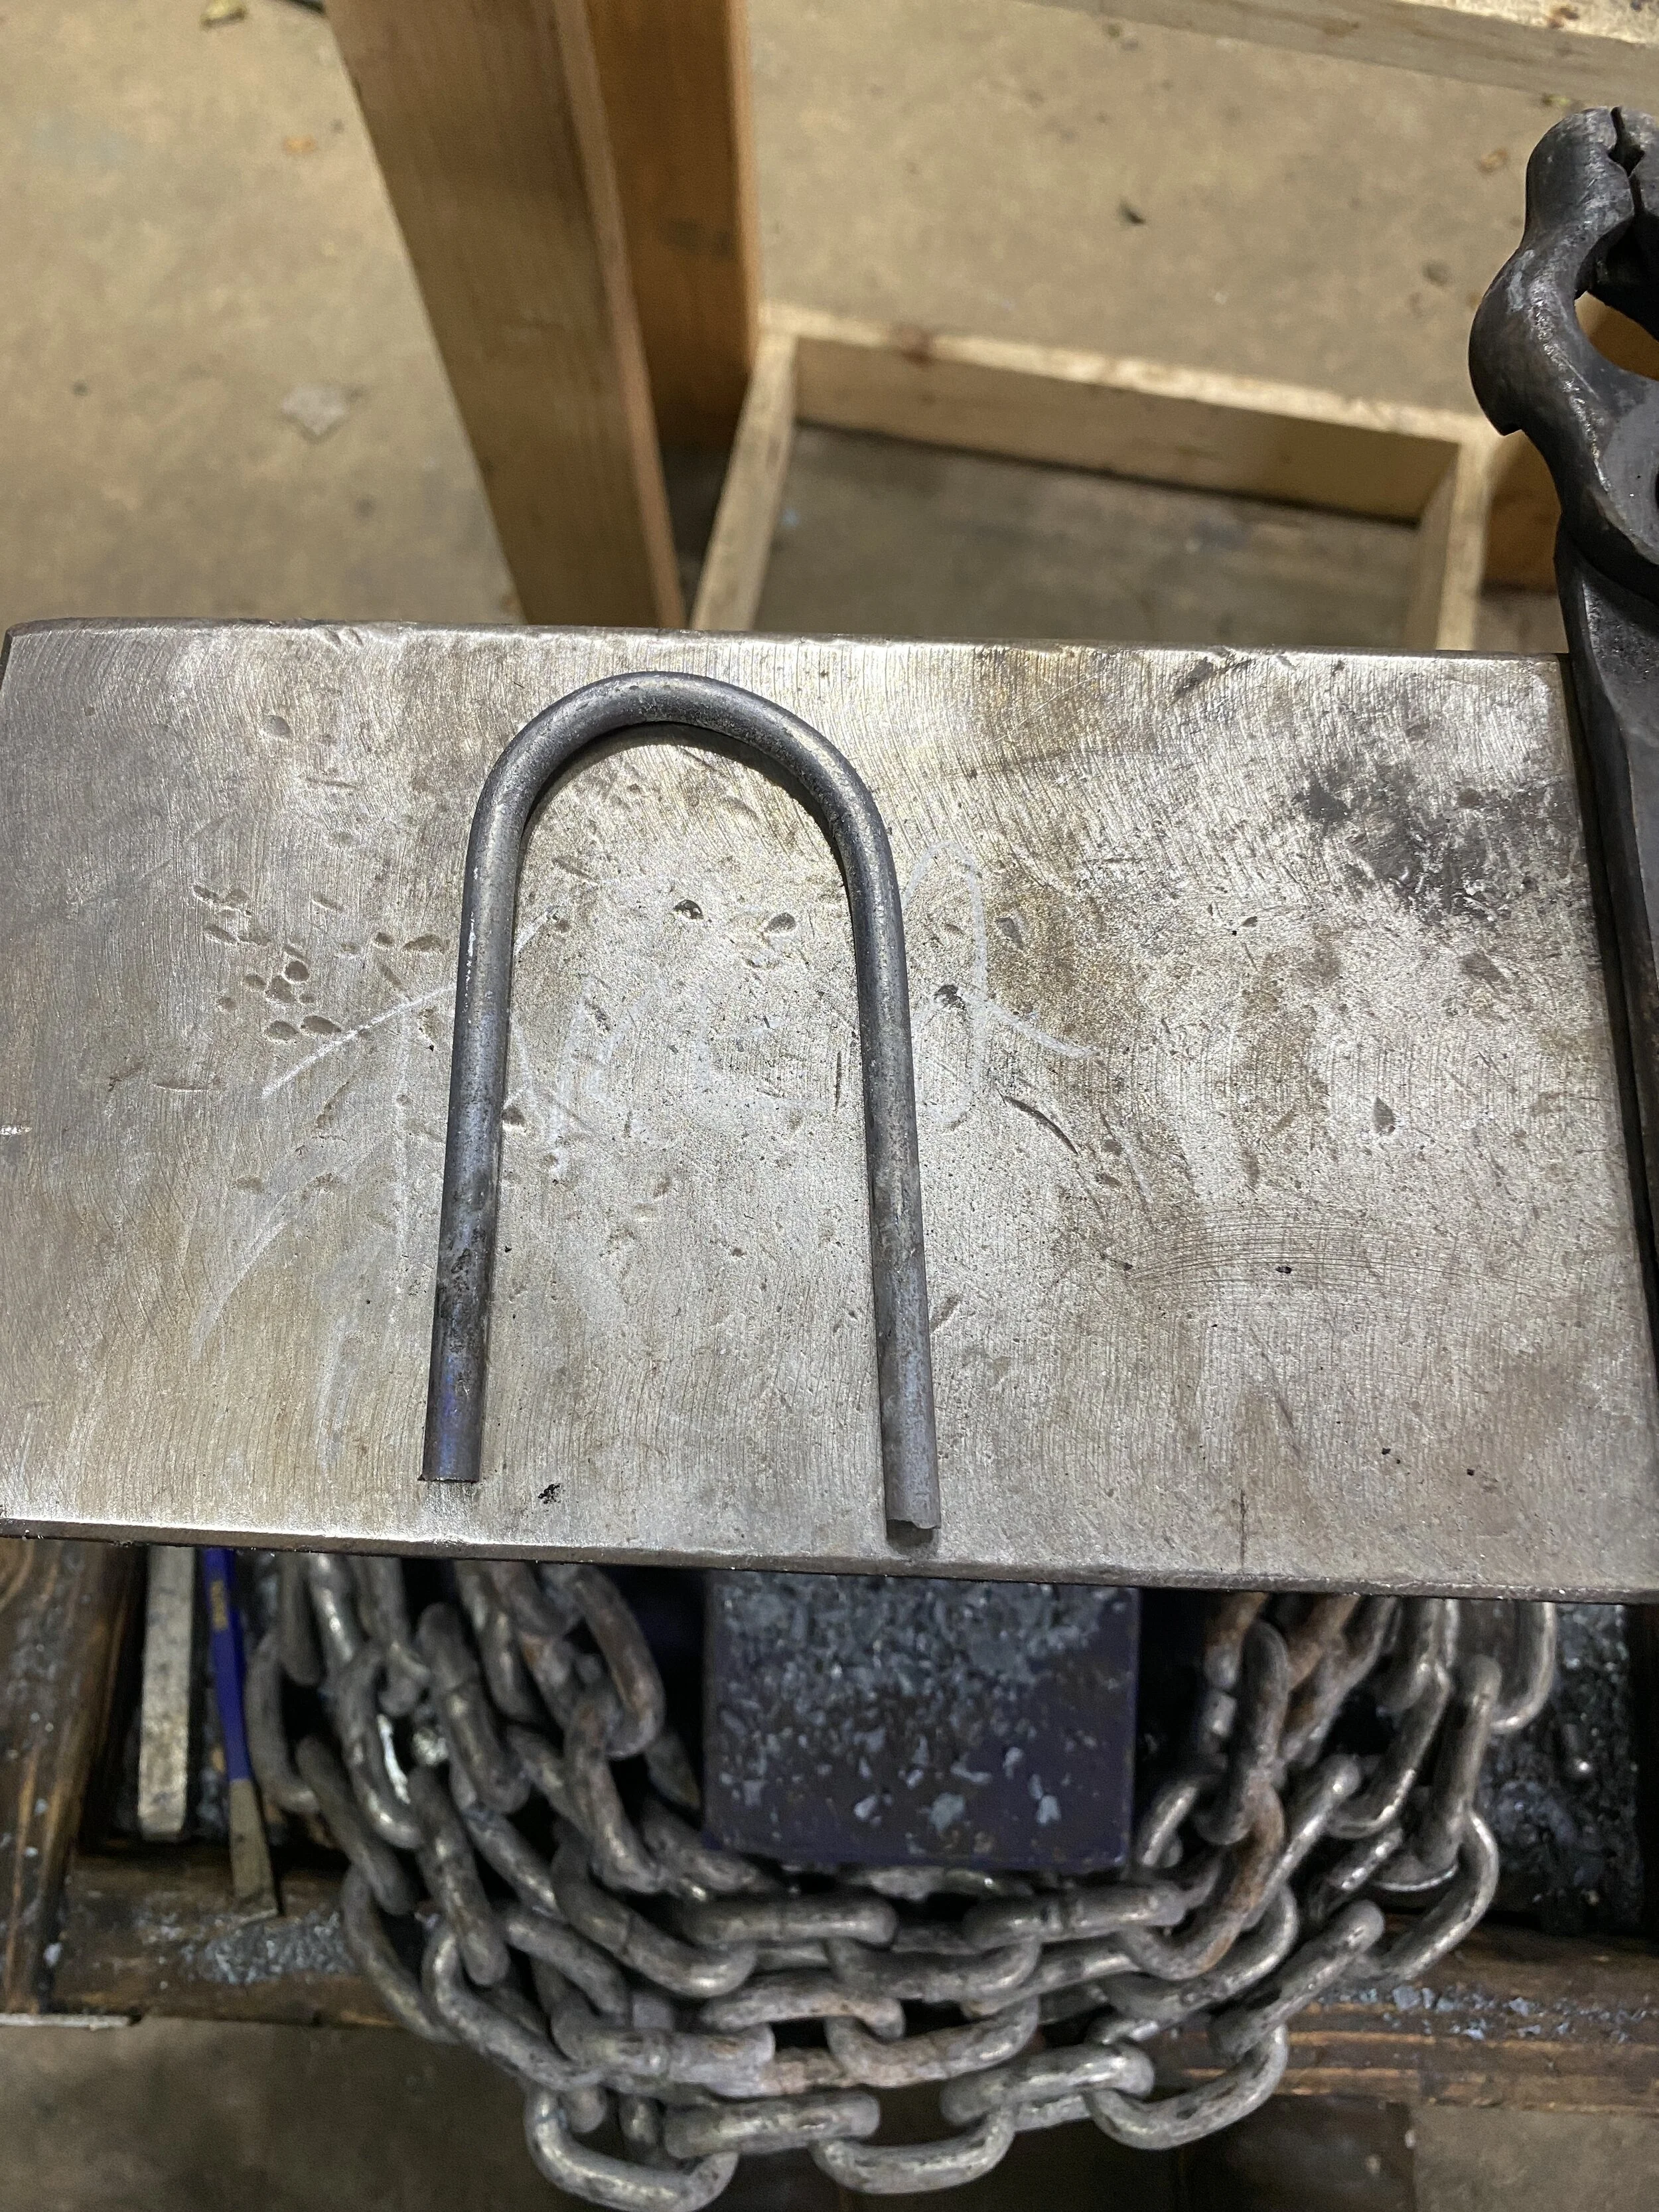
The next item needed for the Anglo Saxon pouch was the ring for the opening. This type of purse was worn on the belt and had an iron ring sewn in the mouth which would keep it closed until you needed to get in. For this I needed to make her 2 rings total, 1 for the purse she was making for herself, scaled to her design and a 2nd one as close to the original as possible. The documentation is not complete for this yet, but will be able to be found here:

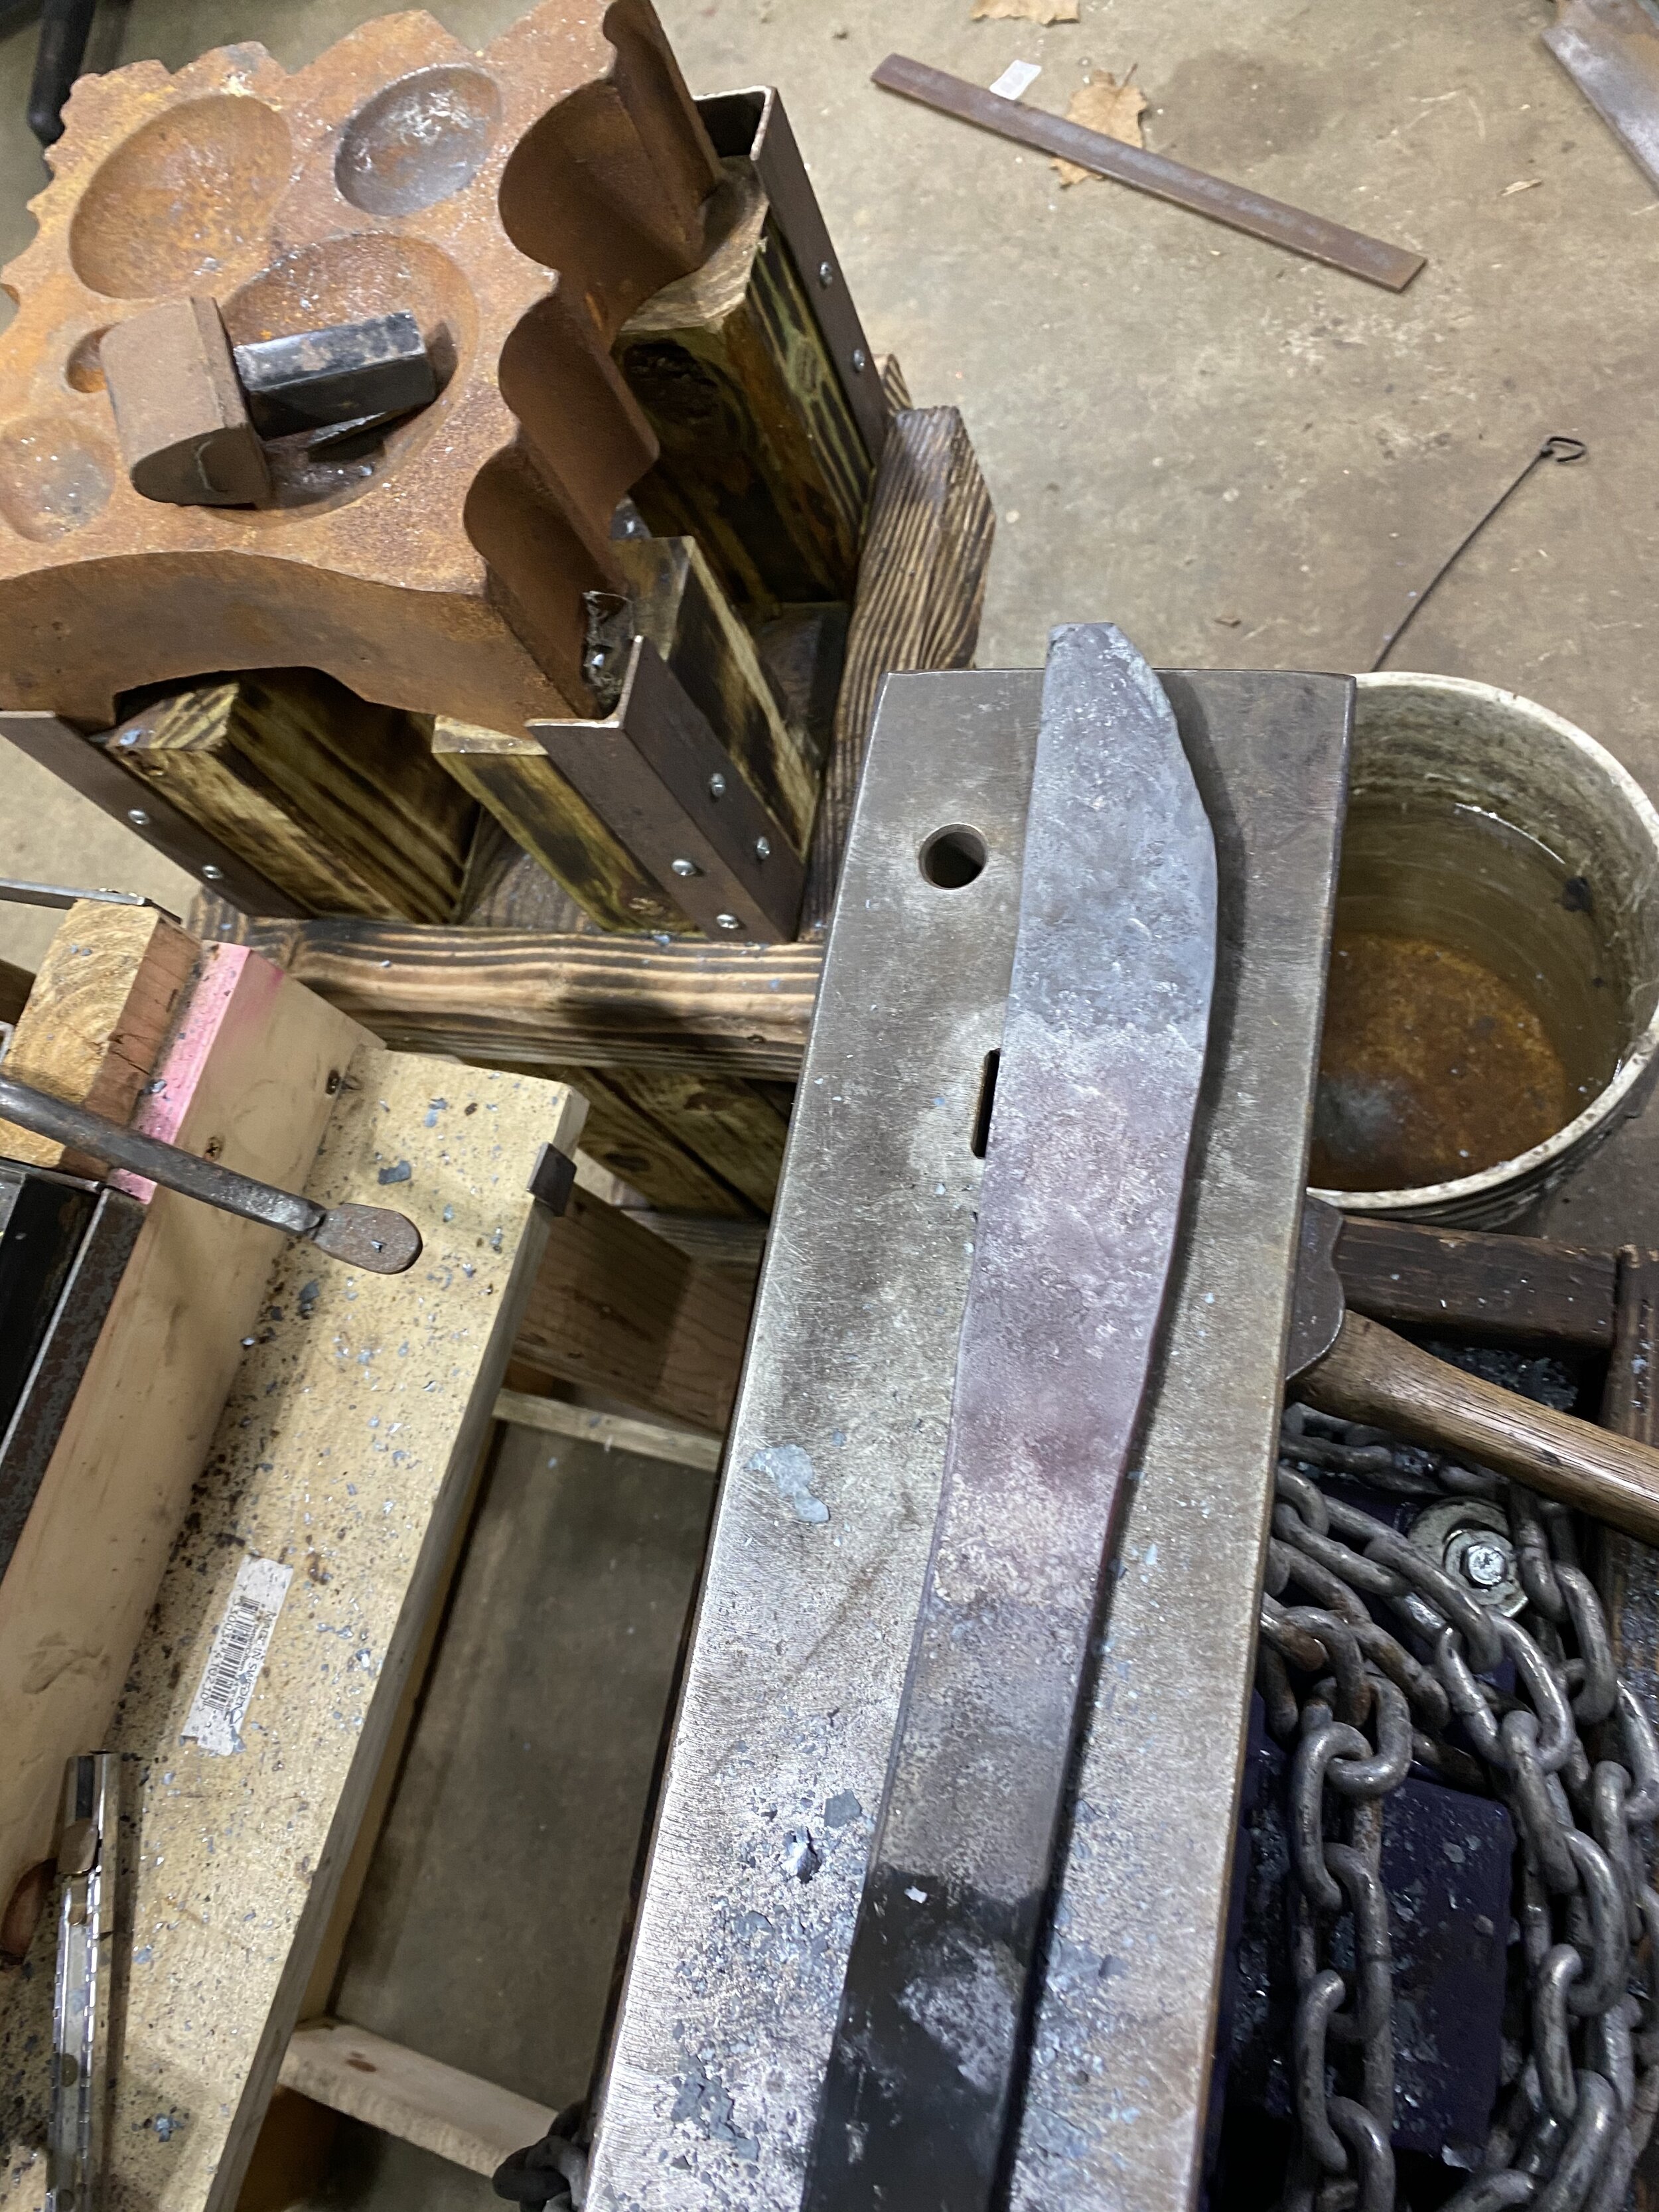
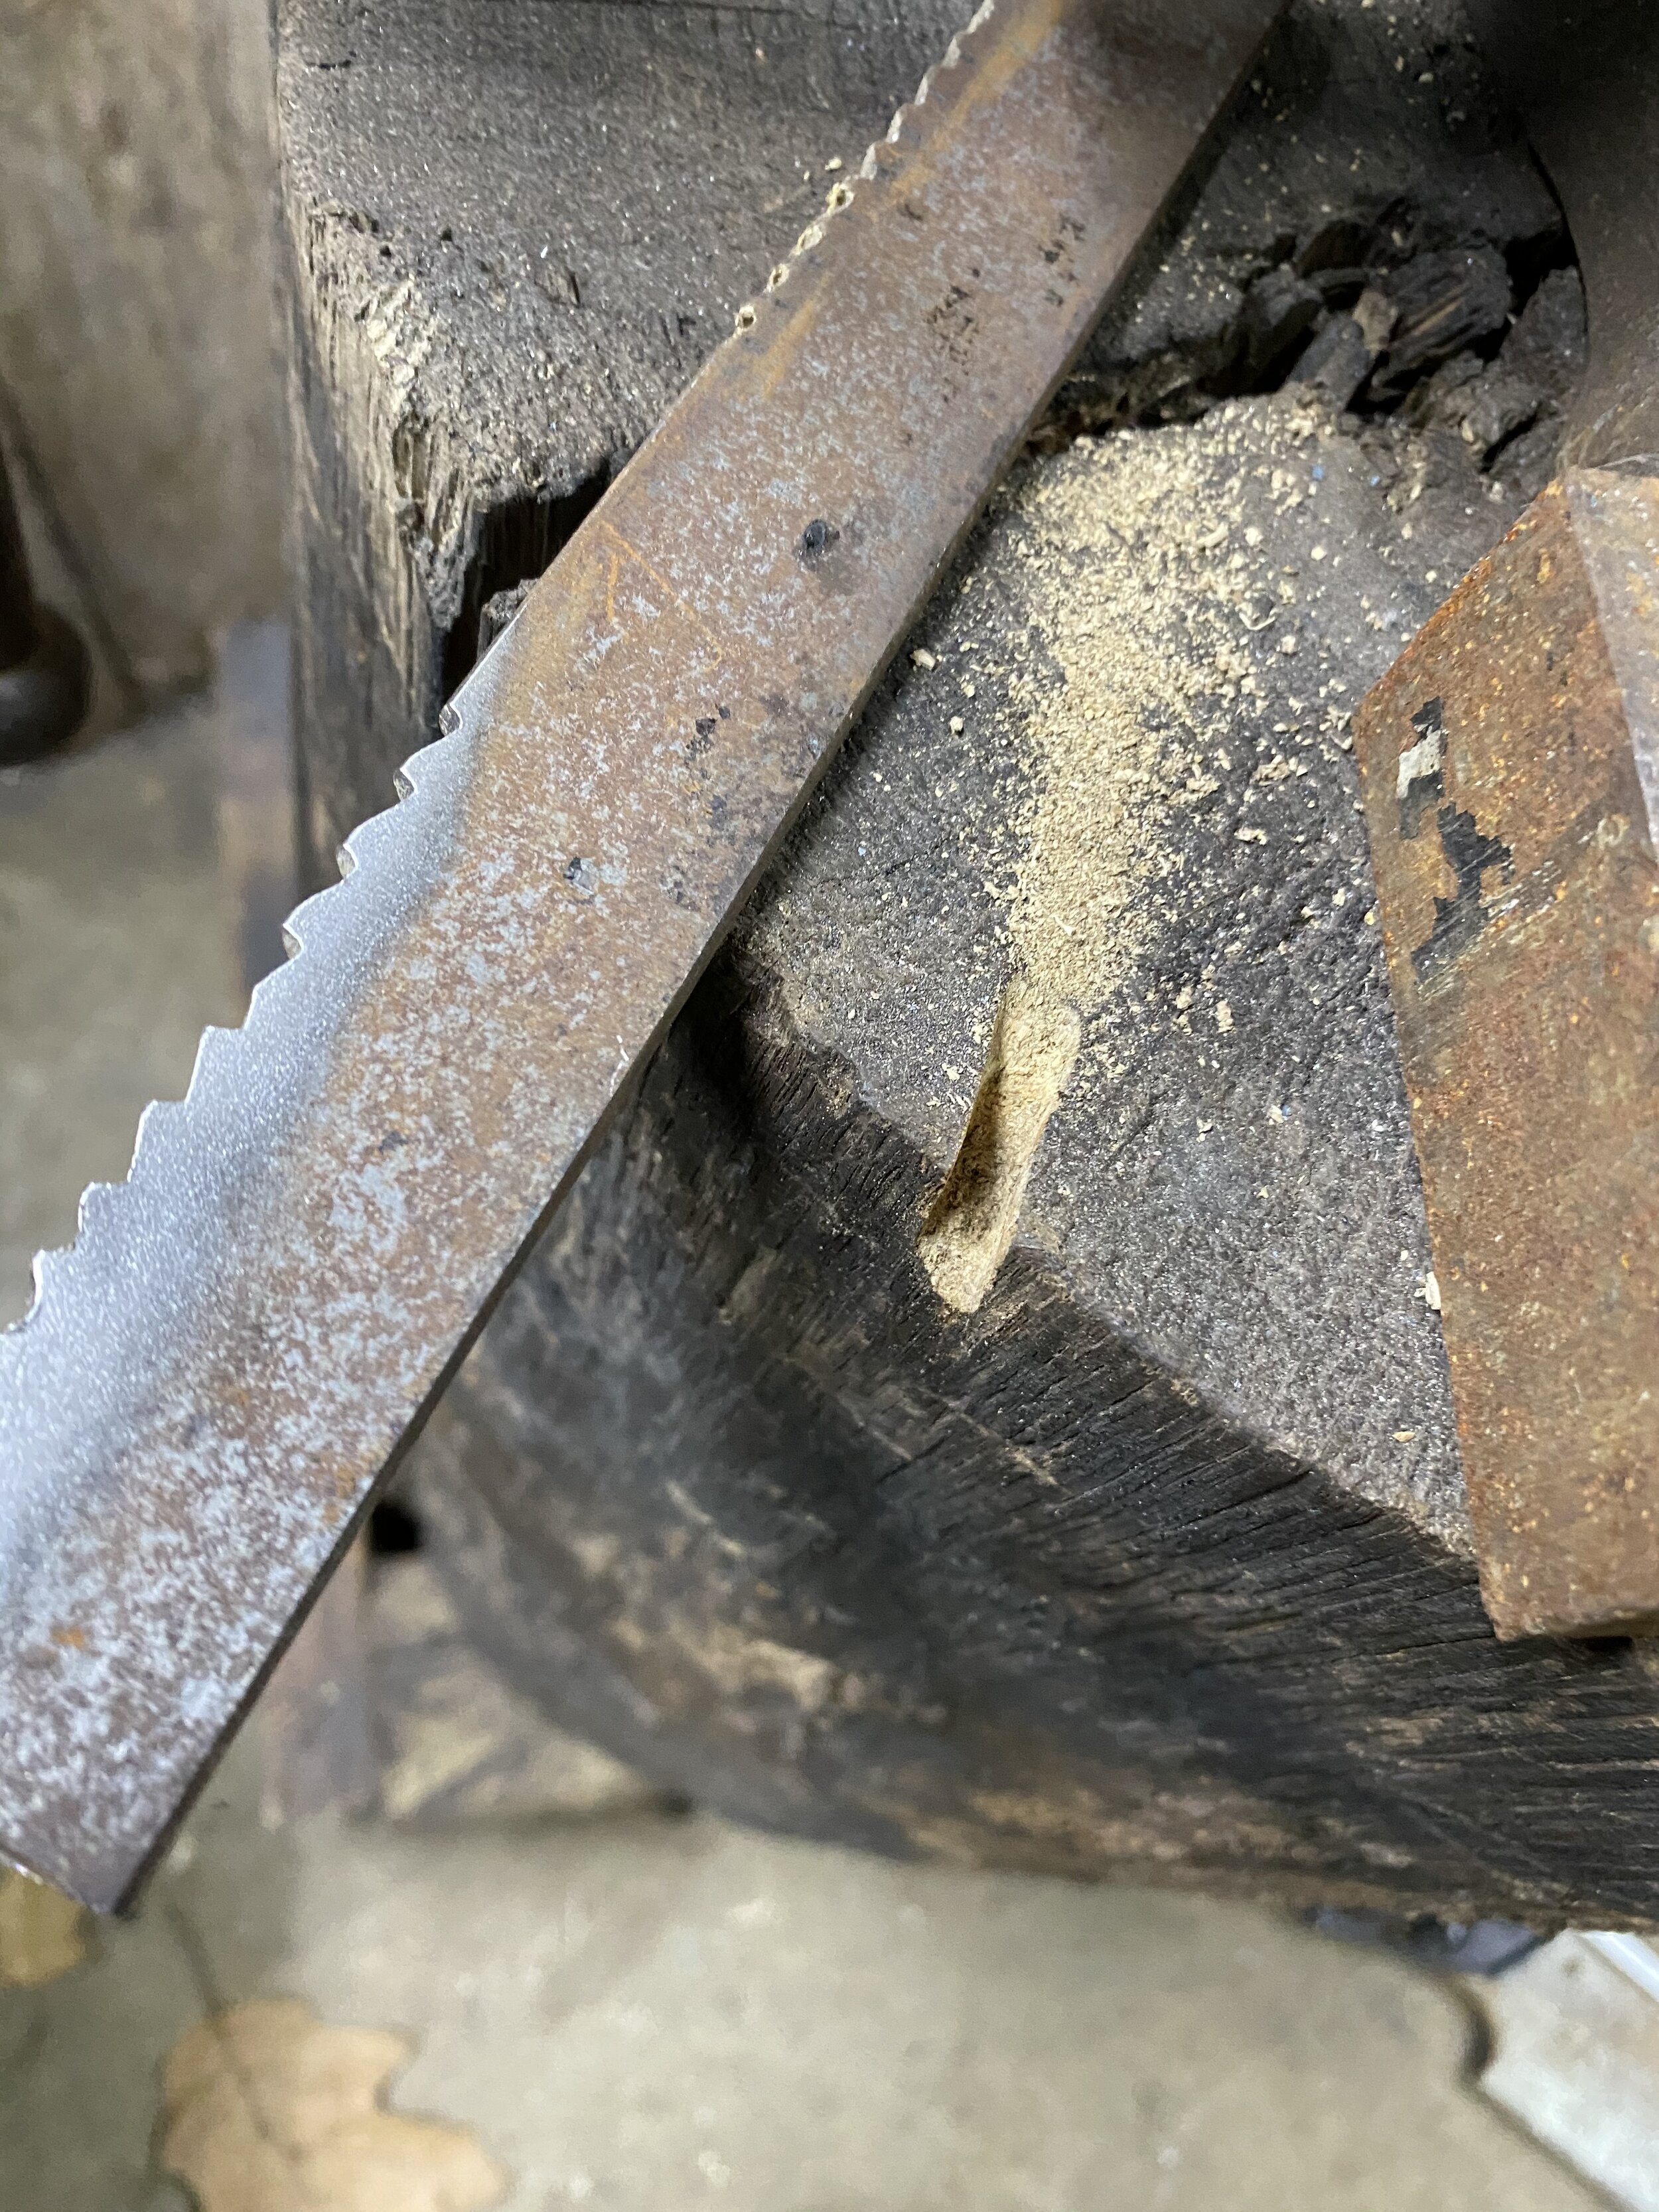
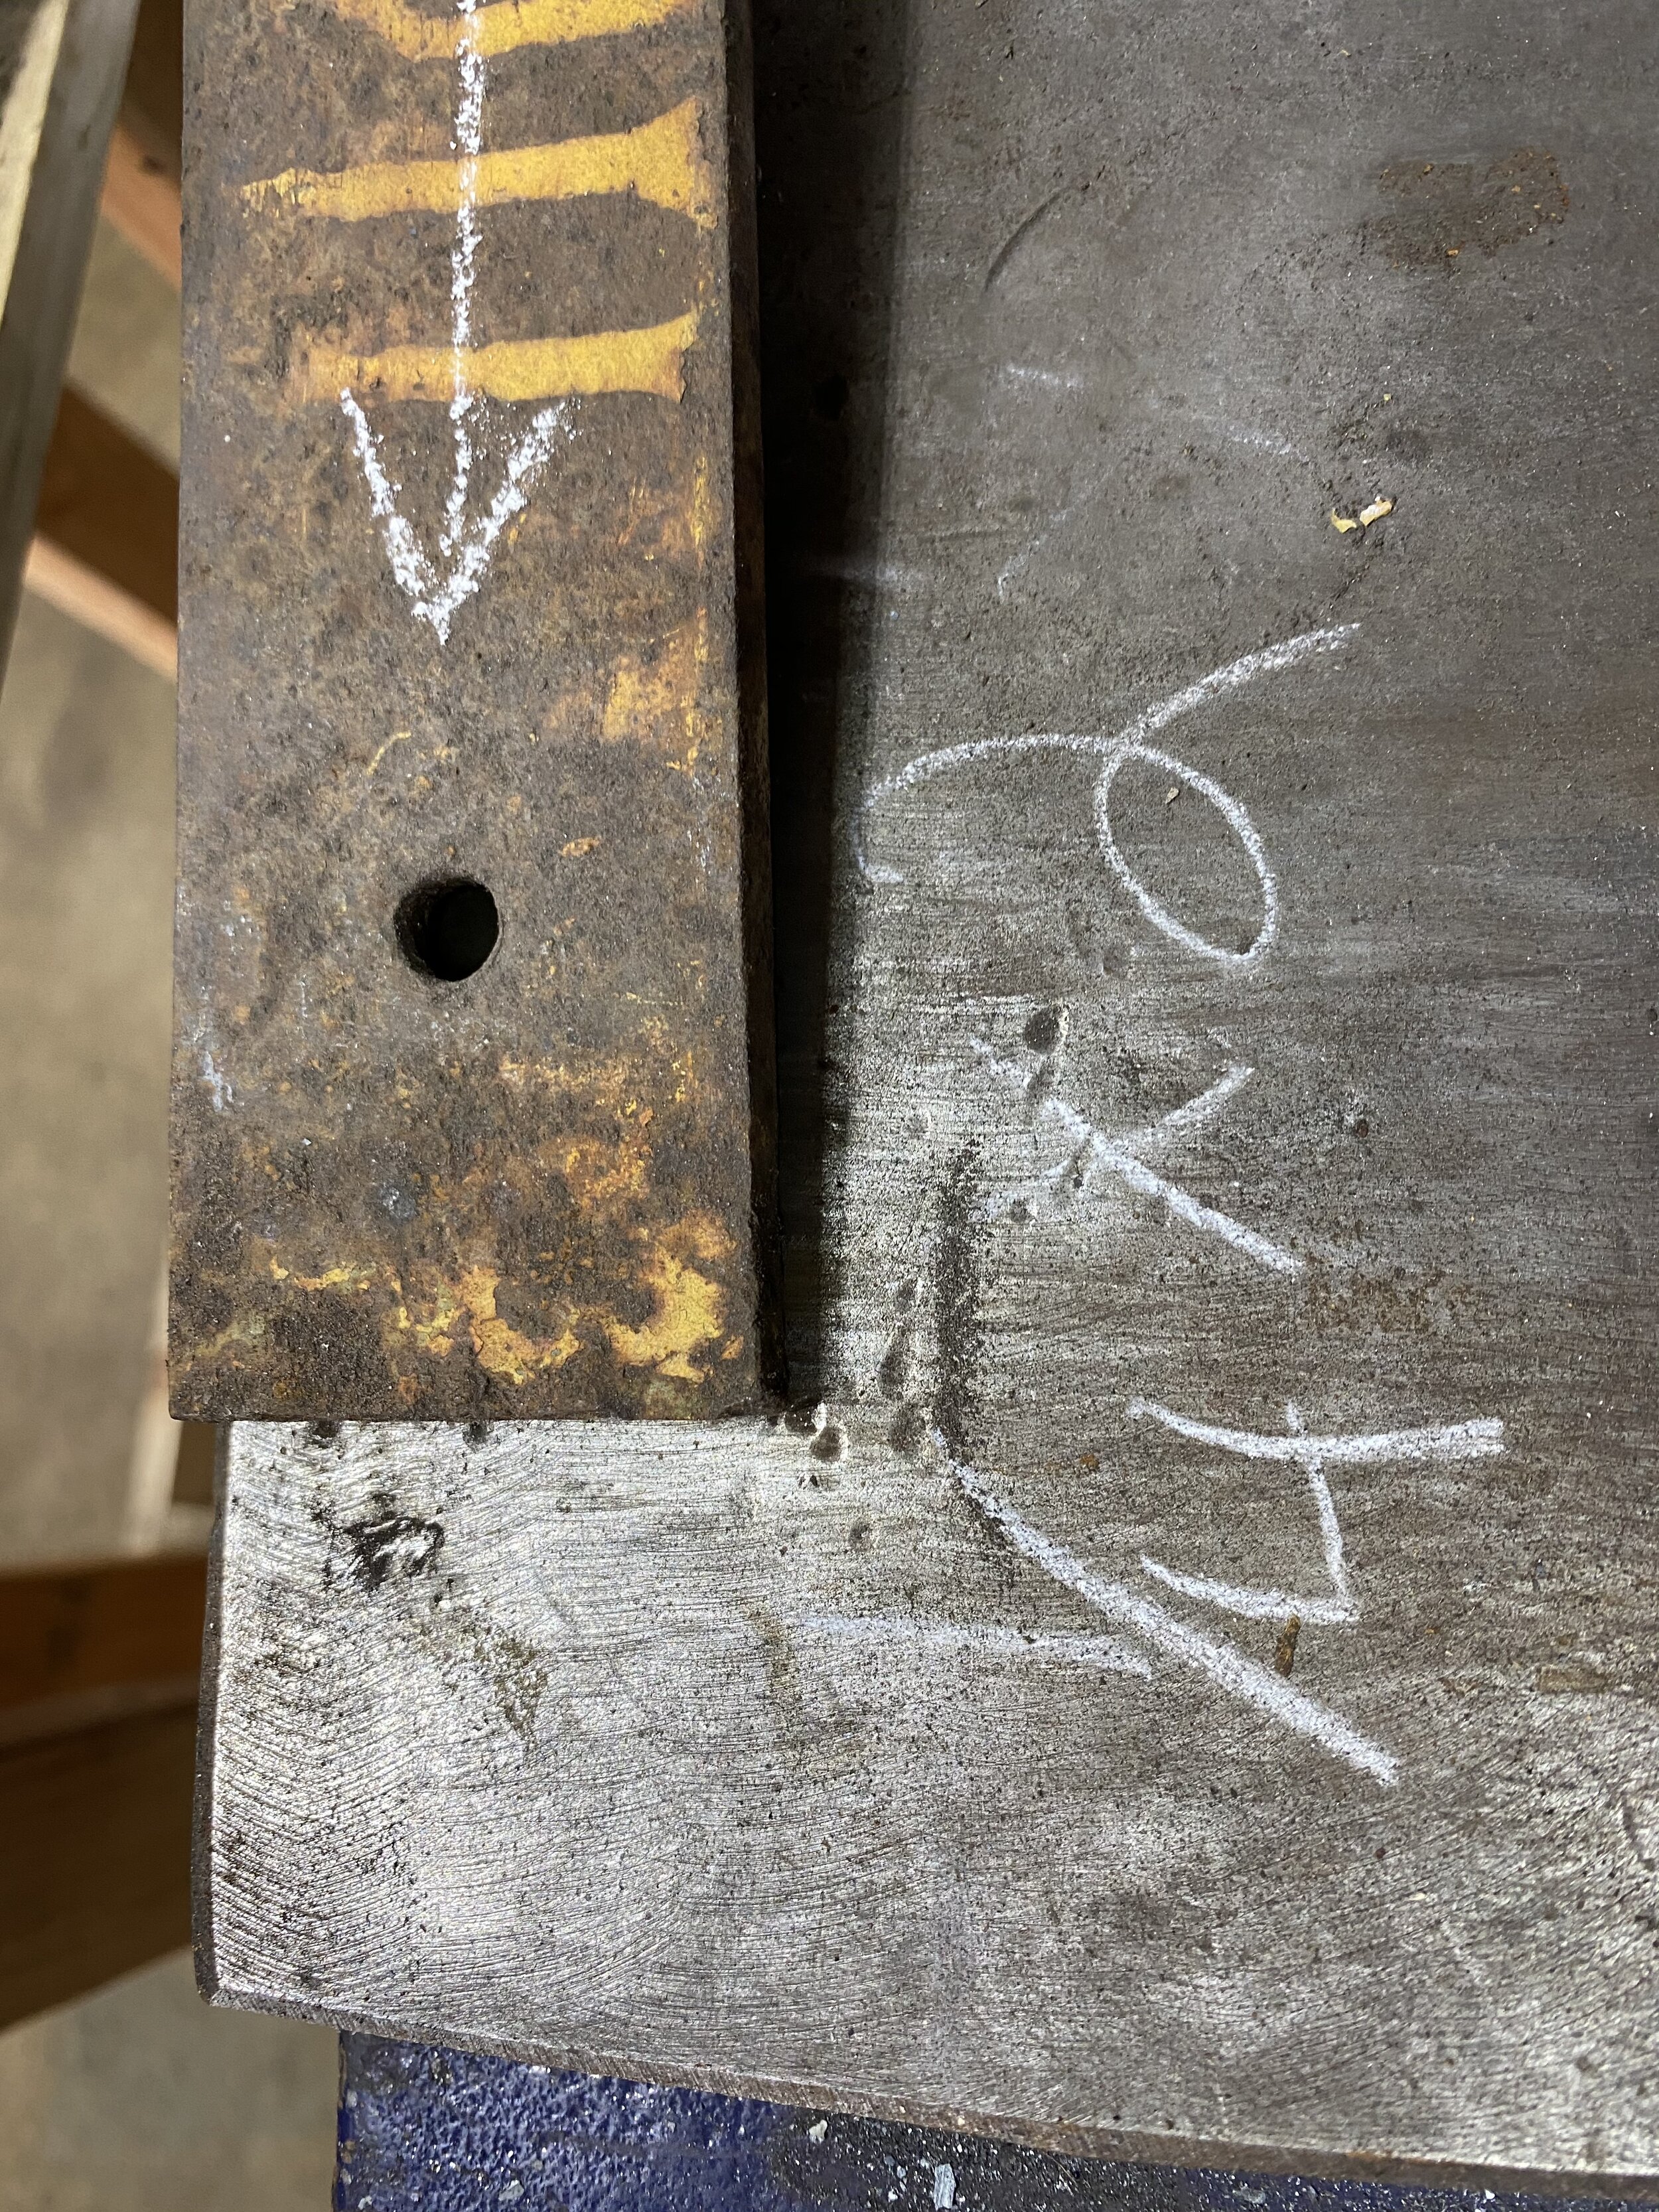
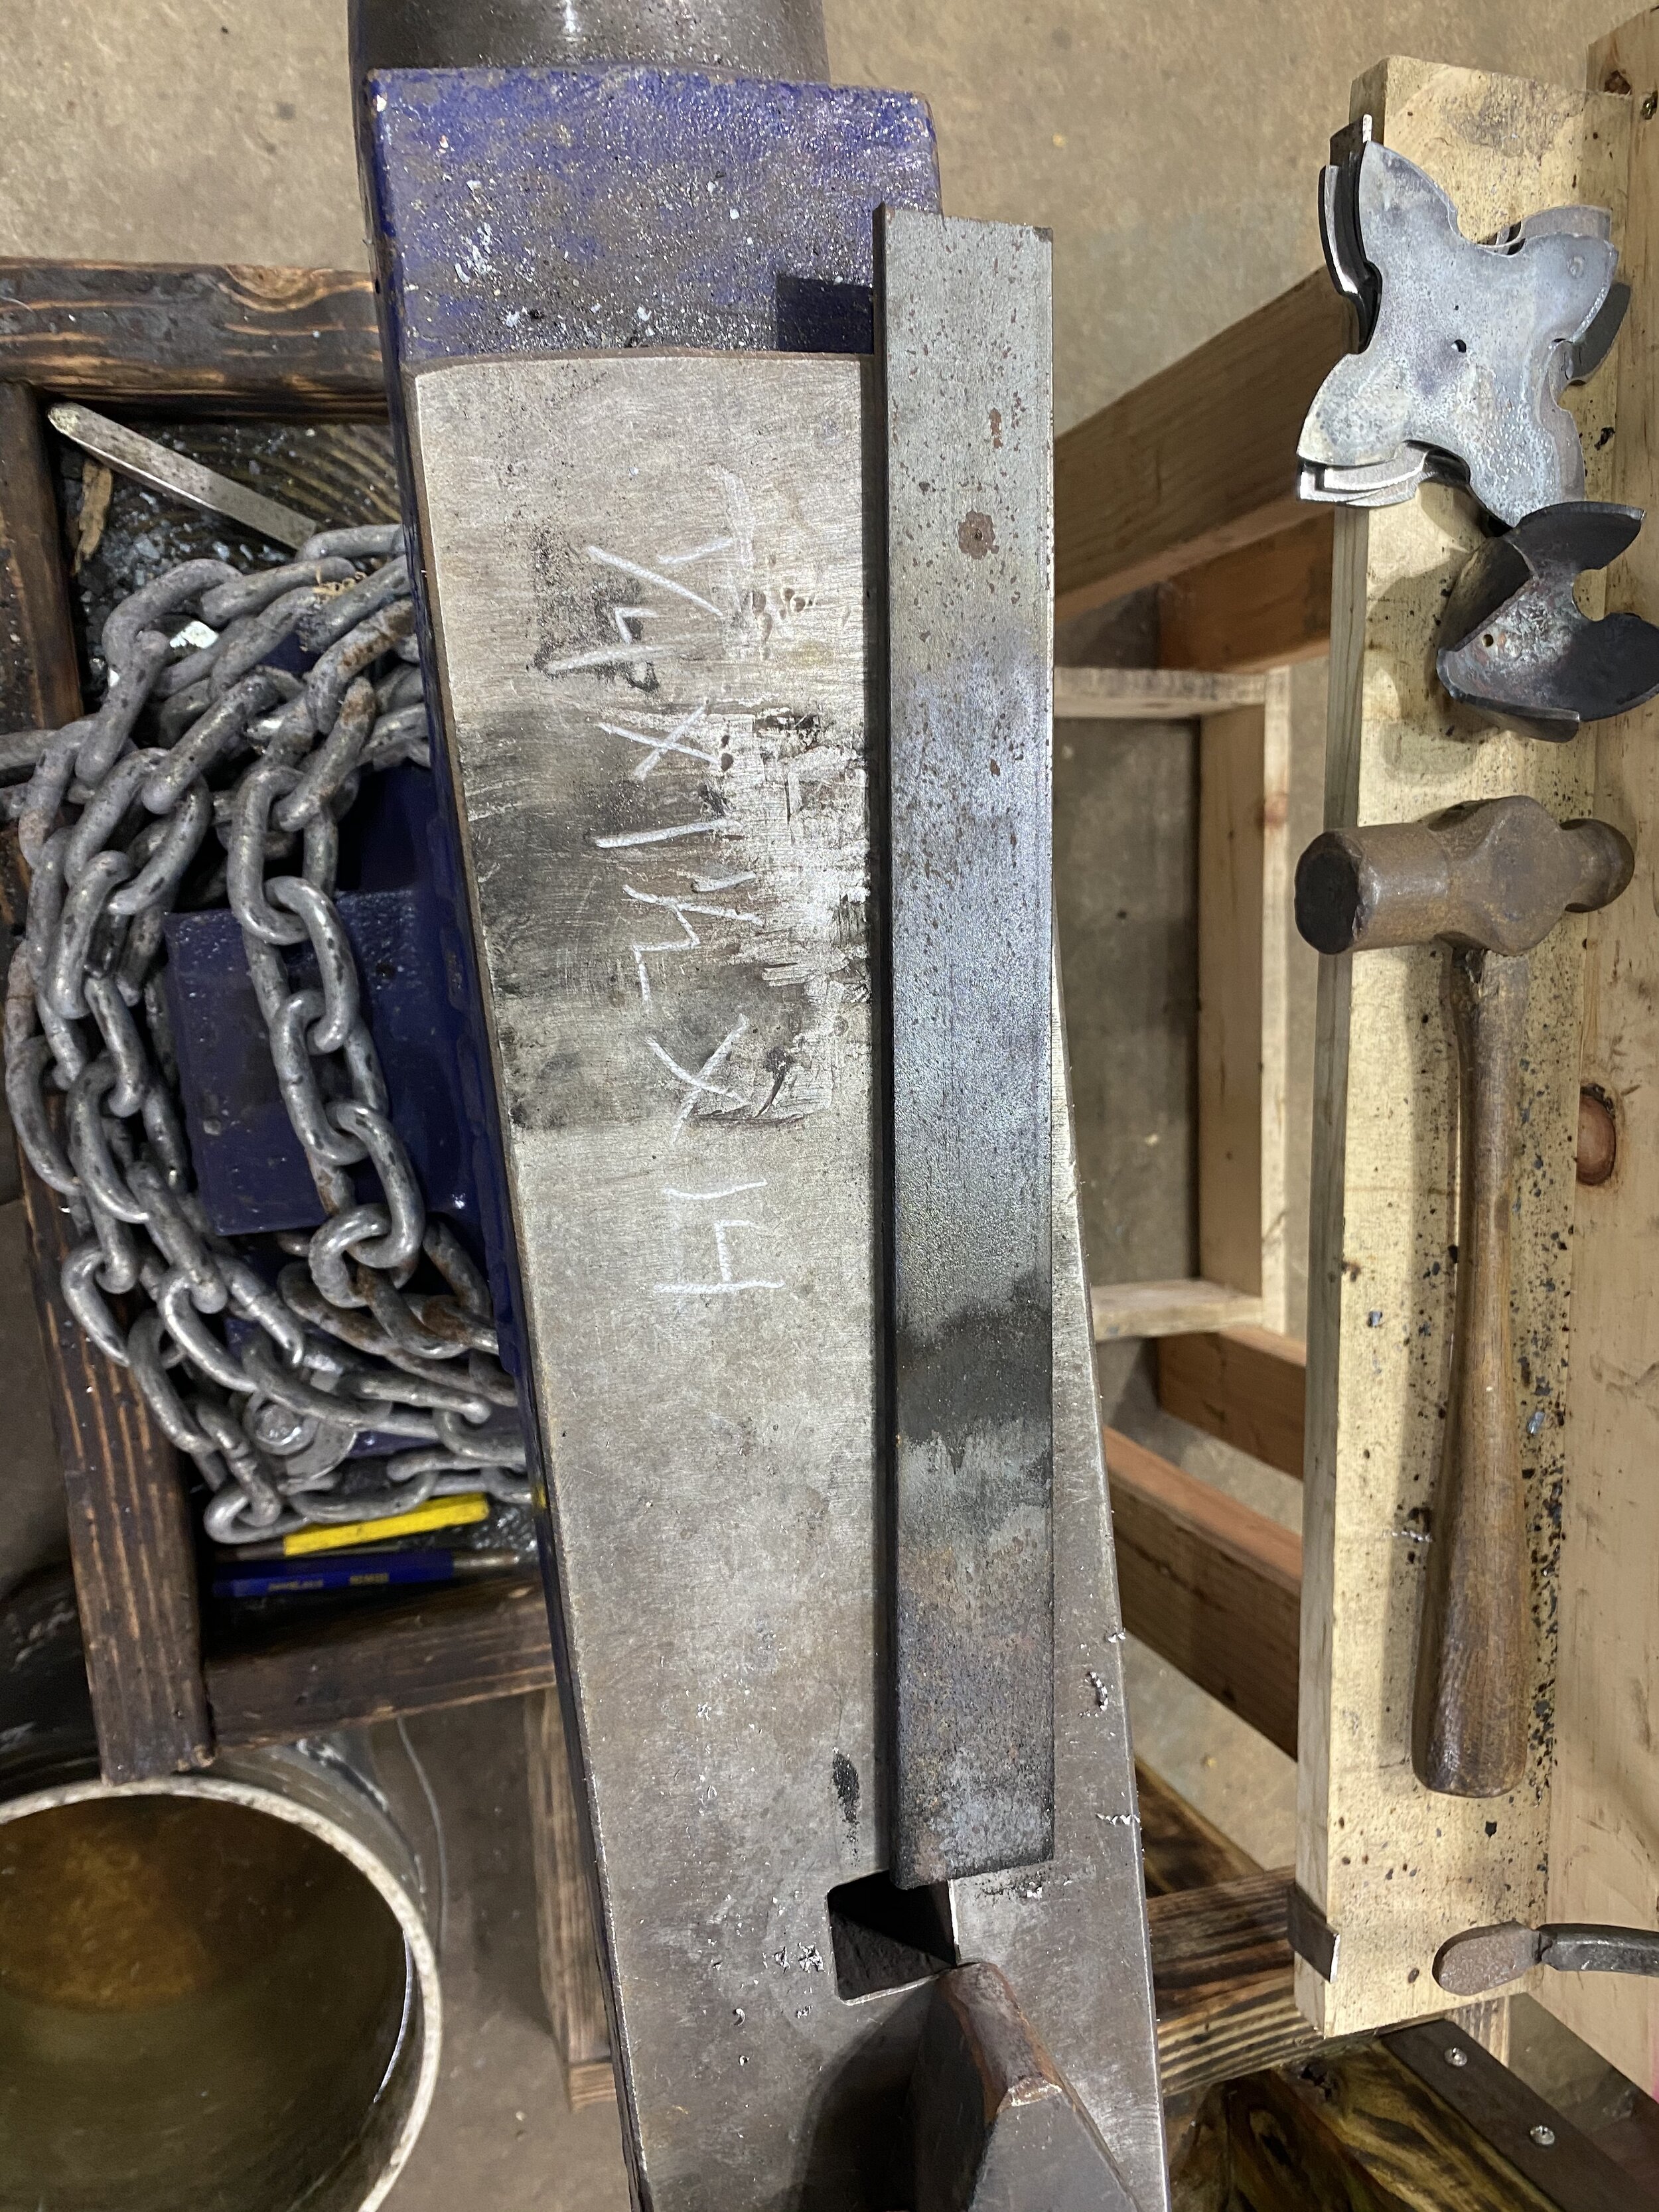
And here is the photo dump for this project:

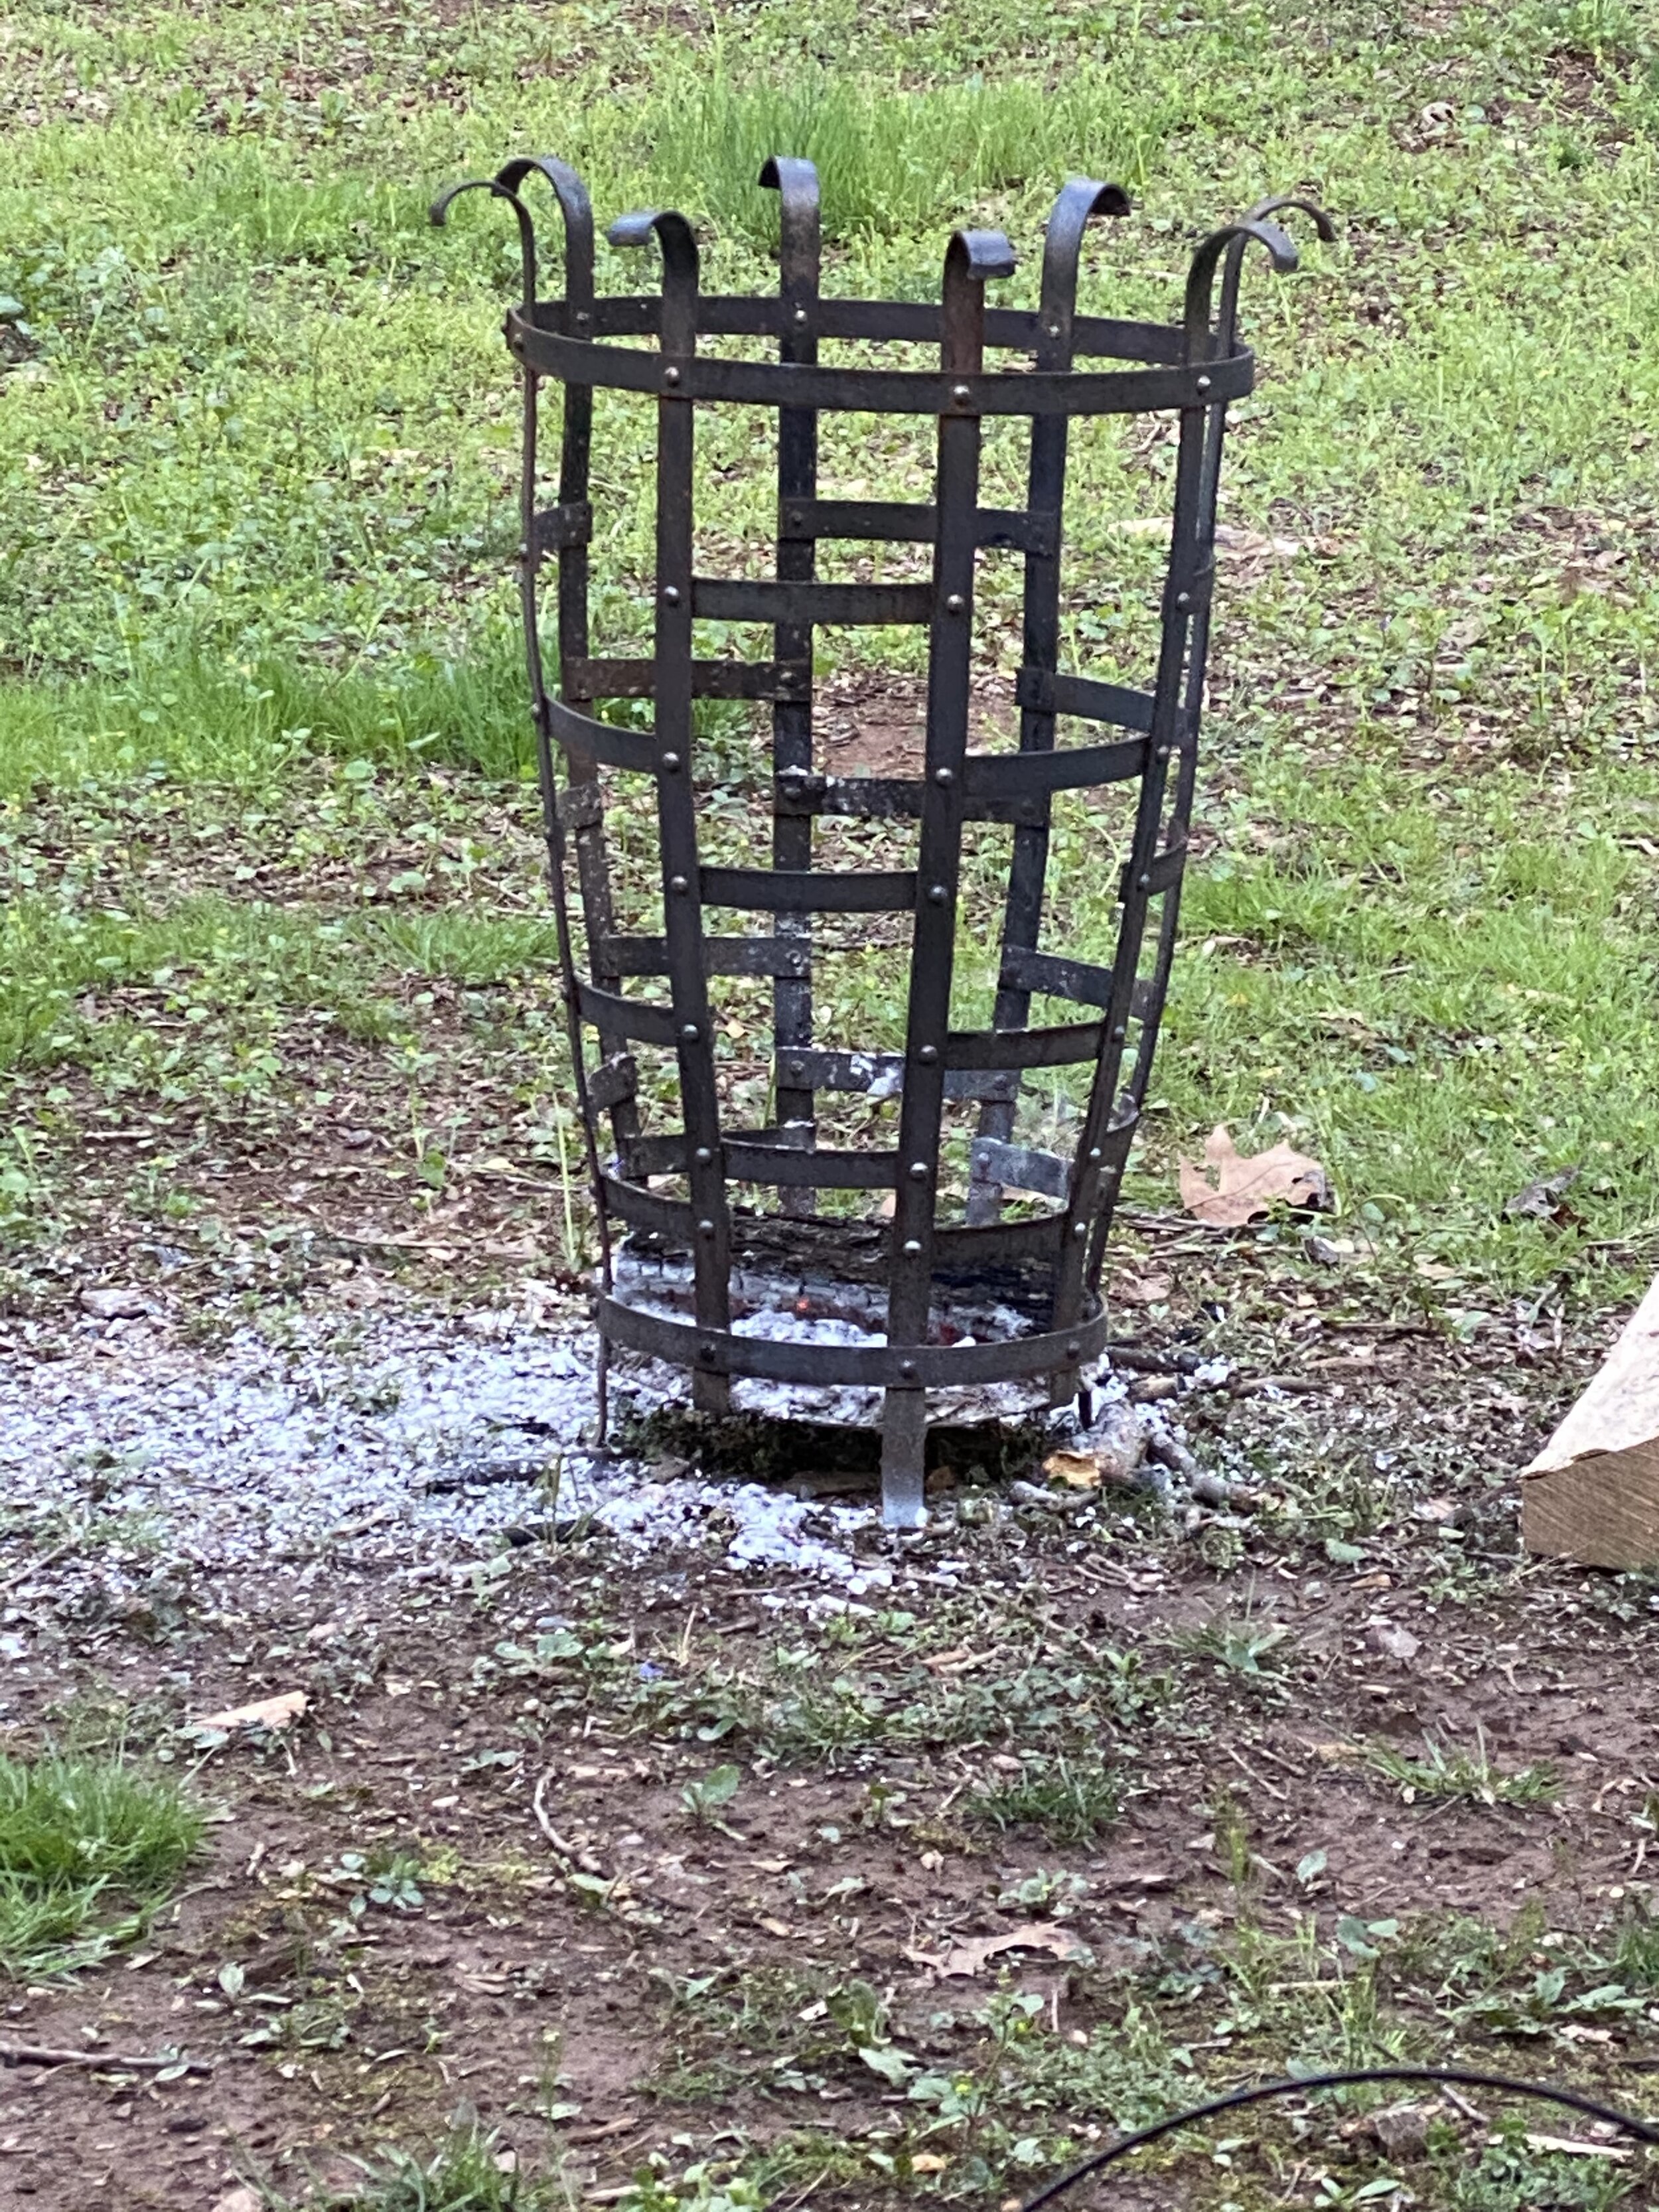
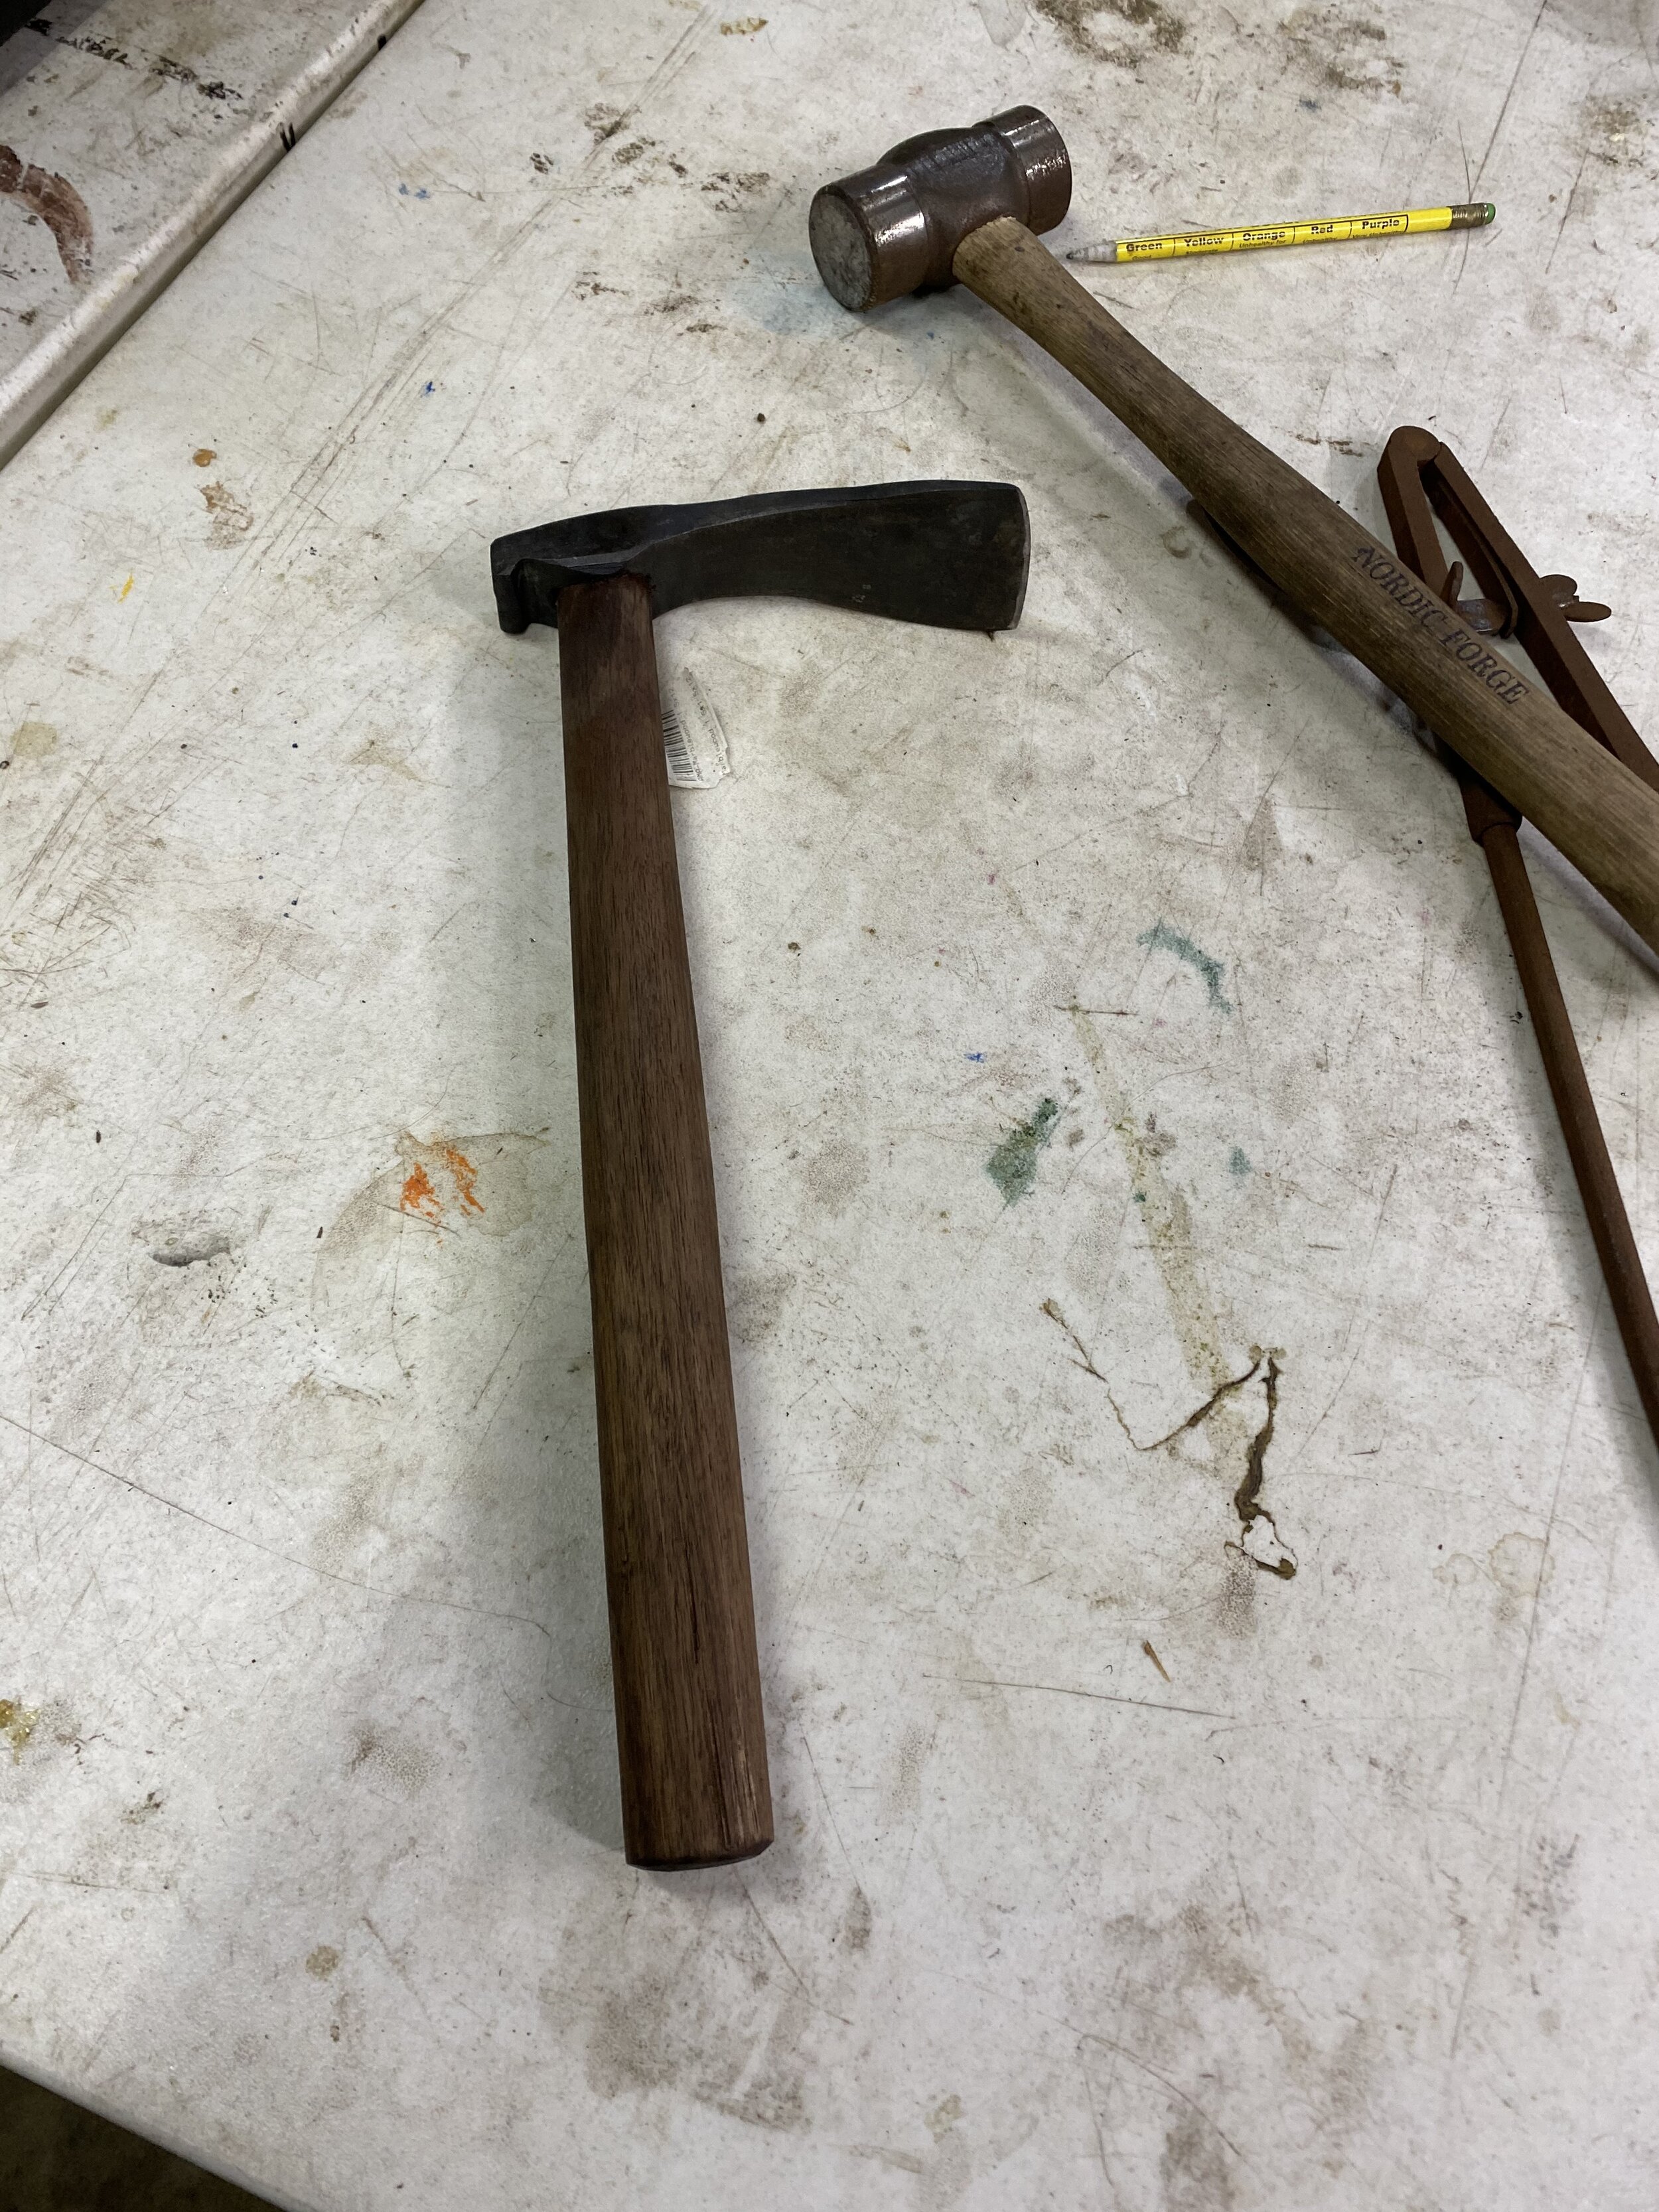
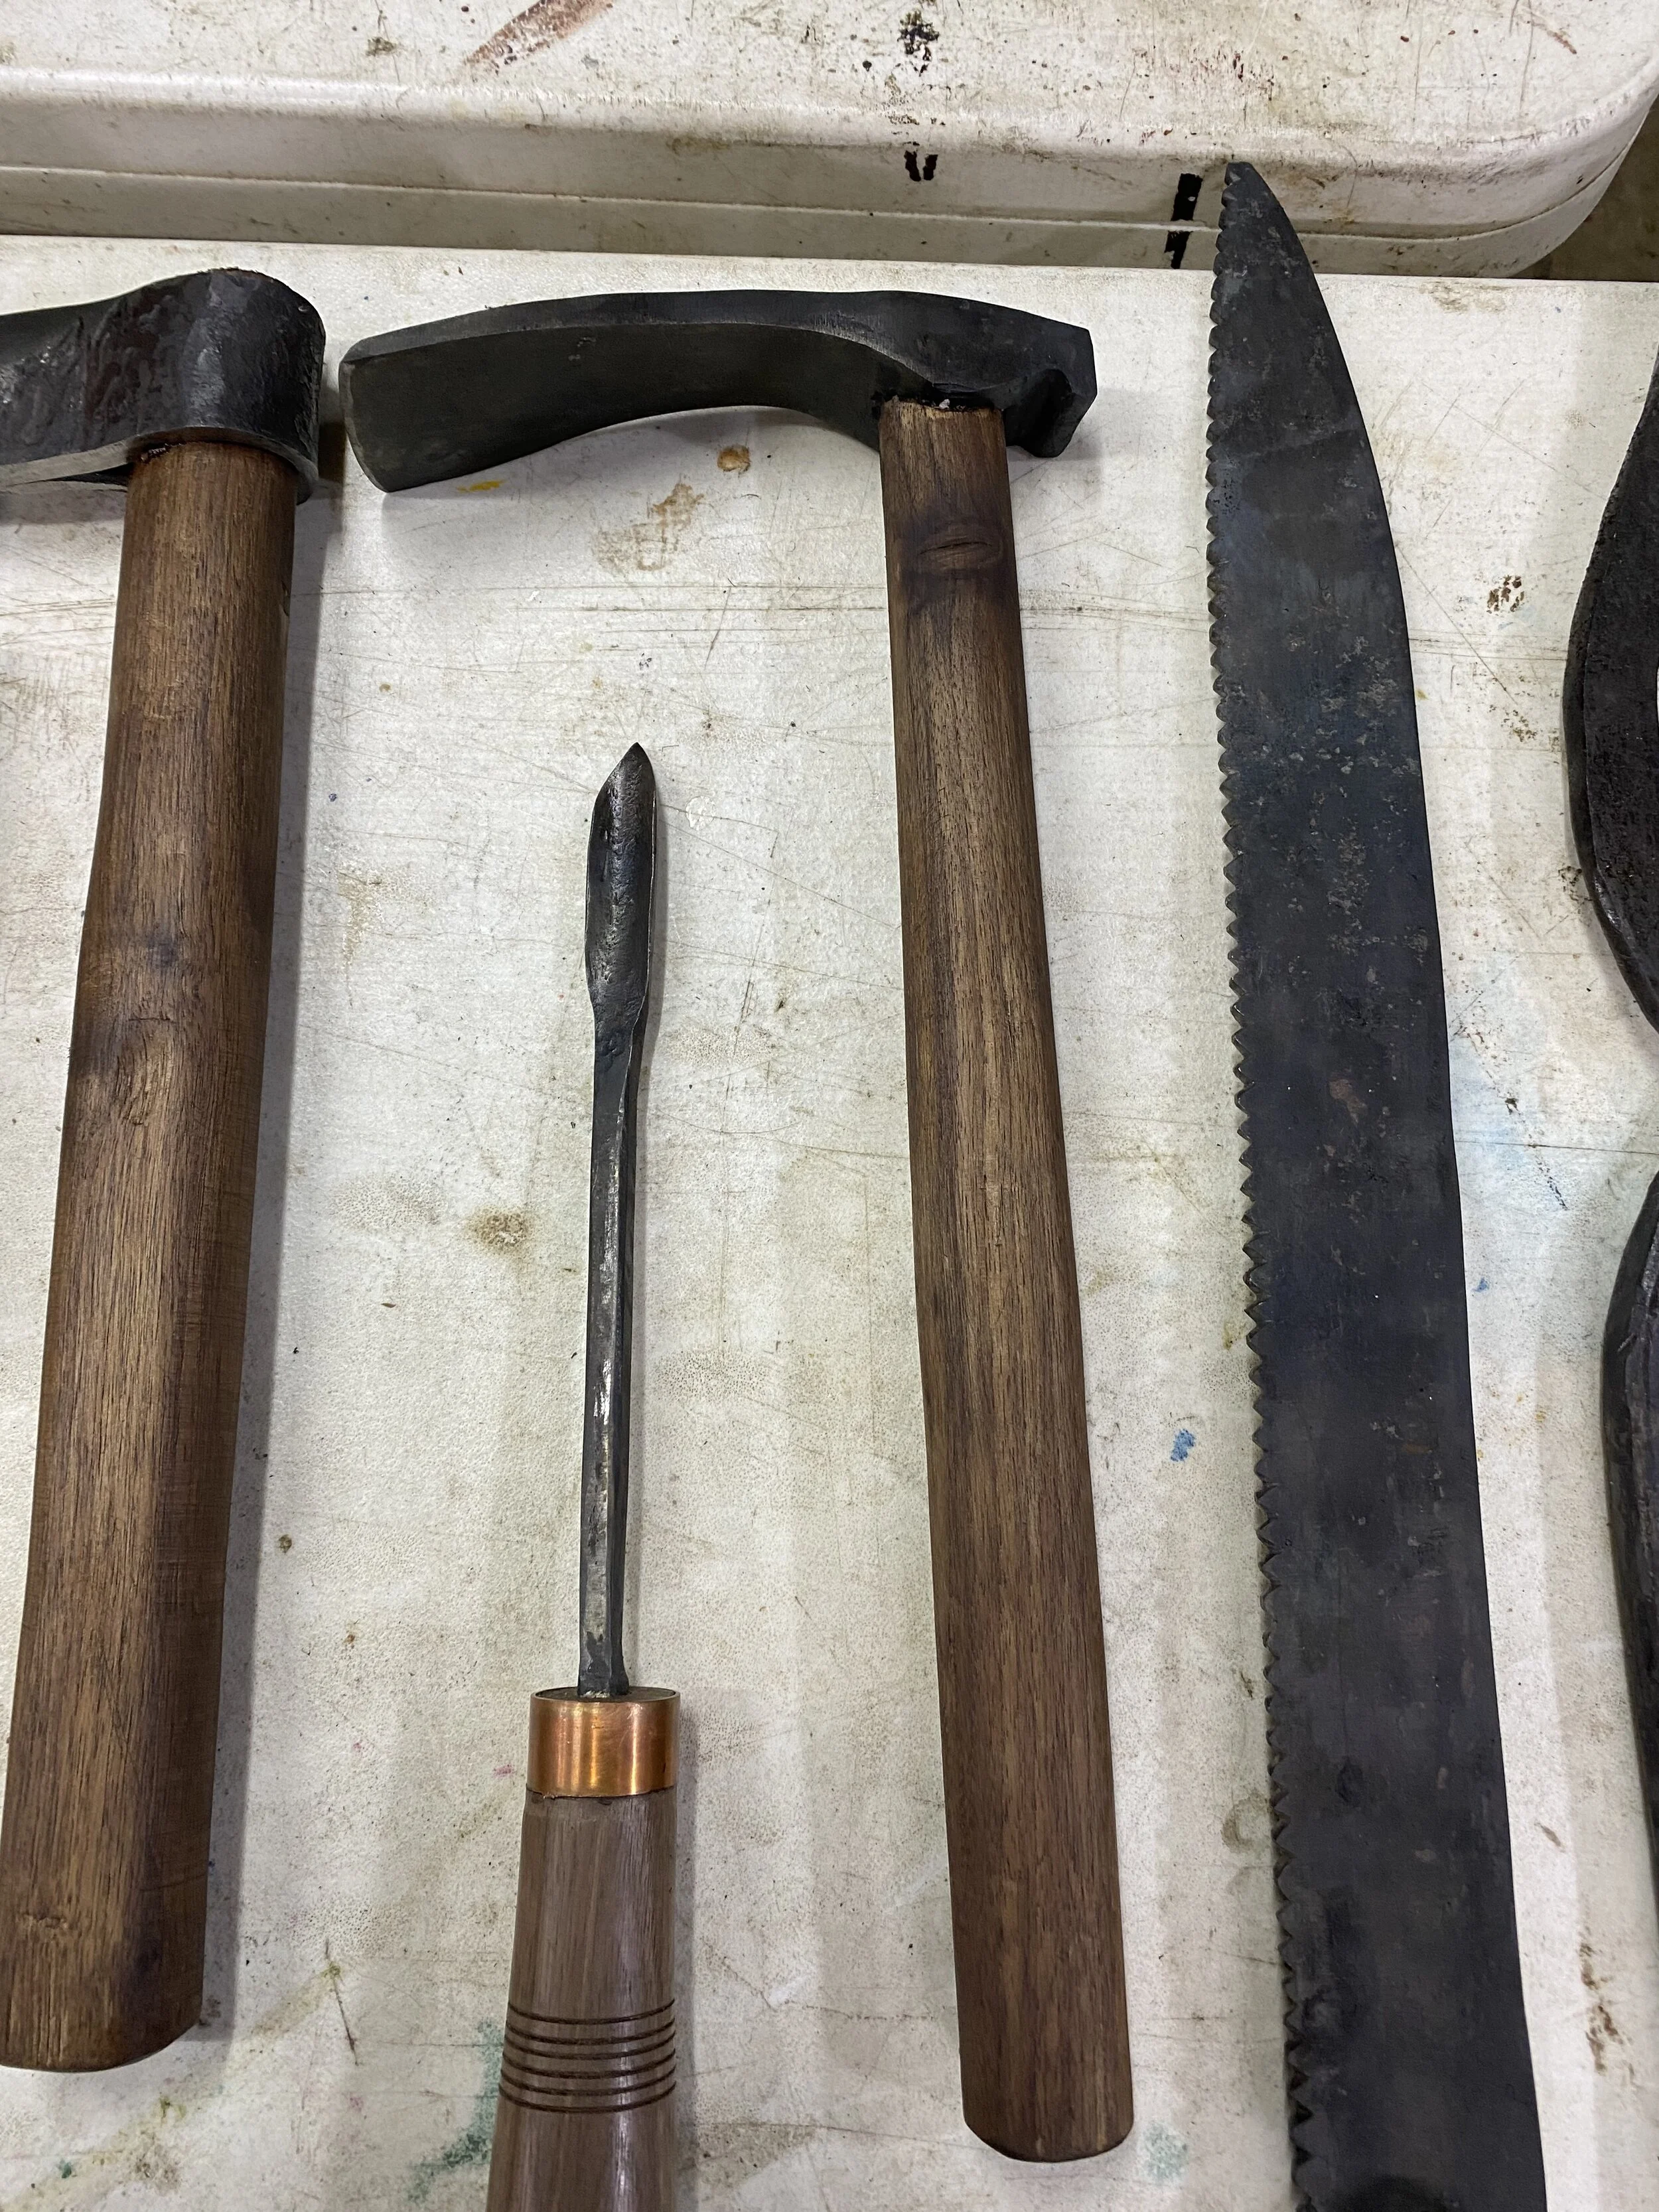
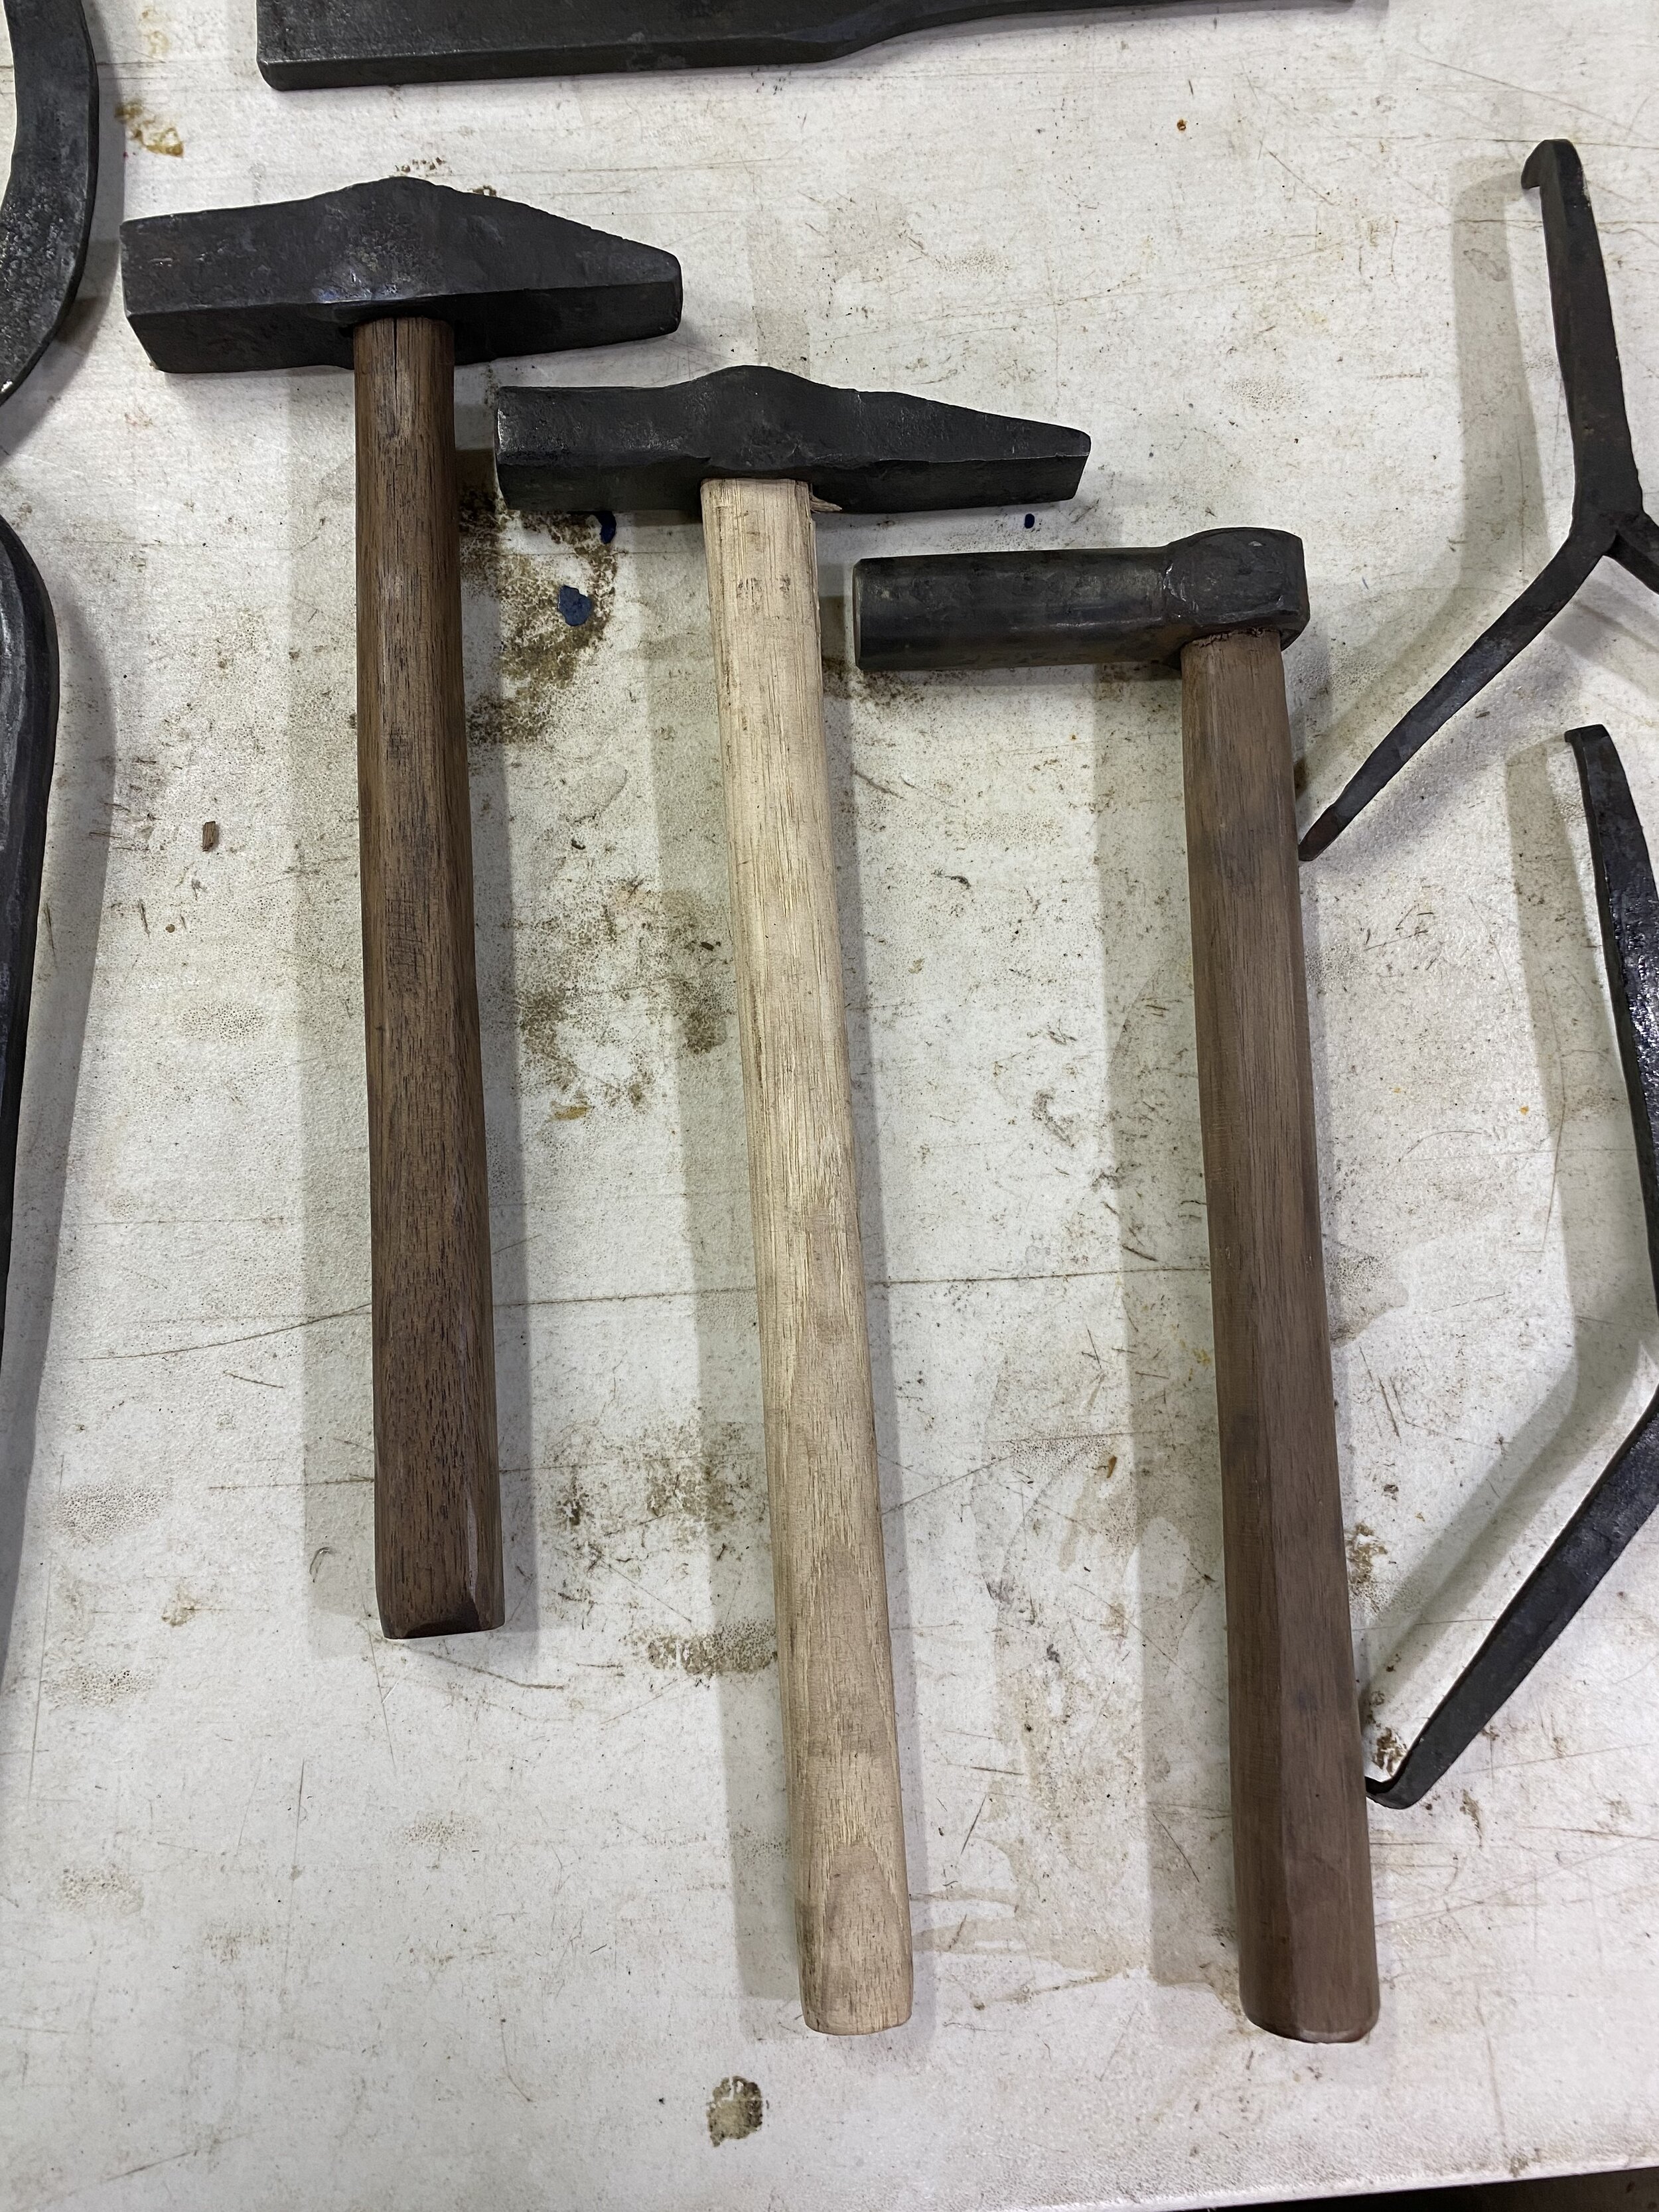
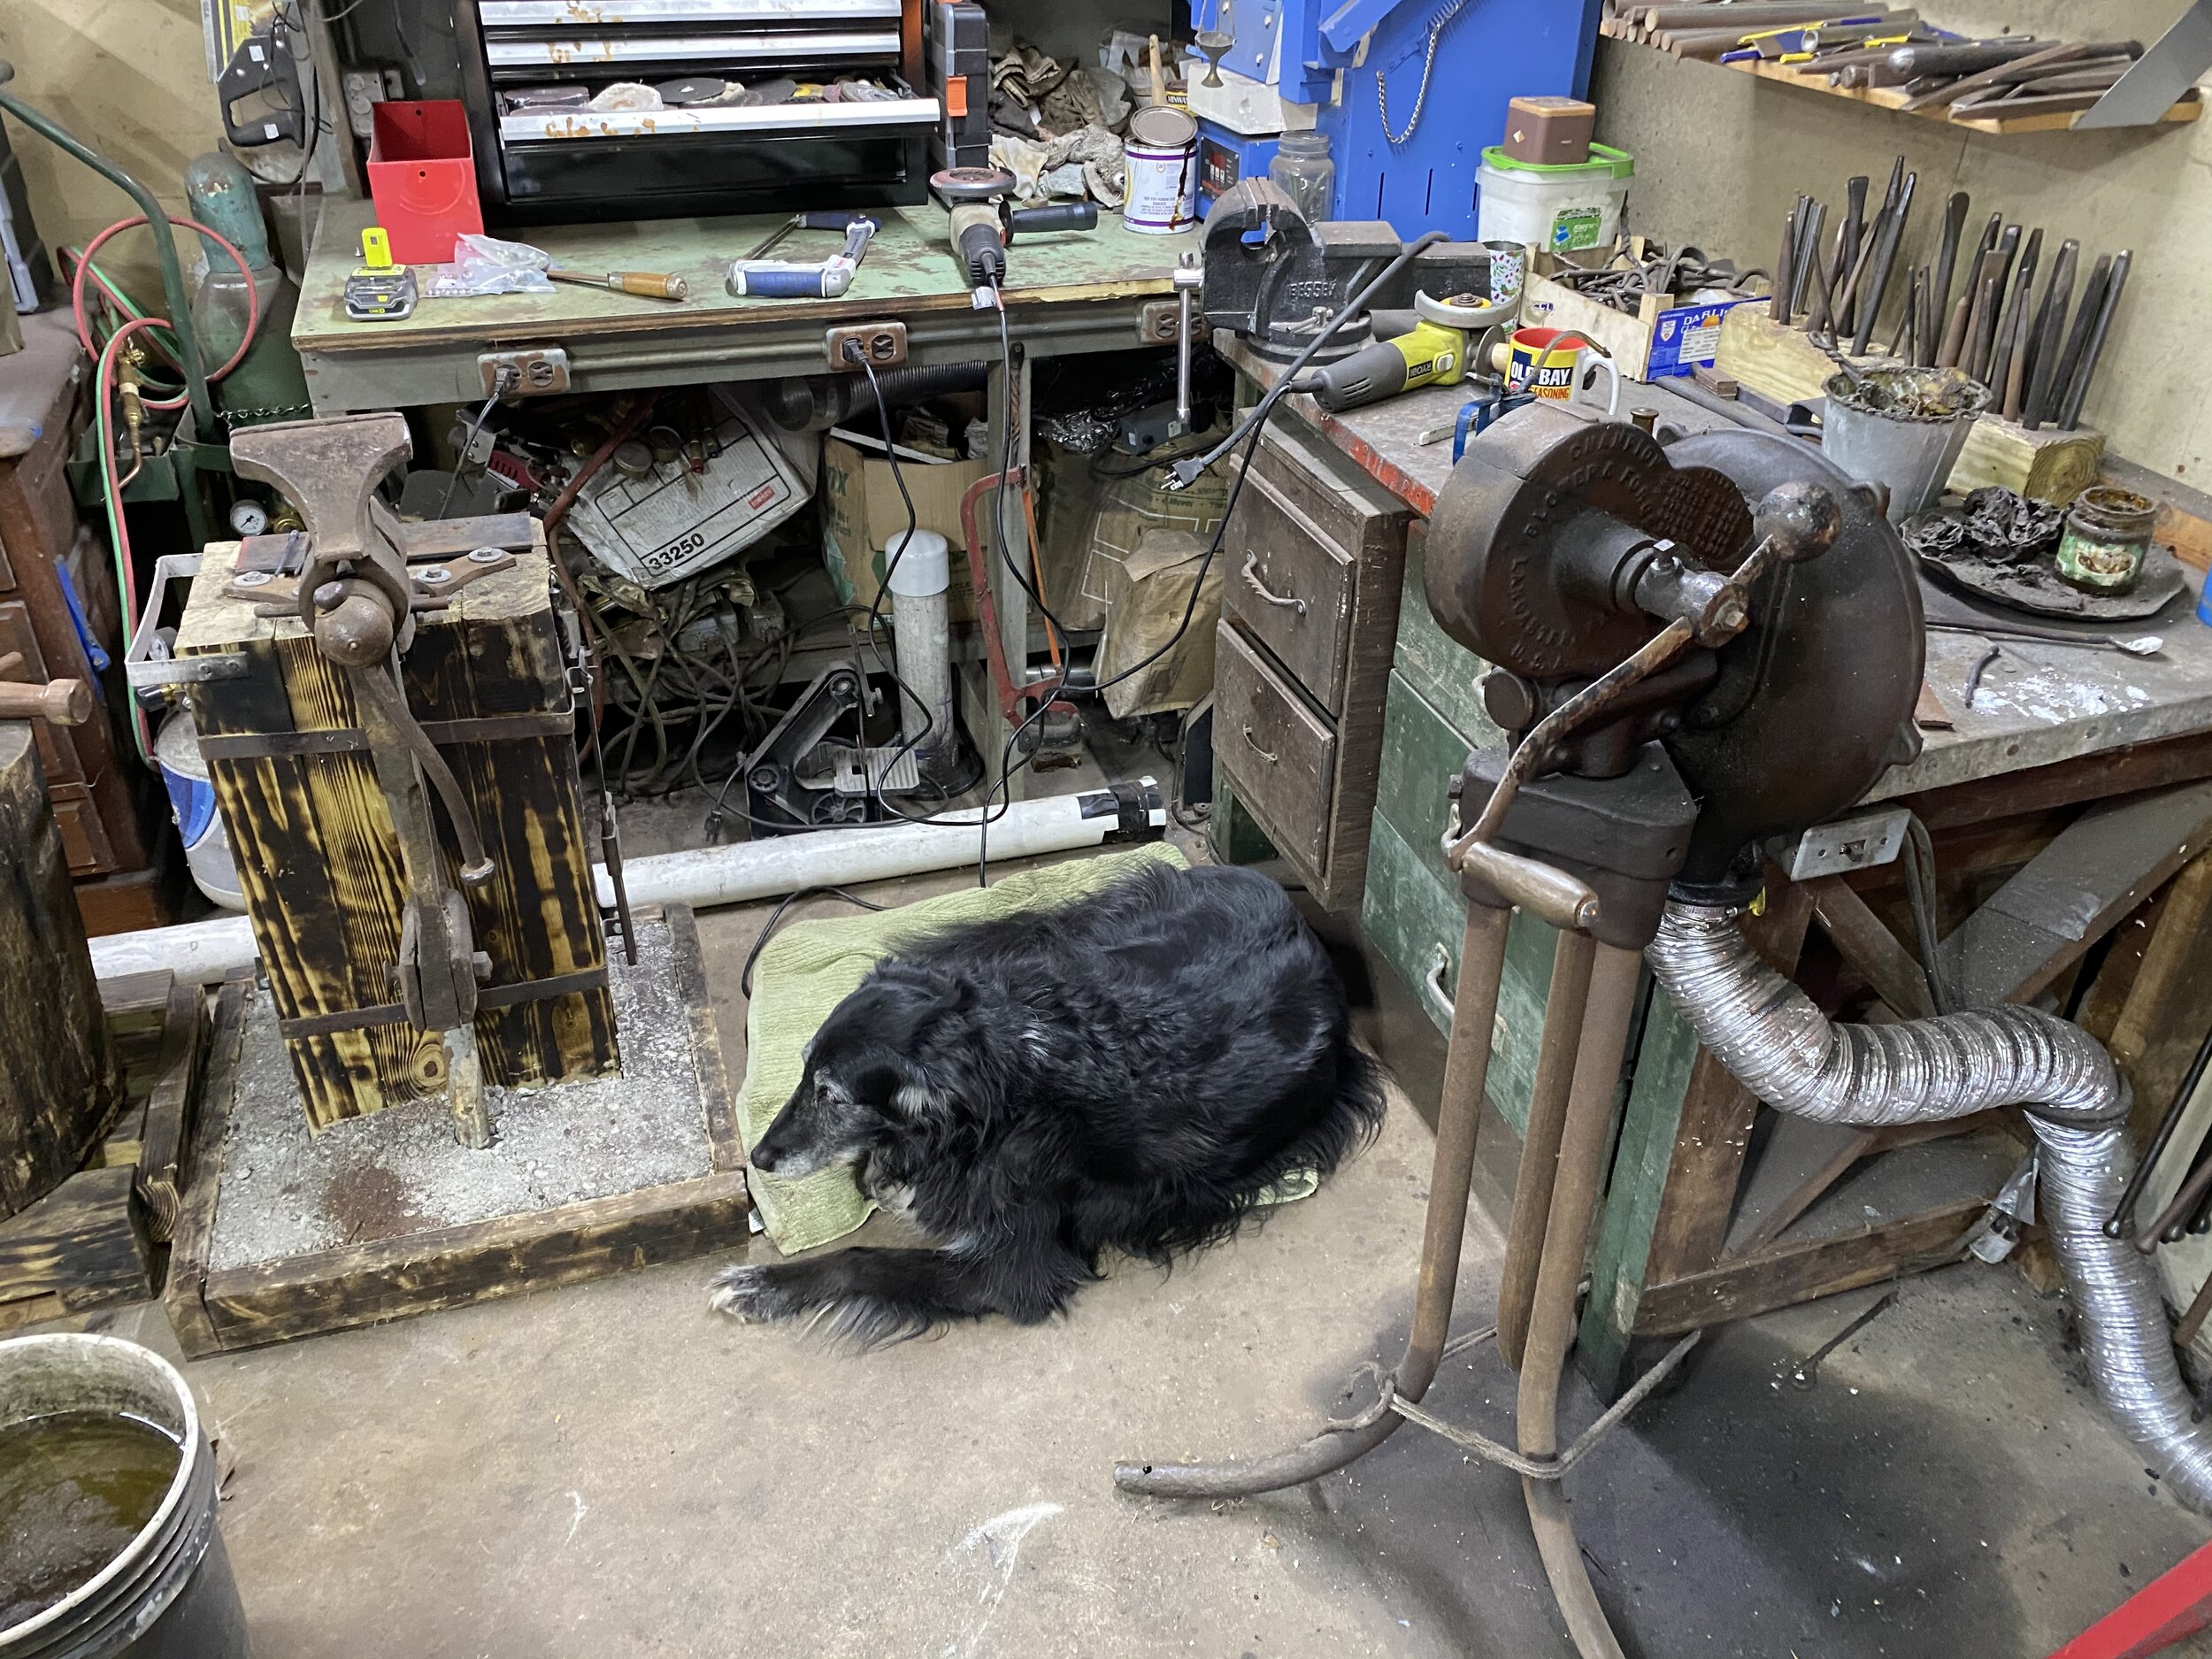
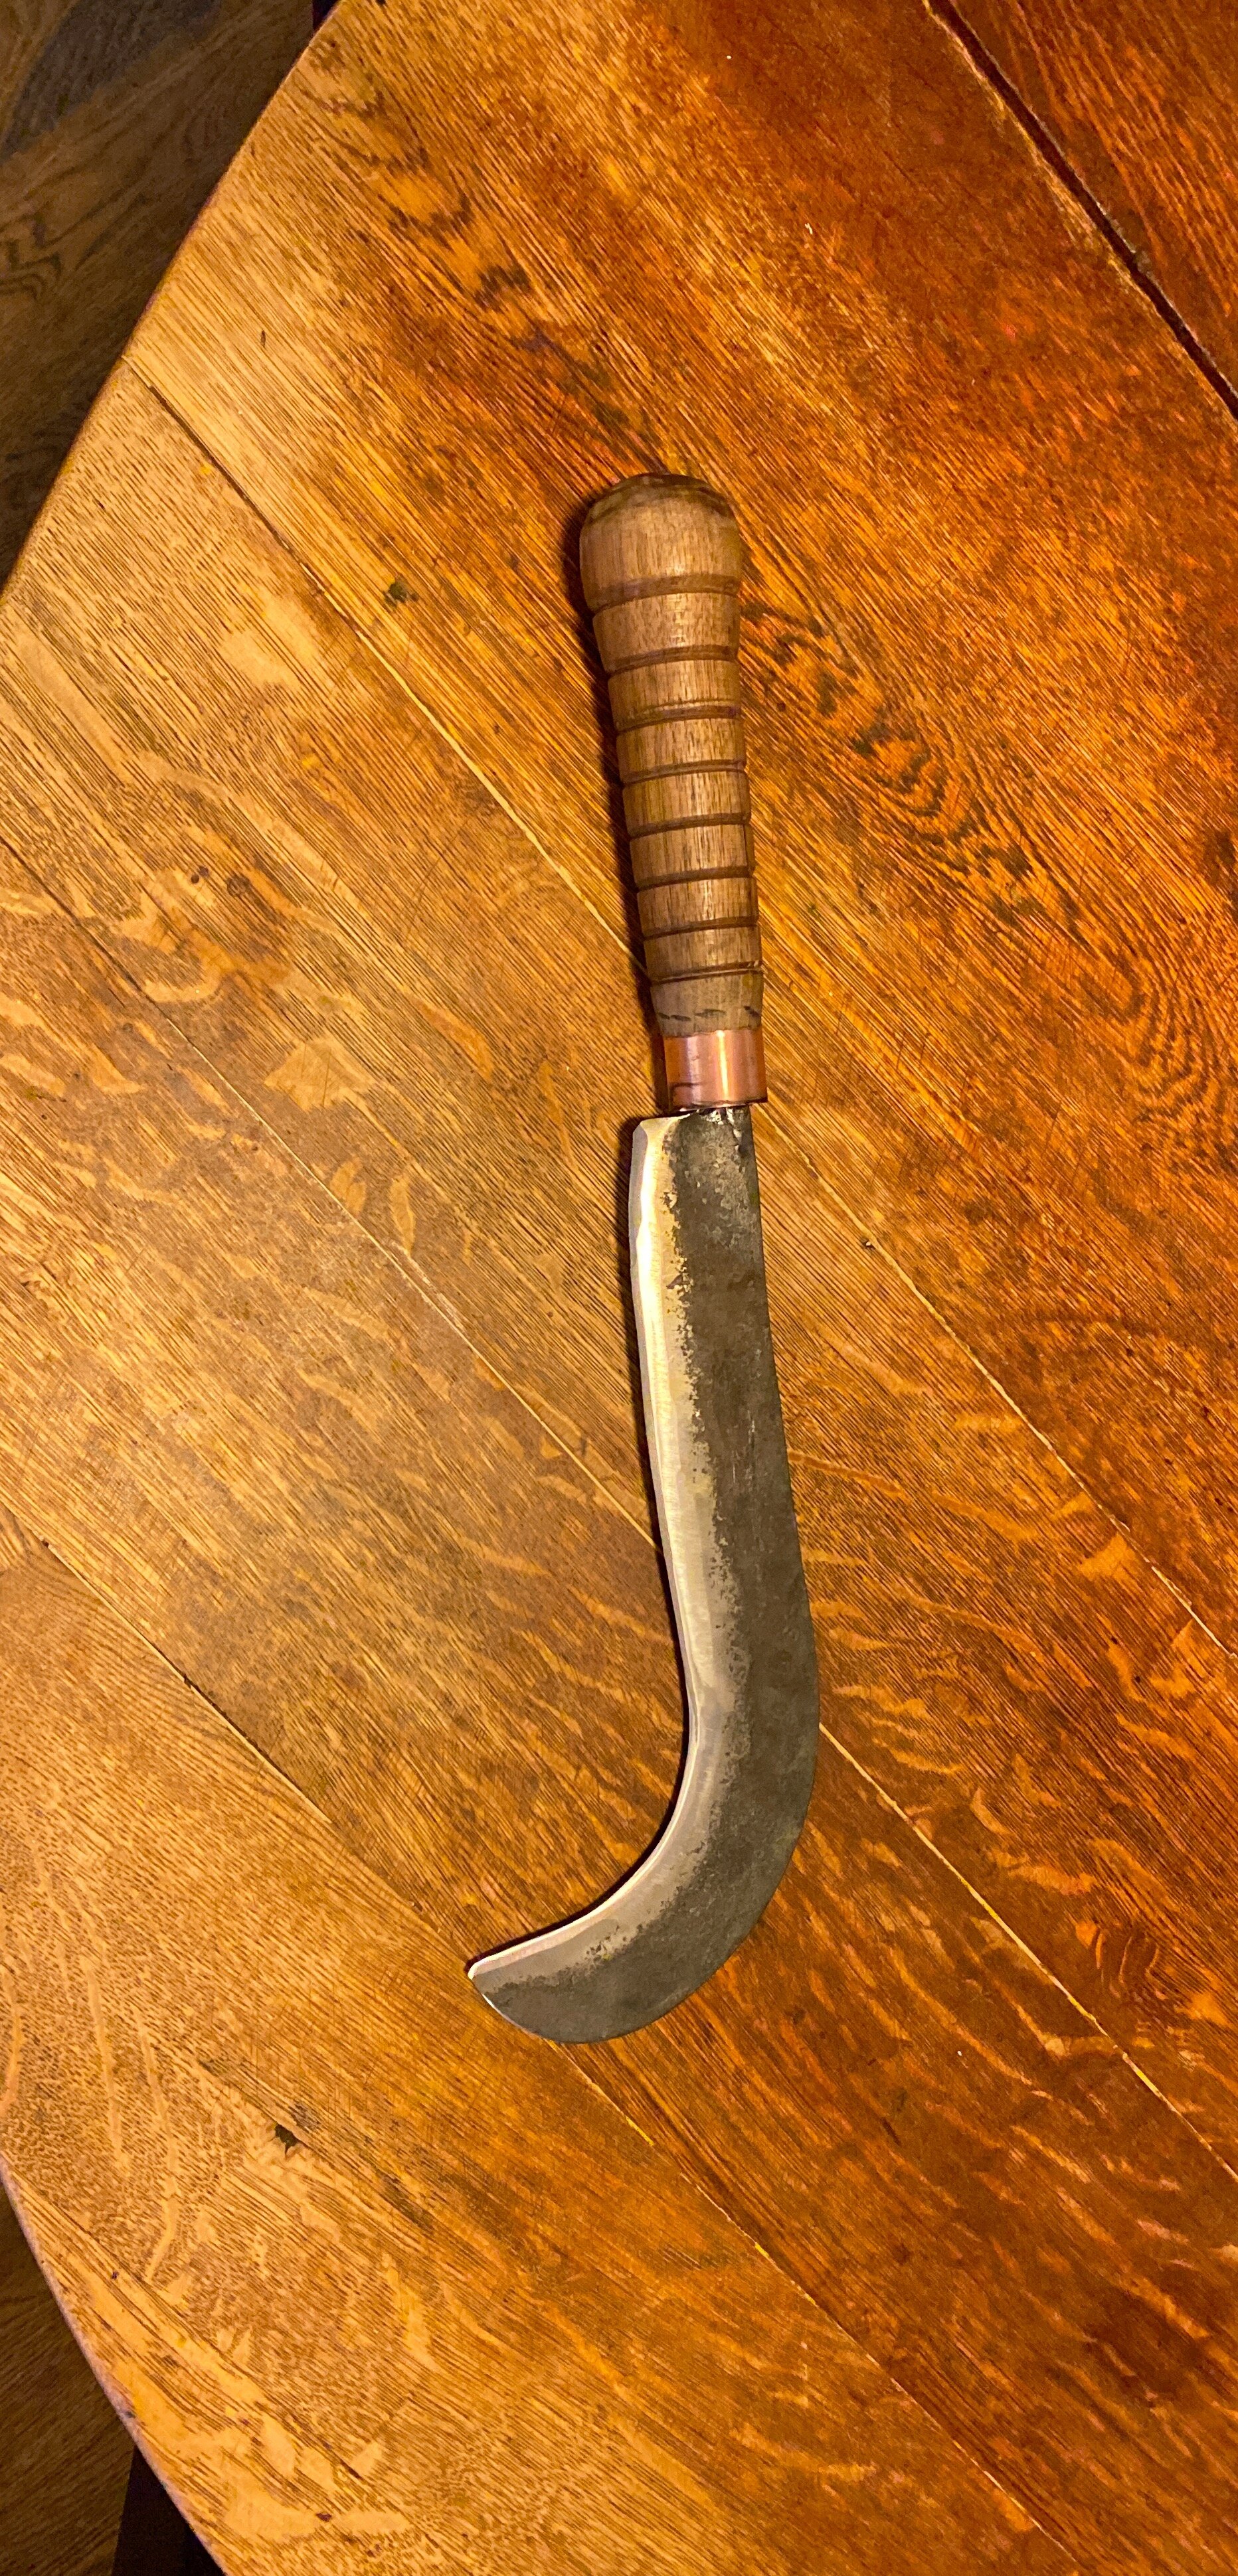
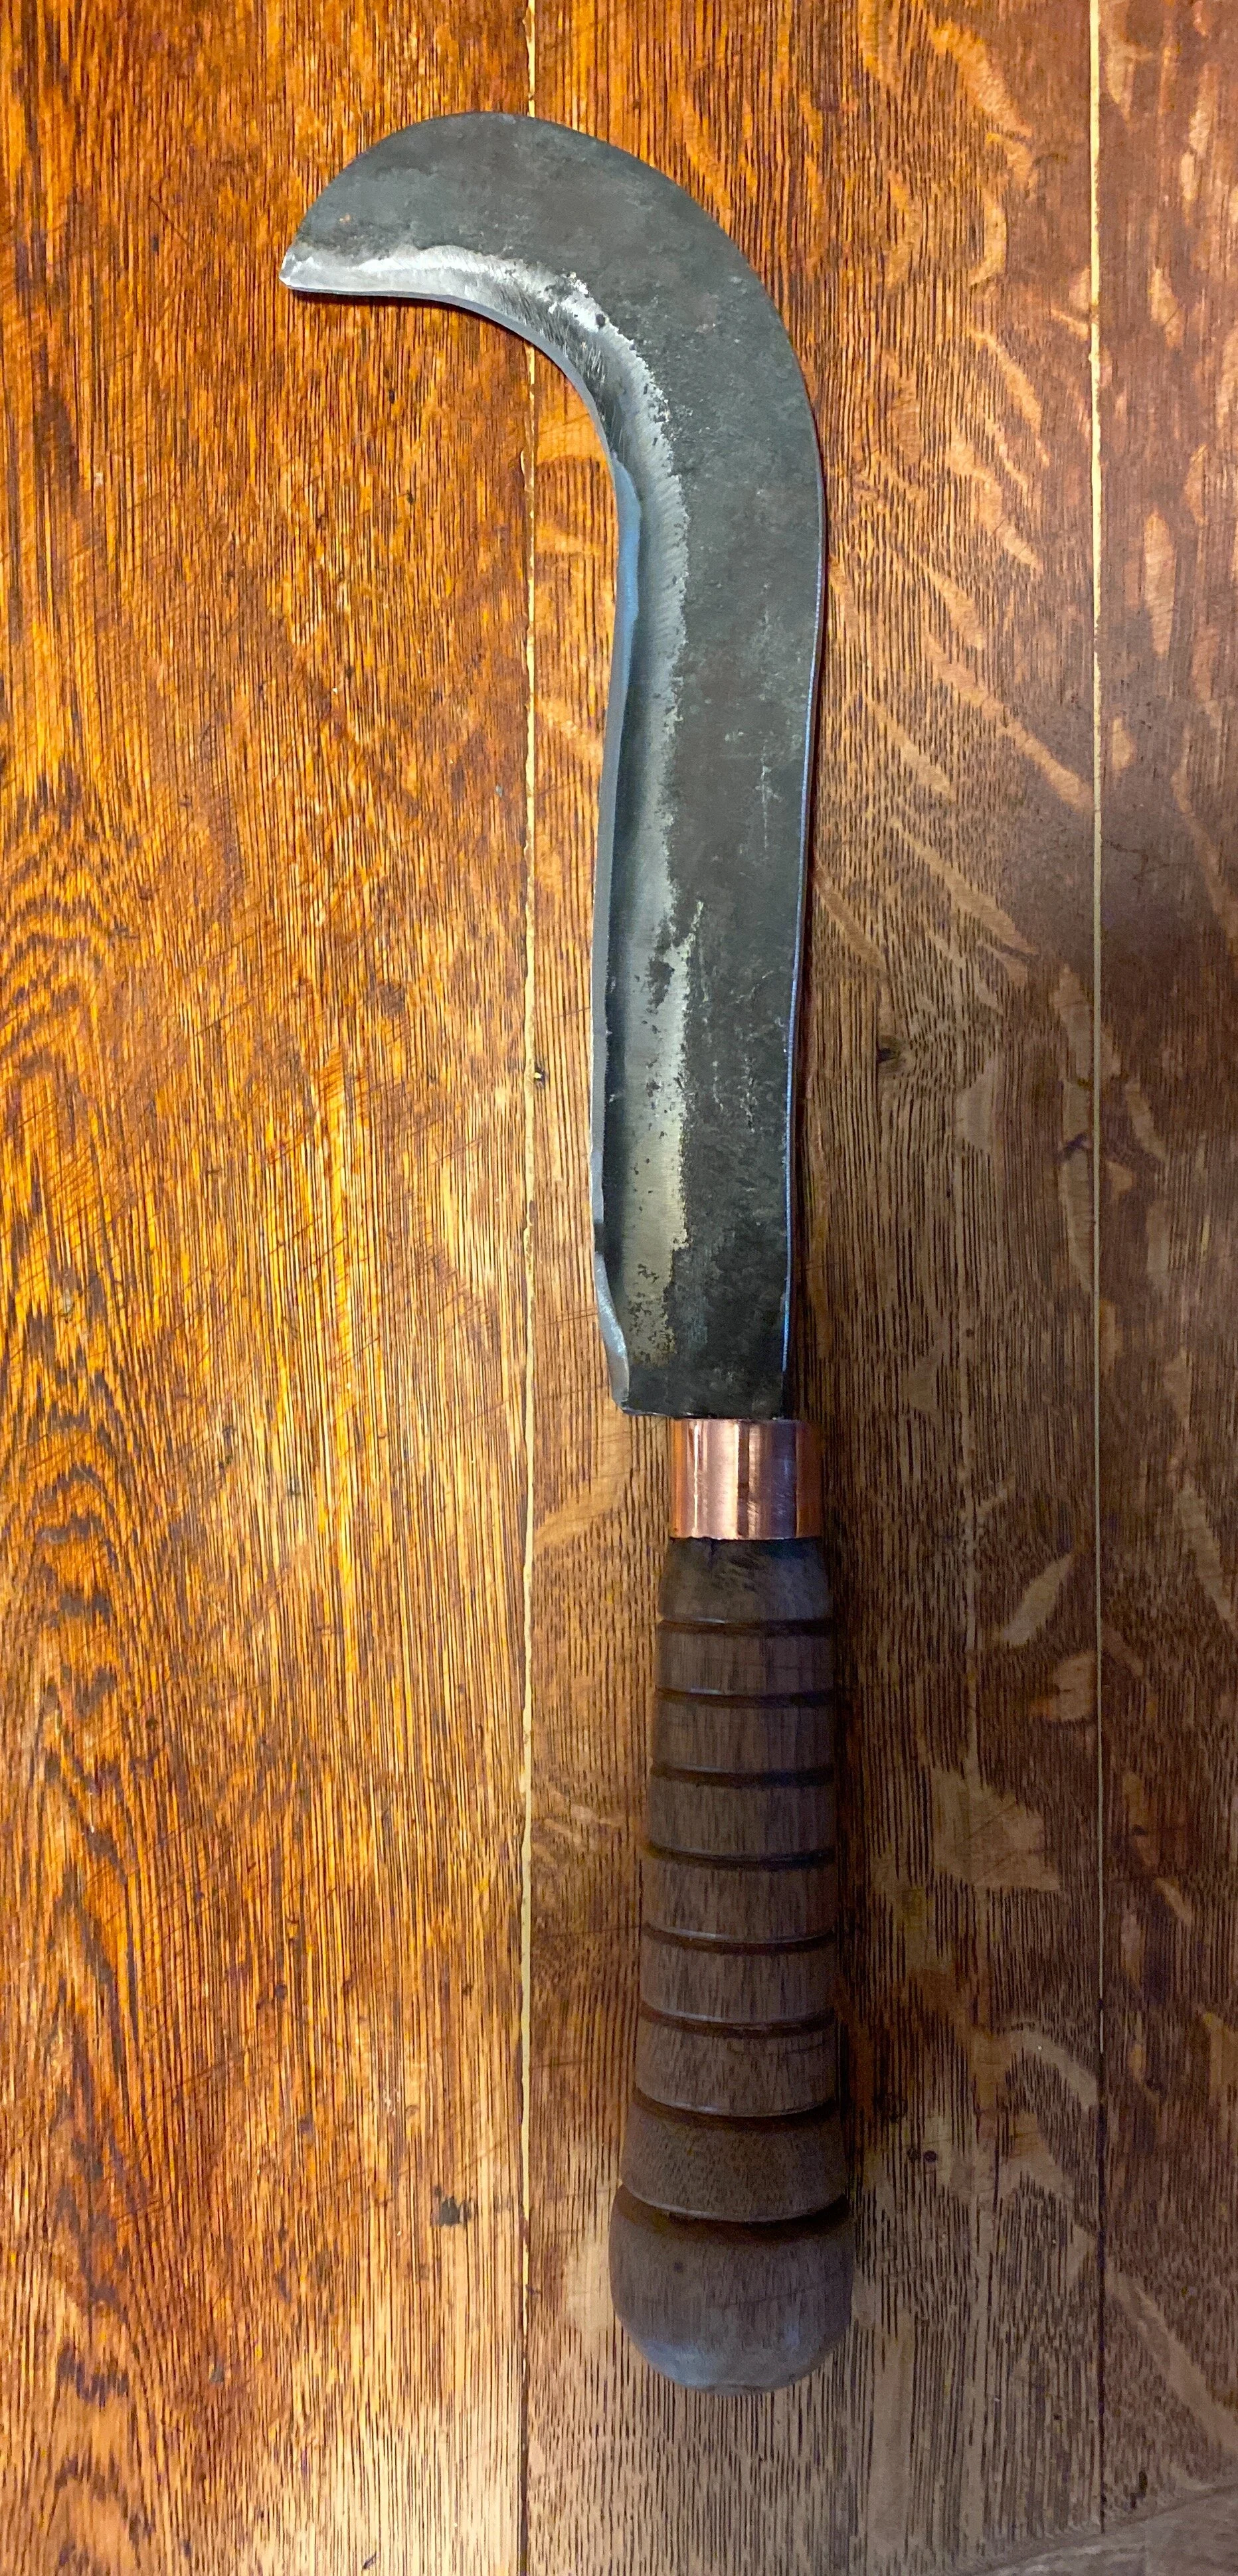
The 2nd ring was forged yesterday (6/14/21) in a grand fit of forging. This was the first time in quite a while that I was able to spend most of a full day in the forge. After a little clean up, I decided to light my forge. Reaching for my shovel to move the coal around, I realized that I had loaned the shovel to the outdoor kitchen. Presto, my first project of the day.

Just a utility tool and I forgot to take any pictures of it. I might try and add one in later. Sorry about that.

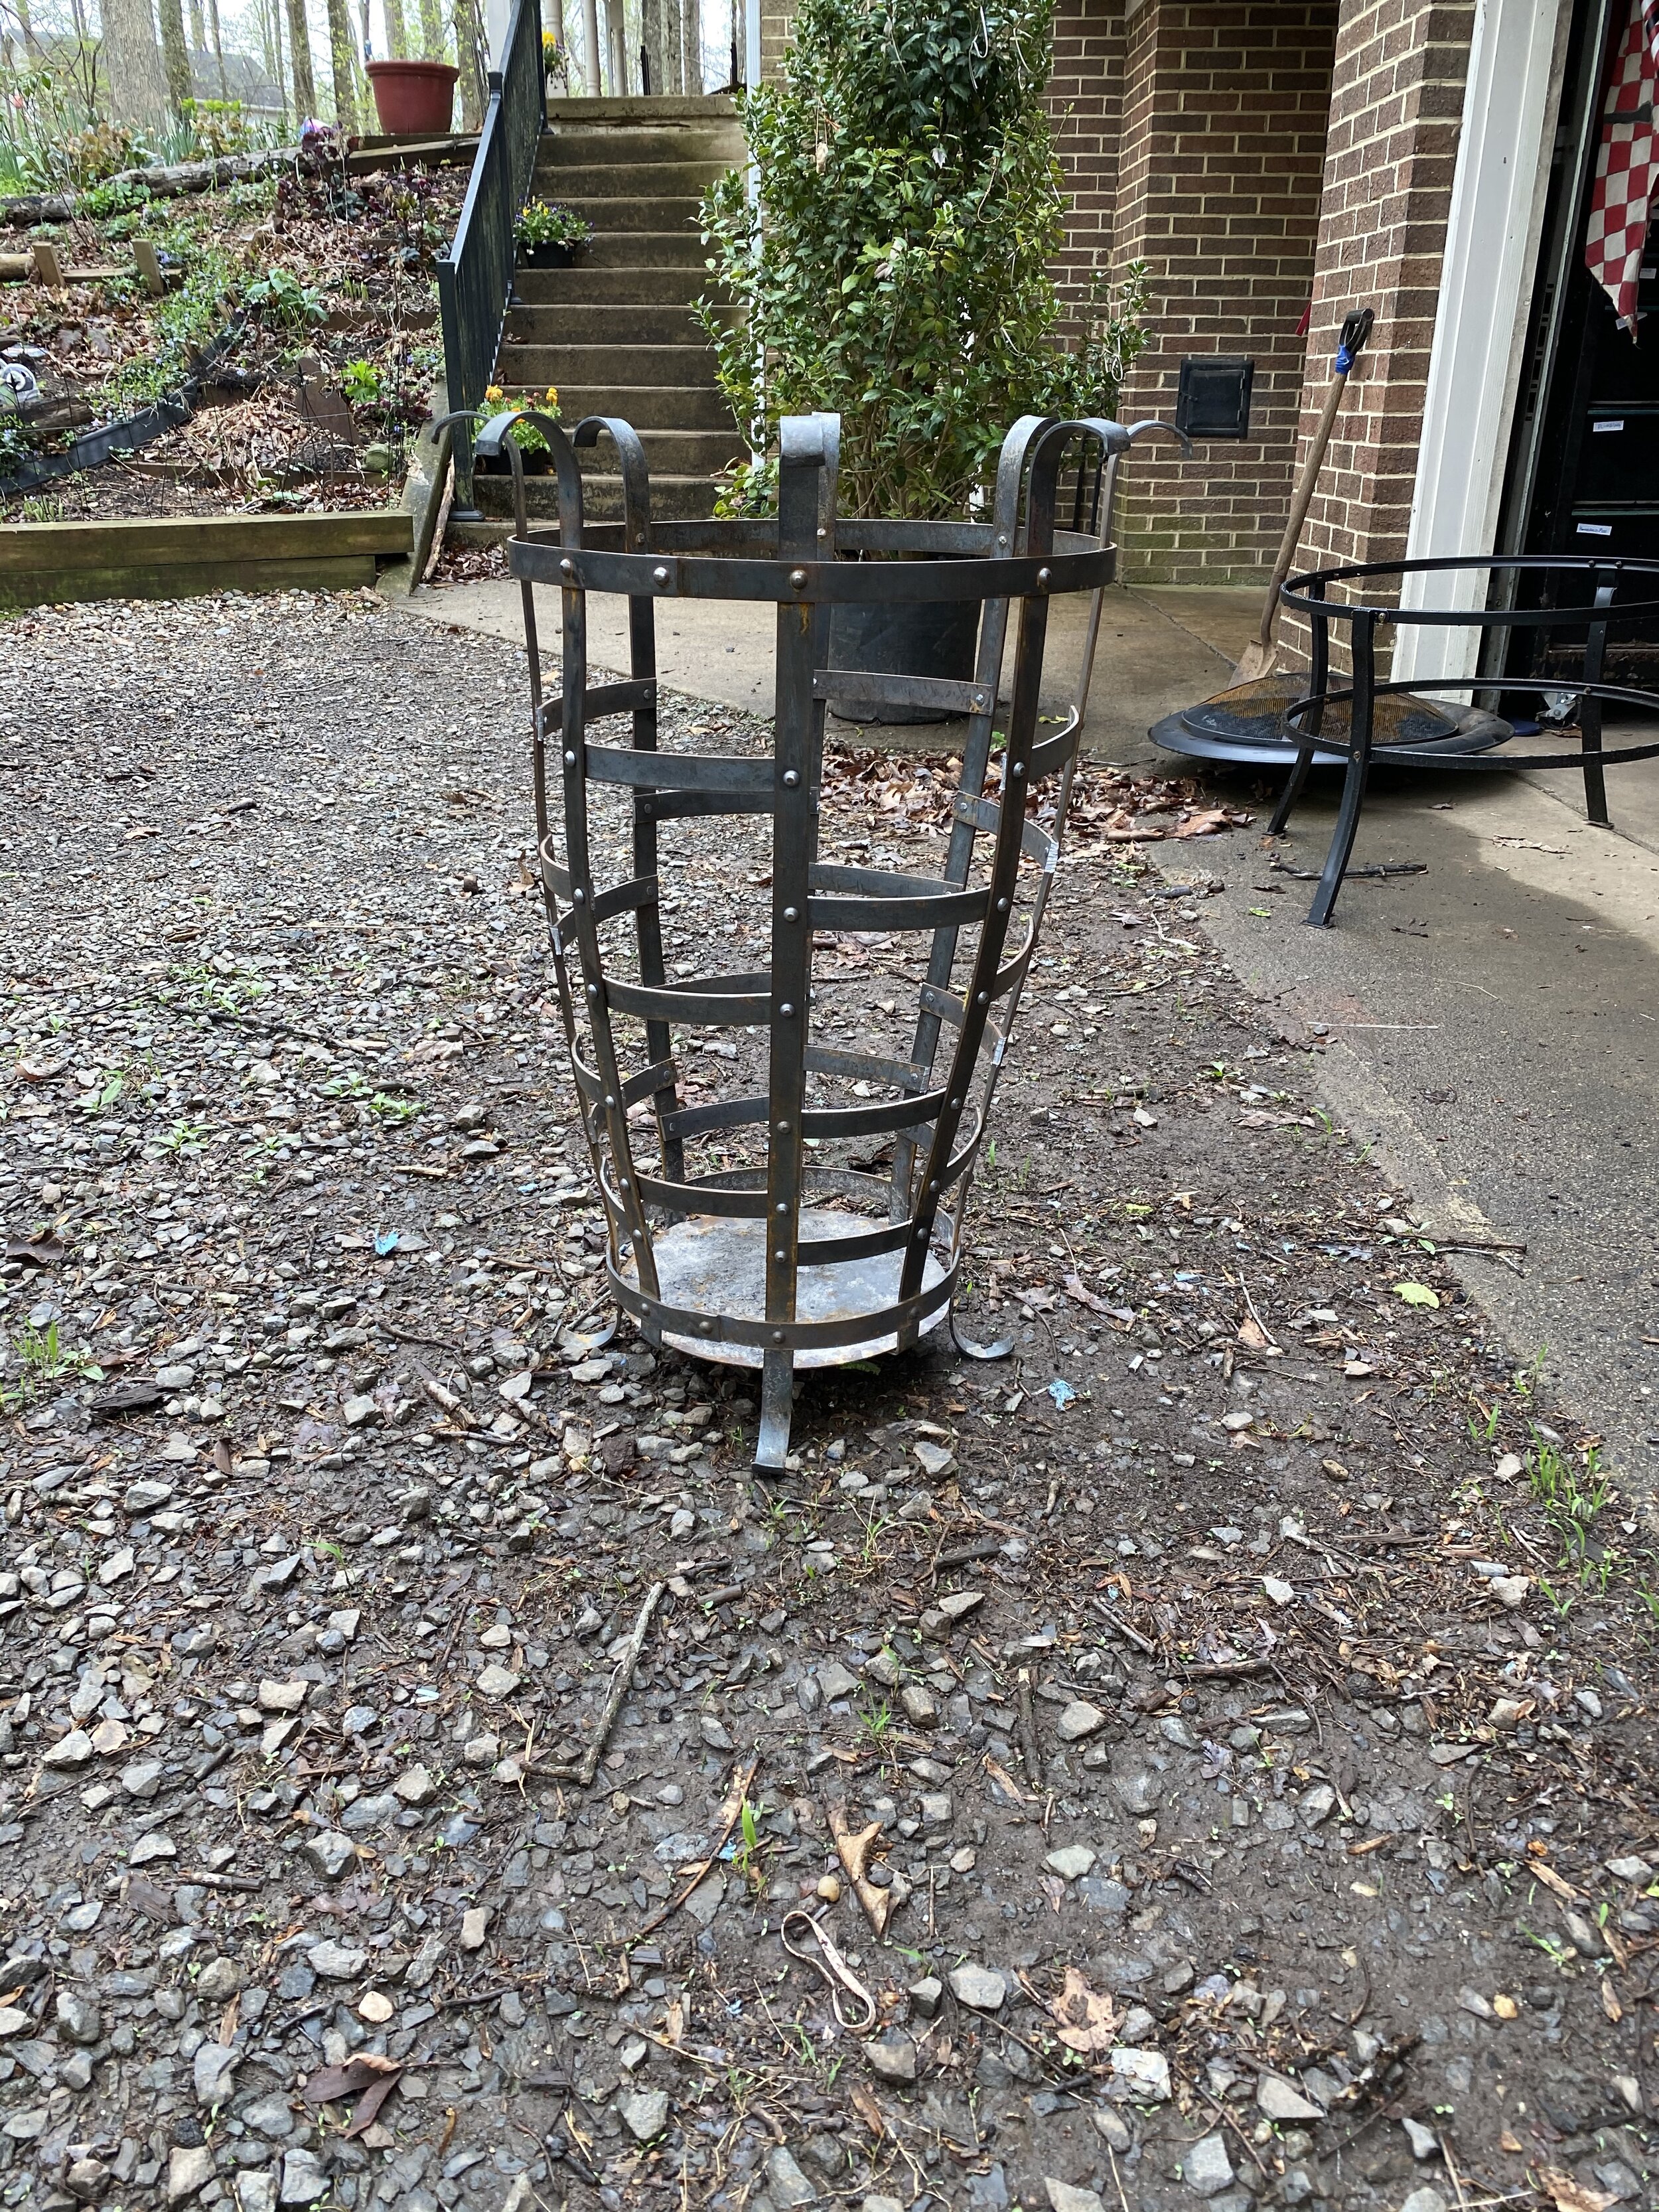
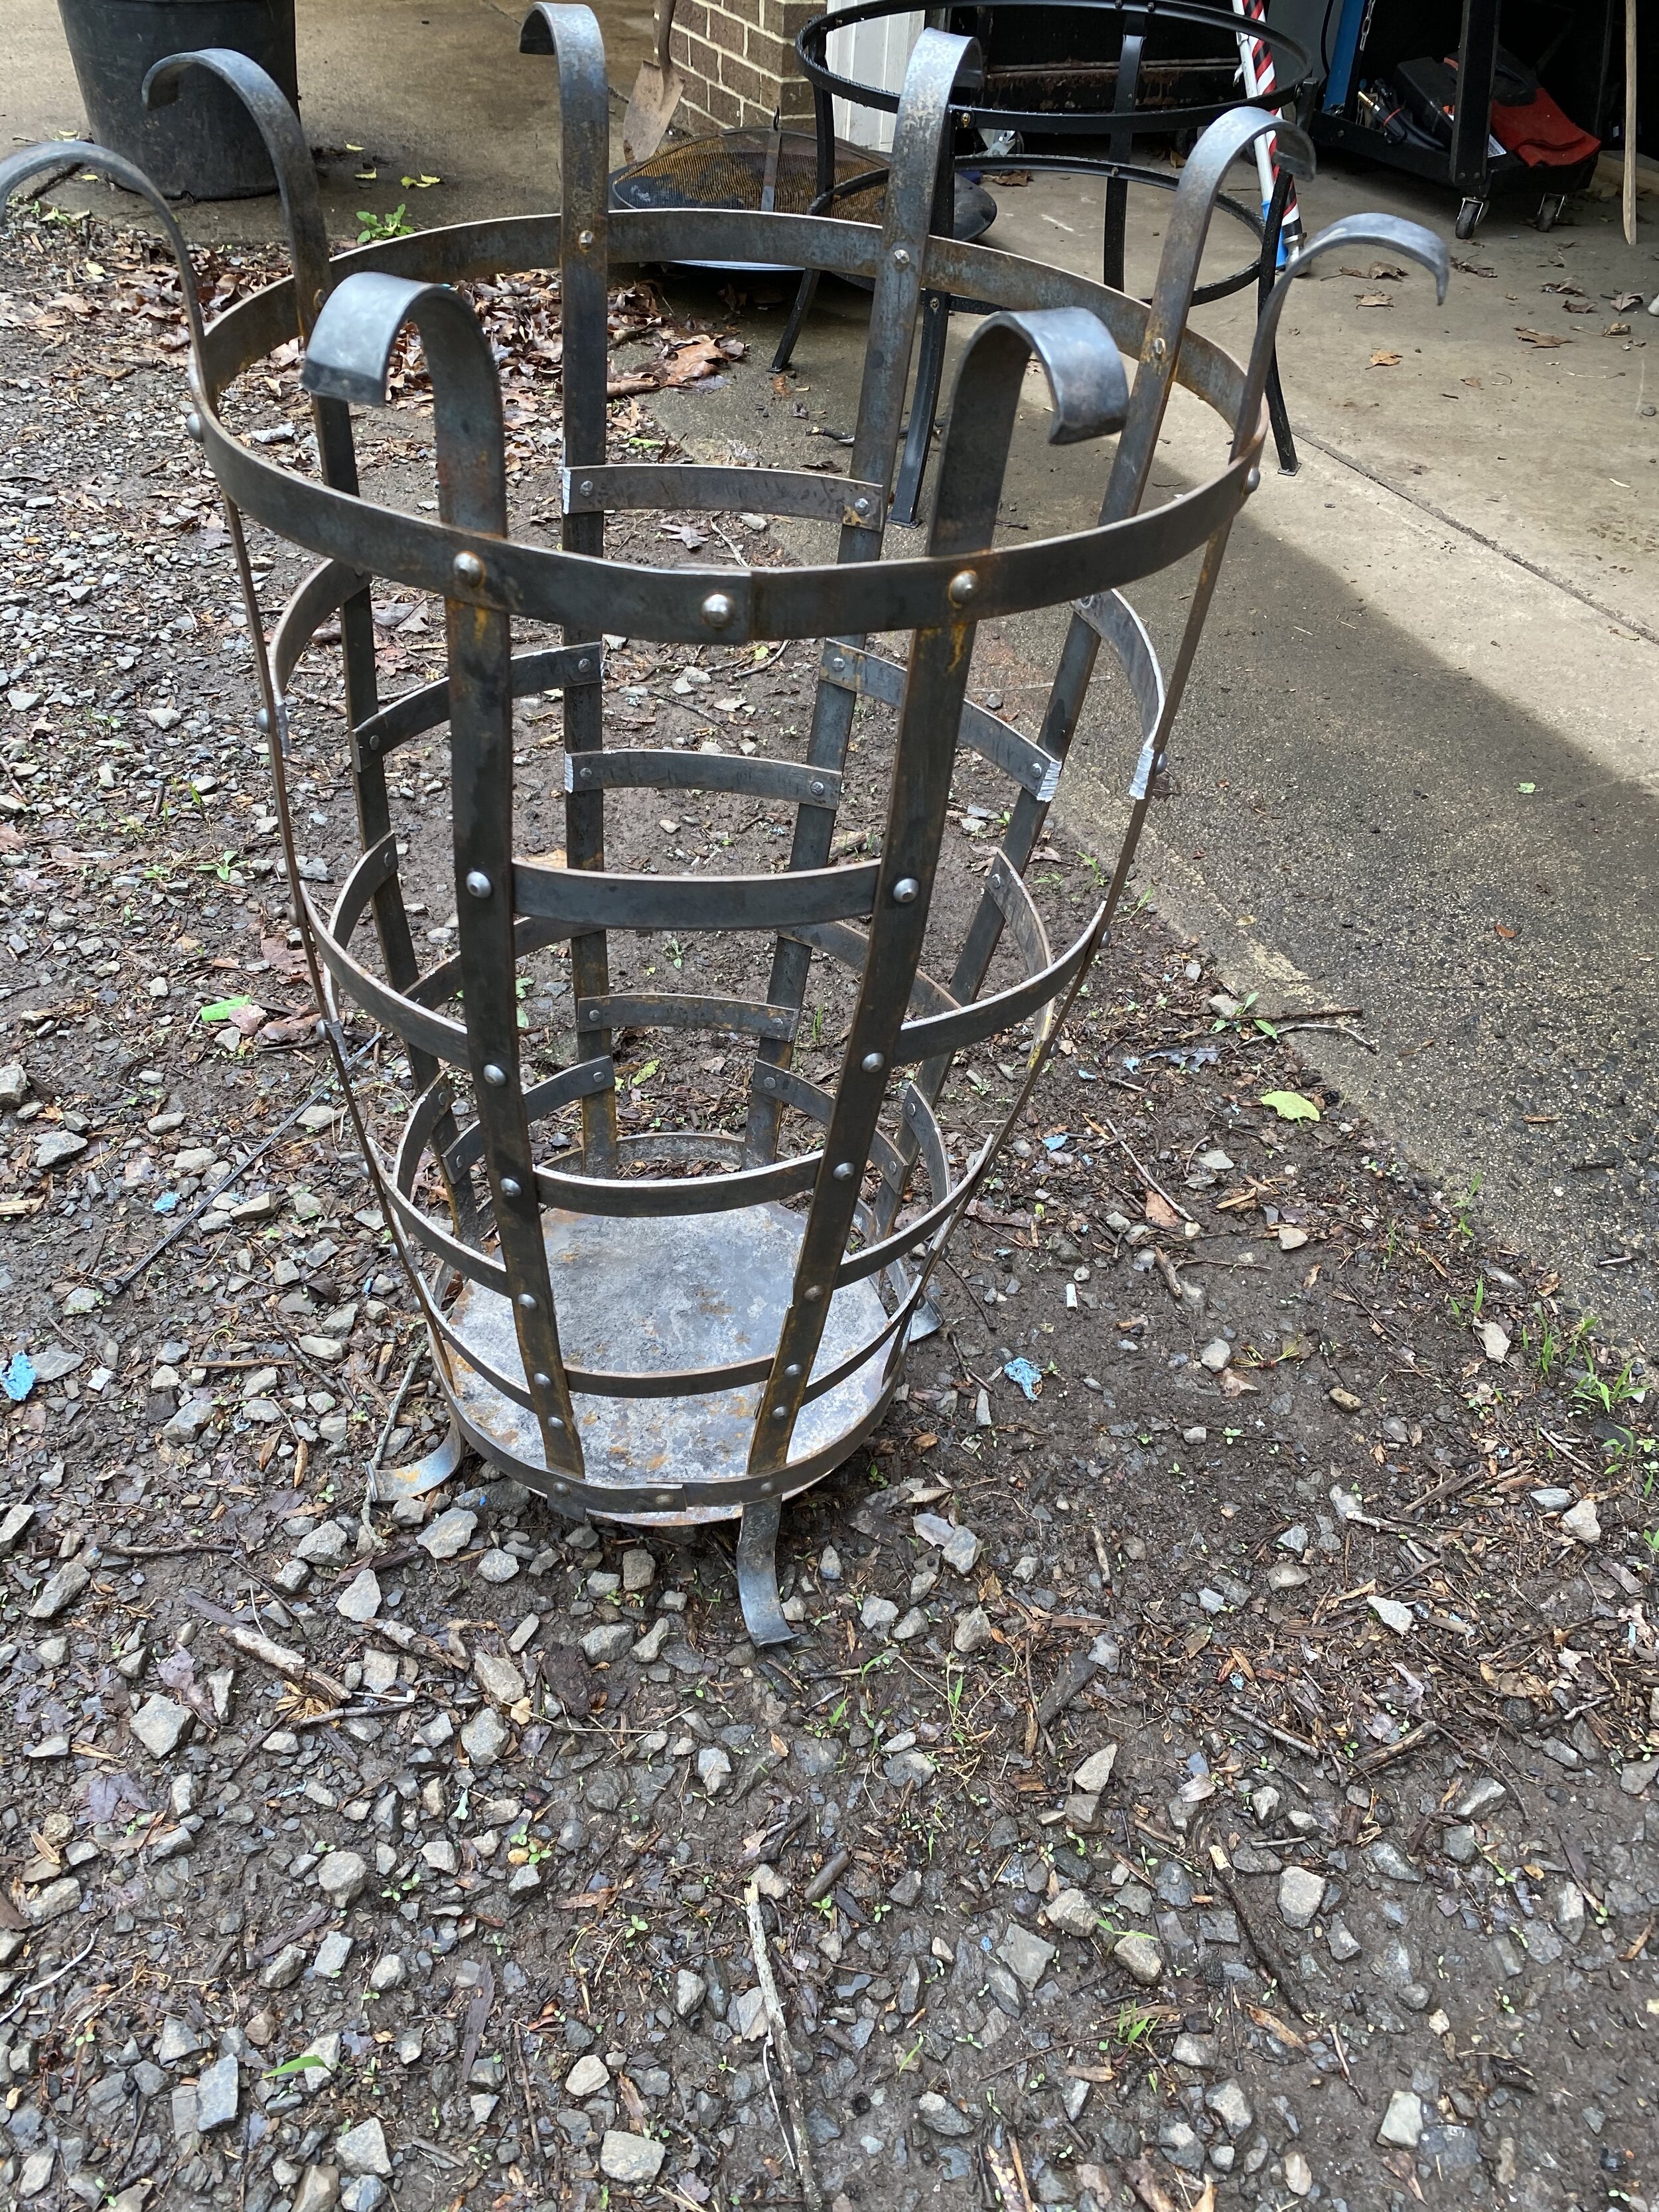
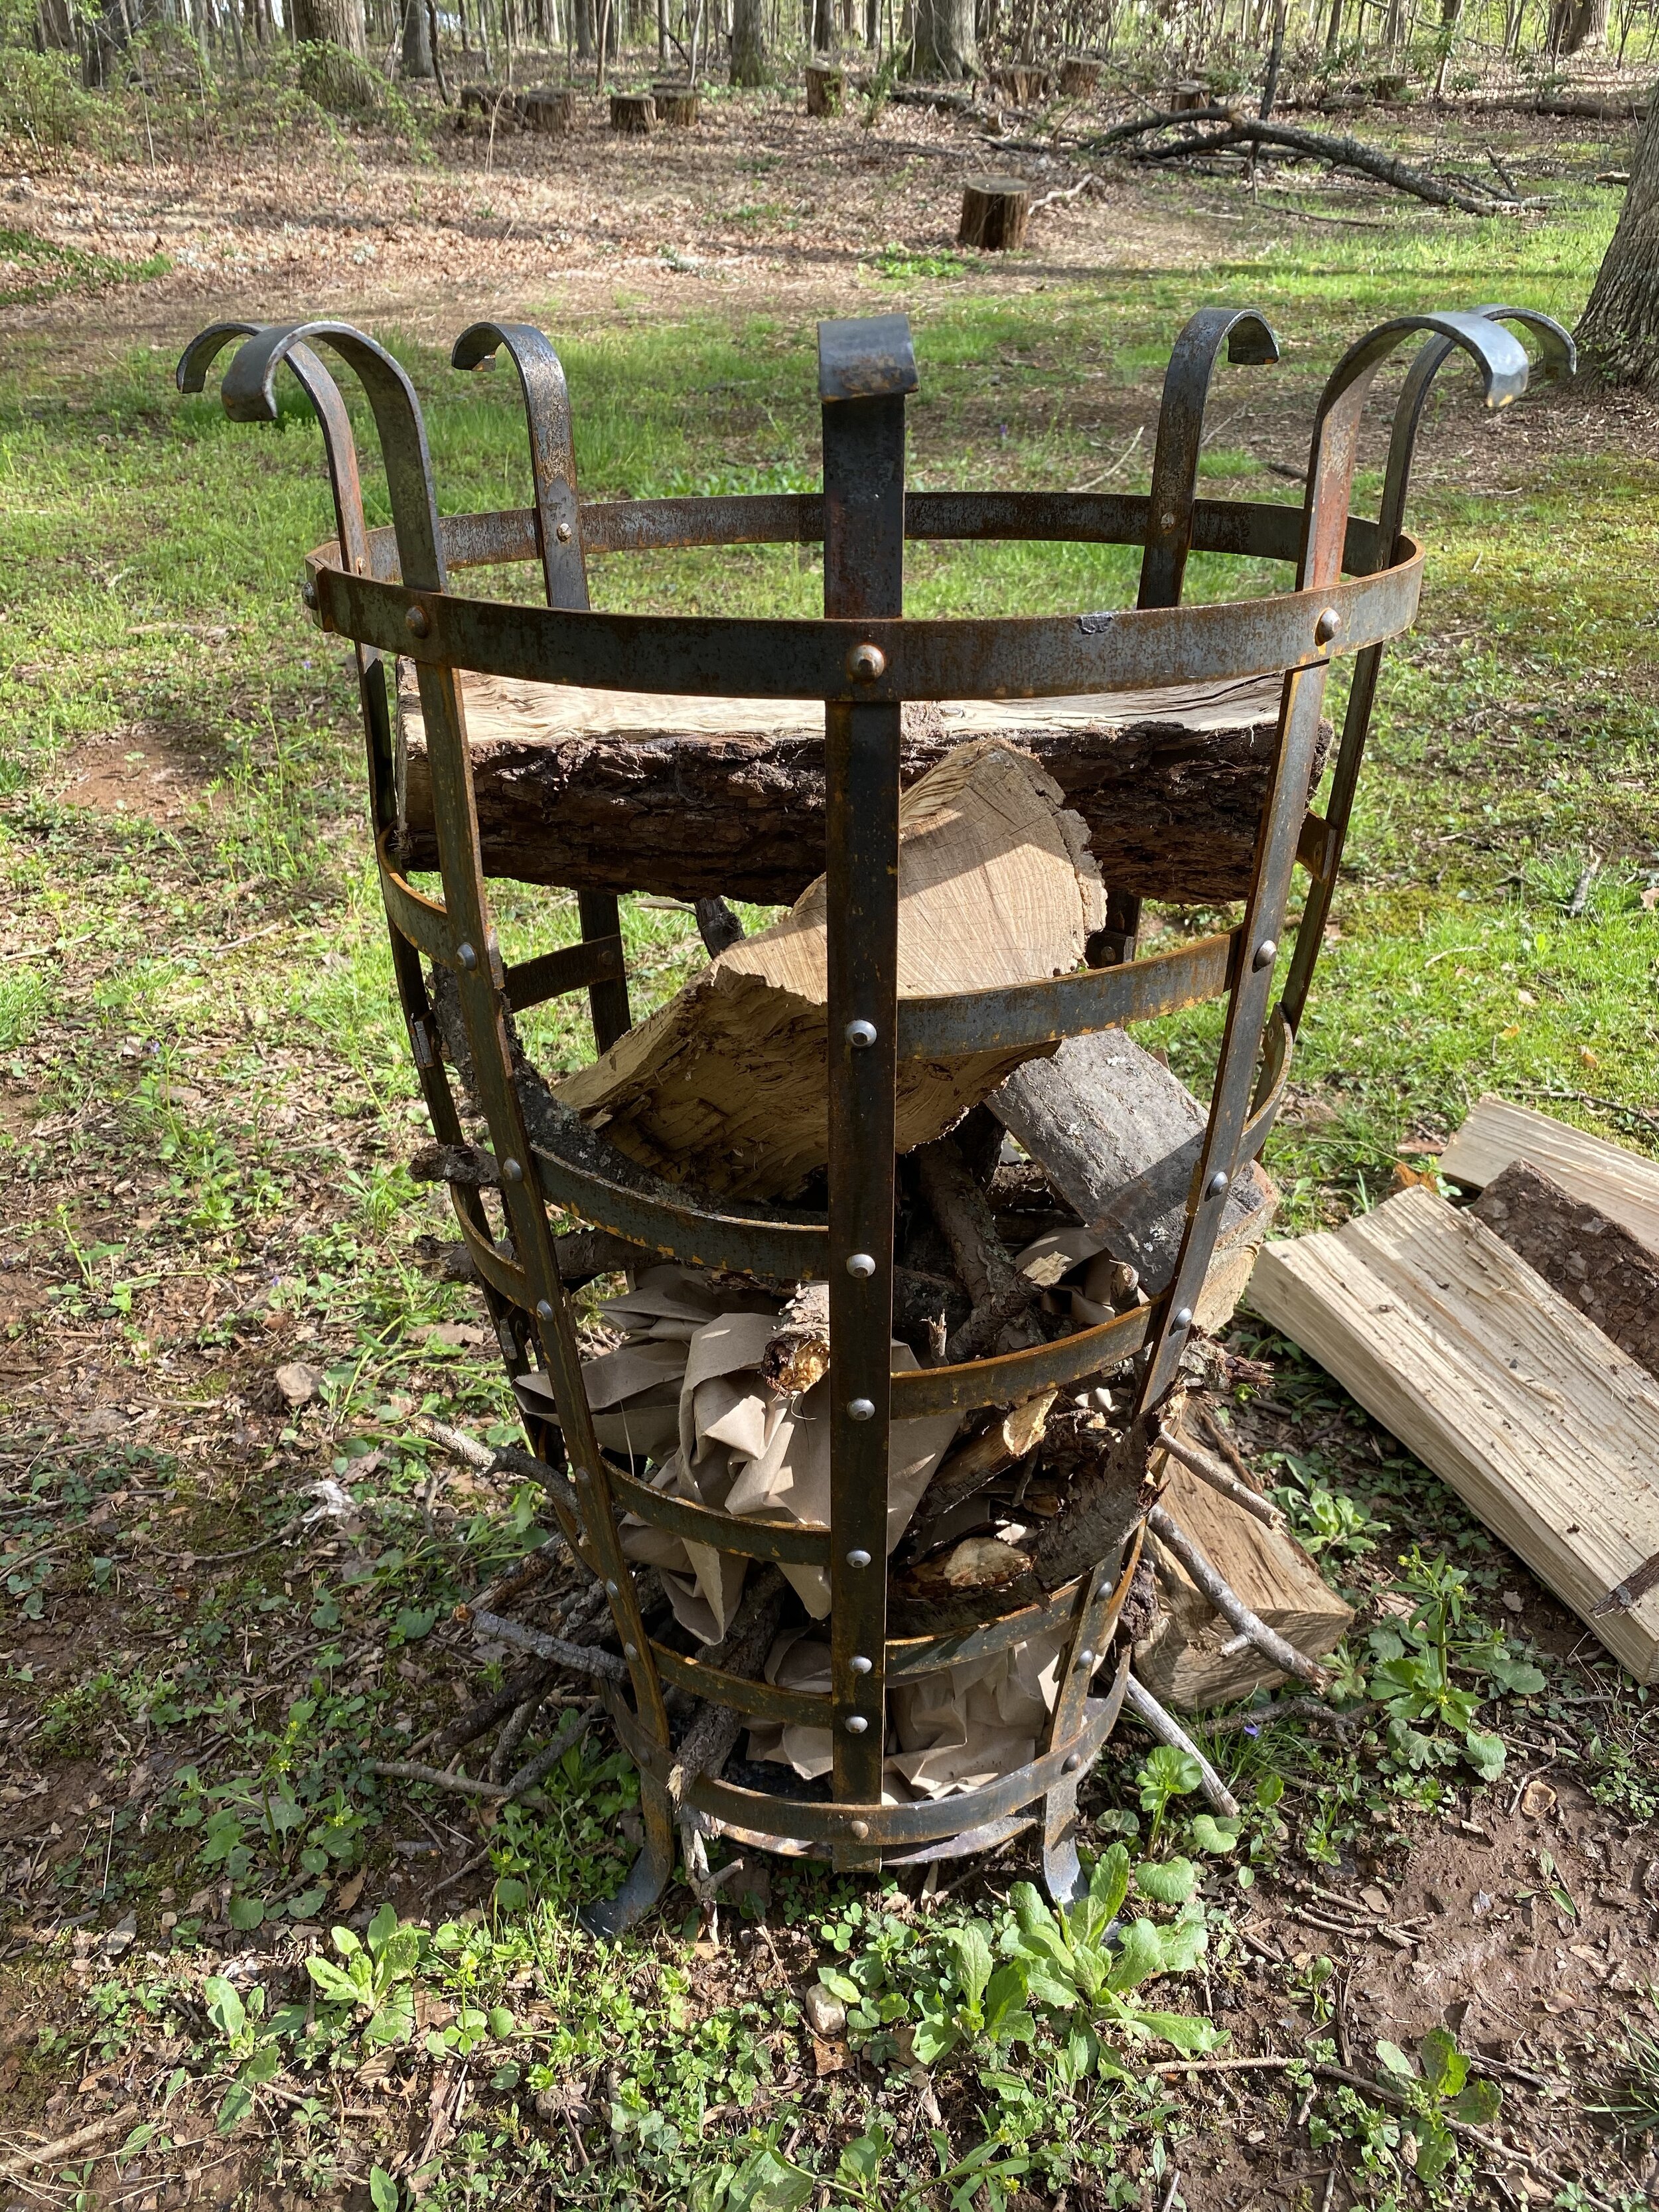
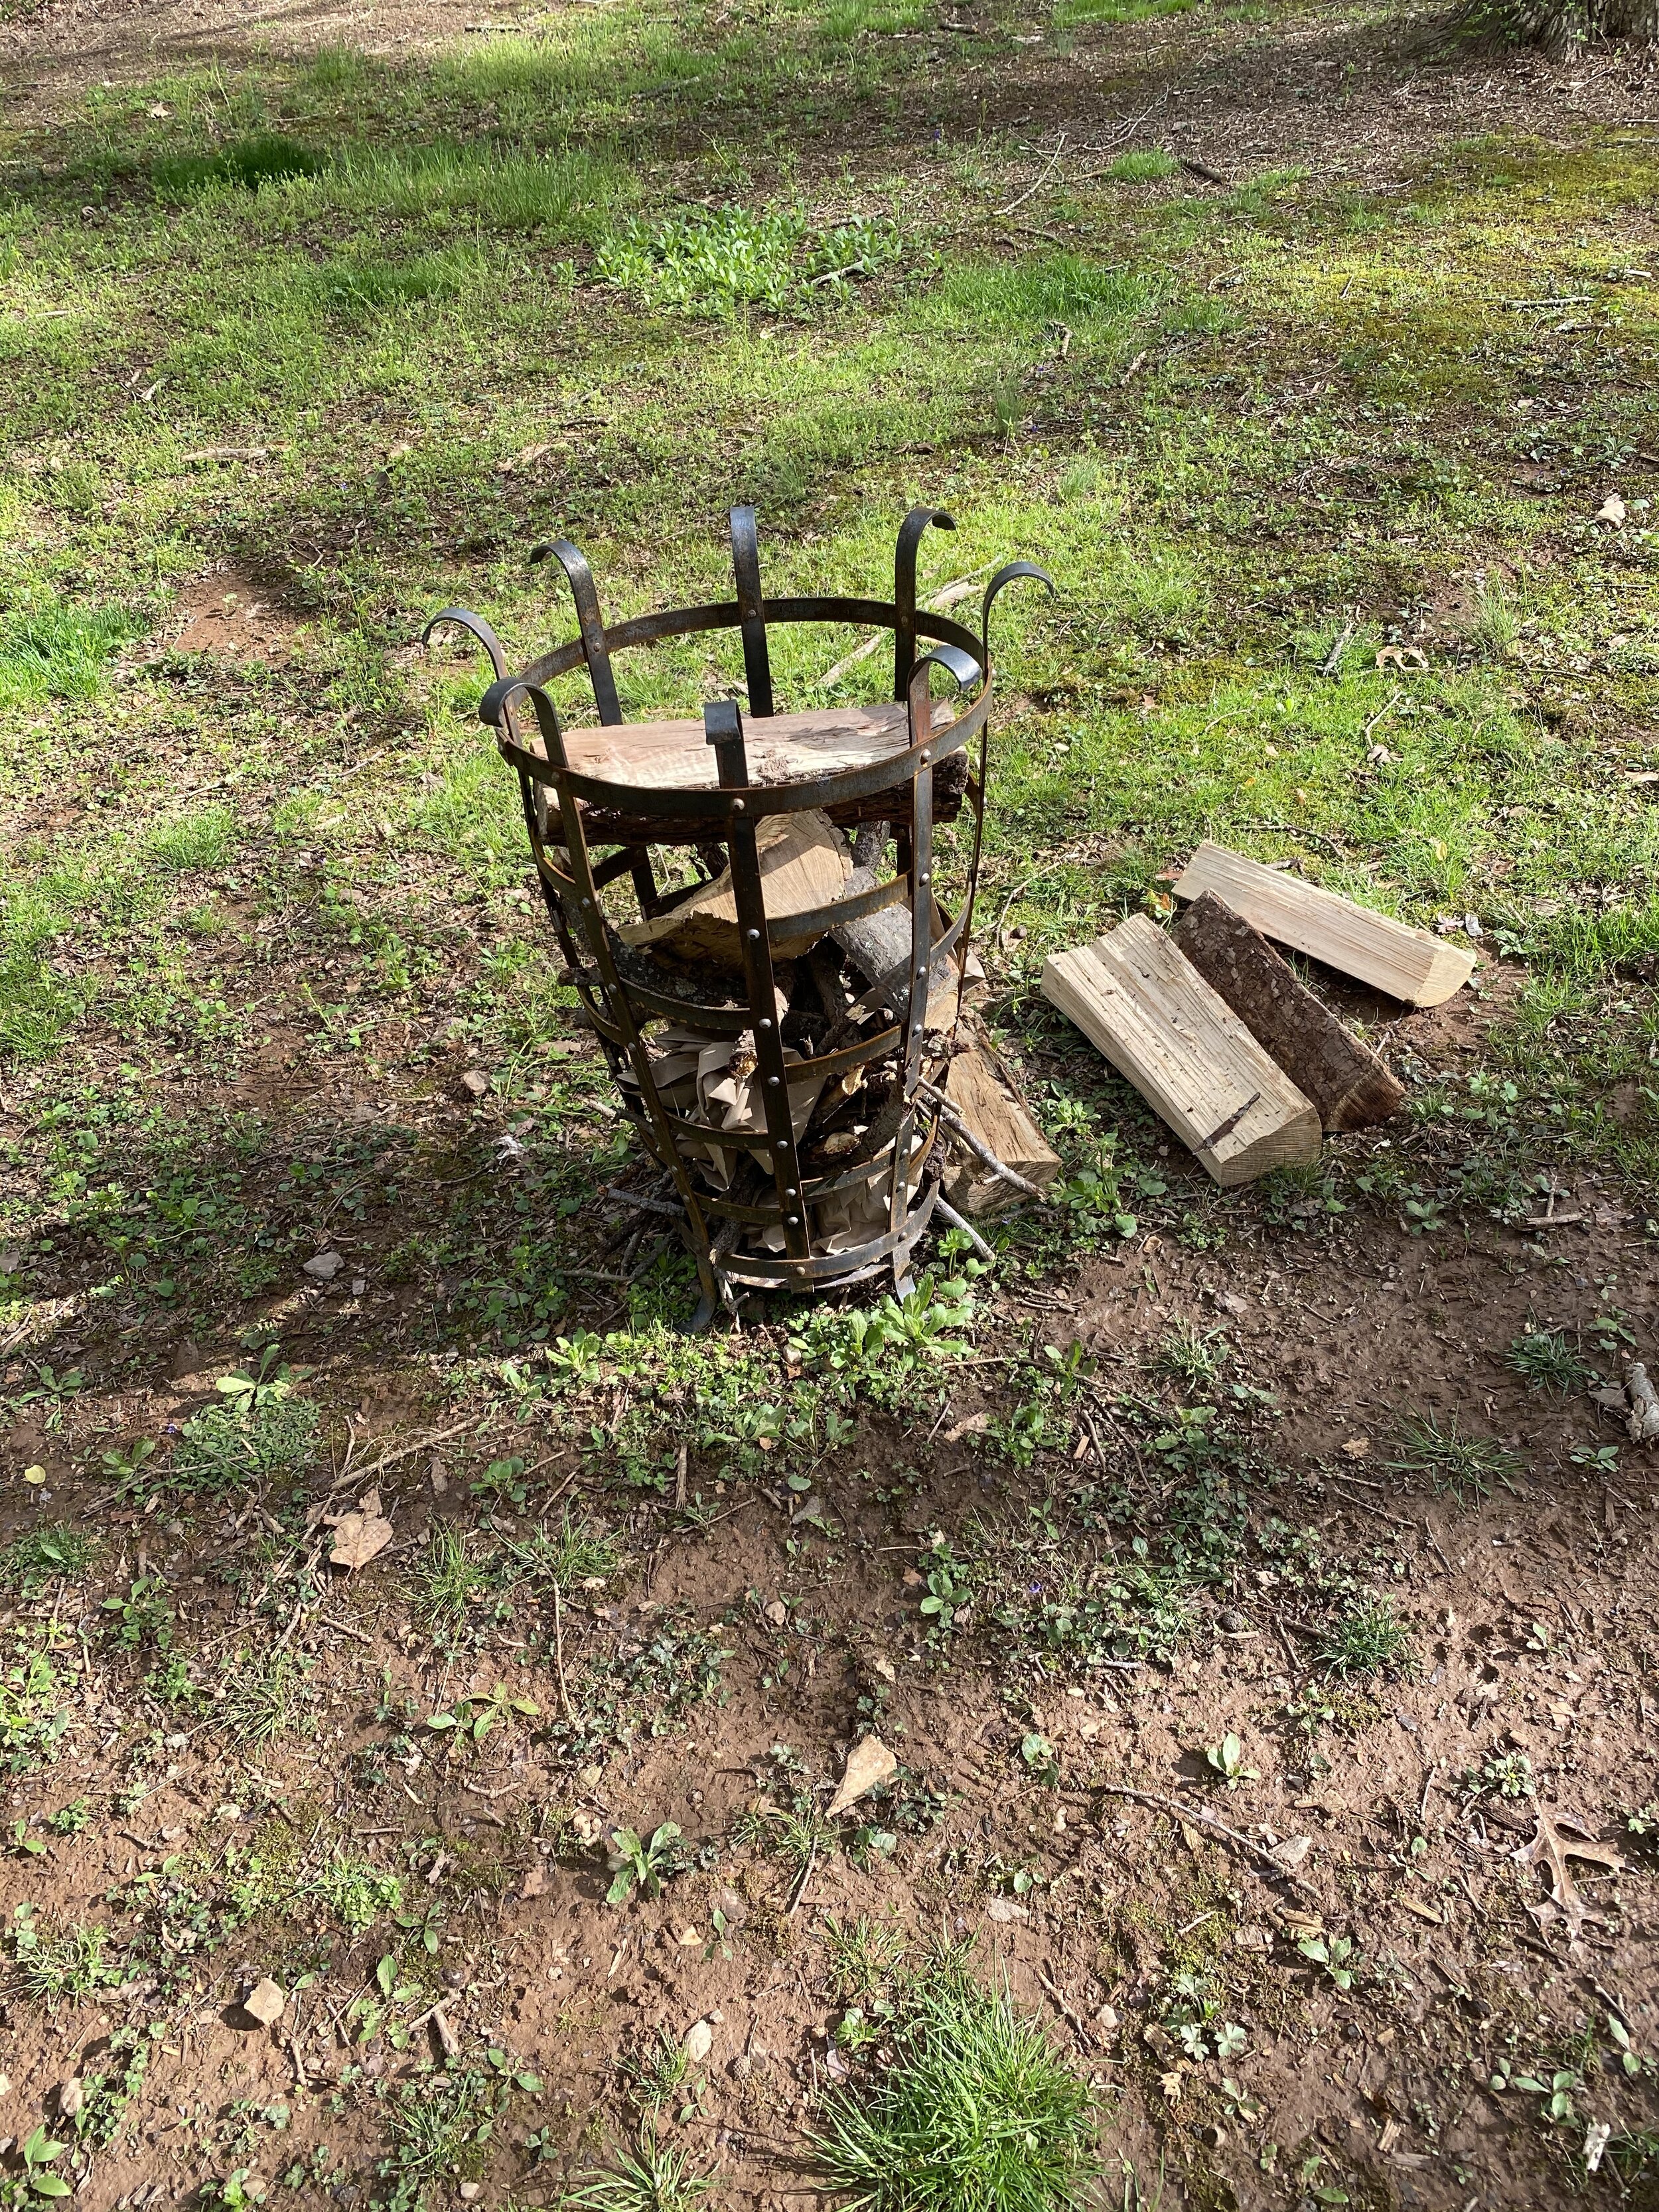
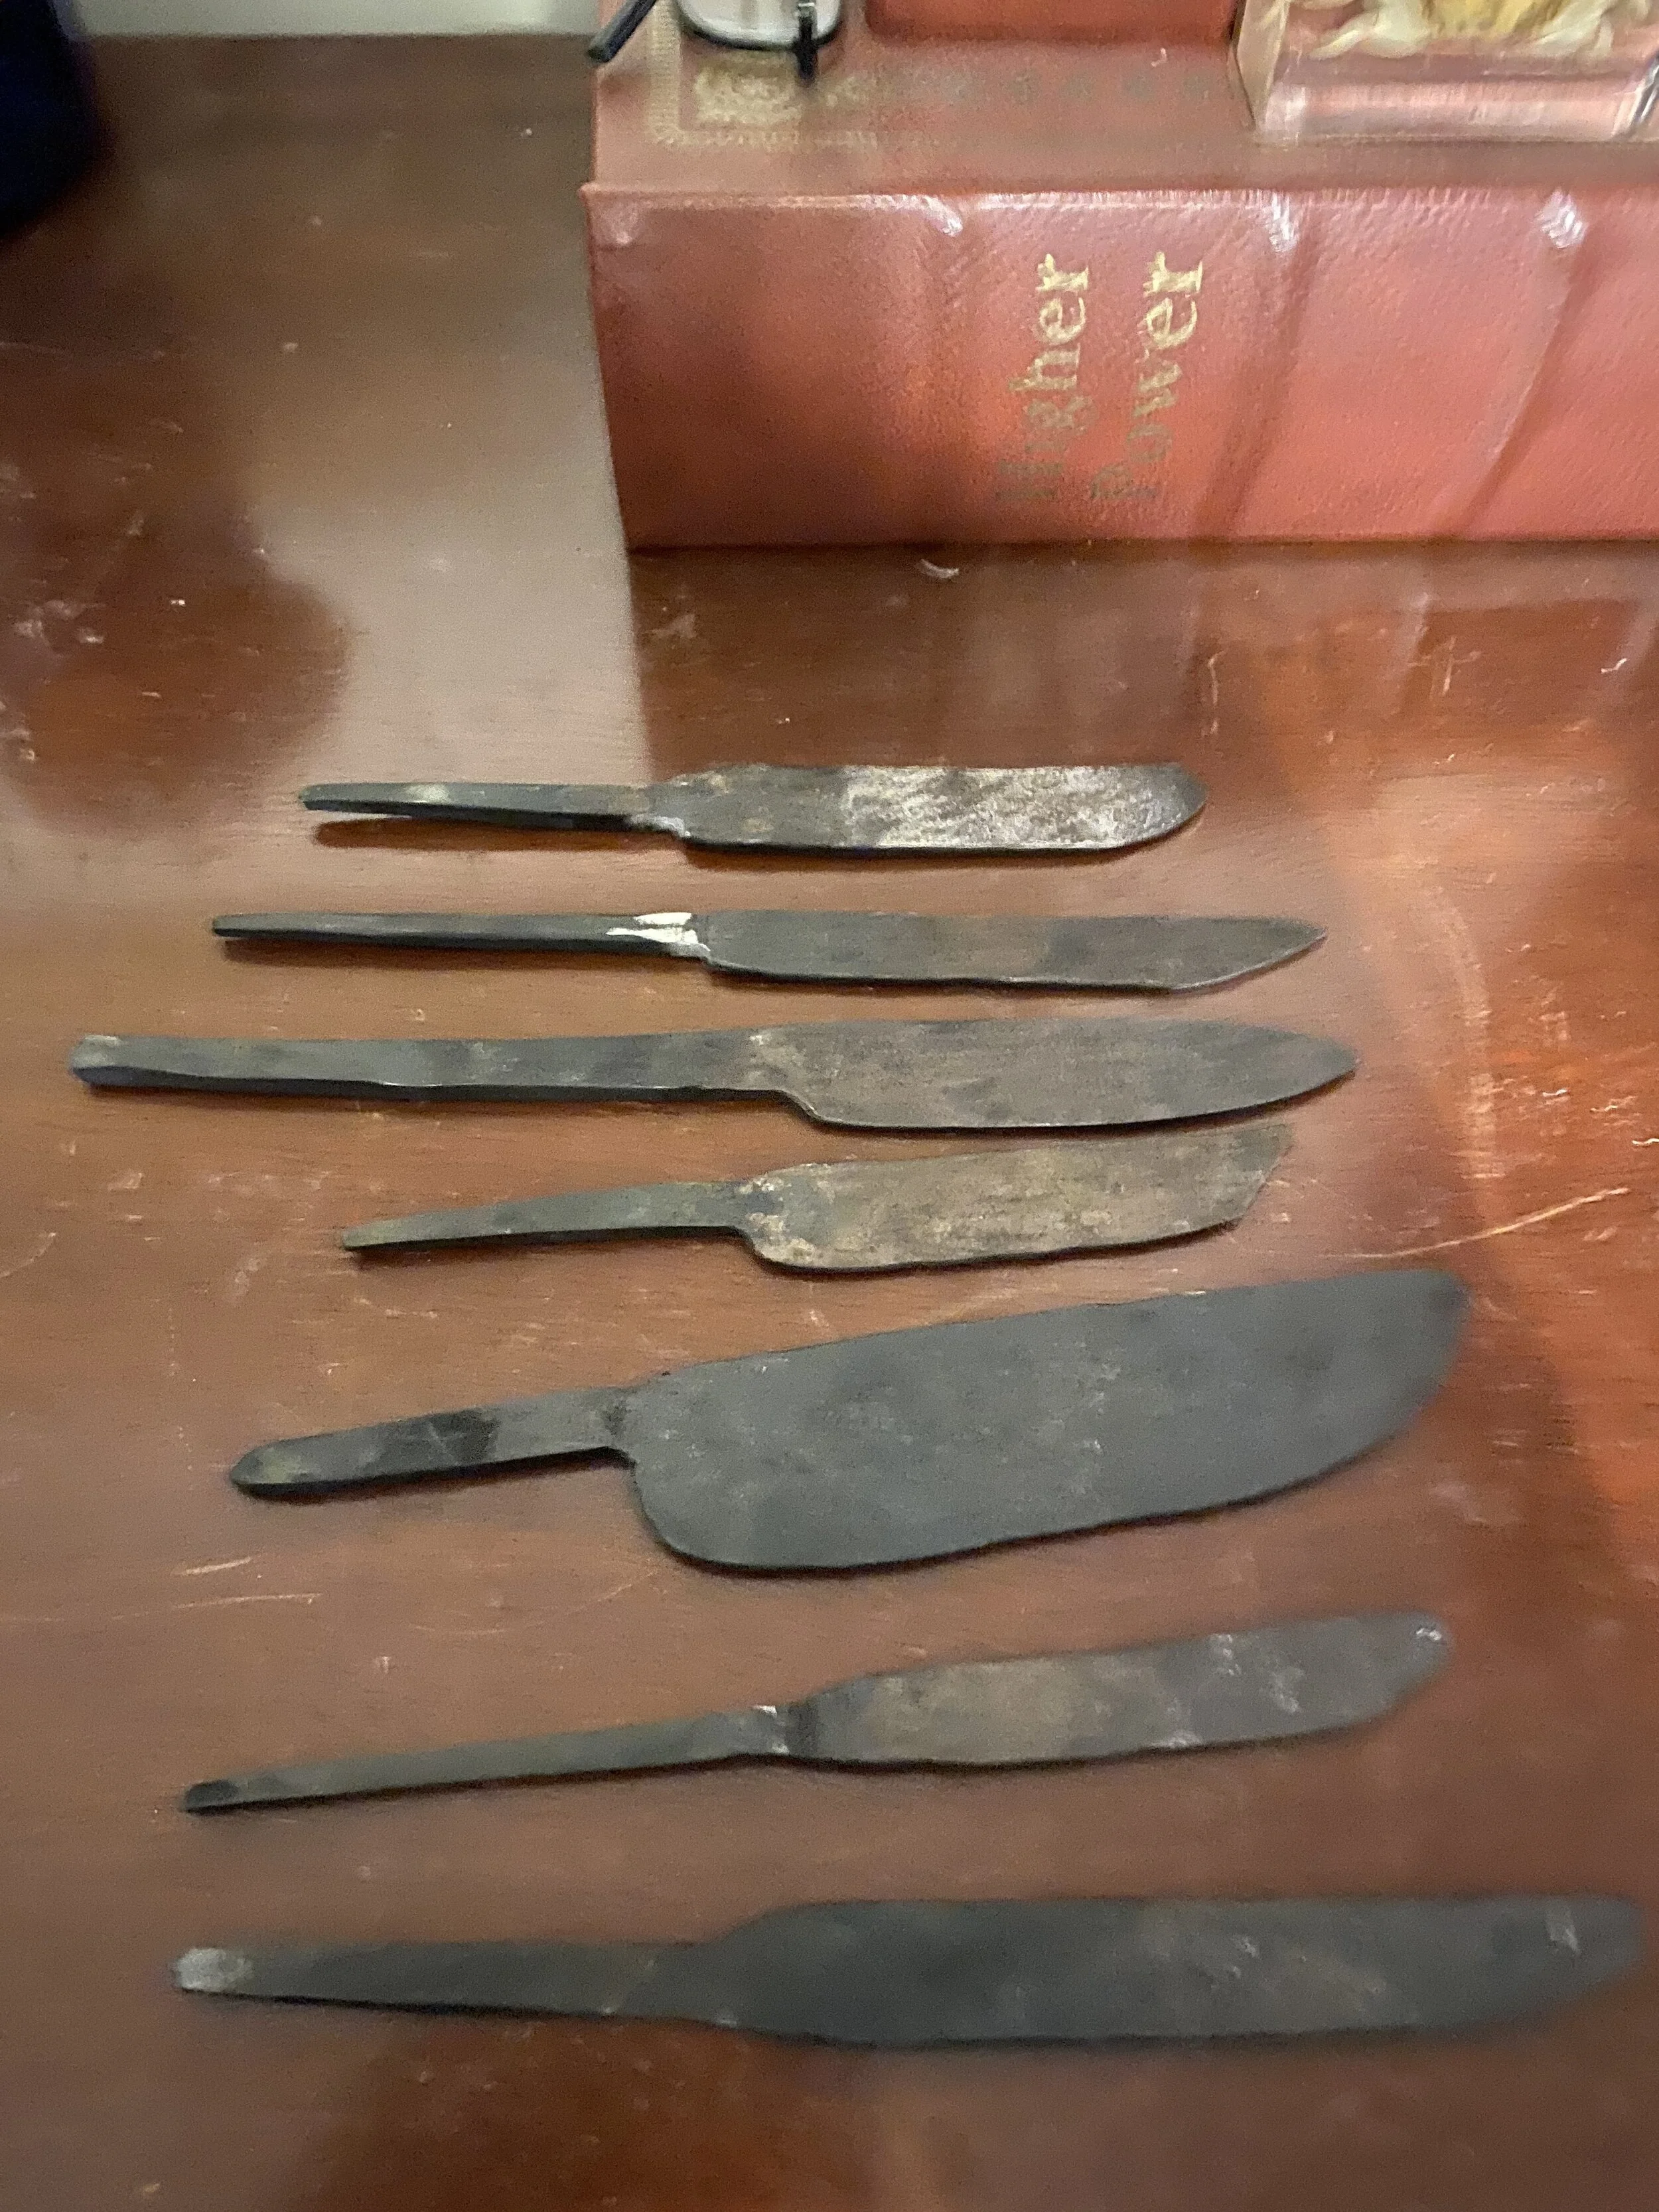
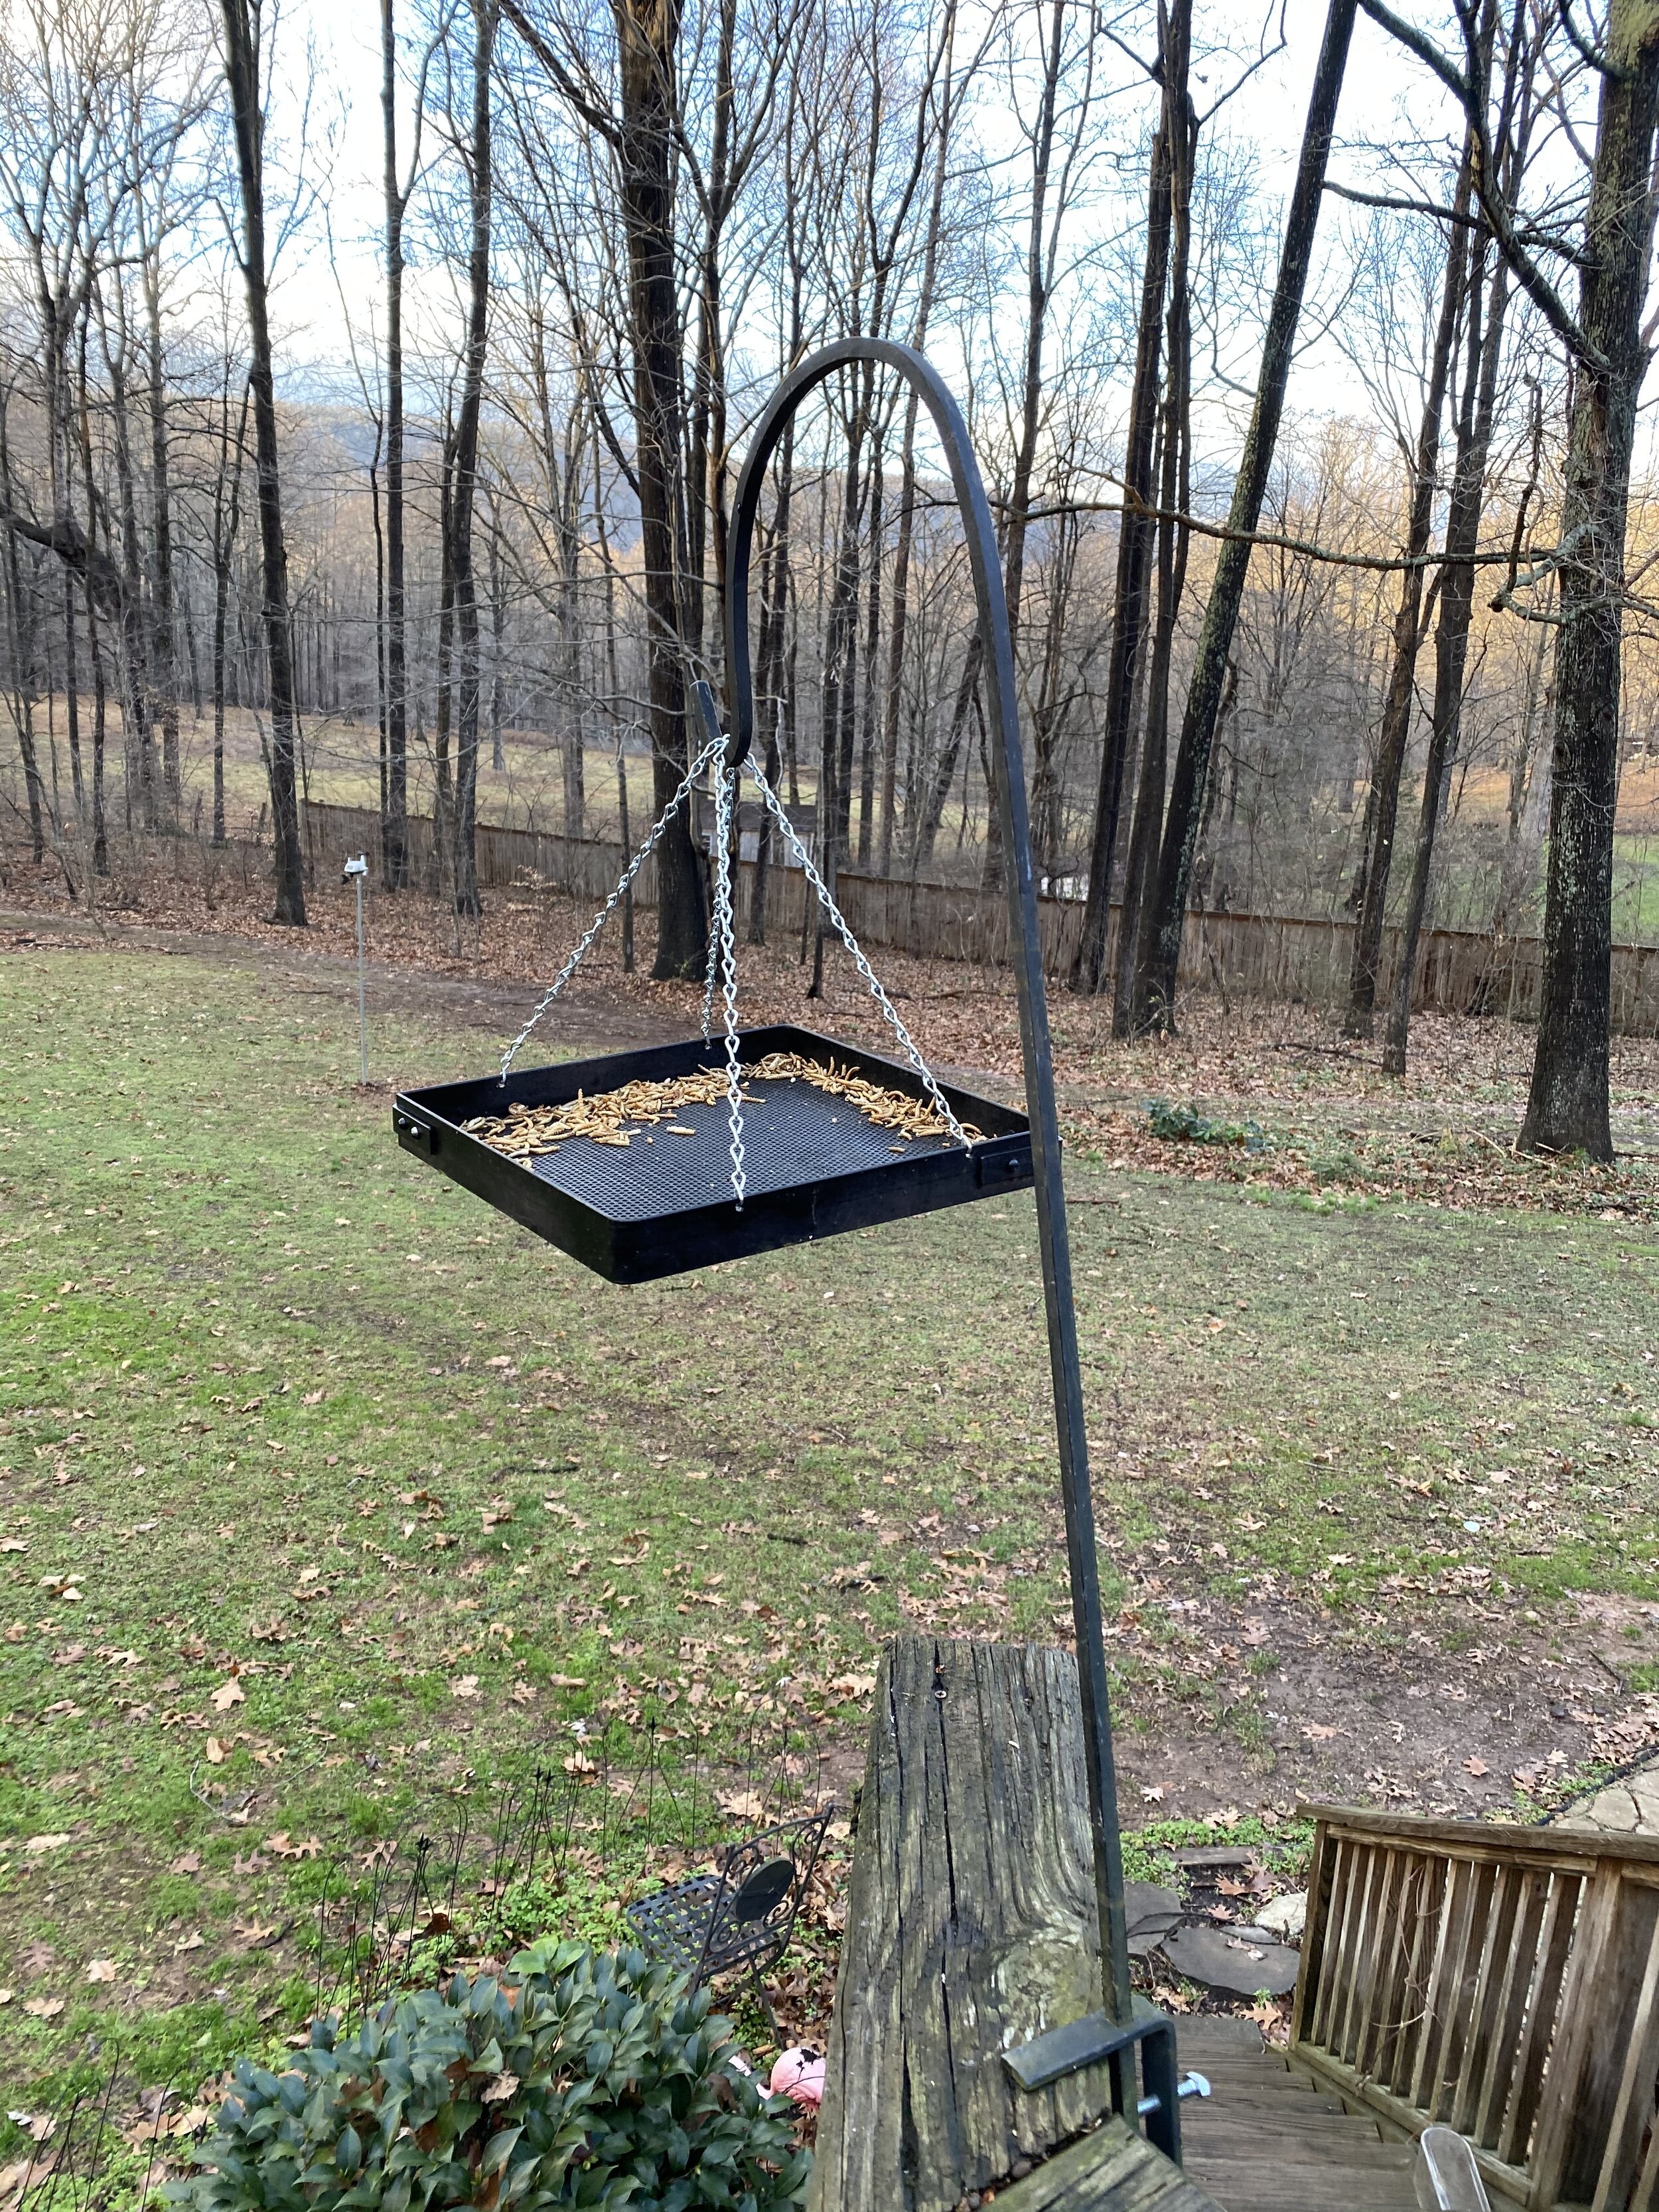
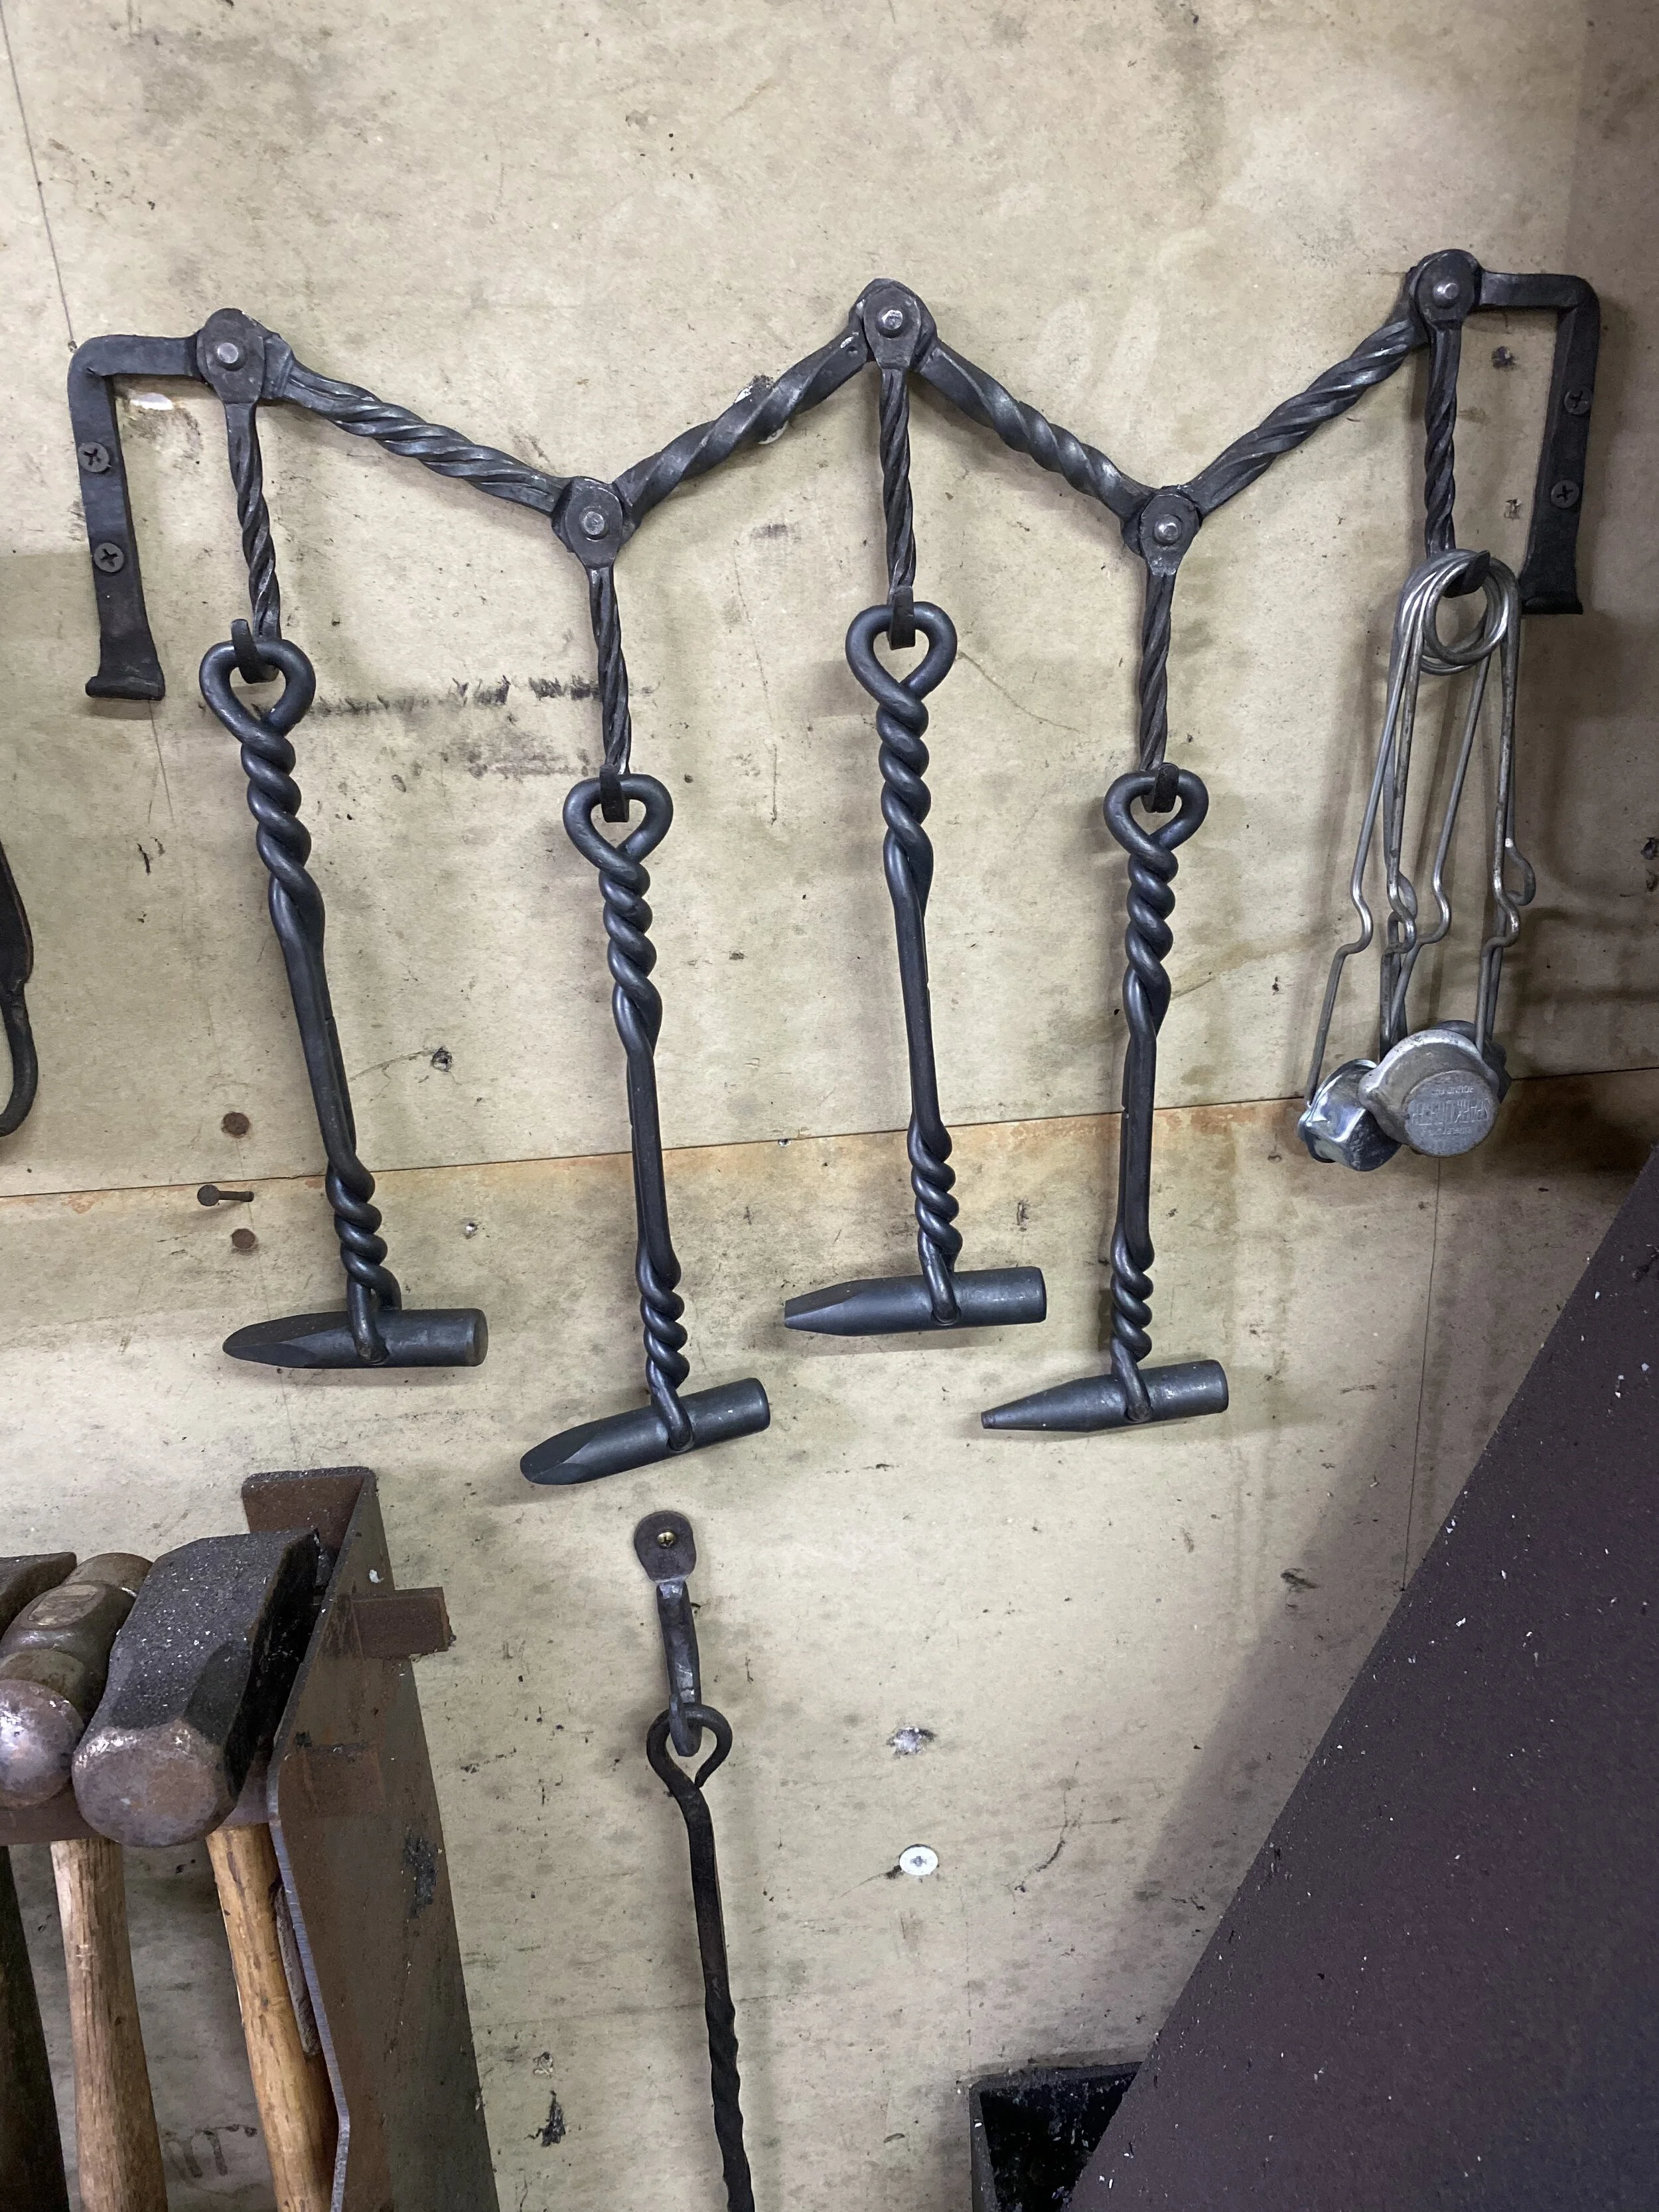
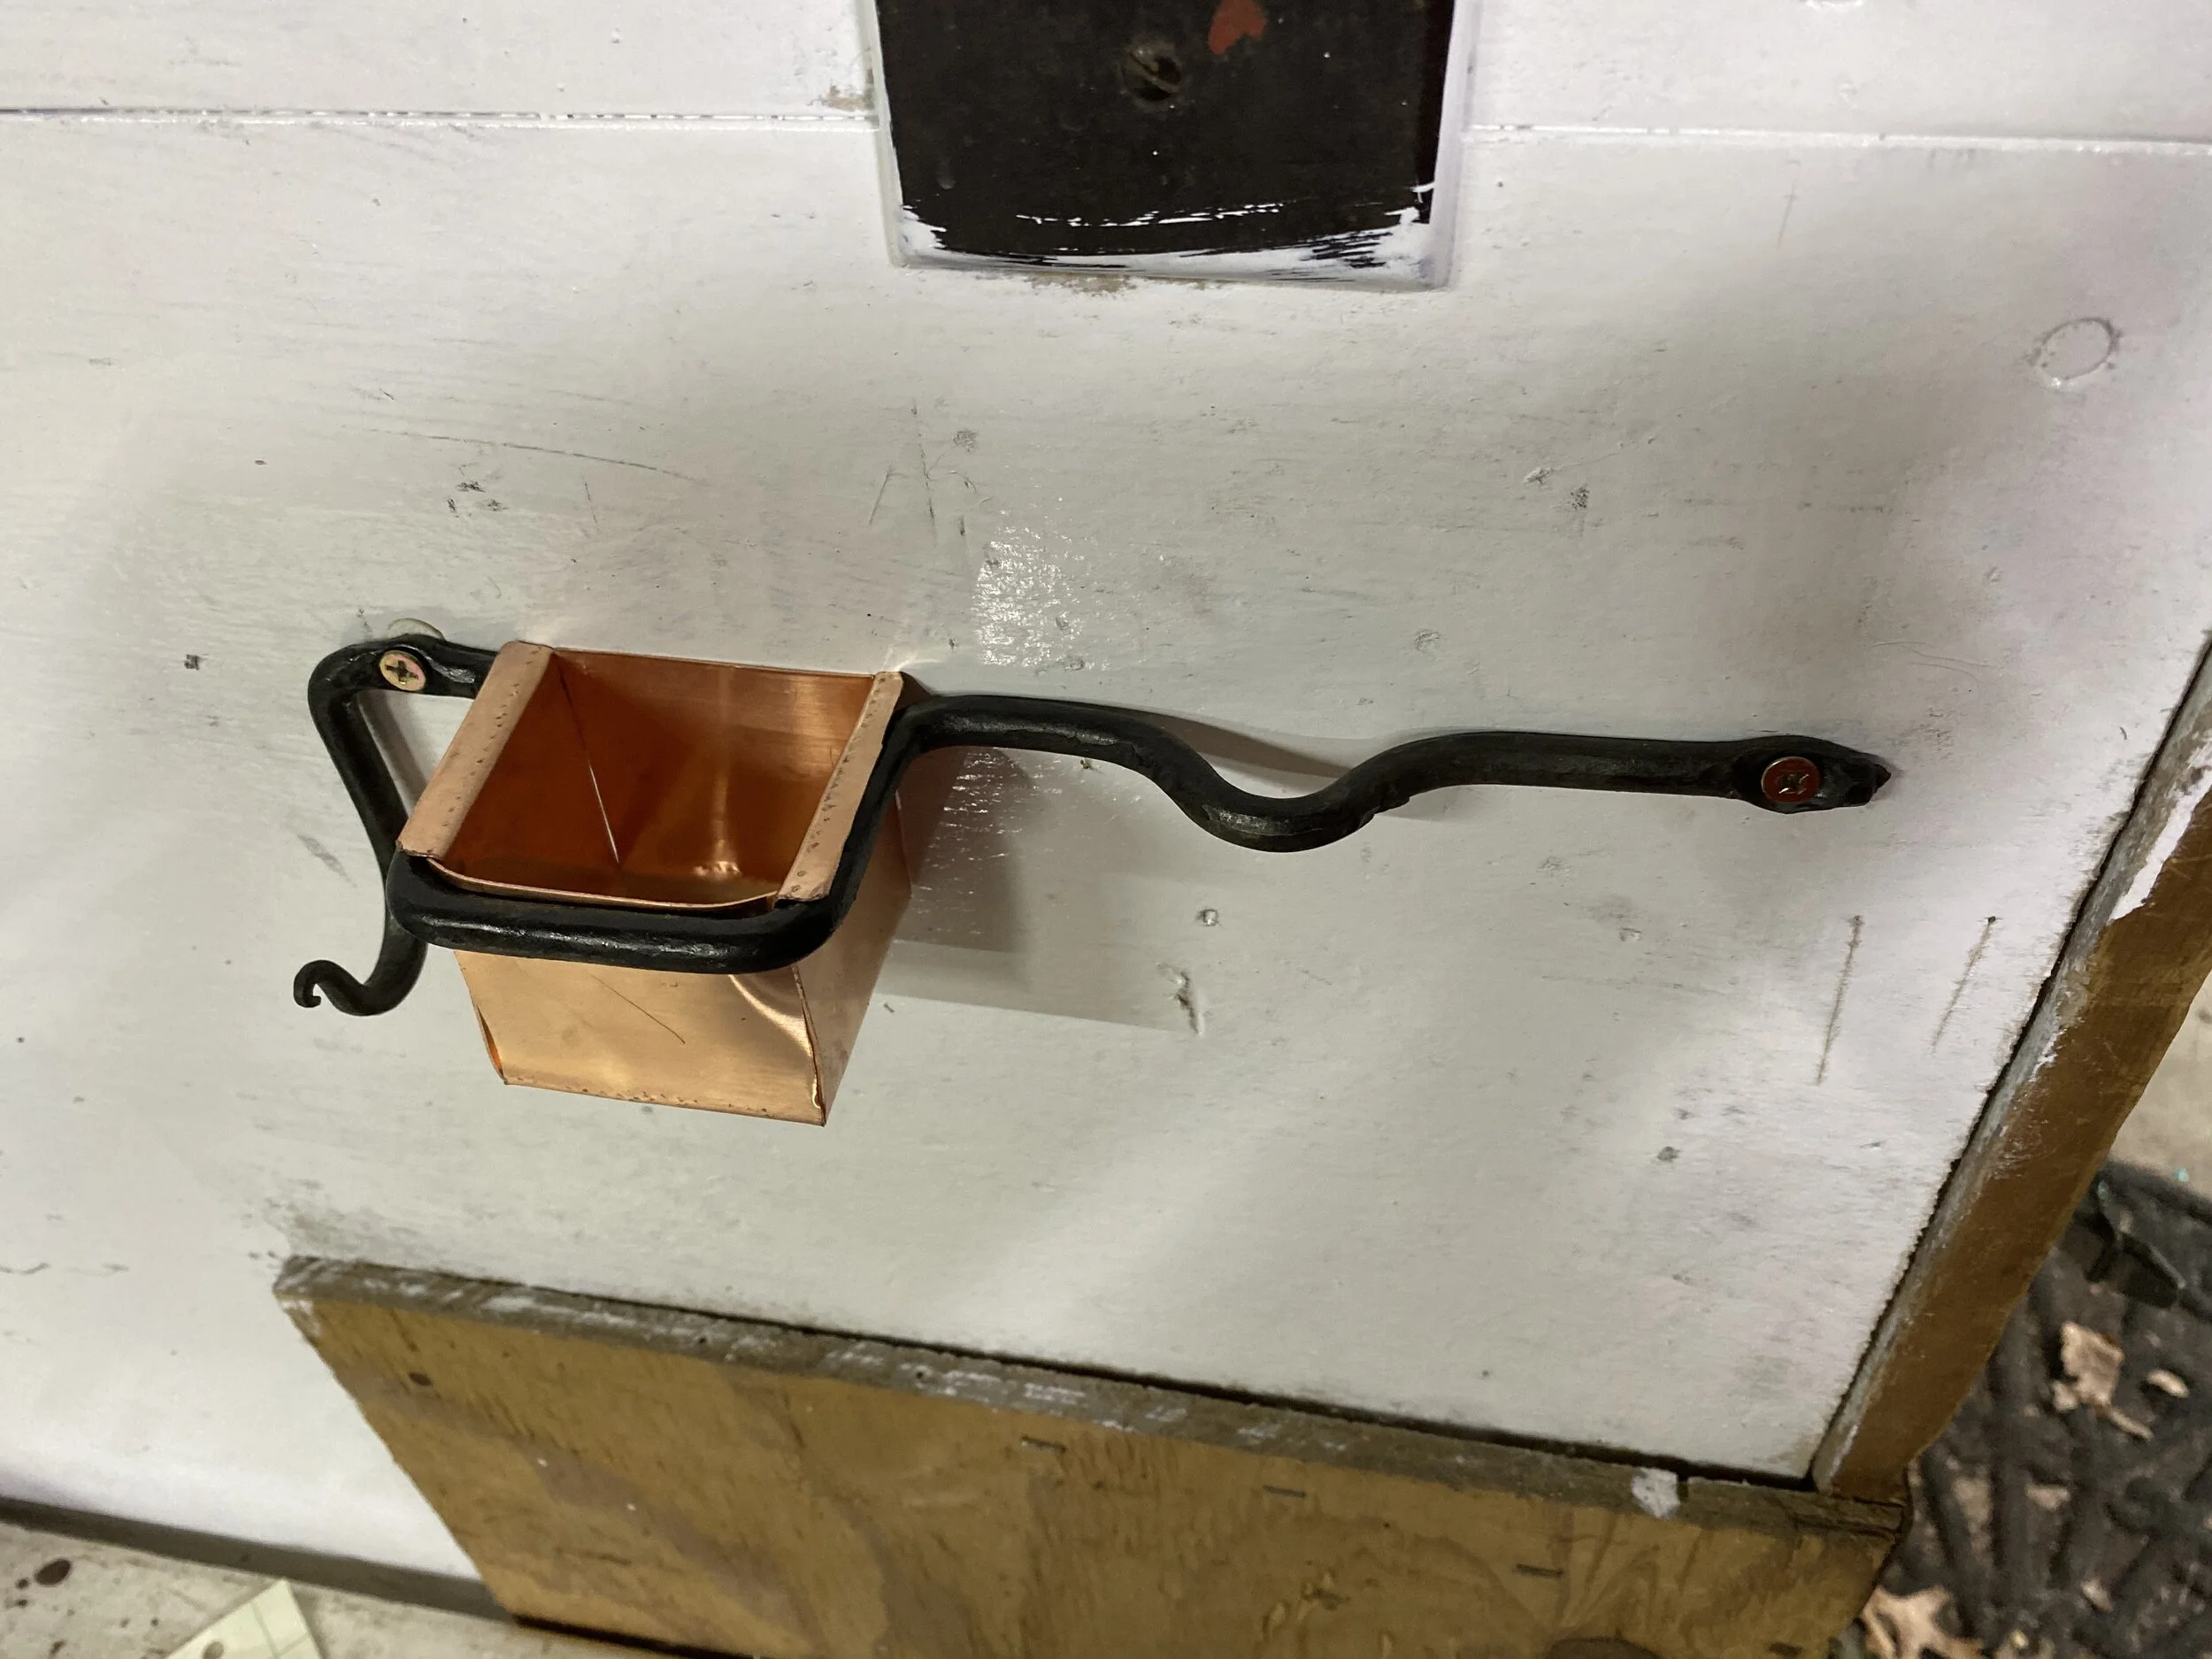
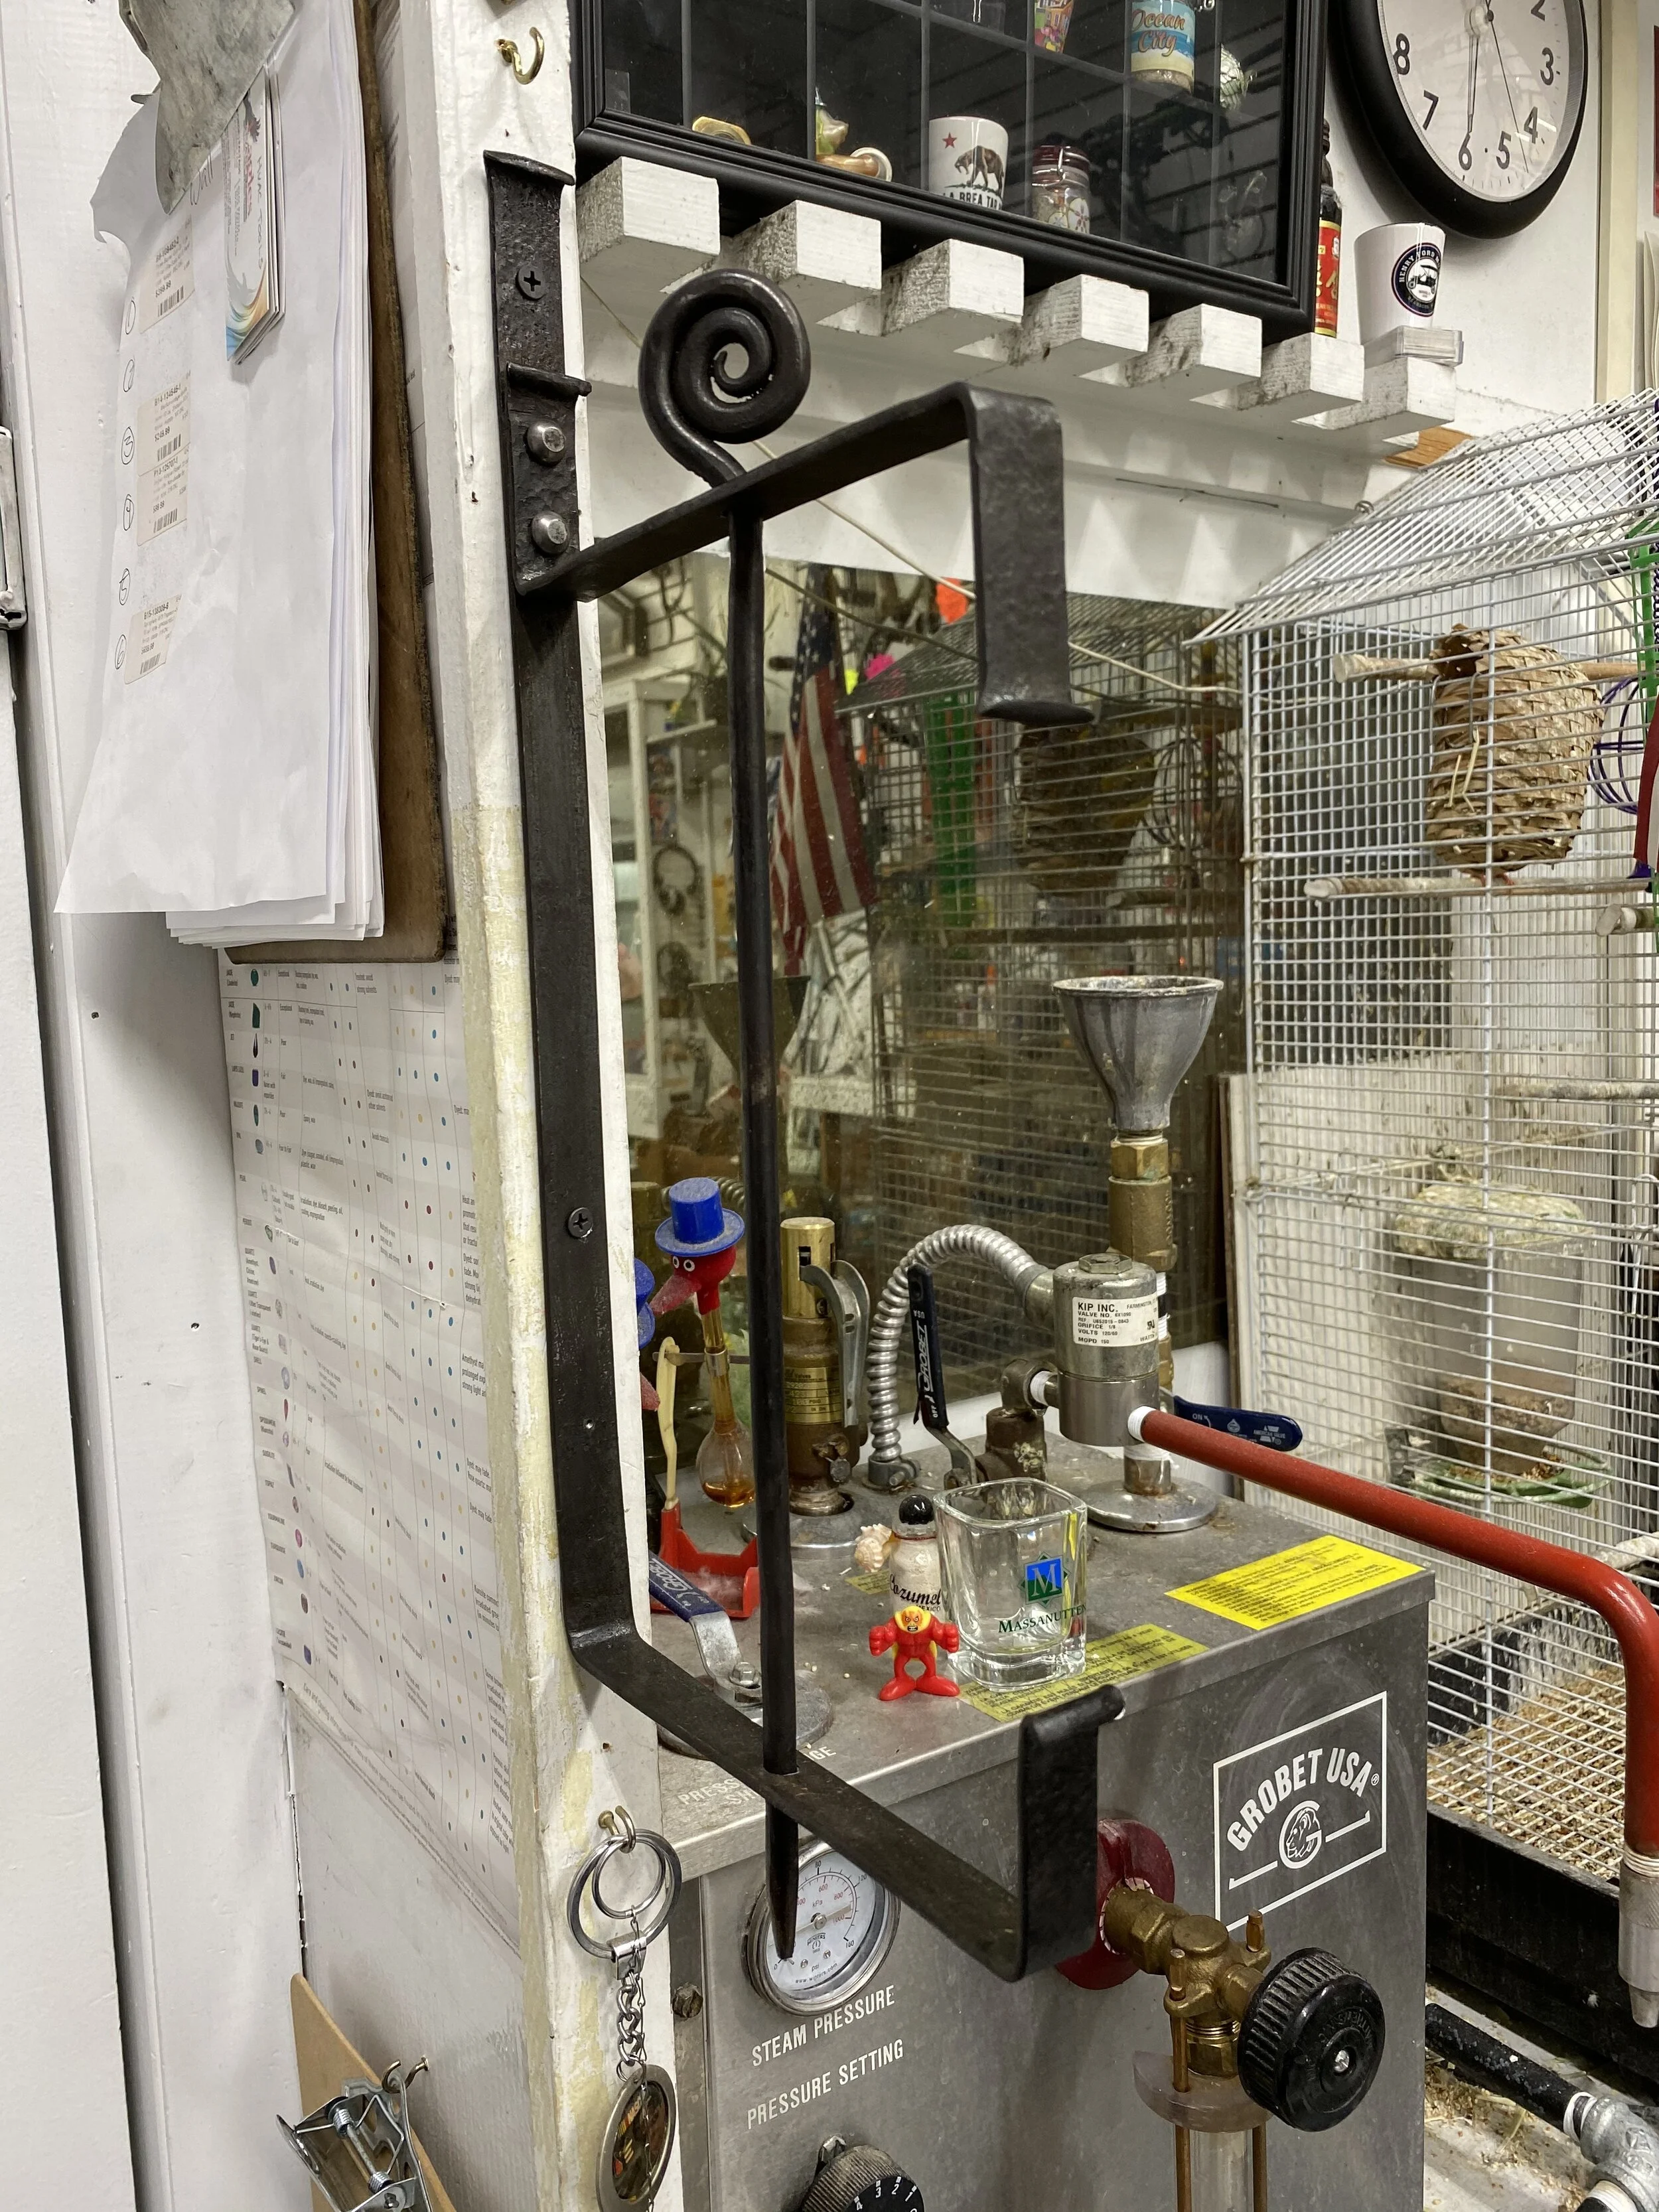
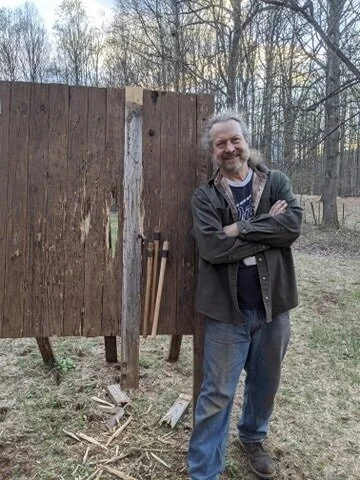
The next project was one that I had burning in the back of my head for a while, and it seemed like a perfect time to get to it. I decided to make an outdoor kitchen tool hanging rack. This would be a stand alone rack for the tools and utensils I have been forging for our Pennsic fire table. I am also working on a permanent fire table for Grimmsfield, so this is the first of 2 that I will be making. Because this was my own design and not modeled after something historical, and because I was just in the mood to forge without distractions, I only have pictures of the final project. This is one of my best pieces I have made so far. Every thing I planned, came out the way I wanted it to. Here are some pictures of it up on the range:

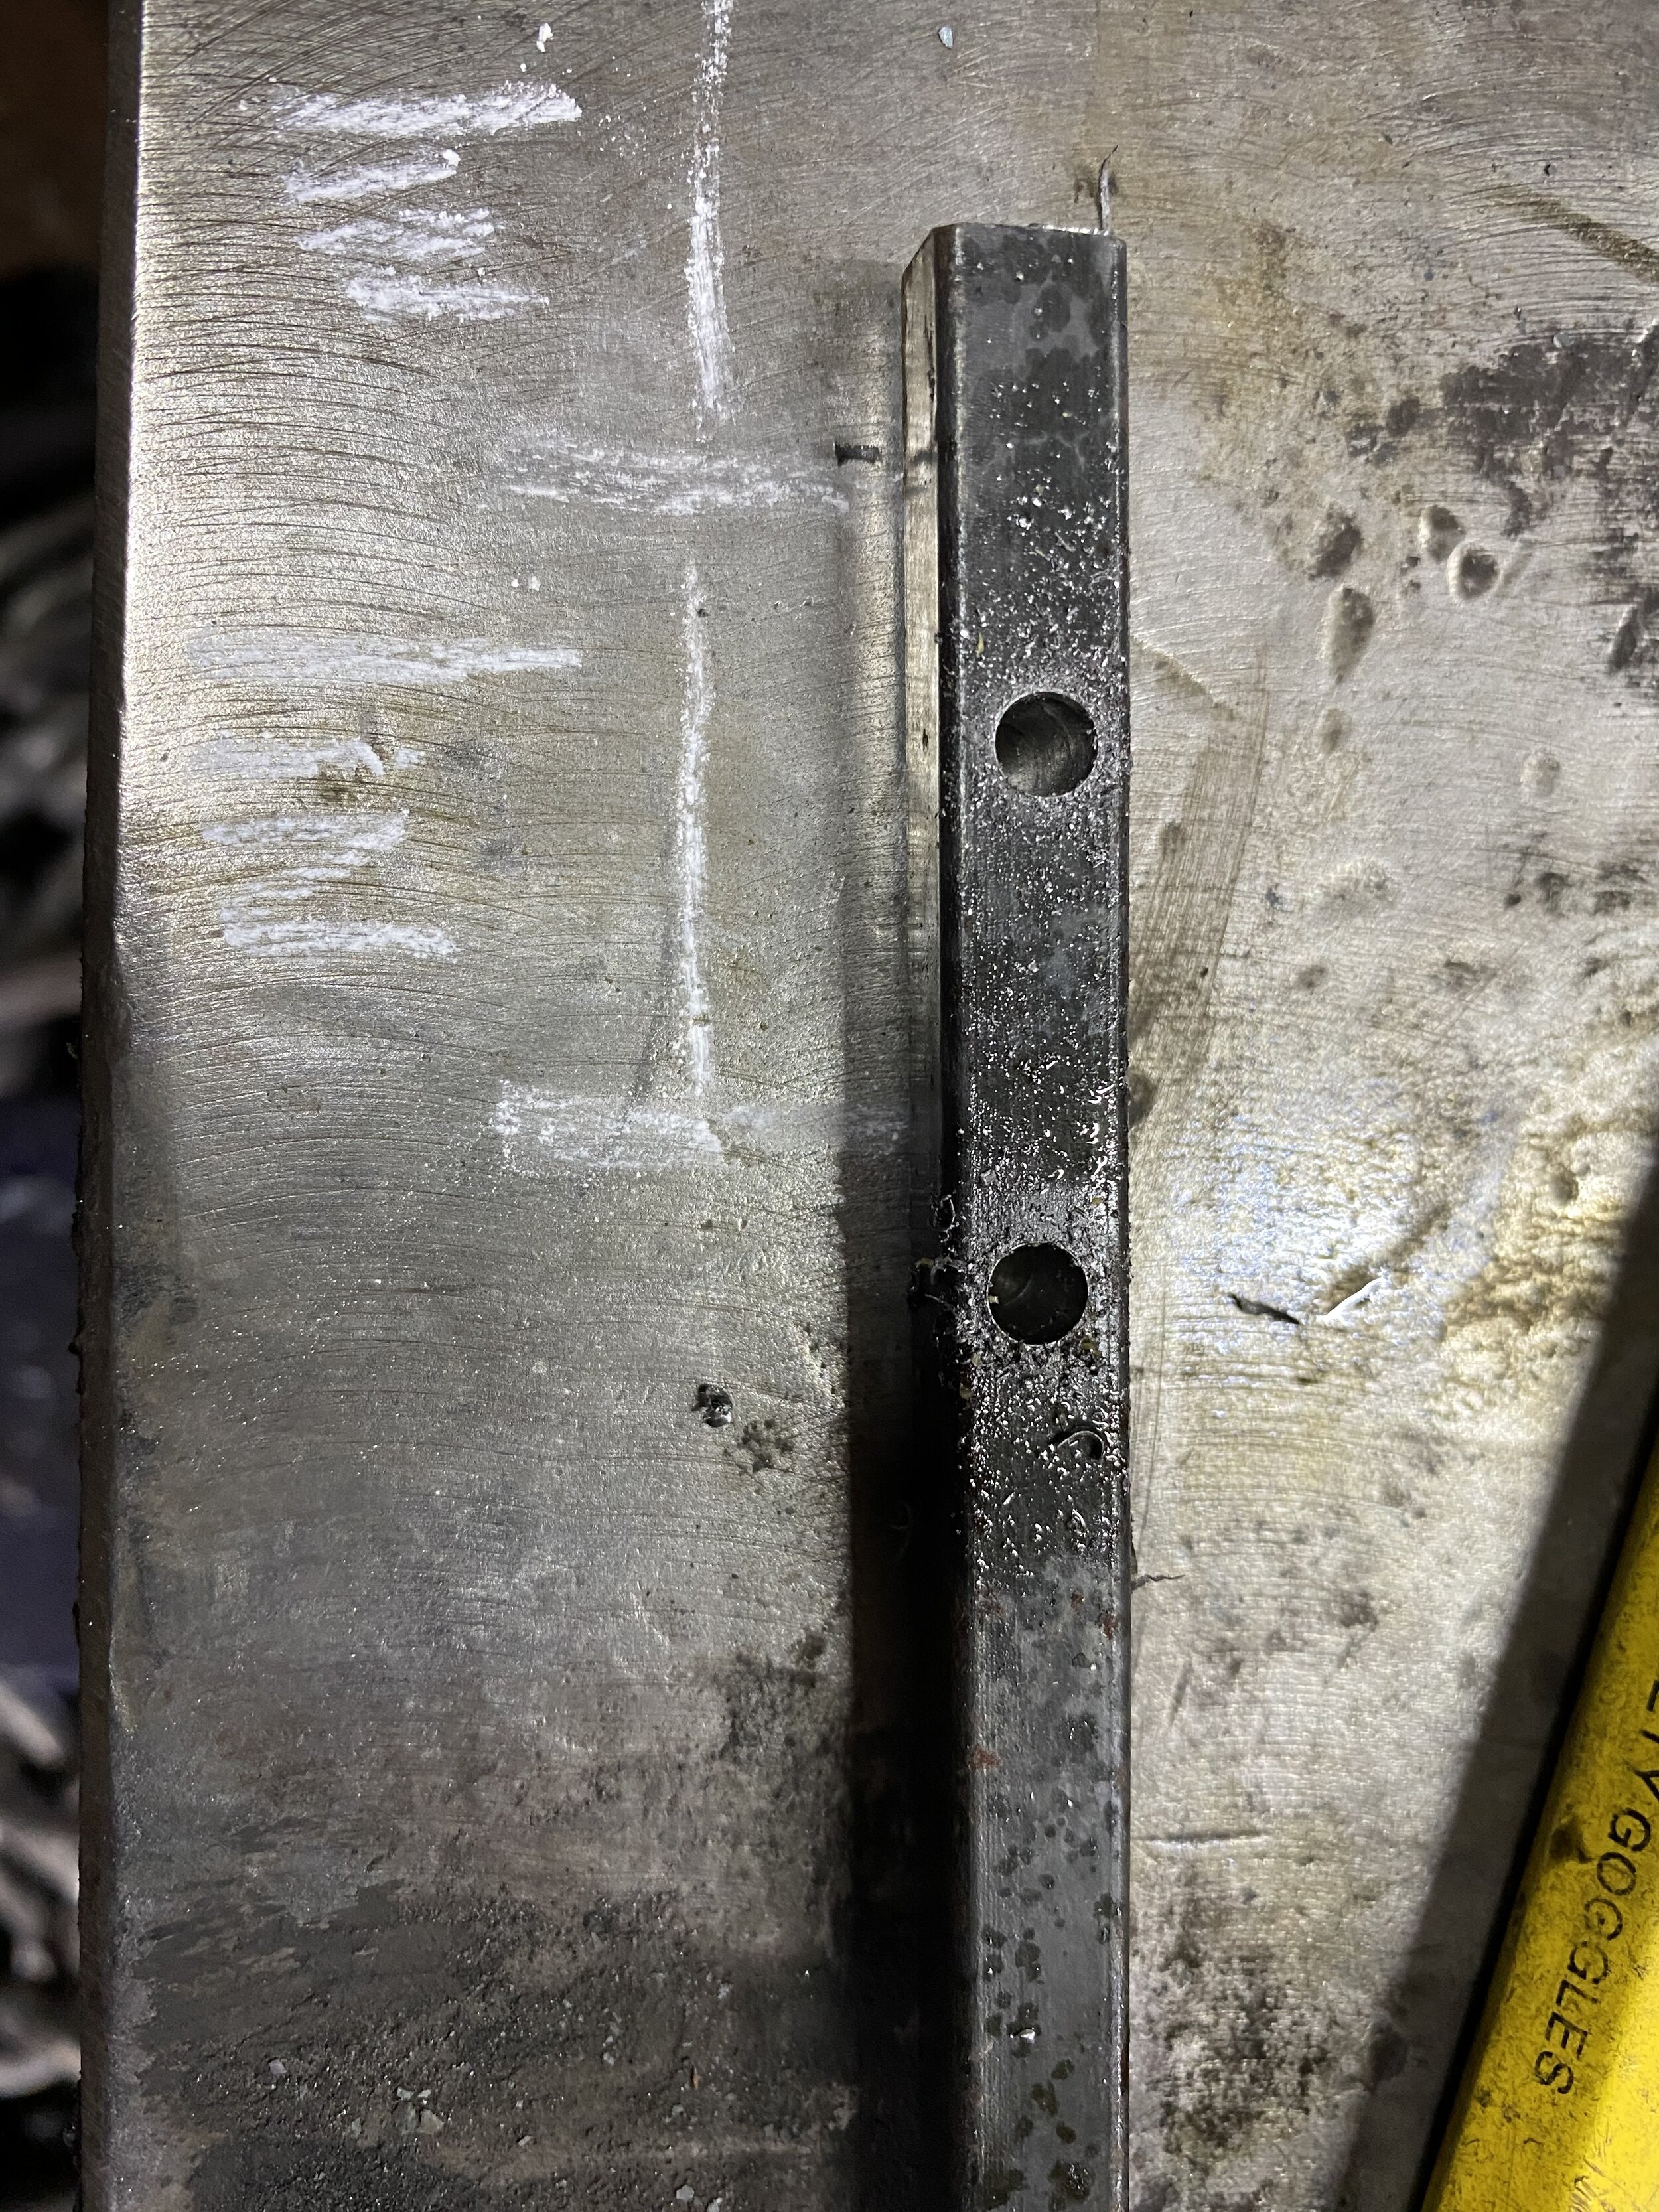
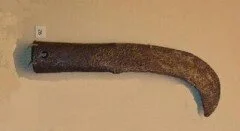
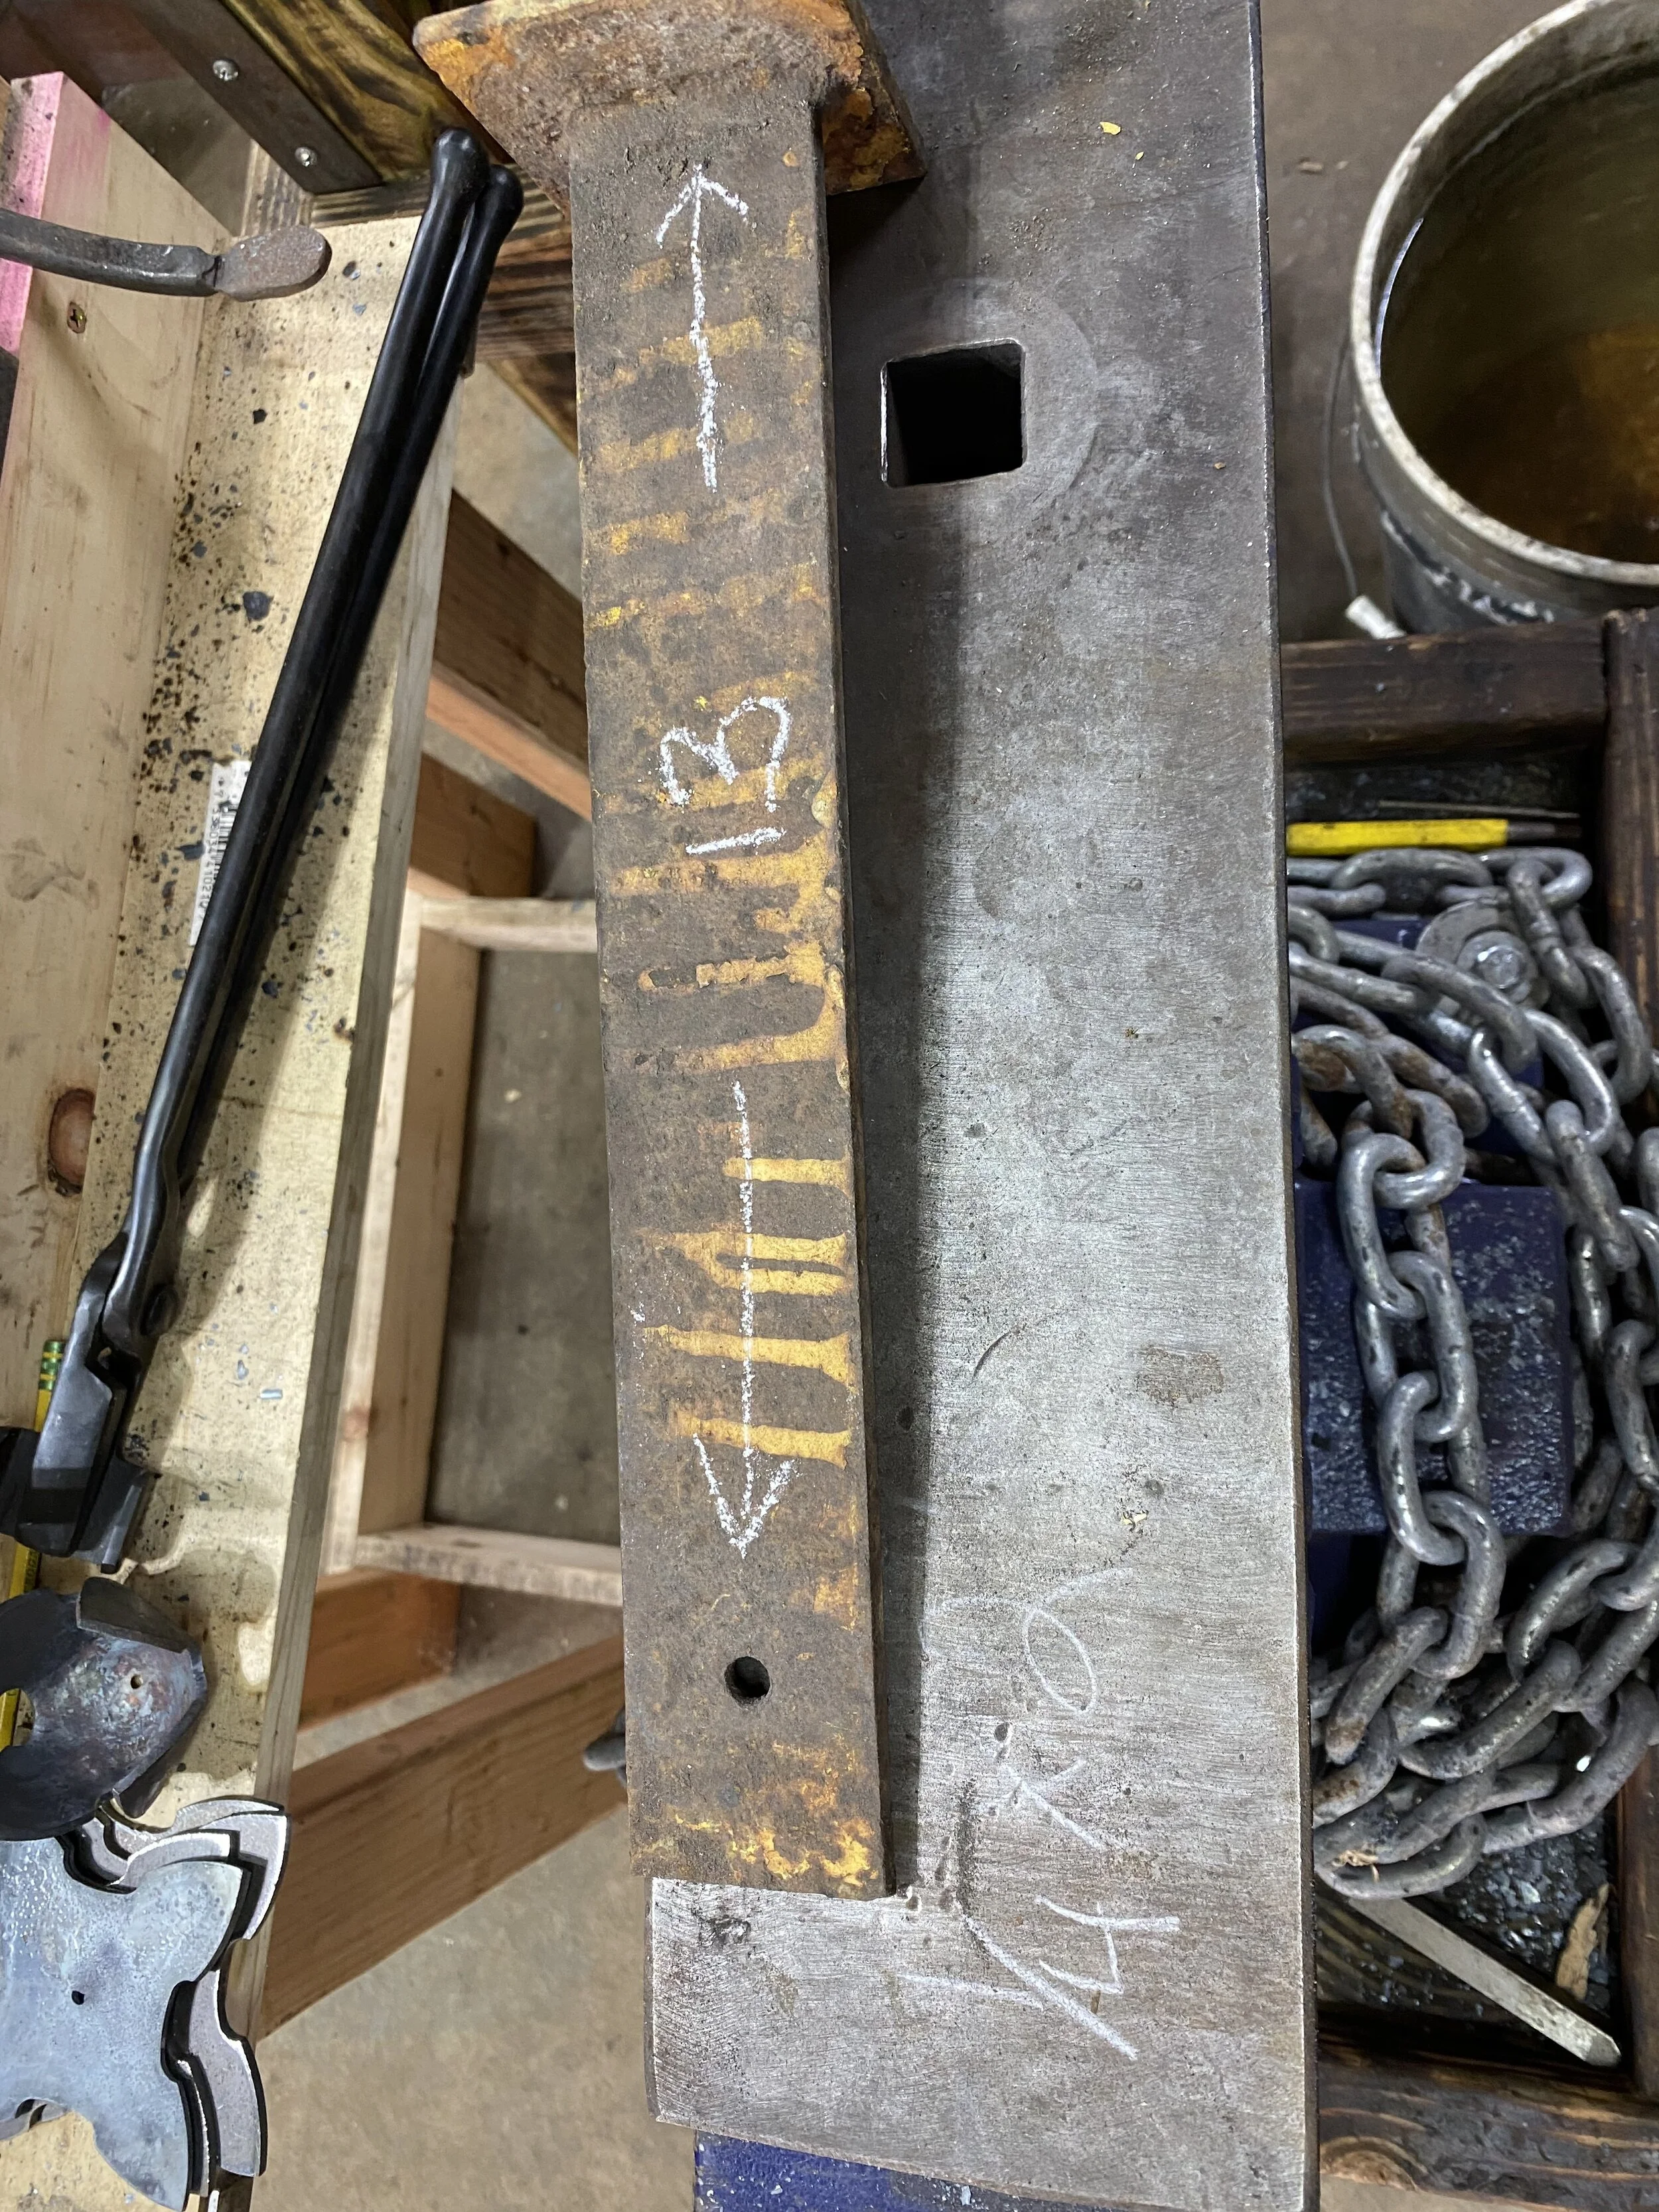
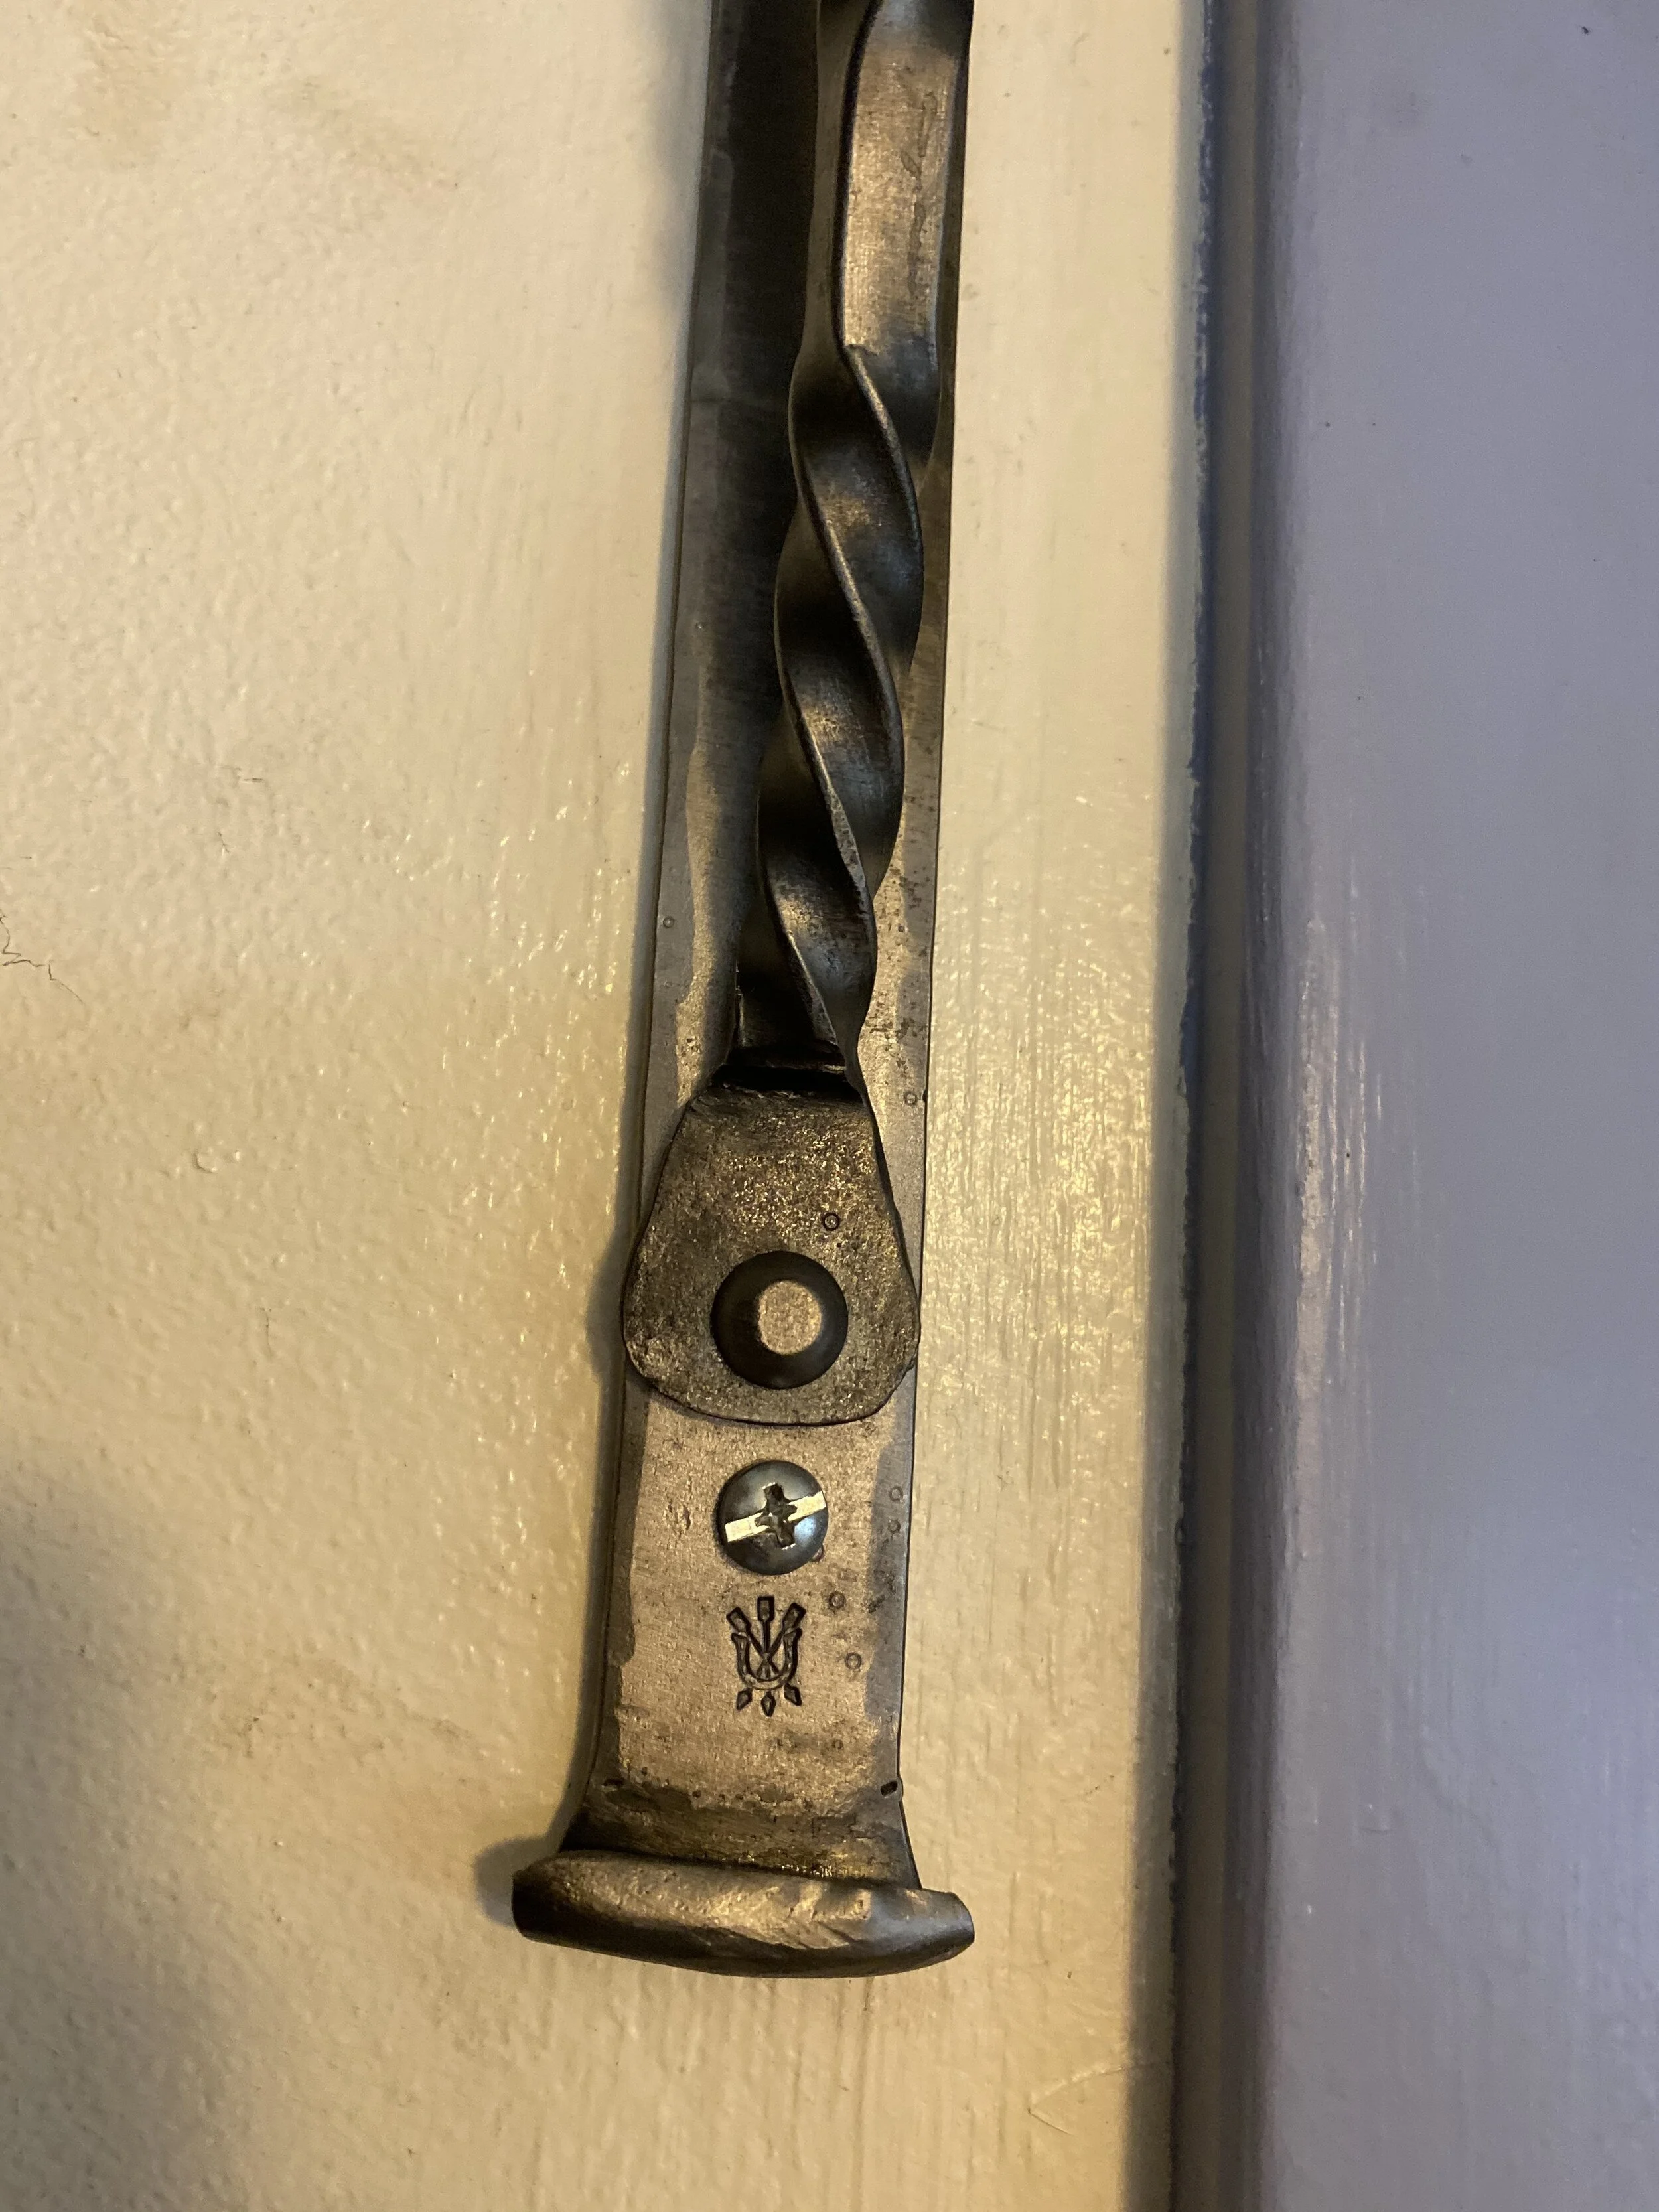
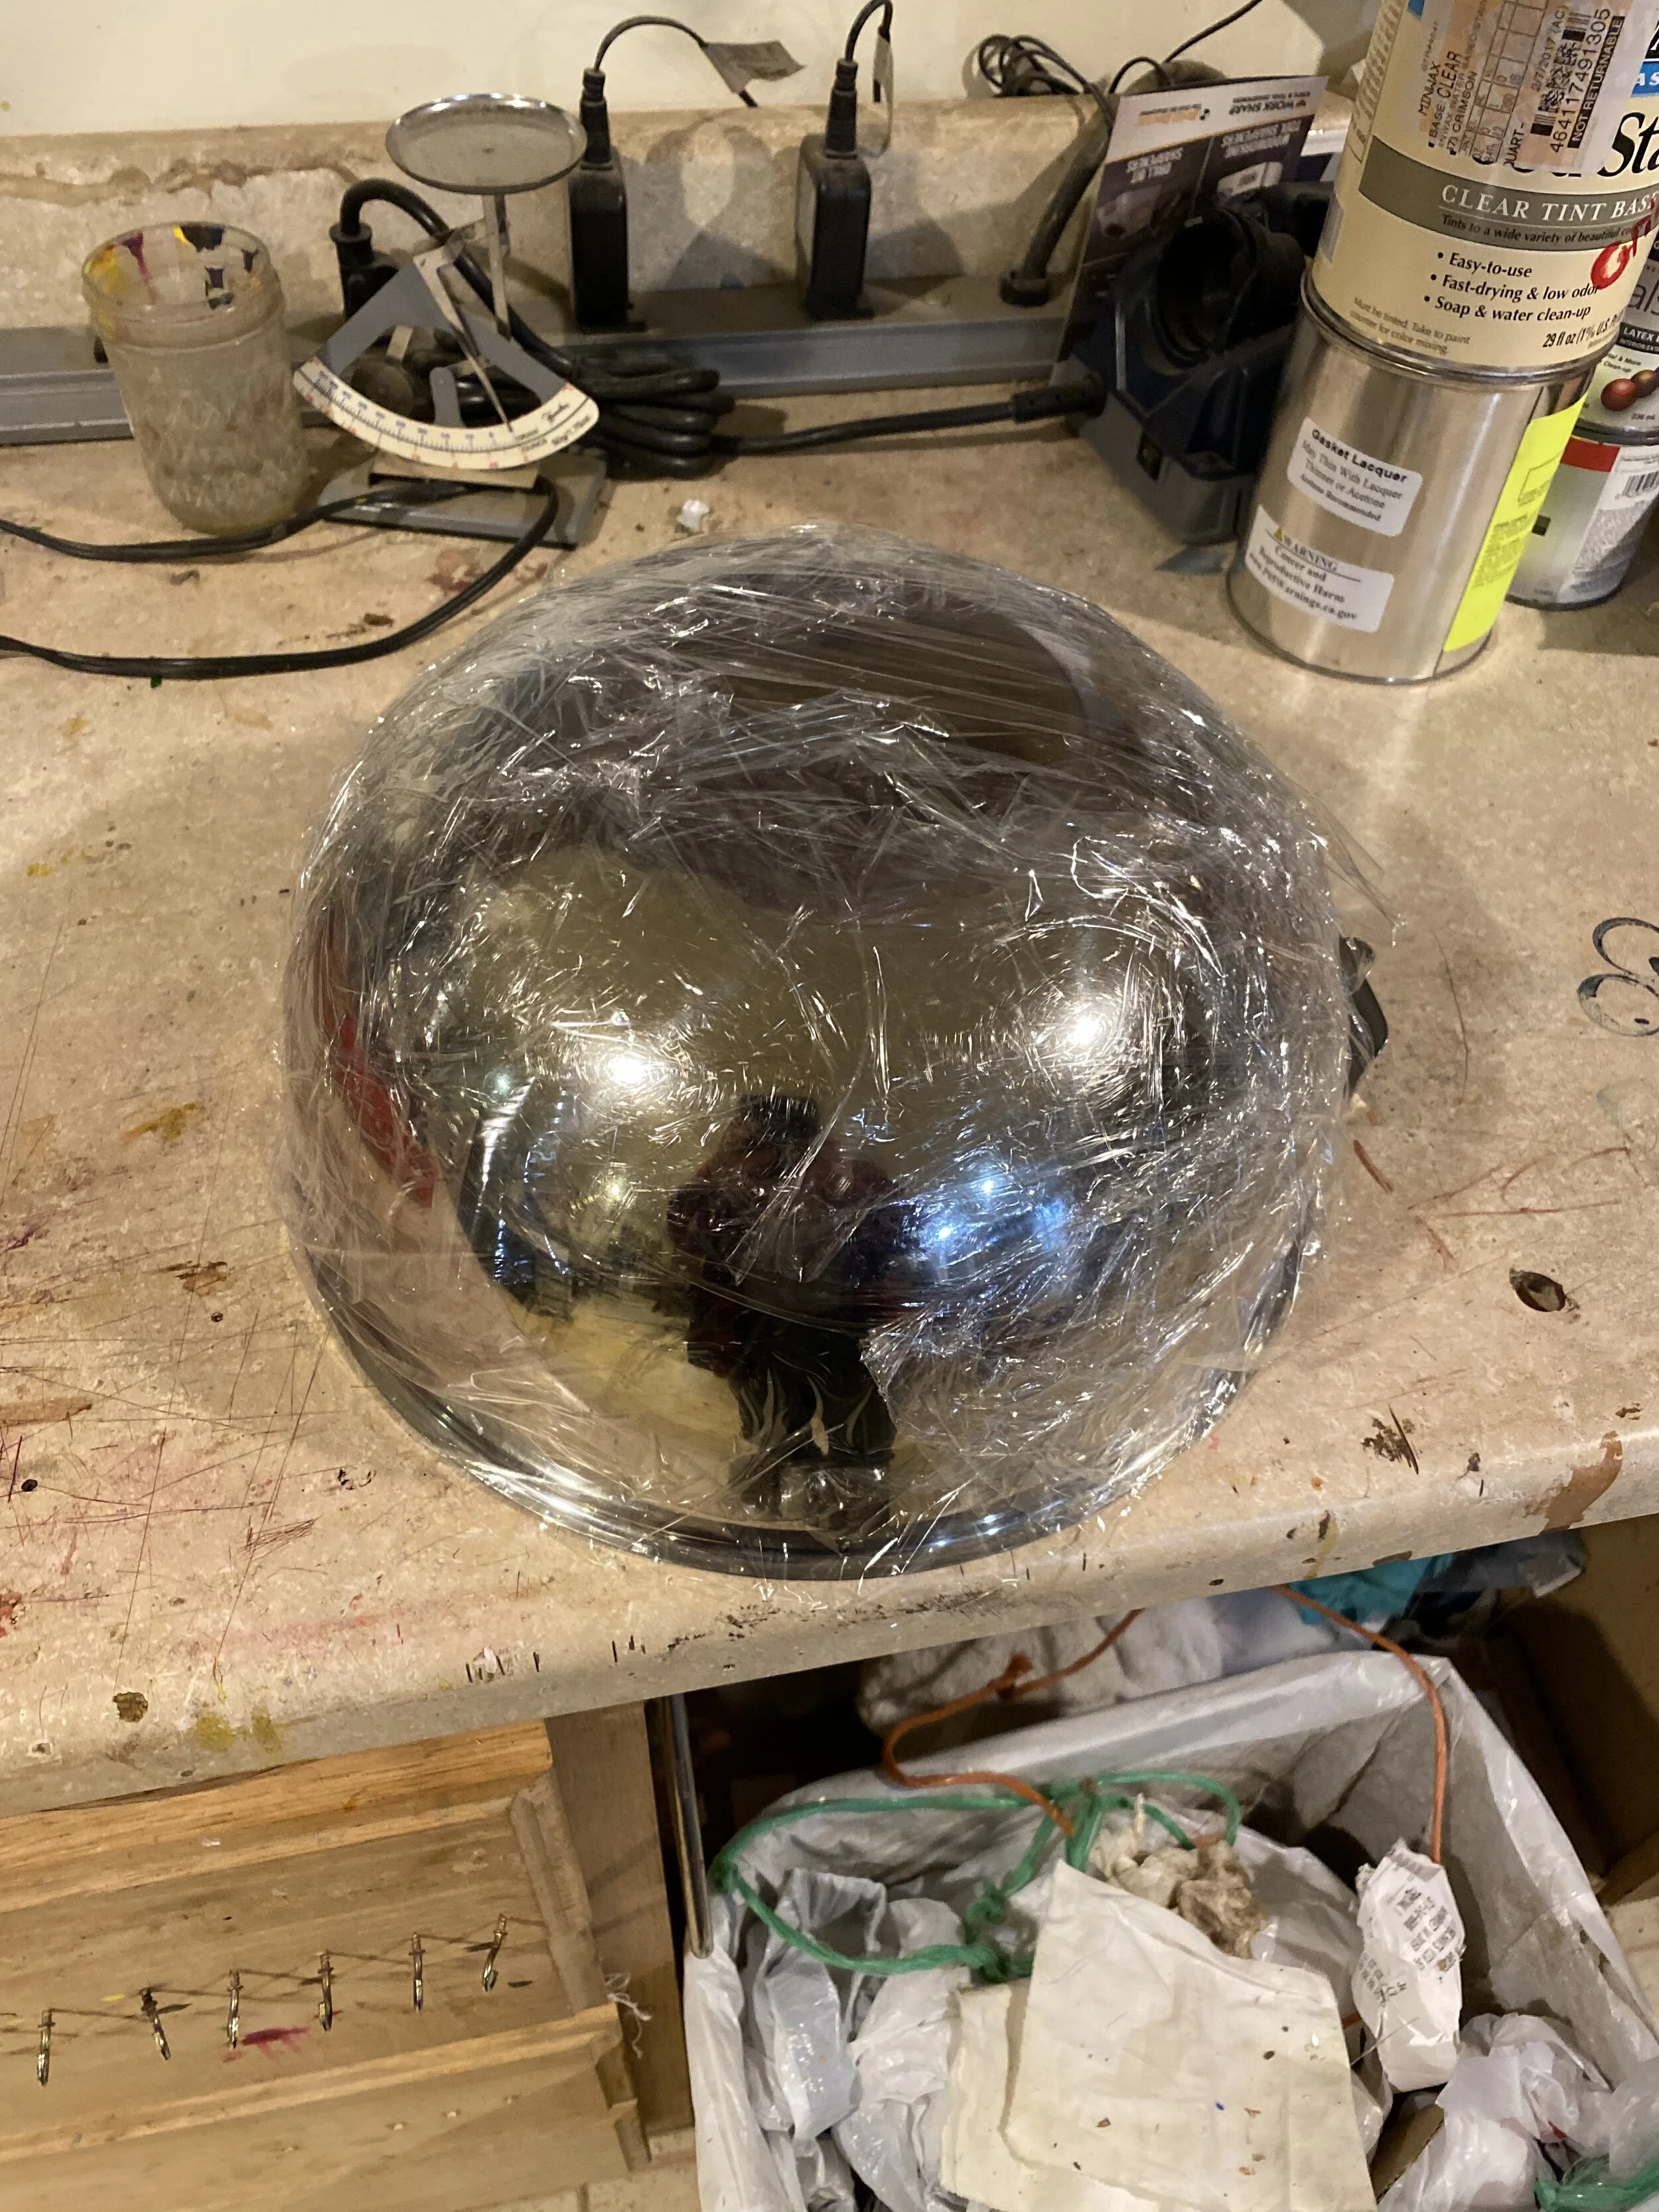
The last thing of interest that I have been working on is a modification of an old Bear Bow for my friend Miles. Often, old Bear recurves come with a built in sight for target shooting. These are not allowed at SCa shoots and the bow need to be modified before using in the SCA. Here is a picture of the sight:

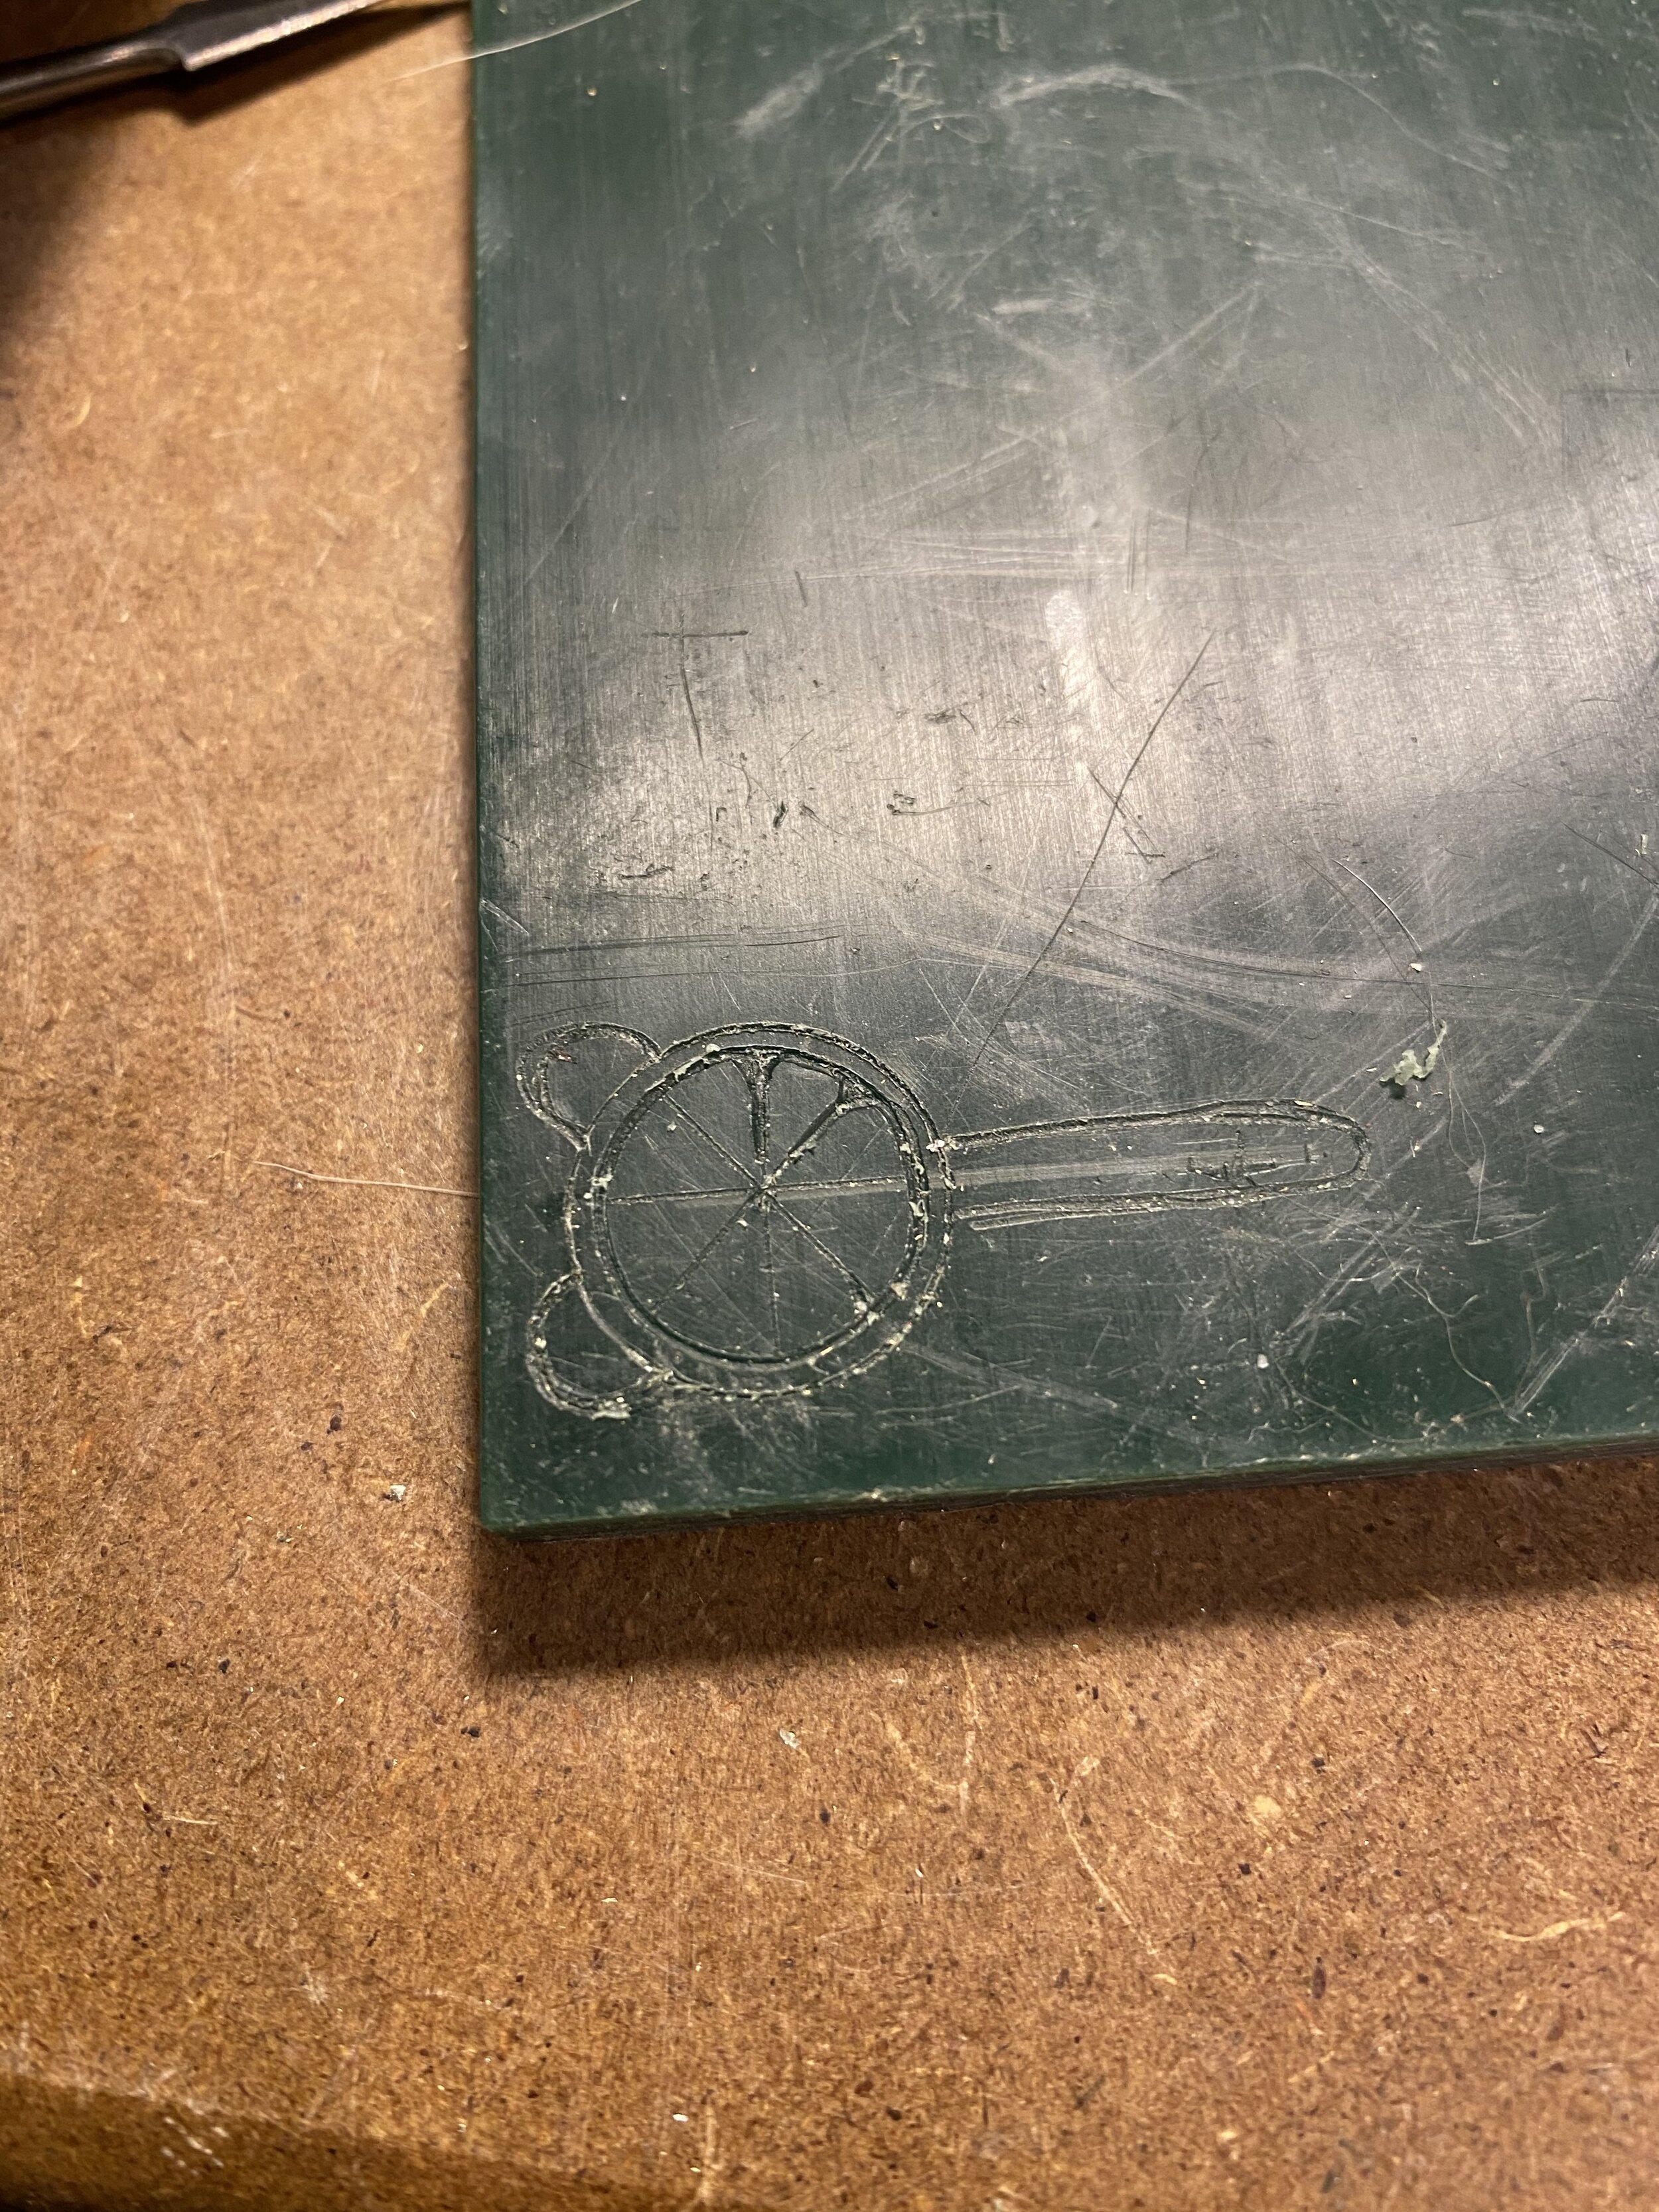
In the past I have just cut a brass plate to cove the hole created by removing the sight and this has worked very well. On this bow I decided to push it a little further:

the plate is brass and the backing is vinyl to keep the elements from ruining it.

Well, that’s about all that I have been working on recently. I have 2 weeks open to close coming up., so I am not sure when I will be able to get back to the forge. Plus, I am beginning to see arrows come in that need fixing, bowstrings to make, and now a crossbow to rebuild.

I will write more soon.

Your servant,

Grimm

Back to Normal?

Well, unlike my last 2 post, I hope this one is more of what I hope to have these posts be like. More of a logbook of activity then a formal write up or a catch up post of a thousand things. If you all would like to see anything different, please let me know. I am hoping that by keeping up on this a little more, I can add a bit more description and explanation. of the processes.

Either way, had a good A&S weekend last weekend. I worked on several projects and was able to finish a few as well. This weekend consisted of working on:

  1. finishing the brazier

  2. Making a bending fork

  3. Making a spit for my andirons.

  4. Curtain Pulls

Finishing the Brazier.

I threw a few pictures of the brazier I was making a few weeks ago. I was hoping to make something I could make campfires in at sites that do not allow firepits or ground burning. The romans made use of braziers similar to this and I was going for the spirit of the concept rather that making a pure period piece. the original plan was to have 2 hoops and 8 vertical bars. I hoped this would be enough to hold the wood in while it burned, but still be open enough for the warmth and light of the fire to be effective. I tried using it with some wood from the yard and realized that this design would not work at all. the gaps between the vertical bars was to great and the lack of horizonal support caused to much leakage.

At this point I was torn between just scrapping the whole project and trying to figure out how to make this one work. Eventually, I decided to try and save this piece and add crossbars to the gaps. This kept the logs and branches from falling out and funneled the embers into the bottom of the brazier.

Once this was done, it was time to make another tool. Not for the Viking chest, not for A&S, but just because I needed one around the shop. Time to forge a bending fork, or bending wrench. This is a hand tool used for forming curves or scrolls in metal as you are working it. I had been planning on making one of these for a while, but never seemed to get around to it. This is one of most metal moving I have ever done in one project.

Without anything more pressing to work on, I decided to get back to the andirons I was working on a while ago and make a spit for them. I am hoping to spit roast a foul in my fireplace by the end of the year. The andirons were designed to take a spit and so it was time to make it.


So the idea behind this spit was to have a square section to keep the spit from turning, a round section for easy turning. a flat section with 3 or 4 slots for spits to hold the bird and keep it from turning, the round and flat again and ending with a handle, and finally a hook om the end of the handle for hanging up when not in use. The order of operations were as follows:

  1. Measure and mark for all transitions.

  2. round and point end.

  3. Draw down and out the flat.

  4. punch the skewer slots.

  5. put twists in for the handle.

  6. Form eye on the end of the handle area

  7. Bend the handle.

  8. Make Skewers.

Ant now to try it on the Andirons:

Curtain Tiebacks

Did not take as many pictures of this project, as it will never have documentation written about it. Looking around the house, my wife decided that she needed curtain hooks for the curtains we have in the bedroom and the living room. And they needed to have horses. Happy god damn horses. (I have been accused of making all of my horseheads angry horses. They don’t look angry to me, but I’m not a horse person)

Well, this seemed right up my alley. The next chance I got (the following weekend) I set about making a prototype. My wife did not like how far from the wall most tiebacks stood out and so wanted a much slimmer profile. I thought that by making a swinging hook, this would allow it to lay flat when not in use. To this end, I built curtain hook 1.0. the first problem i found with this was the molding around the window got in the way of the hook, so the base needed to be turned further out. This worked and resulted in the prototype below:


The trouble with this design was once the holder was bent far enough for the hook to clear the frame, even folded it still sticks out to far. So the answer was to move it further away from the window so the holder did not need to stick out so far. In doing this, the size of the hook I had made was acceptable without folding. This meant that the tieback did not, in fact, need to fold. This led to prototype Curtain hook 2.0, a single piece hook with a leaf at the top and the other terminal needed a horse head, designed to sit at an angle and fit next to the frame:


This design was then approved by my wife and production began! For these I needed to make 10 hooks, or 5 sets. In order to get the leaves and horse heads as uniform as possible, I was going to assembly line the process. The first step would be the flat for the screws, then the leaf. This would be set aside and the next one started. This way I would do all the leaves at the same time.

This weekend will hopefully bring more pictures of the projects and maybe some finished hooks.

Thanks for reading, more soon,

Grimm

Reproduction of the Mastermyr Griddle

The Making of a Mastermyr Griddle

By Master Stephan Grimm


Introduction

I have been working on making objects found in the masternmyr chest. The Mastermyr chest was a archeological find made in the 1930s by a farmer plowing his fields. The land that is was found in was a shallow lake during the time the chest was in use. The reason the chest was in this location is unknow and why it was lost remains a mystery. The chest was full of woodworking, metalworking and other tools and objects. Many of the items appear to have been put into the chest already damaged and possibly could be for repair. This is my attempt to make another of the objects from the chest. This time, instead of one of the tools for metal or woodworking, I decided to make a kitchen tool found in the chest. There was a partial piece of a Scandinavian griddle found among the objects in the chest. This is my attempt to make a workable version of this tool.


Description

Within the chest, the griddle was found in partial condition. It is not known if this was a piece that was to be repurposed or possibly for repair. The griddle is missing the handle and shows 1 repair already. The repair was done by riveting a sheet to cover damage done at an earlier tine. The griddle measures roughly 8 inches across and has a hole in the center. The shape and sides have been deformed and it is not known if this was pre or post loss. The handle was not found in the chest.


Historical Use

Although they look much like modern long handled frying pan, Scientist believe these were actually used for the making of assorted breads and pancakes. The single rivet in the center of the pan allows the pan to be rotated to keep the baking even. Several of these griddles have been found throughout medieval Europe.


Construction

My first step of the construction of the griddle was to prepare the pan. In order to get an approximate 8 inch griddle, I decided to start with a 10 inch circle. This was drawn out on a sheet of mild steel.(picture 1 & 2) This was then cut out with a cold chisel into an approximate round shape (picture 3) then filed to a round shape (picture 4). This was then set aside to work in the handle.

The handle was made from a piece of 3/16th x 1 in mild steel bar 32 inches long. This was center punched at 6 inches for the hole for the rivet. A 5 inch line was also scribed down the center from one side to split for the wings. The anvil was then marked at 1 inch to set where the hook begins.

Now that all the prep work was completed, it was time to fire up the forge. The first stage of forging was to add the hook for hanging the tool. Because the handle was not recovered, I went with a generic loop shape to make it easier to hang. This was hammered into the non-marked end of the bar and worked down to proper size. The point was then rounded and bent to a circular shape for hanging. this was then cooled down to allow working on the opposite side.


The first step in the other side of the handle was to cut the 5 inch slit that was marked out in the beginning. This was done by heating the end up and cutting the lane with a slitting chisel. Once the bar was cut all the way through, the two arms were bent outward to allow them to be worked on. The ends of each arm were then rounded and curved to shape. The hole was then punched for the rivet. The final step was to heat and round all the edges to make a good feeling tool.

Now that the handle was finished, it was time to work on the pan. To start, a line was scribed one inch from the edge to show where the flaring was going to be worked in. The sheet was then heated and the edge rolled against a curved surface in my swage block. This was repeated until the entire rim was rounded from the bottom. The center of the pan was then worked flat against the warping that working the edge introduced.

Once the pan was a flat as I could make it and the edges as even as possible, a hole was punched in the center. This then had a rivet inserted through it and the handle and worked down. At this point the blacksmithing was done on this project and there was nothing left but the finishing.


The final pieces.


The final step was to give the cooking surface a good cleaning to remove any residue from the forging process. After it was cleaned, the surface was coated with vegetable oil and this heated to create a non stick surface similar to a cast iron skillet.


Conclusion

This was a fun project to work on. I still need to improve my ability to keep a surface flat while working the edge. The griddle does not sit quite flat all the way around. I have seen other blacksmiths use a hollowed out space on a stump that is the correct size, and this is what I will try next if I make another one of these. I am not quite the cook I would like to be, but come this spring, I will try and create bread on this. Here is the final product:


Will he ever get back to his blog......

To be honest, I’m not sure. I spent the last 2 months involved with a contest in Markland and was not able to post the results till the contest was over. All entries were anonymous. Instead of March Madness, the had a Makers Madness contest. It consisted of 4 rounds with the bottom scorers dropping out each round until there was a final 4 for the final round. I managed to come in 2nd of which I am very pleased. The Artisans did an incredible job and I was surprised to finish so highly. My 4 entries were as follows:

1st Round: Mastermyr Griddle

2nd Round: Hand spun and woven Winingas

3rd Round: Cast Silver hooks for Winingas

4th and Final Round: Birka Pouch

Each entry could not be started until the previous was finished and the time between judging got smaller and smaller.

Now that that is out of the way and I can get back to putzing around, I need to clean up all the pictures and other things I have been doing up till now, so here goes:

Photo dump of Mastermyr Griddle:

Photos of me using the drawknife I had been working on to create the handle for the Mastermyr Adze and the froe. Both of which have been ongoing projects that are now done. Plus some pics of my recent work:

The next will be a photo dump from the winingas:


Another project that I have started, but I’m not sure if or when I will finish is towel bars and shelves for my bathroom. Out of habit I documented the process, same as everything else.

I have also started a few more tools for the Mastermyr chest as well as starting on the Fire Grate from the find. Here is a gallery of that work:

And now the photo dump for the casting of the hooks:

Almost at the end, Here are the photos from making the Birka Pouch:

Finally a brazier that I put together. This one ended up being more of a proof of concept then a finished piece that I would use. I am undecided on reworking this one or making a new one to correct the mistakes in this one.

I am sorry there is not much about these photos, but I wanted to get caught up on what I have been working on and concentrate on what I am working on next. The 4 projects for the contest are explained in the documentation that can be found at the top of this blog. If you have any other questions about anything in these pictures, please do nto hesitate to ask. Hoping to be more on top of things in the future, I remain

Your servant,

Grimm

Another blog that I waited to long to write.

Well, back to the once a month schedule, i was hoping to make it more often. Oh well. Let see what I have been up to this month. I have listed the total work done on each project, but most of it represents several different work periods. I was working several projects at once to keep from getting bogged down on any one.


  1. Mastermyr saw

  2. Mastermyr Adze

  3. More Work on the drawknife

  4. Some belt knives

  5. Handle production

  6. Mushrooms

  7. Bridle Hangers

  8. Finished Hammer #2

  9. Amie’s Tool

  10. Mastermyr Tongs

Mastermyr Saw

I was flipping through the book “The Mastermyr Find” by Greta Arwidsson and Gosta Berg when I came the description of the hand saw. On reading the description of the saw, i decided to make this the next object I was going to recreate. However, reading the text and then translating centimeters to inches, rather blew my mind as far as the size of this saw. i also failed to read the caption on the page it was illustrated on that the scale was 1:4 and not 1:2 as were the rest of the illustrations on that page. This thing is massive. More of a short sword with teeth than what we think of as a saw. On doing further research, it is not all that surprising., the metal that they had available was not able to handle the flexing that our modern saws are subjected to. This is why so many medieval saws were of the frame type. This however was a saw with a single handle and no support.

When I started making this saw, I wanted to make sure that the saw was all forged by me, so, even with starting with bar-stock, I made sure none of the starting dimensions were equal to the final ones. This forced me to manipulate all aspects of the saw. The point that was on the original stock was cut off to make it an even playing field.

After forging the rough shape and dimensions, it was time to figure out the teeth. The Bar in the 3rd picture represents several attempts to figure out how the teeth were cut. The texts say that they were cut 4 on a side, which i was not sure how to do with a saw this thick. My wife and I puzzled it out for quite a while till we came up with what I think is the proper configuration.

Once the teeth were all cut in, the saw performed surprisingly well. It cut a very wide cut, but it cut quite well. The next step was to add a handle. The handle that was discovered on the saw was damaged and had the tang protruding through the back and bent at a 90 degree angle. From the looks of the pictures and from what I have discovered of Viking style handles, I felt that the handle originally was much longer and the tang bent over to compensate for the missing handle wood. For this saw I took one of the handle rounds (see below) and made a long handle similar to those seen on other medieval one handed saws. In this case the handle was made of hickory, instead of ash because hickory was the toughest wood i had available.

Mastermyr Adze

Yet another piece from the Mastermyr find. This time a woodworking tool. I hope to use this on the creation of the actual Mastermyr chest. It is a scoop like tool used for hollowing out wood. This I was hoping would be a rather straight forward piece, but it has been taking a lot more out of me then I thought. I have put this piece to the fire on 2 seperate occasions and yet still I am not finished.

Once the eye was drifted, it was time to start working on the shape:

This is where I left off on this project. The amount of metal and configuration (rough shape) was all off for this project. There is much more metal here then was needed and I will end up working a bunch of it to be cut off, just to make a tool of similar size. More on this when I do more.

The Draw Knife

As happy as I was with the shape of the drawknife, i found a major drawback in the work I had done so far. With the arms bent into final shape, the tool would not fit into the quench tank. the one arm was heated up and unbent into a straight shape. The drawknife was then ground into rough shape. This was then heated to non=magnetic and quenched in vegetable oil. A file then skated across the blade indicating that it was as hard as I was going to be able to get it. This was then set aside till the belt knives were ready as well for tempering. The steps for tempering this blade can be found in that section.

Once the blade was hardened and tempered, the handles were then put in place. This was done with one of the pieces of handle rough described below, They were both turned from the same stick allowing me to adjust each one to get very similar handles. These then had pilot holes drilled and then the ends of the drawknife were heated and burnt through.

Now just waiting on a final sharpening and time to put it to use.

Assorted Belt Knives

Because I had the oil out to quench the drawknife and because the adze was driving me crazy, I decided to make some small belt knives. None of these were made following any specific extant blade, but just following a general Scandinavian utility knife pattern. For the steel for these blades, i elected to use spring steel harvested from both a snowplow spring and a garage door spring. I also made a more robust blade from a piece of a2 tool steel.

These were all:

  1. Hammered into rough shape and the tang defined.

  2. ground, filed and sanded into final shape

  3. Heated to non-magnetic and quenched in vegetable oil

  4. File checked

  5. Tempered at 475 degrees for 1 hour.

  6. Grinding an edge on the blade is the next step and will be going on opver the next few weeks

Handle Production

In stacking firewood from the house, i came across another fairly straight piece of hickory. These I save to make handles out of. Knowing that I had several handles coming up, i decided to go ahead and turn them down into rounds. This in only being written about because I took the photographs for future documentation that these pieces get used for.

Mushroom Mania

I am just to tired to write about all of this. If you have questions or would like this explained, please contact me.

Bridle Hangers

So for those of you who have been following along at home, this is the same bridle hook that I made for my wife once long ago and the same hook that I made in pink for one of the other girls at the stable where my wife rides. The only difference is that these were made on a massed produced schedule. Each step was done on all six then the next step started. I am afraid that I still cannot figure out how to think like a blacksmith as far as figuring out the order of operations. This pisses me off greatly, I find that the order that I decide to work on these types of things ends up with a step interfering with the next one.

Finishing Hammer #2

This was the hammer that I have been working on for the last month or so. All I did this time was take one of the handle stics and shape it into ta handle and attach it. The handle was driven on and then wedged to keep it secure. I will be trying it on one of my upcoming project to see how it does. The next step will be to make the sledge hammer which is at least twice the size of this one.

Tool for Mistress Amie Sparrow


Funny story time. A while ago (Before Christmas) I found an ad for button hole and jag cutters from the Tudor Tailor. These were basically iron chisels for cutting fabric for creating button holes or jags in fabric. These looked really cool and I wanted an excuse to try my hand at making them. (because I hate making things just for the sake of making them). So i decided to contact the one person who I knew might value them. This was Mistress Amie Sparrow. If any one would both treasure and use them, it would be her. So in my youthful exuberance, I contacted her to see if she would be my muse on attempting to make these. Alas, she had also seen the same ad and convinced her husband to procure her a set. And him being the gentleman that he is, instantly set about obtaining a set for her. Knowing that she liked the tools, but had obtained her own set was like a dash of cold water to the face of my excitement. Screw these Gosh Darn things. Mistress Amie, not knowing the depths of despair her new toys threw me into, asked me if I had ever given any though to the velvet embossers that The Tudor Tailor also produced. These were something that I had never seen and were made of techniques and materials that I had neither worked with nor had any desire to work with. To her suggestion that perhaps I could put the energy into these instead of the tool that I wanted to make was quickly shut down. I was not going to pick up another hobby involving new tools and techniques. Forget it! Not going to happen!

…..

….

I actually made it 3 days before I was studying them to figure out how they were made. It looks like they were either cast or milled brass and neither of these was I capable of. I thought of making them of cast pewter, but the heat needed to use these tool would eliminate that. Case closed, not going to happen.

So on further inspection, it looked like the head was cut to form the pattern and that was not so different from the engraving that I had done for several jewelry pieces that i had made But the scale of the cutting was so much more massive then anything I had worked on before, plus there is no way I could figure out how to attach the brass to the wooden handle.

..

..

So the brass was ordered last week and showed up just before my day off. The pattern was then drawn on the face and all of my jewelry tools were brought to bear on the problem of how to remove all the brass that was needed to produce the stamp. After a few false start, I finally found the right combination of cutters and flex shaft tools to produce a passible copy of the design. Once the design was finished, the bar was cut off about an inch from the top (picture #1). This was then drilled and tapped(first time I had ever tapped anything for a screw). For the handle, I pulled out all the stops and decided to go with a piece of marblewwod that I had purchased several years ago and was saving it for something special. I could not think of anything more special then making a tool for a good friend and so it was decided. The collar on the wood was made of copper because I did not have any other material on hand to make such a thing. I could have made a collar of steel from a thin sheet hammered and bent to shape, or do the same thing to a flat sheet of brass, but I didn’t want to waste a bunch of time on something so silly. Once the wood was turned to the proper shape(a little long, but I could not bring myself to cut the marblewood short. it was drilled and tapped to except the same screw size as the brass. A steel bolt was then beheaded to produce a piece of all-thread to screw into each end. This did not produce a seamless transition between the brass and copper collar, but I do not think that it will matter to much for the usefulness of the tool. The handle was then given a polish and the tool was ready for shipping. I cannot wait to see if it works and what wonderful creations Mistress Amie will make from it.

Mastermyr Tongs

So, time for my next tool from the Mastermyr find. The Tongs.

Random Pictures from the Forge


Well, this has been a ton of shite. I started writing this on Monday, and plan on publishing it on Tuesday. I am not sure how much of all that I have to say on all of this I am going to get to. This part is being written at 1:00 am Monday night and I am just about done. It is driving me nuts all of the things that I need to say about each project that I will not get a chance to cover. Only a small portion of what I wanted to write about has been written and I don’t know how much fill in I will be able to get done tomorrow. If each project has sparkling detail and volumes of information, you know that I was worrying needlessly. Eithe rway, if anyone had made it this far, thanks for sticking it out.

Your servant,

Grimm

The items I have made from the Mastermyr find:

  1. The chest lock and key

  2. the tongs

  3. the hand saw

  4. The Auger

  5. Trivet #1

  6. Trivet #2

  7. Hammer #1

  8. Dog’s head Hammer

  9. Hammer #2

  10. Nail Header

  11. Hack saw (not pictured)

Long time no write. Sorry


Its been about a month and a half sense the last time I wrote one of these things. I have been questioning if they are even worth it. I came to the conclusion that they have value as a diary of sorts if nothing else. So here is what I have been up to sense Halloween.Not sure how detailed the info will be for all of these, but I can at least post the pictures so I can find them again.

What I have been working on (the list):

  1. Draw Knife

  2. Froe

  3. Hammer

  4. Hinges

  5. Nail Header

  6. Spade

  7. Coronets

  8. Bells

  9. Bird Feeder

  10. Bill Hook

  11. Bottle Stand

The draw knife

Ended up doing a bit more shaping on the draw knife. Still not finished yet, so more on it later.


Froe

With the work I have been doing on handles for the tools I am making, I decided I needed a froe to make working down the wood easier. That way I would not need to turn an entire fire log. This is being done with a large and heavy piece of steel and is more then I can finish in a single sitting. It also involves a forge weld which took up a ton of time and I am still not sure if it took. This is something I will get back to soon.

Hammer

Finished up the hammer from my last entry and now just need to add the handle.

Hinges

A long time ago, I decided to help my friend Lord Christof create a viking chest by forging him a set of hinges and a clasp for a generic viking chest. These I finally got around to doing, now I just need to send them to him.

Nail Header

Once again it was time to work on another object from the Mastermyr chest. This is another item that I need to write documentation for, so I will not be writing a lot here.

Spade

One day while cleaning up my work area, i came across the spade blade I made for Lorelei that I thought I had sent to her for her to put on her spade that she had been working on. I decided to try and make my own spade, so I did. A spade is not so much for moving earth as it is for cutting earth. so here is my attempt:

Coronets

I had to take a break from my blacksmithing because Baron Cormacc ua Rígáin contacted me to make coronets for him and his Baroness for their transition from Landed baronage to court baronage. This I was glad to do, but the court was only 3 weeks away from the request date. This caused me to pause all the current work that I had been working on to concentrate on making these. These were given out at court last weekend. They followed the pattern of Baroness Amilia, Baron Christof and Baroness Adina in that they are a hybrid between a leather and a metal coronet. This seems to quickly becoming my “style” of coronets.

Bells

Not related to the SCA, I became involved in a Christmas ornament exchange. For this I decided to make sleigh bells. These were done from blanks and I did not document much of what I did in pictures, but here is what I have, I have made 8 of them so far. For this I als ended up needing to make tools to make them so I was stuck welding ball bearings to steel rode to help form the insides. I am not a great welder, but they did not break when I used them

Bird Feeder

The last time I went to refill the bird feeders, i found the flat feeder missing its bottom. This was either through age or an attack by a raccoon. Because I could not find the missing pieces, I am leaning toward blaming the raccoons. But rather than working on other projects, I decided to work on a new feeder for my wife. Being an idiot, I went ahead and hung it up and gave it to her as soon as I was finished instead of waiting 2 weeks and giving it to her for Christmas. Such a fool.

Bill Hook

This was fun! My friend Mistress Lorelei Greenleafe messaged me just before I went off to work in my forge and asked me if

Bottle Stand

The final thing that I worked on was a bottle stand. This was created for my wife and I to allow us to drain and dry our wine carafe. Right now it is but ugly but it works. I am using this one as a model for a decent one that I hope to make soon.

Well, this is what I have been working on for the last month and a half or so. I am sorry there is not much detail about any one thing. That is a disadvantage of waiting so long before writing one of these. It has taken me most of a day to organize and write just this little bit. Hopefully I will be able to bring myself to write the documentation to a few of the pieces i have listed in this and past blogs. I am hoping to have a documentation collection for the Mastermyr chest as well as a documentation collection for both my agricultural tools and my kitchen tools.

Halloween Hijinks

Grimmsfield decided to have a halloween exchange this year, so instead of buying something, I decided my secret Goul’s gift would be handmade. I wanted to make something simple and useful. So I decided to create a Halloween bottle opener. And as long as I was doing this, one each for my daughters would not go amiss. I decided a skull would work for this. And here they are:


Here is a pictorial on the process of making them:

Well, this blog entry is being written a week in advance (so as not to ruin the surprise) and I have a lot more work to do, so that’s it for this one. More later.

Over a month, but finally some work worth posting about.

So this one has been a long time coming. It was not so much a lack of blogging, but a lack of stuff to blog about. It has been a month of highs and lows as far as my production. Lots of news in different directions. I am going to try anf just get caught up and may end up leaving out details I was not a good at taking progress pictures this time as I have been in the past. If there is anything you have wuestions about, please let me know.


I feel like in order for me to keep track of what I have done, I need a table of contents, So Here you go:

  1. New Anvil and 1st project

  2. Halloween Surprise

  3. Mastermyr Lock

  4. Mastermyr Spoon Auger update

  5. Mastermyr Hammer #2

  6. Margaret & Cataldo’s Tripod

  7. Draw Knife

  8. Ogham Opener

  9. Mastermyr Hammer #3

New anvil and first project(or why this blog took so long):

After almost a year of putting my pennies away, i was able to save enough to get the anvil of my dreams for the shop. (alright I bought it before I had all the money saved, but they were having a sale). This was a 250 lb. Scott’s Big Boy. It was delivered by freight to the entrance to the garage. It was quite a difference from my 70 lb. NC Tool anvil:

When you get a new anvil, you need to create a new anvil stand. Fortunately, I had Dapper to help with the construction:

Having finished the stand, how does an old, out of shape blacksmith get a 250 lb anvil onto a 2 foot stand. It is not something that I stood a prayer of being able to pick up, but I could rock it. So I would use the same techniques that we think were used to create Stonehenge and the pyramids. By rocking it to one sise, I could just get a board under that side. Then I could rock it the other way and get a board under that side. I started with 2x4, then 4x4s then and so on…..

So it’s out with the old and in with the new:

Having a new anvil, it was time to start a new project, Jenine requested an arbor for the herb garden, so I thought I would try my hand at Architectural blacksmithing. BAD IDEA! I did not come up with a good design and did not understand the properties of the materials I was working with and so spent 2 weeks frustrating myself until I just gave up in utter frustration. I still plan on making an arbor, but I will need to spend a lot more time in design and planning.

Halloween Surprise

After the Arbor disaster, I took a little break from forging and regathers my forces. Fortunately, my household came up with a Halloween gift exchange and this gave me something else to concentrate on. Instead of buying a gift, I decided to forge one. I will not be posting anything about that now, but will be making a quick post after the exchange. It is written and will post on the first.

Mastermyr Lock

So now that I was back in the saddle and forging again, I was time to revisit the Mastermyr find. Earlier, I had made a Viking style chest for Grimmsfield and based loosely on the Mastermyr chest. No it was time to look at the chest in a little more detail.

The hinges I created for the 1st chest were generic hinged based on this chest, but the clasp on the front had no lock at all but just a padlock clasp. At this point I decided to tray and make a better representation of the chest itself. The first step would be to see if I could build a lock for the chest. Locks and their keys were a very important part of Scandinavian life in the dark and middle ages. Keys were used as a sign of status within a household and complicated locks were found on several chests from the time. The Mastermyr chest had several keys and padlocks in it as well that I hope to visit later.

Once the design and plans were laid out, it was time to stare work on the lock. The first step was laying out the plate that the lock would be built on. This was then cut for the key and clasps. Once the plate was drilled, work on the sliding lock and spring began. The sliding bar was quite a complex shape and worked out fairly well. A problem occurred when the 2 were matched up. The plate and slide would not work together. Rather then remake the slide, i decided to remake the plate. That is why the number of holes changes in the picture. I also came to the decision that I was not going to make an exact copy of this lock to the measurements of the original, rather I was going to make the lock as it would have been made. Judging by the finds of chest locks as well as looking at the locks found within the chest, each lock was made on an individual basis and no two locks ever came out the same. Going on this assumption, I was just going to build a lock in the spirit of the Mastermyr chest and not build it to the exact specifications. The spring for this lock was made from a piece of spring steel, but the temper that I put on it did not quite take as well as I hoped for so the lock ended up a little wonky.

The key design was based on other finds from the same area and time period. The key that fits this lock was never found. This is one of 2 types of keys that could have worked this style of lock. The other is designed to turn and fit into the holes on the bar. The lock can be seen operating in the videos found below. Sorry for the poor quality.

There is so much more that I have to say on this lock, but this will have to do for now. More to come in either the documentation or in the next steps on making the chest.

Mastermyr Spoon Auger update


While gathering firewood, I came across a nice piece of hickory and decided to do some woodworking with it. There was no sign that the spoon augers found in the chest had the wooden bodies attached, but I decided to bake them functional and add the rest to them. The shape and design were based on similar augers found both in period and later.

There is more to be said on this as well that will be covered in the documentation.

Mastermyr Hammer #2

This was only partially successful forging. There was a hammer head found in the chest that we now call a dogs head hammer. I decided that this would be the next object made from the chest. I was able to make a hammer that will do what the hammer found in the chest would do, but I was not able to form it the way I was planning on nor was it in proportion to the one found in the chest. The piece of hickory mentioned above also supplied the wood for this handle.

Margaret & Cataldo’s Tripod

This cooking tripod is to be a housewarming gift for Margaret and Cataldo. It is to help them live the SCA life as best they can. It is based in the first tripod I made last month, but much longer and out of thicker bars. Working this long of a piece of iron that is this heavy pushed me to my limits. Steel this thick moves very slowly, and I had trouble holding it aloft long enough to work it well. It was worked on in several stages to keep my arms from becoming to fatigued.

Draw Knife

Having started on making tools needing wooden handles or parts, I decided that the next steps were to start making some woodworking tools. Hopefully to get away from using the lathe. The first one I decided that I needed was a draw knife. This will be used for making the handles for other tools. I am using 4140 steel for better edge holding abilities. This steel is a lot harder to work then the mild steel that I am used to. I was able to rough out the shape and then needed to take a break. I will get back to working on this the next time I fire up the forge.

Ogham Opener


This was actually the last project I worked on before writing this blog, but I wanted it embedded within the content for reasons that will become apparent. So after tearing myself up doint the forging on the hammer and draw knife, I wanted to end on something fun. Sitting in front of me as I was thinking of what to make was my “Ale Killed Us” mug from Dancing Pig Pottery (https://www.etsy.com/shop/dancingpigpots) This mug is inscribed with the Ogham script for ale killed us (we are hungover) that was found in the margins of a manuscript. (for details, google it). “That would make a great bottle opener!” I exclaimed, quite starting the dog, who was sleeping in the forge. Ans so I set to work:

So, in making this I screwed up. I decided that 4 inches was the right amount of steel to use for this project, and I marked the bar for cutting when I was done working on it. I failed to leave enough room for the script. The script ended up running over an extra inch. This left a cutting line in the middle of the script. I feel that a stronger taper on the handle would improve its looks as well. So this is now a prototype and a sampler to work from. Now for the reason that I snuck this into the middle of this entry. For the next 10 people who comment on this post, Either here or by sending me a note at grimm@grimmsfield.com, I will be glad to make them one of these openers for your personal use. Yours will not have the cut line and will probable look at least a little better. This will be true till I have given out all 10 or I stop forging. I will probably go ahead and make a few in advance.

Mastermyr Hammer #3

Good lord but this is getting long. So, before the opener but after the draw knife start, I came across a 1 in. square bar that i purchased to make another Mastermyr hammer. As I am a glutton for punishment, I decided to start drifting the eye and forming another hammer based on the chest. I spent almost 2 hours heating and drifting the hole on this block before I ran out of stem. I will finish this up the next time I get to the forge.

Well, that’s about it from the forge. The Mastermyr chest has really caught my attention at the moment, so expect to see more coming from that find. Here is an image of all that I have done from it so far. Thanks for reading.

Finally some forging!

Well, only 2 weeks have gone by before my weekly update. The previous weekend was a bust, but this weekend saw some production.


The first thing that I worked on was the shelf brackets for the kitchen. The first design did not work and I was just not pleased with it. I took the old one apart and came up with a new design. I am much happier with this one:

These were made to hold a shelf over the entrance to the dining room from the kitchen. Our display of pennsic mugs had outgrown our old display and this seemed like a good solution. I am very happy with the way this came out and the way it looks in the kitchen:

After that I decided to work on a piece from the Mastermyr chest. I decided to try my hand at making a spoon bit. there were several found in the chest. Instead of making an exact copy of one of them, I decided to just try and make a general on to get the hang of them. I am working on writing the documentation on this and will give more details in the write up, but here is a pictorial progress report:

This is being made from a piece of coil spring steel and will be tempered to help it hold an edge. Hopefully next weekend I can make and fit a handle onto it.

The next project was to make a 2nd Mastermyr trivet, only this time starting from flat stoc instead of bar stock. I ended up using a piece of scrap from my scrap bucket and did not do a whole lot of photographing as I went along. Working from flat stock seemed to make the job a little easier. Here it is finished:


On Sunday I just felt like pounding on metal. so I decided to make a cooking tripod. It is something I have had on the back burner for quite a long time now and it just felt like it was time to get it done. I do not know of any period-ness to this design, but I have seen several using this concept and I like it. The tripod does double duty as a kitchen utensil rack as well. The tripod was made from 1/2 in round stock. I had three pieces cut into 5 foot lengths. If i were to make this again, i think i would use 7 foot stock to give me a bit more finished size.

And finally for those of you following at home, I completed my first skein of wool from the weight experiment. It started as 12 ounces of unwashed fleece and this is almost 1/2 of it spun:

So that was this weeks fun and adventures!

Another month goes by......

three weeks later its time to write my weekly blog. Tried some stuff, made some things. some worked some didn’t. See you all next week.


What, you want more detail? oh all right:

After making the trivet for Mistress Lorelei, I decided to try and work on making some kitchen implements. I was planning on making a ladle, spatula, and fork combination . I was going to make each one from the same size of metal and work them the same way to make a set. I have been having problems with making spoons and they seem to stem from not having enough metal in the starting stock, so i began with a quite thick piece of steel.

Spatula:

working down such a large piece of steel to the handle was much more work then I thought it would be. I also was not able to get the head thin enough to have any flex. My wife says it needs to be longer as well.

Quick time out for one of the smallest snakes I have ever caught. Baby Ringneck Snake.


Not being happy with the way the spatula came out, I decided to back burner this project and work on something a little easier. I went back to the Mastermyr Find for inspiration. One of the things needed in camp was trivets for putting cooking vessels on to serve. As there were a few trivets in the find, I decided to try and reproduce one of them. Not a lot to say on this, but there will be documentation coming soon.

Mastermyr Trivet:

I also got into working, so did not do as much picture taking as I should have, but then again, not much to it either.

The next thing to catch my fancy was the hack saw found in the chest. With how similar to modern hacksaws it looked, i was intrigued to make it to scale and see how it compared to modern hacksaws. The answer is that it is much small then a full size hacksaw, but larger then a jewelers saw. The body of the saw was made with mild steel and the blade with spring steel. The handle was carved from a piece of oak from Grimmsfield.

Mastermyr Hack saw:

I went ahead and cut the saw blade to shape , tempered it, and mounted it to the frame before cutting the saw teeth into it. This left me with a better gripping surface for cutting the teeth. The saw blade edge is not one of my best jobs. I think if I were to make a few more, i would be able to get a more consistent spacing of the teeth.

While working on these 2 projects, my wife and I decided we needed a mug shelf in the kitchen above the doorway. I was hoping to make some fancy shelf brackets for this, but I was not happy with my first attempt. The support bar pulled the rest out of true and it interfered with the screw placement for mounting. Oh well, back to the drawing board

Shelf Bracket:


And now for something completely different:

I decided to get back into some spinning. Instead of just spinning, for the sake of spinning, I decided to do a little experiment. Starting with 12 ounces of raw Romney fleece, how much finished yarn and or finished product would I end up with. The wool was pulled from the bag with no preference for what part of the fleece it came from.

After washing, the new weight is 10.8 ounces. This was then processed using a set of English combs. once the entire batch was combed, I was left with 1.3 ounces of 2nd cuts and bad wool. This will be spun into a single ply yarn and then woven in a simple pattern on a ridged heddle loom. This is where we are so for on this experiment. More on this as I progress.

And as a final note, a praying mantis sitting on the car next to me while I waited for my wife at the doctors office.

That’s it for now, more to come next week, or a few weeks from now, or next month or whenever……

Medieval Cooking Trivet

After talking with my good friend, Mistress Lorelei Greenleafe, I decided that I needed to do a simple A&S project with simple documentation. Not for a contest, not for any glory , just for the simple act of creating a usable, document-able object. This object was inspired by a conversation I had With Mistress Lorelei and what see needed to help her with her outdoor cooking. A cooking trivet seemed to be just what she needed.


If you want to skip the rest of this post, here is a link to the documentation written up for the Trivet:

For those of you who just want to scroll through the process pictures, here you go:

To start the trivet i began with a 1/8 x 3/4 piece of bar stuck. This was then worked into a circle on the flat. Once the circle was formed to the correct size this was cut off of the bar stock.

After the excess was trimmed from the ring it was worked into a circle with about a one inch overlap at the joint. This was then riveted together to keep it in place. After this it was heated to forge welding temperature and worked down top original thickness. The edges of the joint were then cleaned up to make an even transition.

the next step was to work on the legs/ blade units. these were made from 10 in long 3/8 in. square stock. They were marked at 1 in in from one side for the feet and 3 inches in from the other side for the rest. The 3 inch section was then drawn out to a with of 3/4 of an inch with a thickness of 1/8 inch. This was done to mimic the measurements of the ring. this was then bent to hold the ring at the proper angle. The next step was to heat the center section and put the twist in that. The final step for each leg was to flatten, spread and bend the foot. While the feet were still hot, each was given my touchmark because I am a vain person.

The next step was to mark the ring in 3 places exactly 120 degrees apard and center a rivet hole on that mark. Holes were also drilled in the blades of each leg. Nails were then cut to the proper rivet length and used to rivet the legs to the ring. The trivet was then adjusted until each foot rested squarely on the ground and it was a level surface for the cooking vessel.

The final step was to apply a finish to keep the tool from rustin. The entire trivet was coated in vegetable oil and placed in a 450 degree oven for an hour and a half. This resulted in a finish very sinilar to that found on a cast iron piece of cookware.

This was then allowed to cool and tested to insure that it remained level. The trivet was then boxed up and shipped to Mistress Lorelei for field testing. I will let you all know how it worked.

Time for an Update?

Not sure why I am continuing to write these things, other then for myself to keep track of what I have done. I find more and more I am just forging and not keeping track of what I am making. I am working on researching and possibly making a set of Roman Hipposandals.(https://en.wikipedia.org/wiki/Hipposandal). But with no reason or timeline, i find it hard to get started. I have been doing some work in the forge, but it has been more along the lines of mundane projects and not A&S.


The first thing that I have not documented yet was a key-hook that I made for my wife to hang at the front door. I am rather pleased with it, but she is not. With the way I carved the ears, she says that they look mad. I think she may be right.

The next project That I decided to undertake was to create new bird feeder hangers for our deck. Hopefully, this would unify the deck and alleviate the hodgepodge of hangers we currently have. This project was started at the beginning of the moth and still is not finished. I have finished 3 of the 8 I was planning on making, but I am not sure that I like the design. The support bar looks off to me. Either way, here are some pictures and progress pics:

As I wrote about in my last note, I was gifted a set of top tools from GS Tongs. These were from my wife fro our Anniversary. I wanted these to be displayed nicely so I would always remember her gift to me. For this I designed a very flowing and organic tool rack to hang them from. This was a poorly thought out design and was a complete failure. From the ashes of this design came about tool rack #2. I am not as happy with this rack as i was with the one in my head but here it is:

It has been bloody hot this week. Temperature in the garage before firing up the forge was in the low eighties. So hot even the squirrels were melting and my cat not giving a damn about chasing them:

It’s crazy to be working at the forge in this heat! So I decided to work on making the forge a better working space. I had an old stump on a riser that I kept my swage block on set behind my anvil. This tended to be the place I set everything down on as I was working. Not good for the swage block and not good for the tools as well. I had started thew week before designing a rolling cart to handle tools and other objects that I needed at hand but was not using right away. A staging and holding area so to speak. I needed a hammer rack, tool bar, place to put hot metal and a place for hardy tool that I needed to swap out. At the same time, I also decided to get rid of the stump al together and build myself a swage block stand as well. This stand needed to be able to hold the block both flat and on end to use the edges as well:

Heres some more on both of them:

The next day (outside temp 102) i had to try out the new layout and see how it worked for me. The cart actually might be to big for my shop. The dimensions were based on the size of corrugated metal I could get for the hot area. This is 2 sheets wide and 1 long. I think I might need to rebuild it based on just 1 sheet. I will have to play with it a bit more before I decide. Either way, i decided to make a few things for around the shop. One problem that I have been having is that I wear bifocal safety glasses (insert old joke here) and I am constantly scratching them by wiping them while dry or setting them down on the lenses when I am done with them. My wife suggested that I needed a place to hang them when I was done and should keep lens cleaner and a glasses rag handy for cleaning. Let me introduce you to the Grimm Glass-o-holder Station. Copper cup for the glass spray, hook for the cloth and a bar to hang the glasses on when I leave the forge!

There were a few other odds and ends I decided to devote my forging time to. Hooks for my spring swages, a hook for my bending wrench on my vise stand, a holder for my hold down and finally, a paper towel holder for work.

Finally, for those who have made it this far, a look at the design pages for these project:

Forgot to note that during this time I also refinished a desktop for my son in law


New top tools.

So yesterday I received a set of top tool from GS Tongs . Glen is a maker of very beautiful and functional tools. These are tools that I could have made myself, but I love his clean lines and functional design. Plus my wife needed something to give me for our anniversary. I posted them on Facebook and someone asked me what they were for. I did not feel there was enough room in a Facebook response to adequately answer that, so here you go:

This is a set of 4 top tools:


Top tools are designed to be placed against your heated work and then hammered to get different effects. The different shapes are each designed to create a different result. The 4 tools are :

  1. round punch

  2. cutter

  3. slot drift

  4. slitter

The use of each is explained below:

Round punch

The first tool (and the one I will probably use the most) is the round punch. This tool is used to drive a hole into a piece of metal. It creates a round hole through the metal with less loss of material then drilling a hole would. It pushes the metal to the edges instead of cutting it out the way a drill bit would.

IMG_4078.jpg

As you can see from the example above, this saves the loss of metal, but also can create a flare on the edges of the metal. This look can be either eliminated, on enhanced through the use of drifts to expand or reshape the hole.

The Cutter & Slitter

As its name implies these tools are used to cut or drive a slit into the metal.With unlimited cheap iron to work with, saws are often used nowadays, but when these tools were invented, saw blades for metal where very difficult to make and very expensive. These tools allowed you to cut the metal without any loss of material. Below is an example of a viking griddle with a split handle. This was done while hot and then each end was shaped.

Slot Drift (punch)

This is the tool I am most excited to get because it is the tool I am the worst at using. Like the round punch, this tool is designed to punch out a slug of metal and leave a hole. In this case the hole will be a rounded rectangle and will be used to create a slot that will be expanded to a round or square hole that would be impossible with a drill. The rectangle is opened up by using round or square drifts to expand the hole and make it round or square. The hook below as well as the connection on a pair of andirons below are an example of this technique. The Mastermyr hammer reproduction shows the process of punching the hole and then drifting it to shape.

As you can tell, I have all of these tools in my shop. Most of the tools used for the examples above I made for myself. Making his own tools is a large part of the blacksmiths craft. I could have spent the rest of my life using my own tools and done just fine. However, the opportunity to use a tool made by a master craftsman is not something I want to give up for the silly pride of having used only my own tools. The next project for the forge will be making a set of hooks using all of these tools, to hang these tools on. Having these tools hanging on my wall will serve 2 purposes for me. One, it will give me a visual of what work by a master looks like and 2, it will be a constant reminder of the 29 plus years that I have spent falling more and more in love with my wife.


Lock-down blues

This was written back in the beginning of May and put in draft mode, not publish mode.


News from Grimmsfield

I seem to have been spending more time in my forge, but documenting it less and less. A lot of what I have been working on is not as exciting as some of my other projects and some is not SCa related and therefore does not need as much as well. but here is what I have been working on over the last month:

Blacksmith guillotine

The first thing to get done was the making of a Blacksmith guillotine. This involved finally taking the plunge and forcing myself to get acquainted with the my mig welding machine. I don’t know why i had such an aversion to using it , I’m not good at it, but it was no problem using it to make the tool. A Blacksmith guillotine tool is a tool used to hold a top and bottom fuller in place when you are working by yourself. I needed one to put tenons on the ends of rods as a way of joining 2 pieces of metal. the formation of a teno n is shown in the last 2 pictures.

The other thing that I worked on over the past few weeks was a hall table for my wife. This is the first time in a long, long time that I created something just for the sake of creating. No constraints on my design but was I was capable of making. It was all made from found items around Grimmsfield. The metal came from extra pieces that were purchased for other projects and the same is true of the wood. Once again I did not document much of the process and a lot of it was metalworking and not purely blacksmithing. Here is what few pics I took:

Another week without work. = Forging time.

Well, I’m stuck with way more time, but way less motivation. With the worry over the business, I am having trouble keeping focused and on task. Still, pounding on metal is not worrying about what is going on. So here is what I have been working on:

First thing is repainting my wife’s horse trailer. This has been an ongoing project for the last few weeks. Painting it by hand both inside and out. at least 3 coats of paint over the entire thing (1 primer and 2 paint.) Almost finished the painting then to attach the pads and hardware and I will be done. Here is the closest to a before picture I can find and the work done so far:

When I can’t seem to get myself excited about starting a new project, I tent to clean and straighten up my workspace (I know that those of you who have been to my shop will not believe that, but it’s true). In doing that over the past weekend, I came across a razor kit that was given to me by my father in law at Christmas. It was a very simple wood turning kit, and I kept meaning to get around to it Well cleaning was getting boring, so, wood turning it was! I had a spare piece of Cocobola wood so, a turning I went. This was to make a replacement razor fof the shaving kit given to me by my daughter years age. Good to have it a complete set again. Simple but satisfying

After all of that, I did force myself to fire up the forge.

Coming out of the forge this time:

  1. cord holder

  2. coal tongs (take 3)

  3. re-worked the viking hammer

  4. another hoof pick

this went as described below:

Cord holder:

The cord holder was supposed to be a quickie to get me back into the forging frame of mind. My wife is in charge of the leaf blower. Just part of the division of labor at the Grimmsfield estates. She has tried several blowers of the course of the years we have been together and has decided that a corded blower is the way to go. In order to use said blower, she keeps a monstrous extension cord plugged in in the garage. This cord gets used for anything going on in the yard that need electricity, So it never really gets unplugged and put away. So we have this giant pile of extension cord that sits around and tries to trip us whenever it can. Well, I pretend to be a blacksmith, so I should be able to fashion something to hang this cord on. Simple right, just put 2 bend in a bar of steel, drill 2 holes to mount it and be done! Go to grab a piece of scrap to make this and come across a failed attempt at making a paper towel holder. Split on one end and rounded and knobed on the other end. Perfect, just bend the knobed end and mount the split end to the wall. “But the spit end looks unfinished and ugly”, says my artsy side. “Just bend it and be done!” shouts my practical side. “But wait” interject the artsy side, “if you forge out one of those split pieces you could make a hook to hang the cord end from.” “Grrrrrrrrr.” from the practical side. “And. AND! and, we could forge a twist in the other end to keep the cord from being pulled out when you pull on the cord from the yard. This could be so cool!” shouted the artsy side. From the practical side: “FINE!!! Lets waste 5 hours forging a 15 minute project. Lets turn this into a major production over something that no one will see or appreciate. Go ahead, see if I care!” “Oh goody!, here we go.” Artsy side.

Another attempt at coal tongs:

When cooking on a fire table, the placement of the coals becomes tantamount. To this end, i have been trying to produce a pair of tongs to pick up and move the coals for the table. the first attempt ended up with a scissor action pair much more suitable to small logs the coals. These my wife found to heavy and bulky. So, back to the drawing board. The 2nd pair was spring loaded and ended up being more like ice tongs then coal tongs. I did not even take a picture of these. This was the 3rd, but not final attempt to make coat tongs. Here is this attempt:

some notes on why these are not the last tongs:

  1. still to heavy (says my wife)

  2. Center spring not large enough. should have left 5 or more inches to be thinned out.

  3. more metal needed to be left for the ends, they also need to be shaped better.

  4. might need to start with thicker stock and draw the arms out thinner to reduce weight.

They work, but they are still not where I want them to be.

Re-worked the viking hammer & another hoof pick:

I purchased a handle (I know I should have made my own) for my viking hammer and found that the eye was way to small for a decent handle. So, back in the fire it went. I did nothing but expand the eye. this thinned the cheeks a little bit, but it now it fits the handle: the indexing on the handle is a little off, i think i will need to make my own handle with a better shape for the hand.

Last bit of news (kind of a big deal):

The hoof picks that I mass produced last week have now been put on E-bay for sale. There are 6 of them up for sale right now. Not sure if they will do anything, but I thought I would give it a try. I need to find some way to pay for this hobby. The pictures below will take you to the E-bay page:

Well, I guess that is about it for me for my adventures this week. And it seems like it is time to get right back into it. Next week, I hope to get the trailer finished and back on the road, get a few scores in in the throwers challenge, plus fire up the forge again. I am hoping to get some better metal in to forge better axes.

Everyone keep safe and be careful out there. Don’t forget Grimmsfield is open for private practice by appointment if you need to get out and get a break from home.

more soon,

Grimm

Back to the forge. Axe time

With the reduced hours at the shop, I have had a bit more time to try and get to the forge. Last weekends adventures were with trying to make a folded throwing axe. My first attempt was a proof of concept piece and was done to see if I could get the welds to hold. My 2nd attempt was to add a piece of hardenable steel to the center to make a fully functional axe.

First Forged Axe

Forged Axe #2

Hoof Picks from horseshoes

I also turned out 2 batches of hoof picks from used horseshoes that my wife’s farrier gave to me. The first batch was a proof of concept batch to see how they would come out . they are pictured below. The 2nd batch was done to see how well I could do on production forging. I have not taken pictures of the 2nd batch but they will be coming. Here is the first batch:

Showed the first batch around and everyone agreed that the bottle opener was the best. the next batch all had bottle openers on them. More pictures soon.

Stay safe my friends.

Not Quite A&S, but I want to get the word out

My good and noble friends who love throwing things! Grimmsfield is pleased to announce the first annual Grimmsfield Thrown Weapons challenge. This is a social activity done at a distance. please see the rules page below and see what you can do to try and join in. This challenge is open to anyone who can figure out how to make it work. It is not a SCA challenge. Any questions, please feel free to ask. Grimmsfield does have a thrown weapons range that is open to anyone to come out and try it on a individual basis. Please spread the word. I will except scores from anywhere. https://www.grimmsfield.org/grimmsfield-throwers-challenge

Coal Tongs


Great jumping Jehoshaphat! Another post already? Yes, Yes indeed!. Got some quality time in the forge today. Decided to work on making coal tongs. I have found several examples of tongs that are in period, but the other day i came across a pair of tongs that i really wanted to try making. I have yet to find this type of action in period, but it is close. I have not given up looking, but for now. They are what they are. These will go in the kit for the Pennsic cook table. It all started at the Norva archery range, where they had a pair of fireplace tongs that I fell in love with. Not the use of them, but the design and the blacksmithing aspect. Here are the photos that I took for reference:

From these pictures came the design work plus notes added as I went along:

And then came the forging. In an attempt to keep it simple, I elected to drill the holes and use commercial rivets. Here is the process, with notes as I went along:

I am not sure how well the original tongs worked 1 handed, but these are definitely 2 handed tongs. However, they do do as good job picking up single pieces of coal (or charcoal). There are a few modifications I would make if i ever attempted to make these again. But all in all I am please with how they came out.

Plus I mase an “S” hook (WOOT!!!!):


Life Update.


Well, once again I don’t seem to be keeping up on all of this the way I wanted. Back to working more and playing less, so not as much to write about. Reaching back to my last post and seeing what has happened since then. Not sure how much I feel like writing right now, but here are a few quick notes of the highlights:

  1. I was persuaded to display at KASF.

    Here is a gallery of my display:

2. Coal tongs:

Took some reference pictures for a pair of coal tongs for the fire table at Pennsic, posting here to remind me to get to work on them:

3. New Hammer:

Started work on a new viking hammer. This one is going to be much bigger. Worked on it for a while, then got concerned with how much coal of my dwindling supply it was taking. The place where I normally get coal from has been shuddered for the foreseeable future, so I began to worry about running out. Here is the progress so far:

4. Oseburg cauldron

I have decided to try and make a forged and riveted cauldron similar to the one found in the Oseburg ship burial:

The first step is to make a cutting pattern. My 5th grade paper mache skill were brought to the forefront. Molded a cauldron to cut up in paper mace to work from. More on this project as I get back to it.


5. Jewelry Prep.

The other thing I have been working on is prepping silver for more projects in the future. Nothing in the works. Just replenishing silver sheet and wire stocks. Wire from a silver spoon and the sheet froma bunch of scraps from the bench:

Silver wire:

The wire has been rolled and will be run through a draw-plate when I next work on it.

6. For my final note: Coal had been obtained!!!!


Over 1/2 a ton of soft coal to feed the Grimmsfield forges. Found a great store in Maryland that sells coal and decided to stock up.

Well, that is what has been going on. Hopefully things will settle down soon and I can get back to regular A&S times.

Everyone please stay safe.

Work and not work.

Teaching, not forging:

*** Please note that clicking on any image will give you an expanded view. *****

Well, it’s been about 2 weeks between blogs and I am wondering if that is about the rate I should be shooting for. The trouble with that is, I seem to forget what I did 2 weeks ago. Fortunately, I try and take pictures to remind myself. Last weekend saw very little actual production from Grimm. Instead, I opened my forge to others. I taught 2 young gentles the arts of the blacksmith and one old fart the same. Aria and Kaleb of Stierback came over for more lessons in blacksmithing, each creating a wall hook to learn the basics. This was their 2nd lesson and they seem to be getting a hang of it. I did not get pictures of there final product, but the were both happy with the work and I was happy with their progress.

Lord Ronan also joined us for the day. He was here to work on the handle of a knife he purchased for the SCA. We are changing it from a railroad spike knife to a more medieval look. The plan is to draw out the tang to make a hidden tang knife. He worked on turning the wood for the handle and forging the tang down to the right size for the handle. This is him working on the Lathe:


I piddled around the shop not doing much. 2 people in the forge at a time is the max it can handle. Aria and Kaleb were working there first, then ronan and I stepped up. He in drawing the tang and I worked some more on the hinges for Lord Christof’s chest.

Finally, some good forge time:

Saturday (2/29/20) found Grimm with some free time to get into the forge. It also found him with nothing pressing to make. (yes there are a dozen projects that I should be making, but I am not ready to start them) Soooo…..Its hammer time (in more ways then 1). An attempt to recreate a hammer head from the Mastermyr tool chest.

Making a Blacksmith’s Hammer from the Mastermyr Find

The chest is similar in design to the one I made for our pennsic camp. I have always been fascinated by the objects inside as well. This is my first attempt to recreate some of the tools. (please note, this is not the documentation on the hammer just what i was doing and thinking. The documentation will be written later). to start, here is a photo dump from my research:

And here is a photo dump of the work in progress:

Back to work, not much to show though.

This week we had archery at Grimmsfield on Sunday. Spring cleaning and a practice. Atlantia is now in 1st in the open bow division of the SCA wide IKAC. Monday was given to mundane life. Tuesday, however, i made it back to the forge. I was planning on finishing Lord Chris’s hinges and clasp and finishing Mistress Lorelei’s shovel blade, but Lady Gunnora was planning on getting her equestrian gear ready for the season. I did get a chance to re-work the shovel blade, but not to work on the hinges. I did however, manage to get the spear point i forged for her shafted and then created a weight for the back of the spear as a counterbalance. This involved forging more of the 1 in round bar and was not exactly something to show off. It did however work! Lady Gunnora now has a ring lance with a Grimmsfield forged point and counterbalance. This makes me happy. Now to make one that I can be proud of. Sorry, no pictures. It was just working. Hopefully, i can grab some pics of the lane soon.